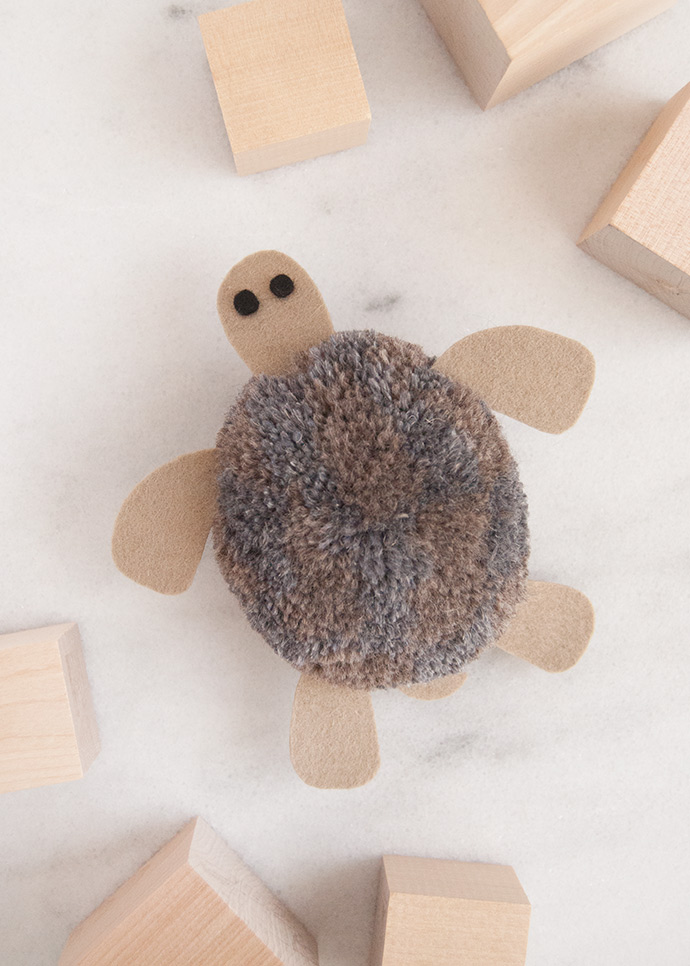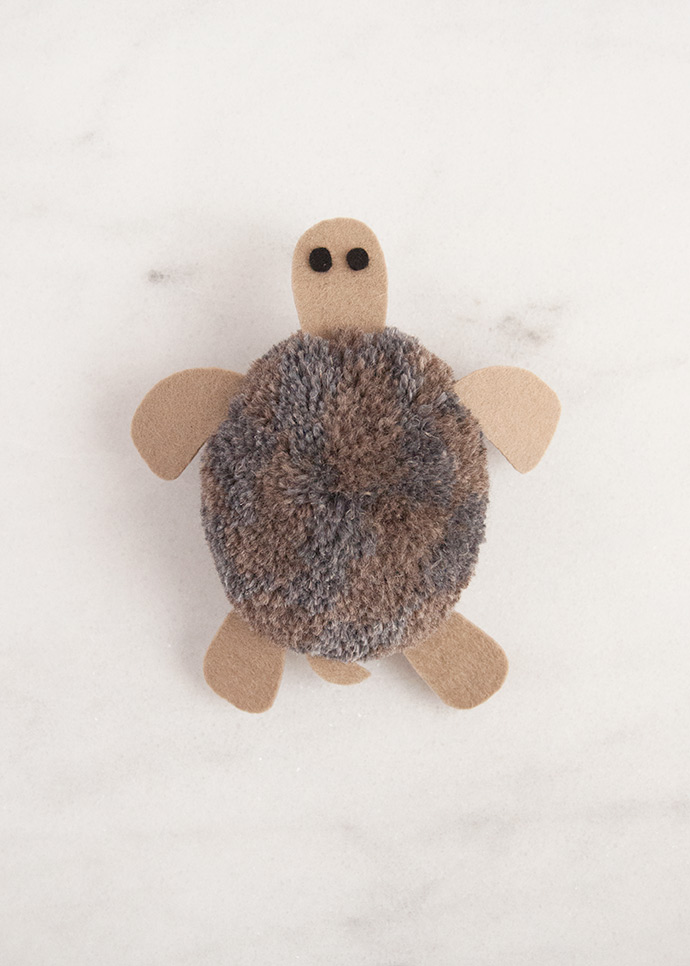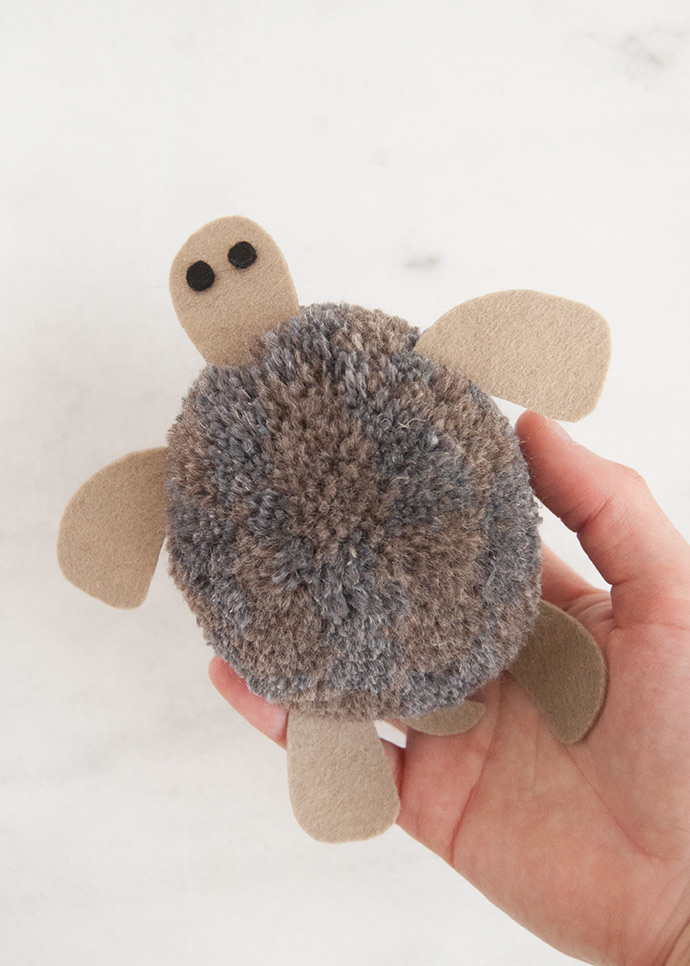
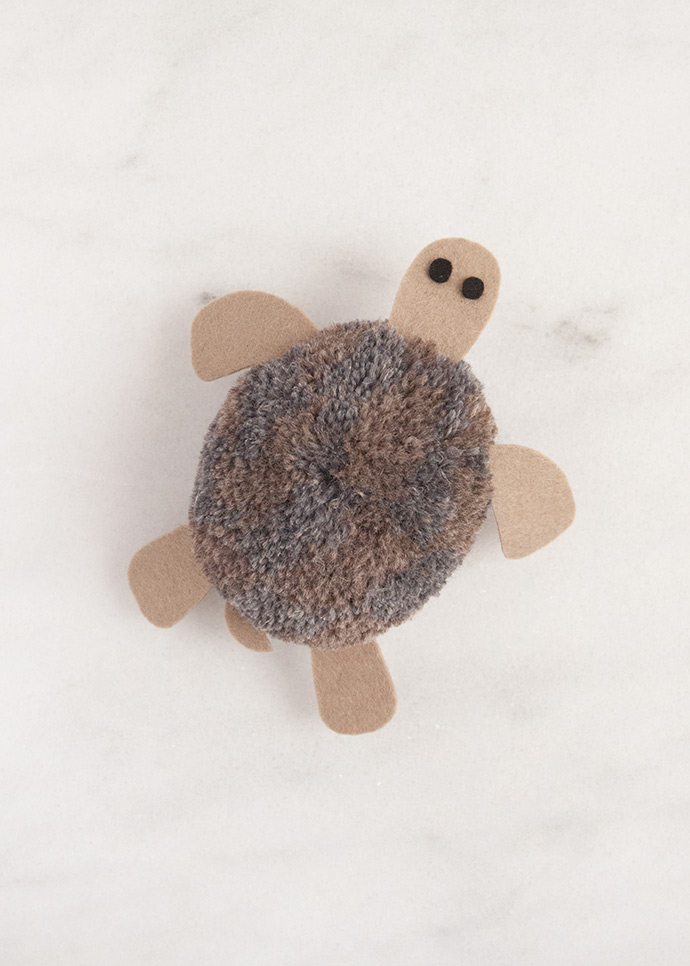
It’s that time again – we’re sharing the next addition to our endangered animal series of pom poms and this time we’re making a giant tortoise! If you’ve been following along with us and our friends at Purl Soho on this pom pom making adventure, you might remember that a little while ago we made a green turtle. While making this tortoise pom pom uses a very similar technique to the green turtle, the animal itself is completely different! There are actually many subspecies of the giant tortoise that have slightly varying appearances. Giant tortoises can be up to 4 feet long and weight nearly 700 pounds! Thankfully we’re just making a mini version today, otherwise we would need a whole lot more yarn. Keep reading for the complete instructions below.
what you need:
- Pom Pom Maker Set (small + large)
- Linen Quill in trout brown
- Good Wool in hickory nut
- Wool felt (mouse and black)
- Embroidery floss
- Scissors
- Tacky glue
- Printable giant tortoise tag
how-to:
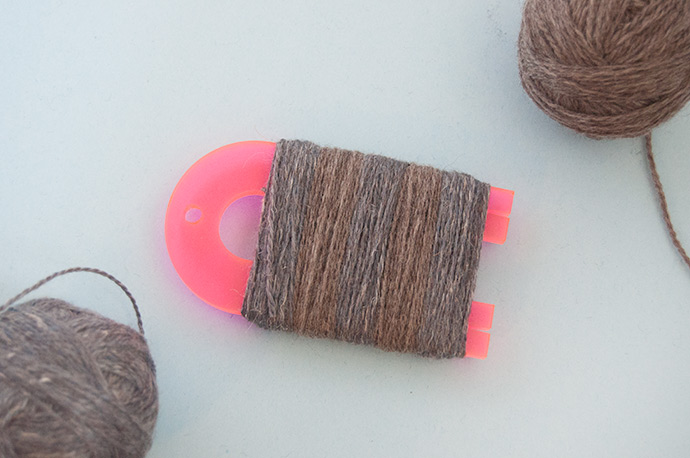
First things first: wind your skeins of Linen Quill and Good Wool into balls. Take a look at Purl Soho’s tutorial on how best to do this if you need a quick guide – it’s simple! You won’t use up the whole skein of either color for this one tortoise pom pom, so save the leftovers for another project, or make a whole bunch of tortoises! Once the balls of yarn are ready, first wrap one color around the large pink pom pom maker about 50 times Next to it, wrap the second color also about 50 times. Repeat this until you have several stripes across the pom pom maker. Creating these stripes in a color block way as shown above will create spots on the tortoise’s shell!
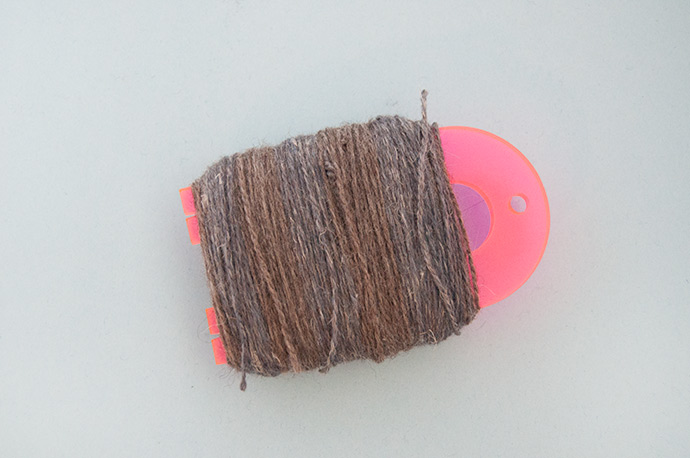
Repeat this method of wrapping yarn on top of the previous layer, but alternating the colors to keep them separate. Do this until you have about 600-700 rotations in total. This is not an exact science, and you don’t have to create this exact pattern – just mixing the two yarns randomly will also create a nice color variation in the shell, and that’s exactly what we’re going for here.
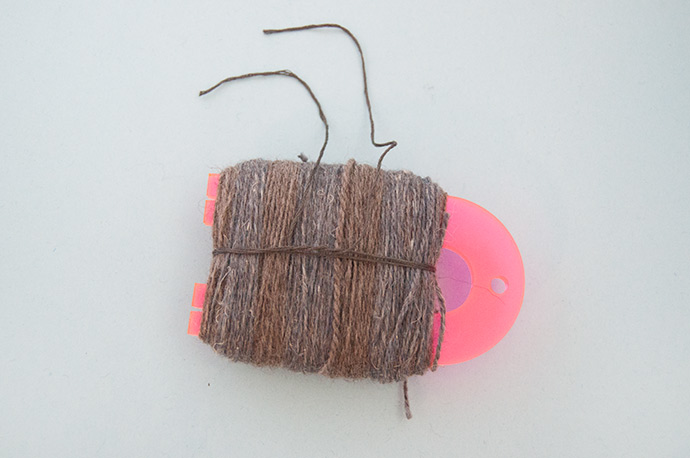
Cut an 18″ piece of embroidery thread and thread one end through the U-shaped gap between the wrapped yarn and the pom pom maker. Bring that same end up and over the wrapped yarn and then back through that same U-shaped gap again. Bring the two ends of the embroidery floss together and make sure that the horizontal threads are nice and centered on the yarn wrap. Tie a surgeon’s knot but wrap the end through the loop twice. Pull the knot together but don’t pull it tight yet.
Carefully slide the wrapped yarn off the end of the pom pom maker. Pull the embroidery floss knot as tightly as you can. Use a finger to hold the surgeon’s knot tight in place and then tie a half granny knot on top to secure. Bring both ends of the floss to the other side of the wrap (make sure to do this so that you don’t catch any loops of yarn along the sides) and then tie another tight surgeon’s knot, followed by another granny knot to secure. Make sure that these knots feel very secure and tight – a loose center knot may cause your pom pom to fall apart later.
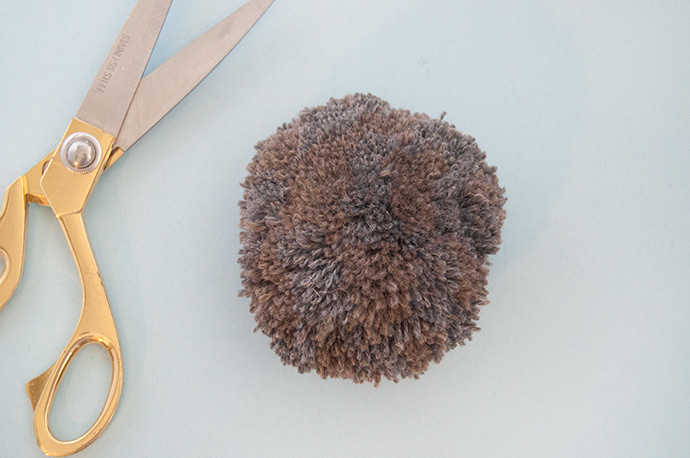
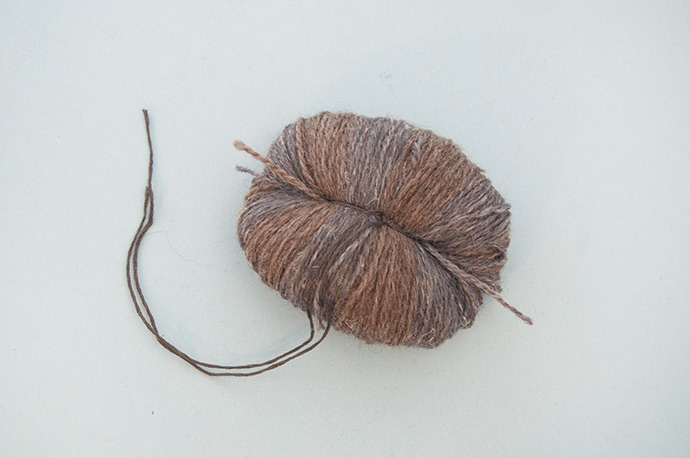
Use sharp scissors to cut all the yarn loops on both sides. Your pom pom will be large and kind of shaggy looking!
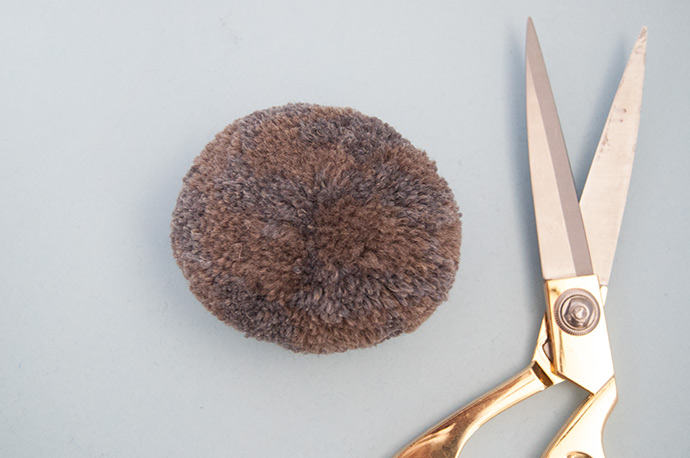
Use your the large pink pom pom guide to trim the excess yarn, but instead of forming a perfectly circular pom pom, aim for an even oval, like a tortoise shell. As you trim, fluff up the pom pom and reposition the guide on different sides to make sure you’re happy with the shape from all sides.
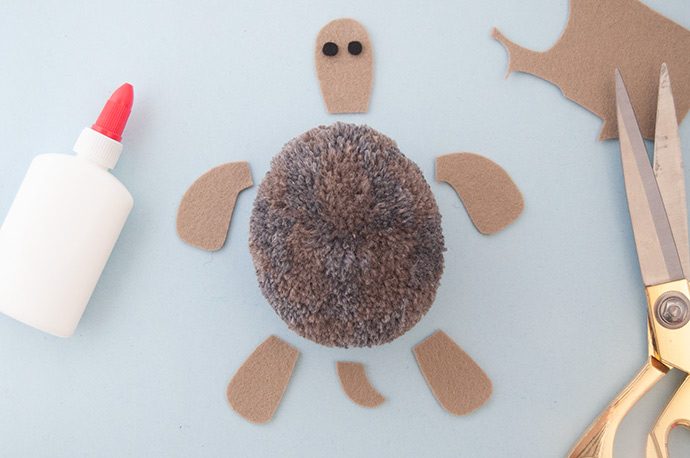
And now to add some details! Cut out arms, legs, a tail, and a head from the colored felt. Make sure to cut them slightly longer than you need to allow some to be hidden inside the pom pom when to glue them on. Cut two small circles from black felt and glue them onto the head as eyes. Allow to dry completely.