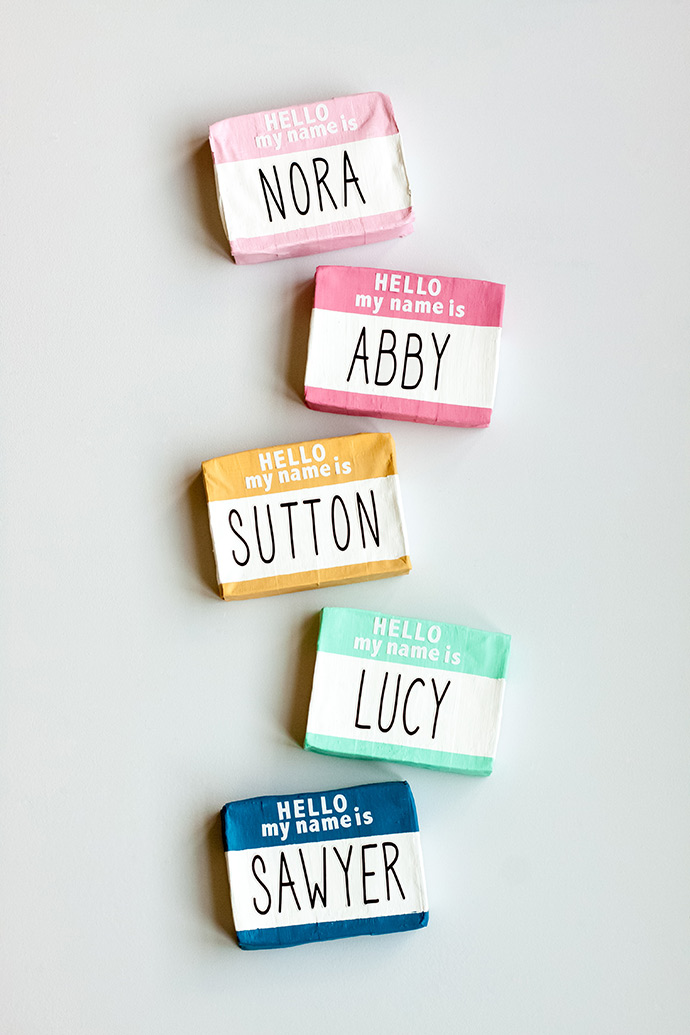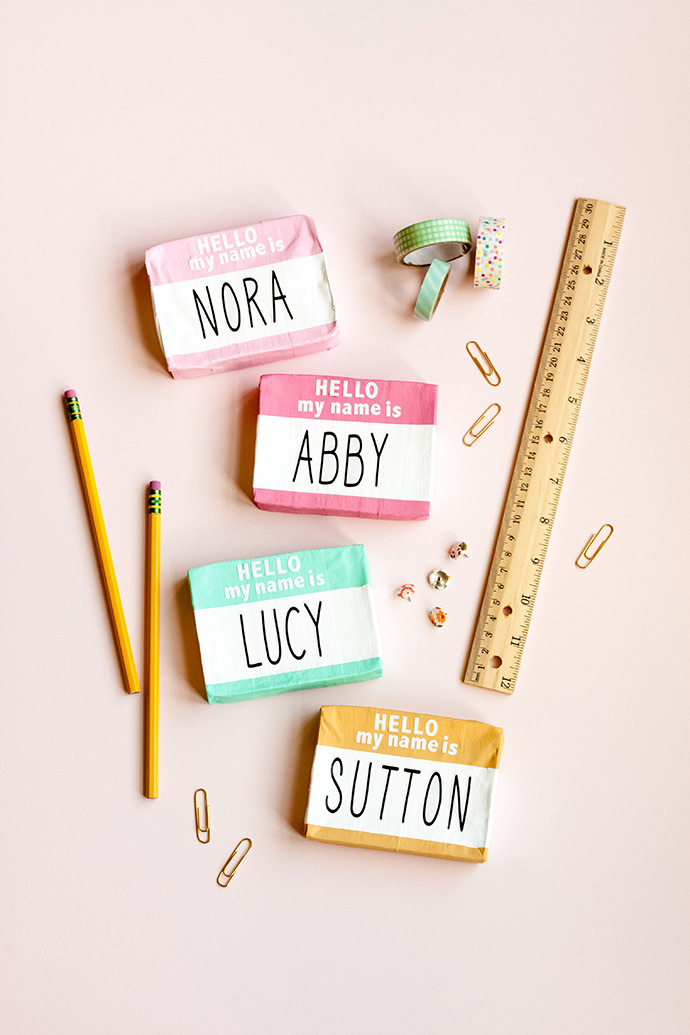
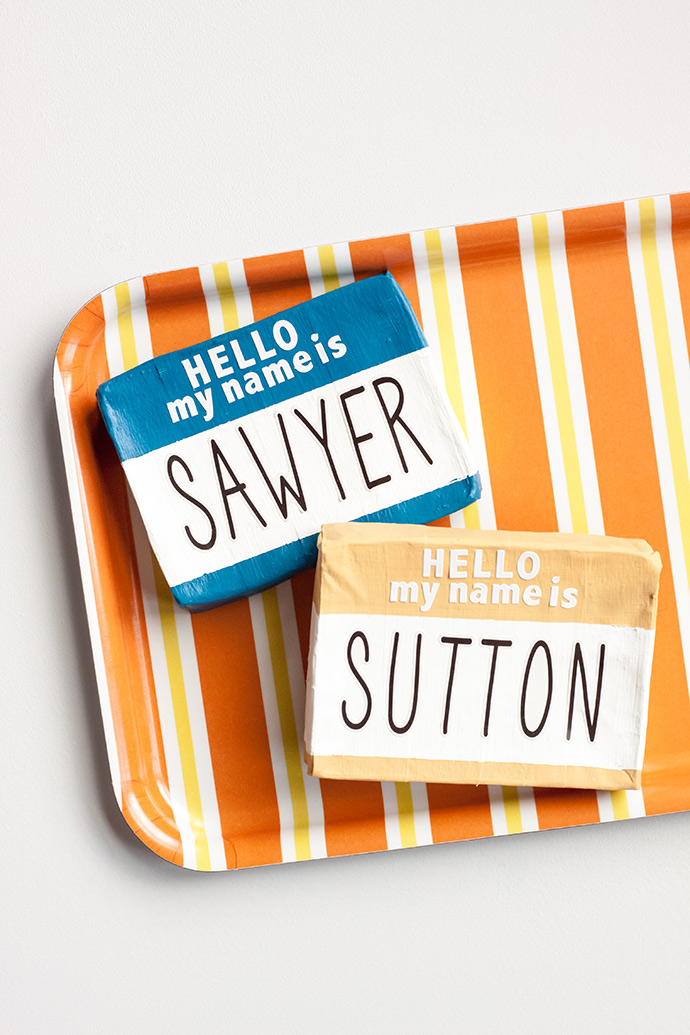
Recently I saw a “Hello, I’m…” enamel pin that was made to look like the stickers people wear at meetings or events. It was so darling, and it hit me that a 3D version created using paper mache and paint would make an adorable gift, or (once things calm down a bit) a place card at an event where people are meeting for the first time. Using alphabet stickers for names would allow for reuse, and that always makes the time and effort put into crafting much more worthwhile!
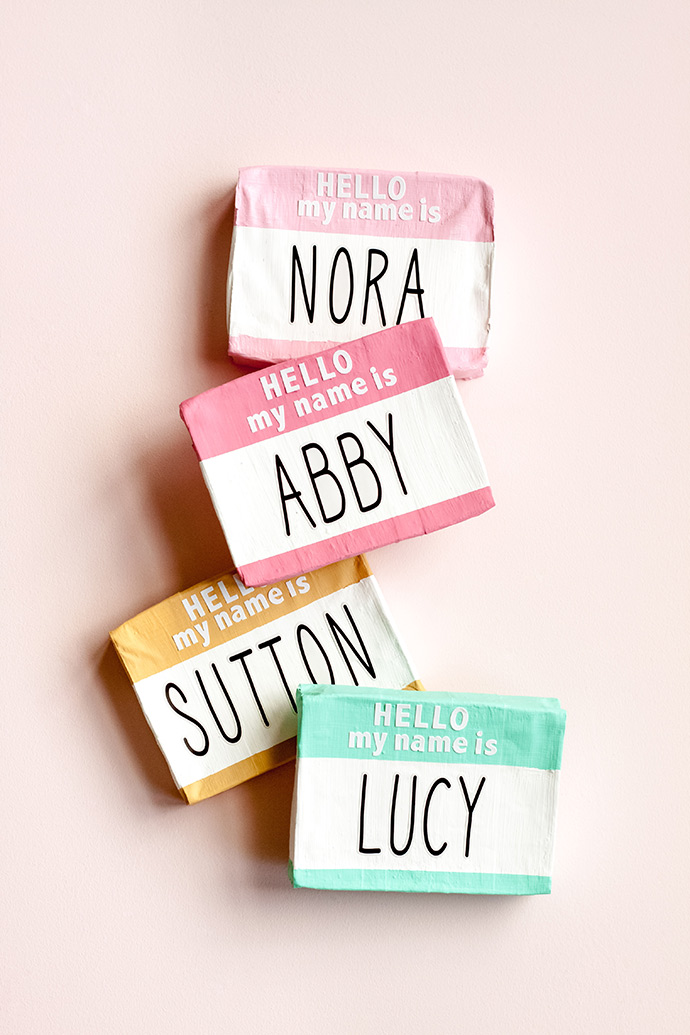
Since this is a project that I dreamed up before the pandemic, I was thinking that until we are able to host larger gatherings, these would be cute as a casual nameplate on a desk just for fun. Some kids will be doing school from home for a while, so they might want to claim their space with a nameplate. They can be made to go with any color scheme, and will work for a variety of occasions. So, the next time you are bringing strangers or co-workers together, break the ice with these quirky place cards! …Or cut a little door in the back, and turn them into mini piñatas for back-to-school!
what you need:
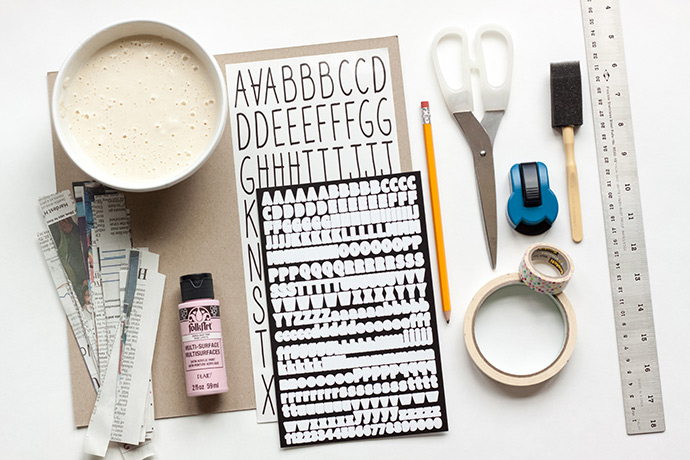
- Cereal box
- Scissors
- Pencil
- Ruler
- Corner punch
- Masking tape
- Newspaper strips
- Paper mache paste (1 C flour, 1 C water)
- Acrylic paint (white and color of your choice)
- Sponge brush
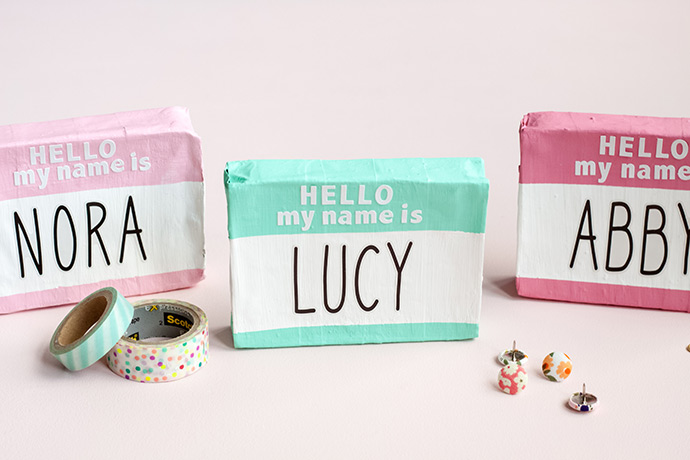
- Alphabet stickers
- Washi tape
how-to:
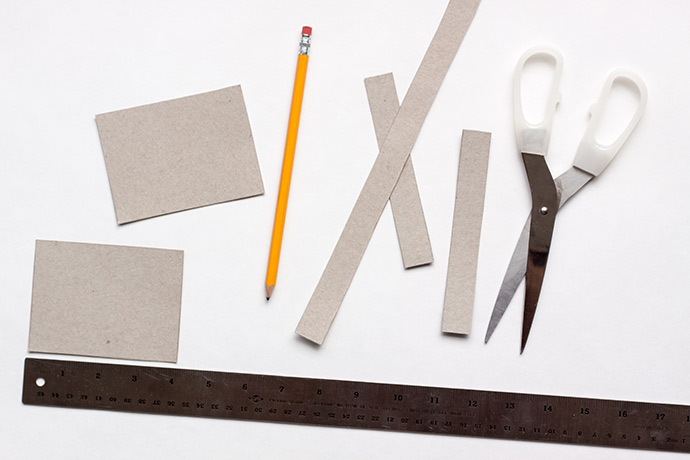
Use a pencil and ruler to draw a 3” x 4” rectangle on your cereal box, and create ¾” strips. Cut them out, and trace the rectangle to cut out a second piece.

Use a corner punch to round all four corners on each cardboard rectangle.
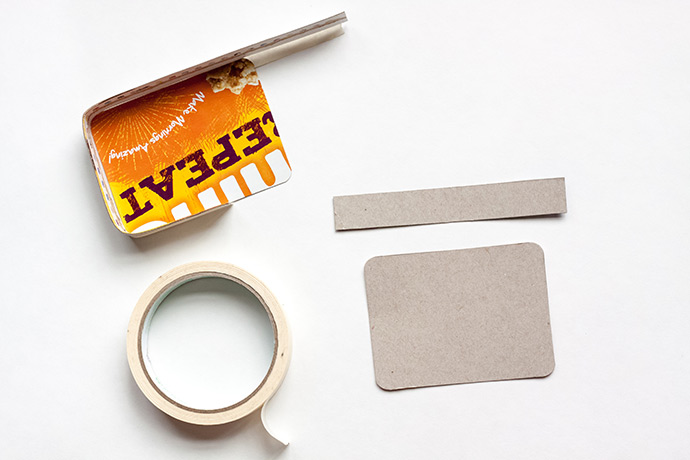
Place masking tape on half of a strip of cardboard, and attach the strip to the edge of one of your rectangles. You may have to attach a second strip of cardboard to get all the way around your rectangle.
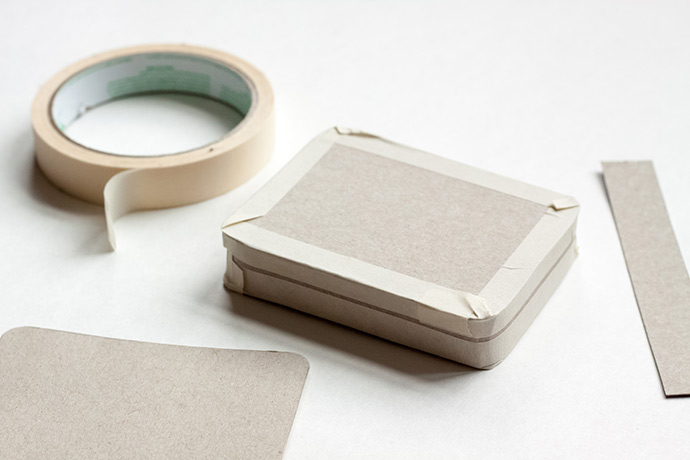
Now use masking tape to attach the second cardboard rectangle to the strip of cardboard that is attached to the first rectangle.
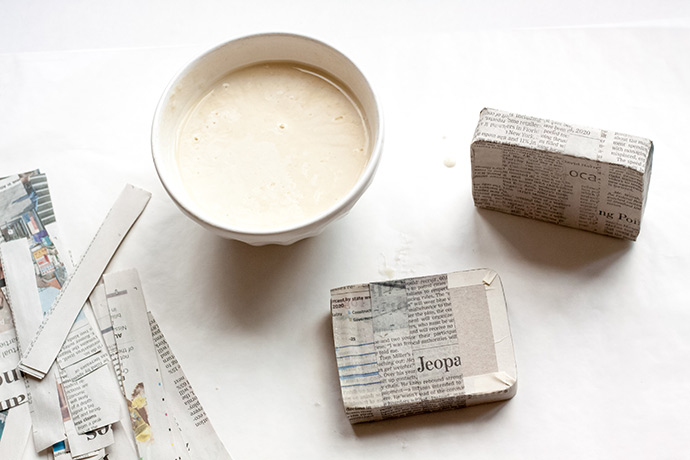
Cover some ¾” strips of newspaper in paper mache paste, and wrap them completely around the edges of your 3D rectangle. Use wider strips to completely cover both sides of your rectangle, and you may want to add a second layer. You may work horizontally or vertically, but make sure that all of the strips are going the same direction on your final layer. Allow to dry.
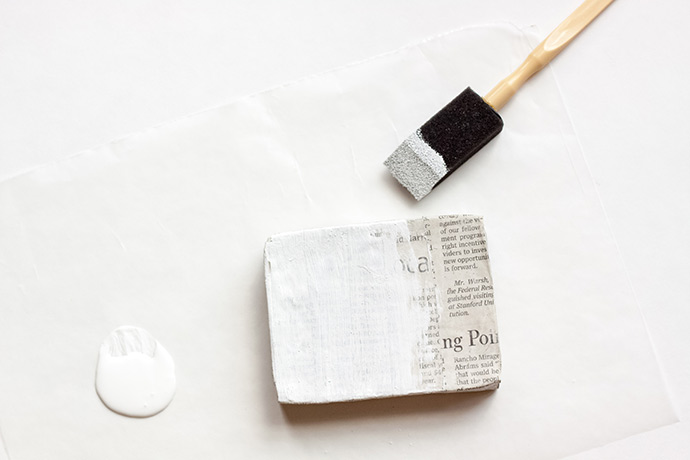
Paint the entire 3D rectangle in white acrylic paint. Allow to dry.
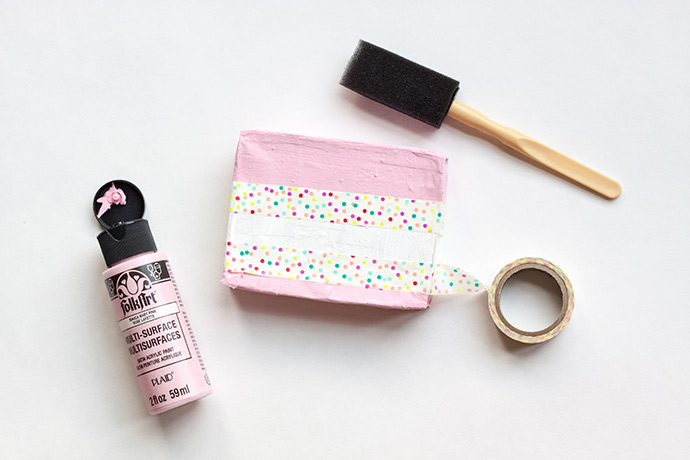
About one inch from the top of the rectangle, place a piece of Washi tape all the way around until it meets in the back. Use another piece of Washi tape to wrap around the rectangle about ¼” from the bottom. Paint the entire strip of rectangle above the Washi tape using acrylic paint. Paint the entire strip below the piece of tape at the bottom as well. Allow to dry, before peeling off the washi tape.
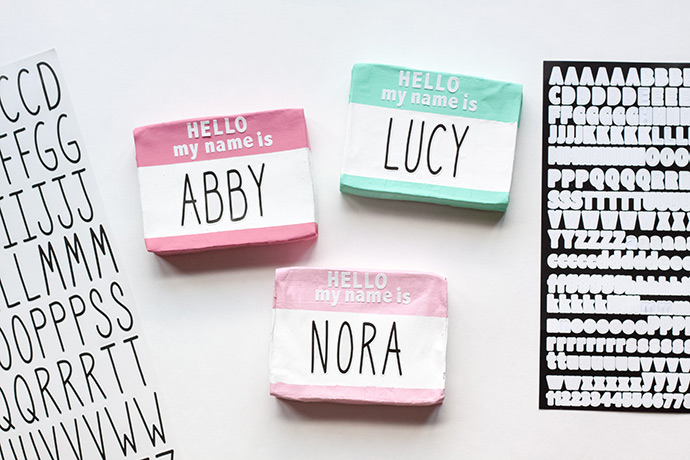
Place the words “Hello, I’m” or “Hello, My Name Is” at the top of your rectangle using alphabet stickers. Use another sticker font to place the name of a guest in the middle, white section of the place card. If you peel the name off for reuse in the future, you may need to touch up the white paint a bit.
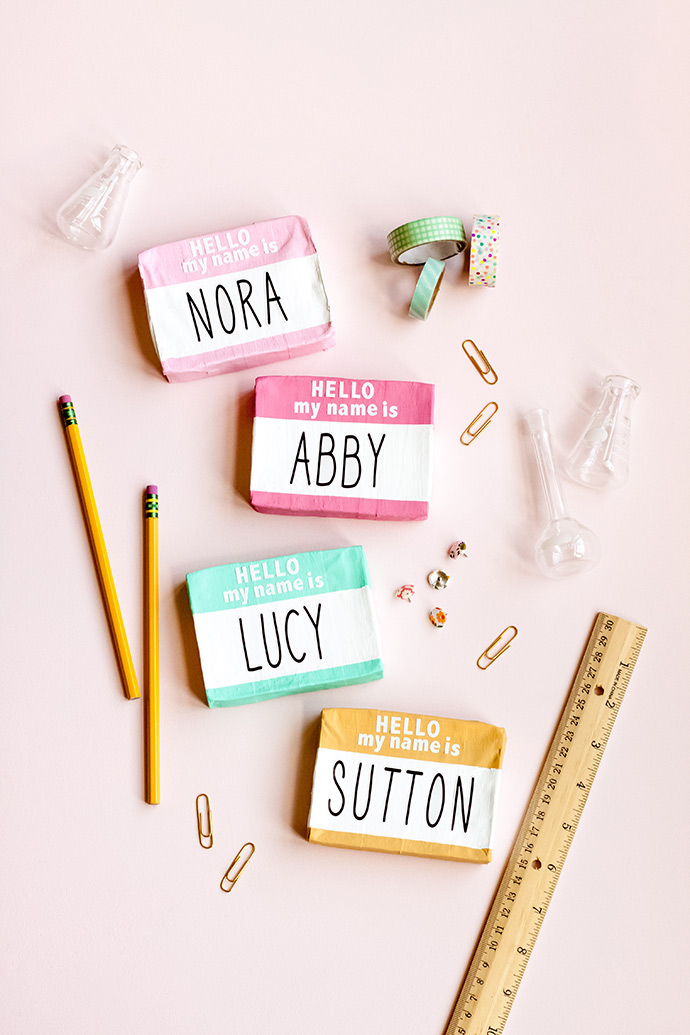
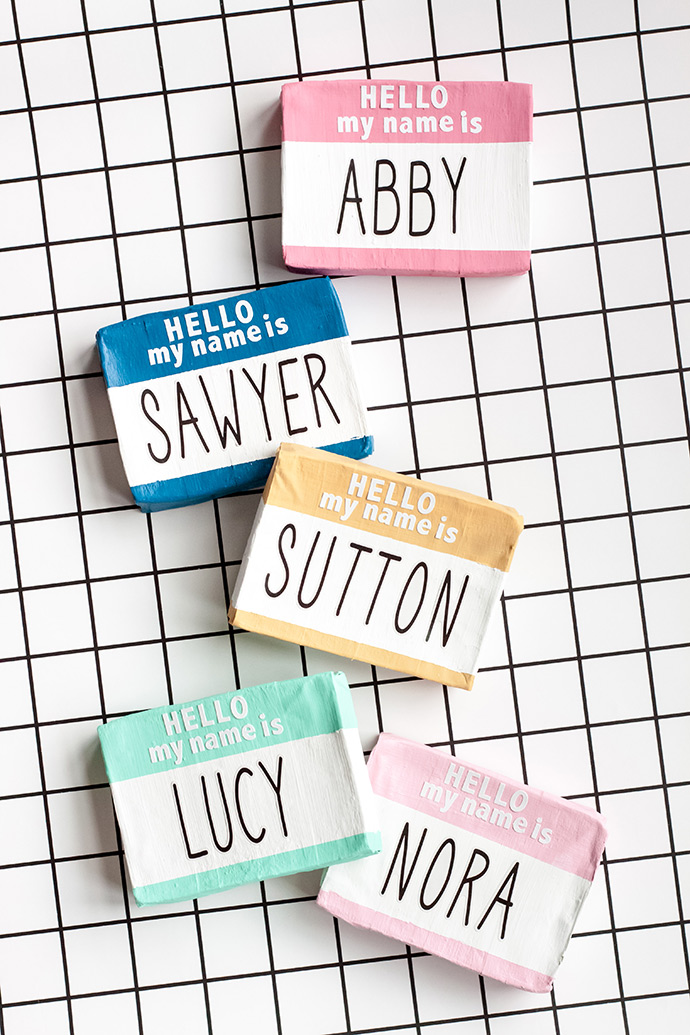
Now you are ready to meet new people with your 3D place cards! Happy crafting!!