Is there anything cooler than looking at the magical shapes and colors formed by a kaleidoscope? We love them so much that we had to make our own using a recycled paper tube and a few odds and ends from around the house. The key to a great kaleidoscope is using as shiny a silver tape as you can inside – the more mirror-like and reflective, the more clear your magical shapes will be! Keep reading for the instructions below.
what you need:
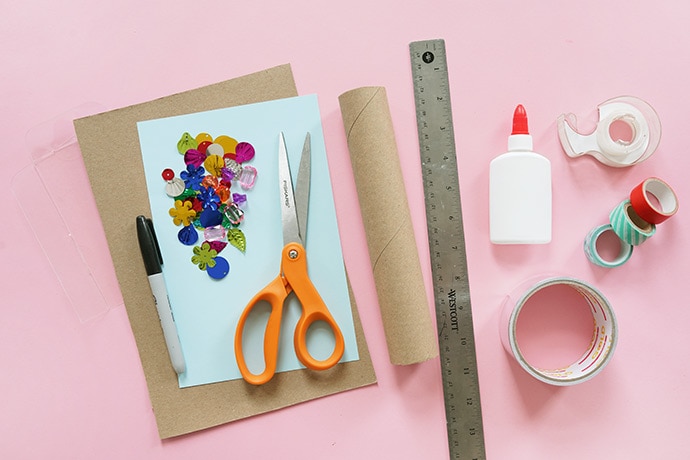
- 1 thin piece of cardboard (cereal box thickness is ideal)
- Reflective silver tape (the shinier and more mirror-like the better!)
- Paper towel or wrapping paper tube
- White glue
- Scissors
- Ruler
- Tape
- Sequins
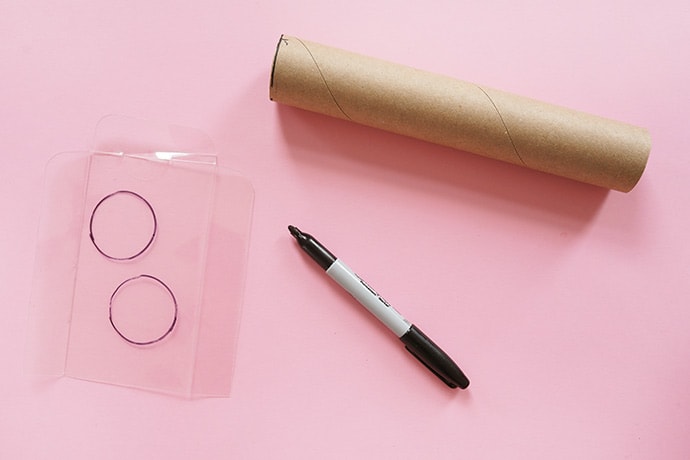
- Sturdy clear plastic (a prewashed salad mix box is great!)
- Cardstock
- Permnanent marker
how-to:
Step 1
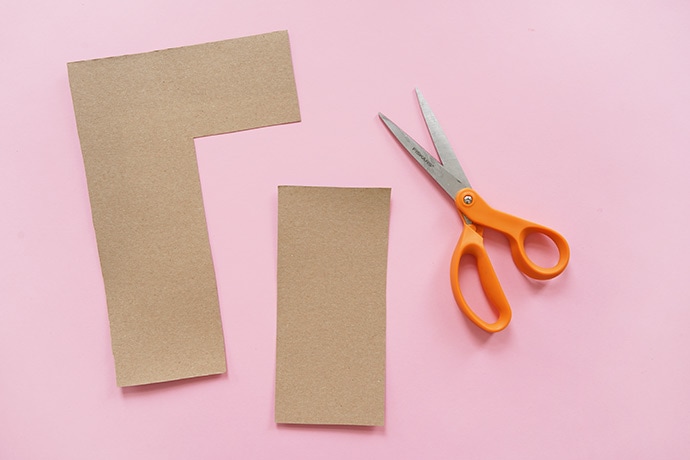
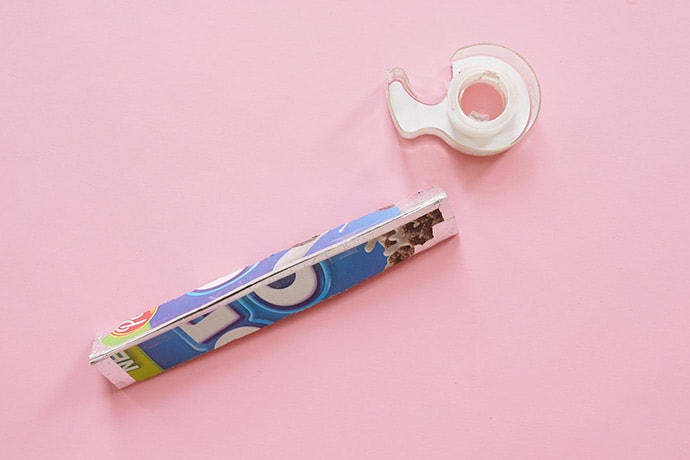
Cut a piece of cereal box weight cardboard into a rectangle that is about 1″ shorter your paper towel roll. The width of the rectangle will take a little bit of guessing and checking to figure out – you want it to be folded into three equal segments, forming a triangular prism that fits snugly into your paper towel or wrapping paper tube. It helps to make a practice one on another piece of cardboard first so that you don’t end up with extra creases on the good one and once you have this width figured out, cut your piece of cardboard.
Step 2
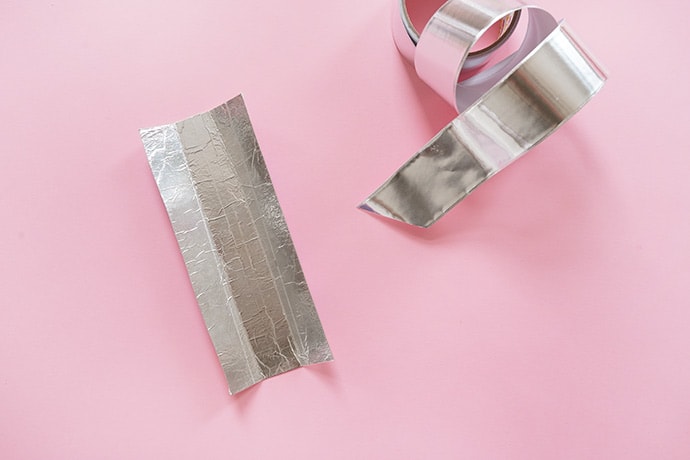
Cover the cardboard with silver tape! We used silver muffler tape from the dollar store, but if you can get your hands on even shinier, mirror-like tape or paper that works even better.
Step 3
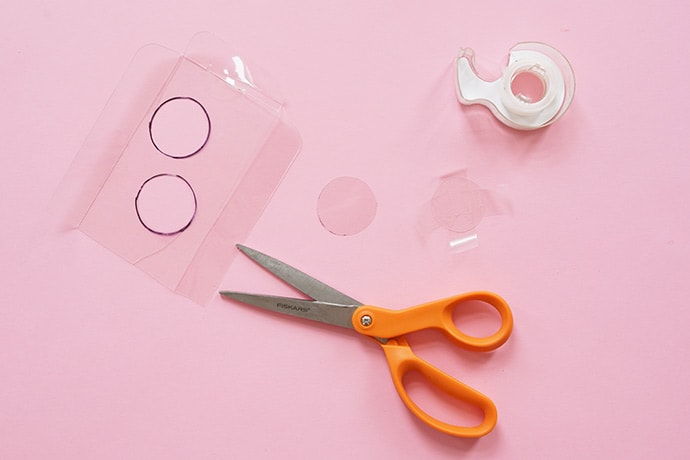
Trace the end of the paper tube onto the sturdy plastic with a permanent marker. You’ll need two matching circles.
Step 4
Refold the silver-covered cardboard along the creases and tape it in place along the seam so that it keeps its triangular prism form.
Step 5
Cut out the plastic circles. Leave one as is but take the other and trim along the outside of it until it is just small enough to fit inside the paper roll. Apply four small pieces of tape spaced equally around this smaller circle.
Step 6
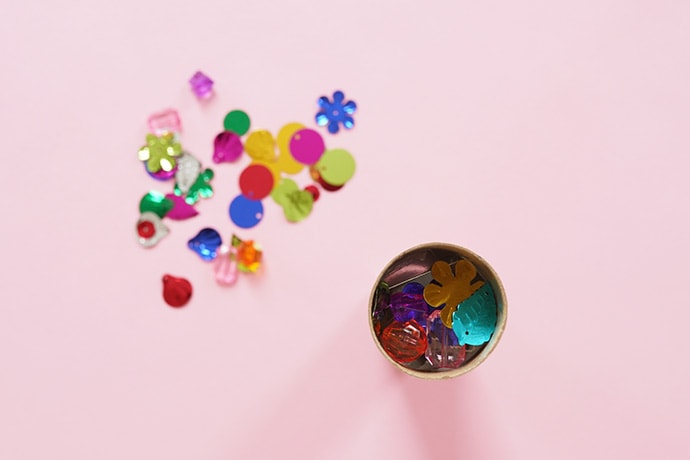
Slide the mirrored triangular prism into the paper roll and have it stand up on your work surface. Carefully slide the smaller, taped plastic circle into the top of the tube so that it sits on top of the mirror. Press the tape to the insides of the paper roll to secure. Add sequins and beads on top of the plastic circle.
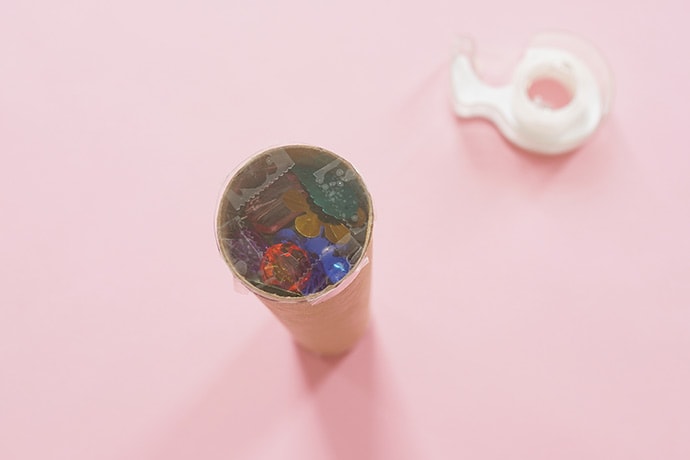
Step 7
Use tape to secure the second circle on top, keeping the sequins and beads safely inside.
Step 8
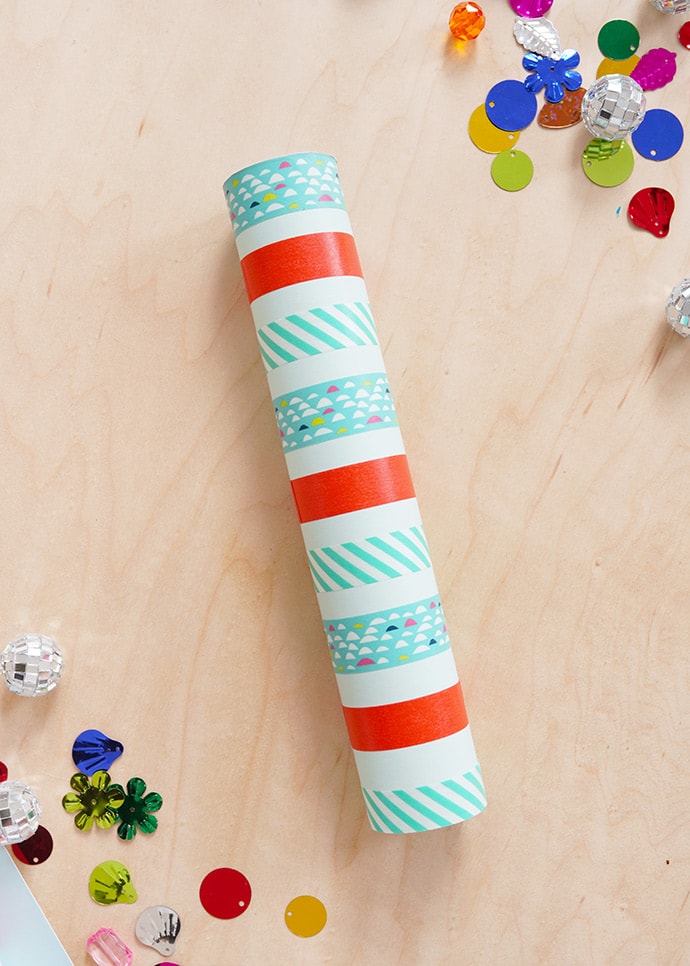
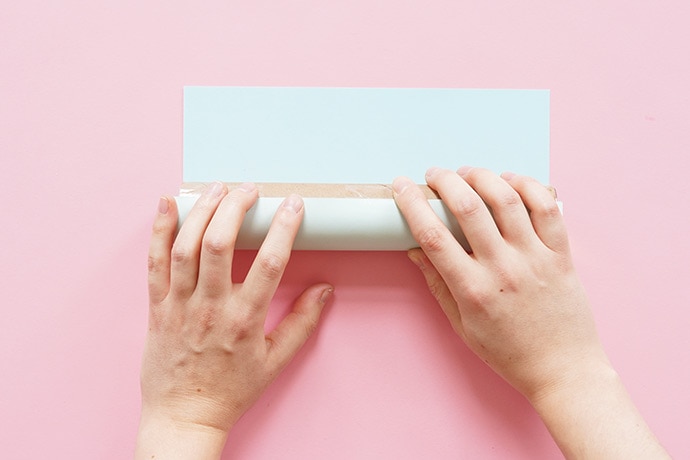
Time to decorate your kaleidoscope! We covered ours with a piece of cardstock, taped in place.
Step 9
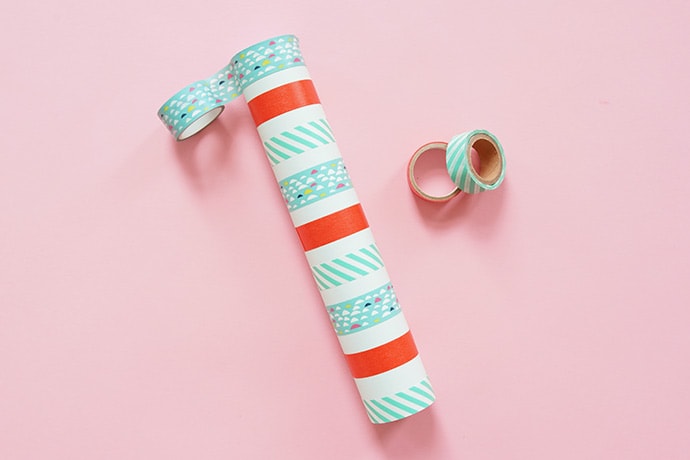
Add stripes of washi tape to add some color and pattern!
Step 10
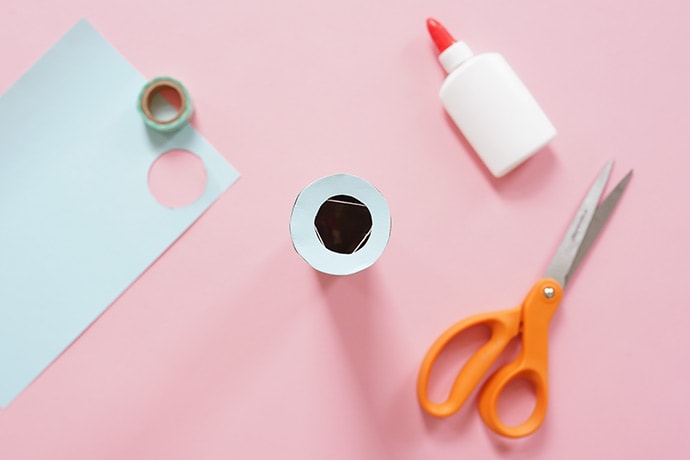
Finally, trace the end of the tube onto matching cardstock. Trace an inner circle (we used a roll of washi tape) and cut this out so that you have a small paper donut. Use white glue to secure this to the end of the kaleidoscope without the beads and sequins – this is the end you will look through. Let the glue dry completely before using your kaleidoscope.
Happy crafting!!