This post is sponsored by Tulip.
Summer is right around the corner! We’re so excited for warmer days and sunny afternoons in the backyard. Today we’re reminiscing on our favorite summer camp memories, and crafting is, of course, a huge part of that. One of our all time favorite summer crafts is tie-dying, which is always a big hit with the kids. We teamed up with Tulip to share three summer camp-inspired tie-dye projects that are sure to bring a smile to you and your kids’ faces.
As you know, we have a serious crush on all things tie-dye at Handmade Charlotte. Tulip’s kits make it easier than ever. We especially love their two-minute kits – yes, you read that right, just two minutes! – because kids don’t have to wait for the dye to set overnight. Just pop your creation in the microwave, and your shirt is ready to wear that much sooner. We were tempted to tie-dye everything in sight, but we ended up narrowing it down to three projects: beach towels, T-shirts, and a garland.

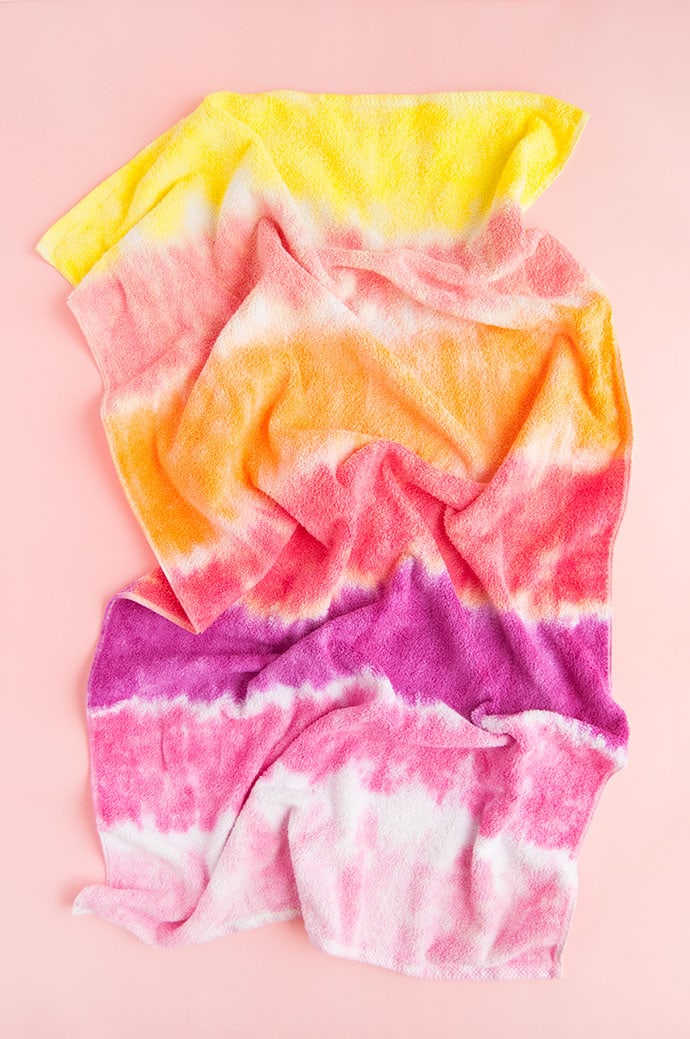
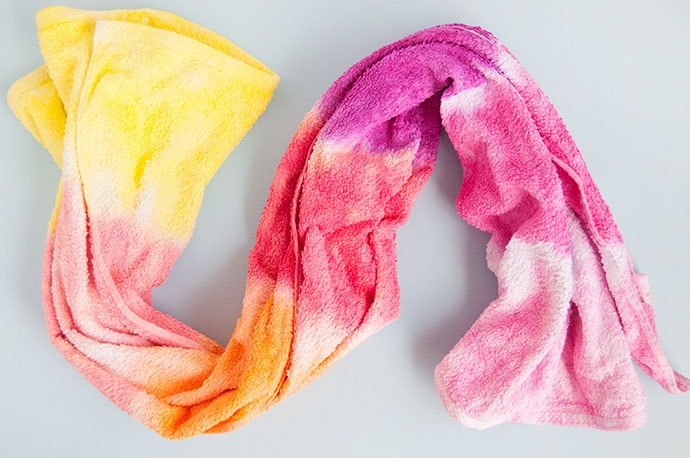
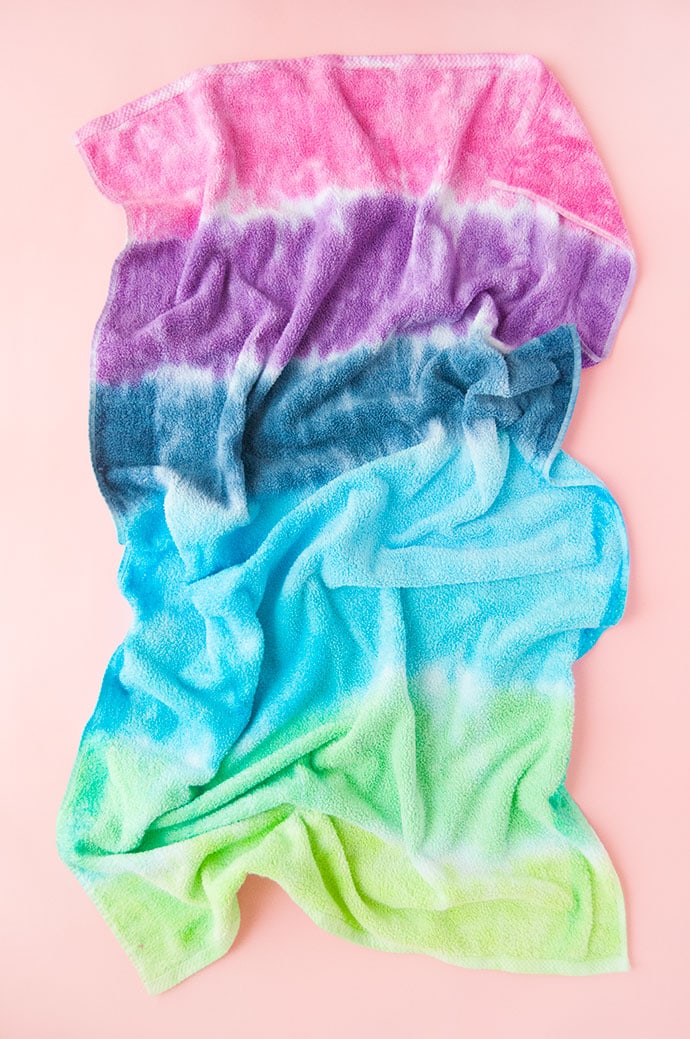
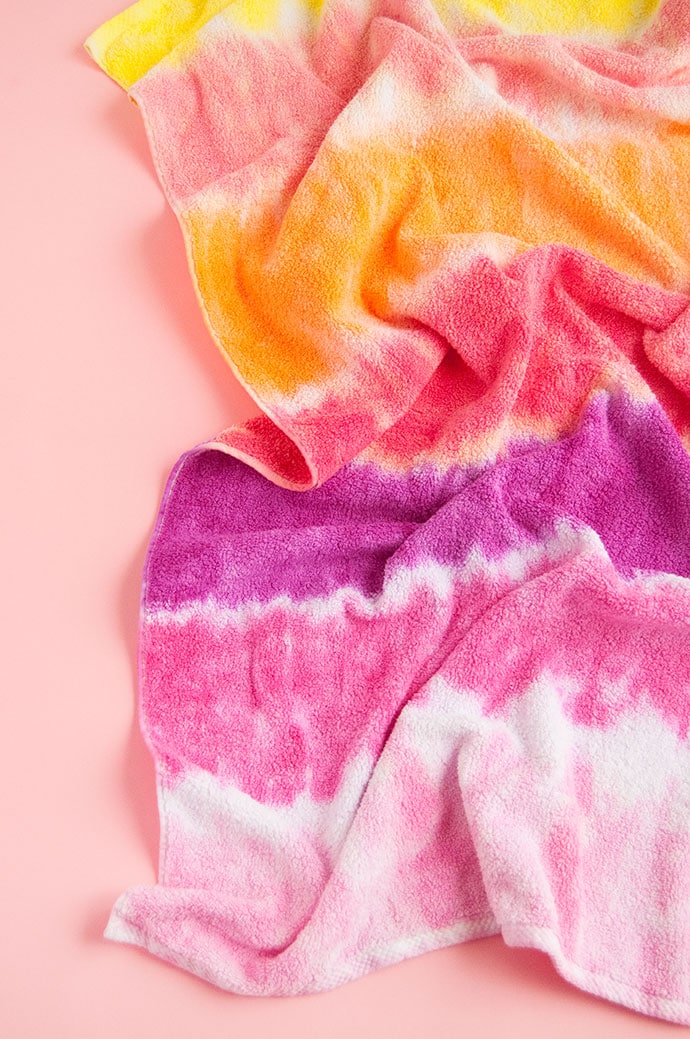
Beach towels are a blast to tie-dye because you get to work with a big canvas. We used a rainbow stripe pattern because we couldn’t pick just a few colors. These towels make great picnic blankets for family time in the backyard, or simply add them to your regular bath towel circulation!
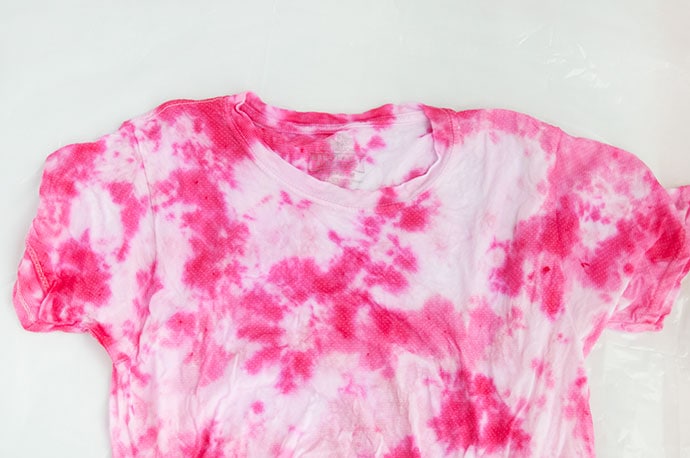
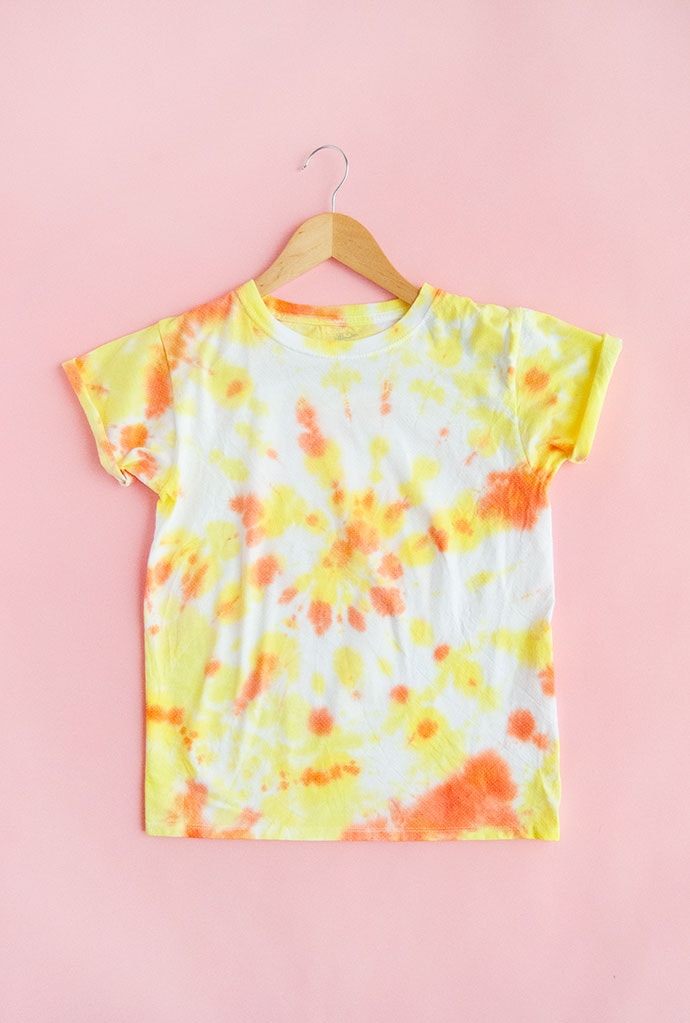
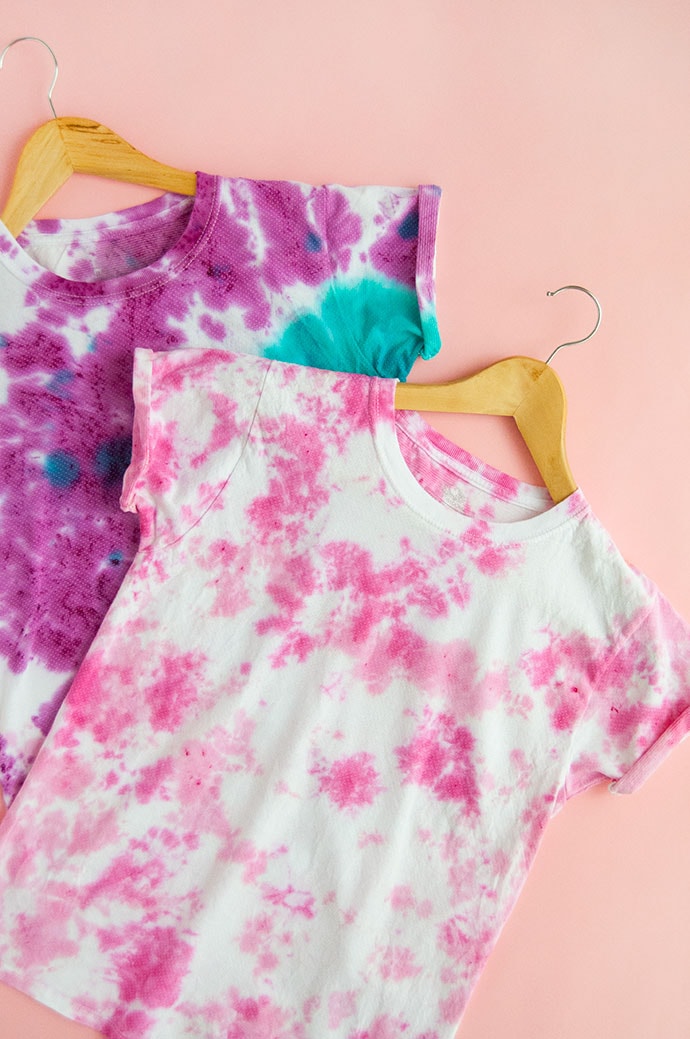
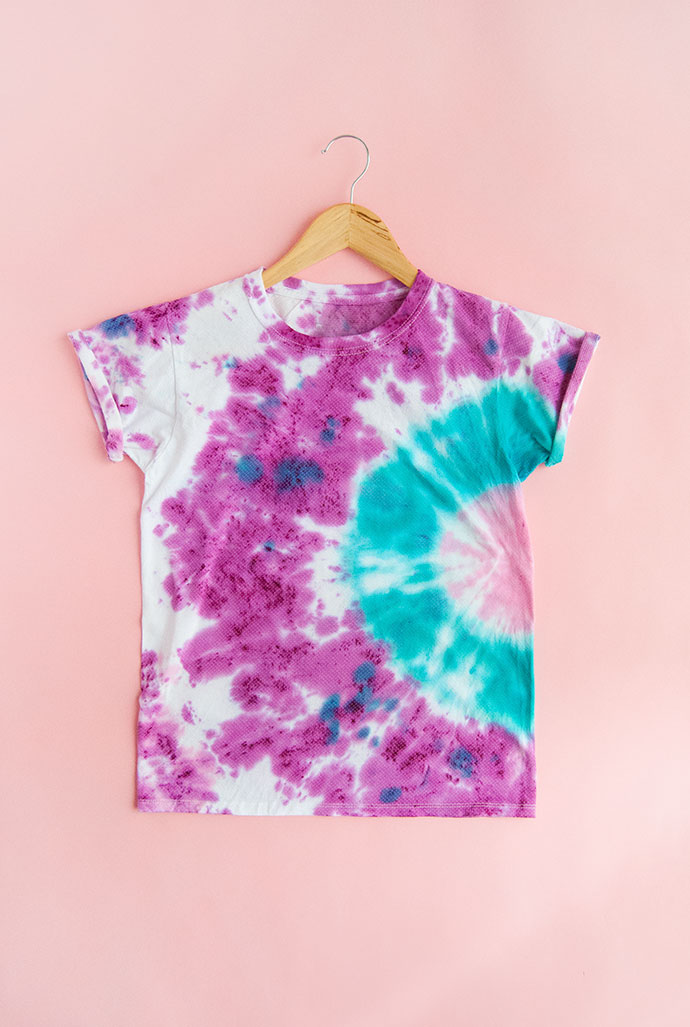
Tie-dye t-shirts are a classic that never gets old. We put a sweet tooth inspired spin on ours and picked out colors based on a few favorite treats: pink double bubblegum, berry cotton candy, and citrus swirl sherbet. Yum!
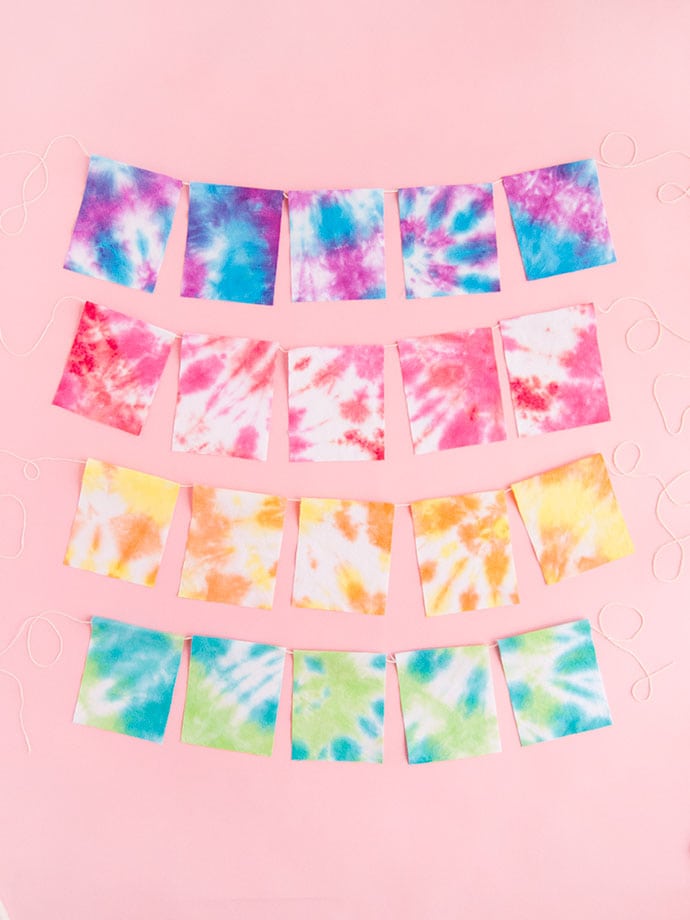
For the last project, we decided to make every day a party with a playful rainbow-hued garland. We used cotton napkins as the base for the garland and loved being able to mix and match colors and really experiment. If your kids are having trouble picking colors or techniques, this is the project for you – there’s no limit to how many napkins you can dye and how many different ways you can do it. When you’re finished, you can cut them all up and mix them together to make a fun garland to display.
Ready to get tie-dying? Let’s get started!
Project 1: Rainbow Stripe Tie Dye Beach Towels:
What you need:
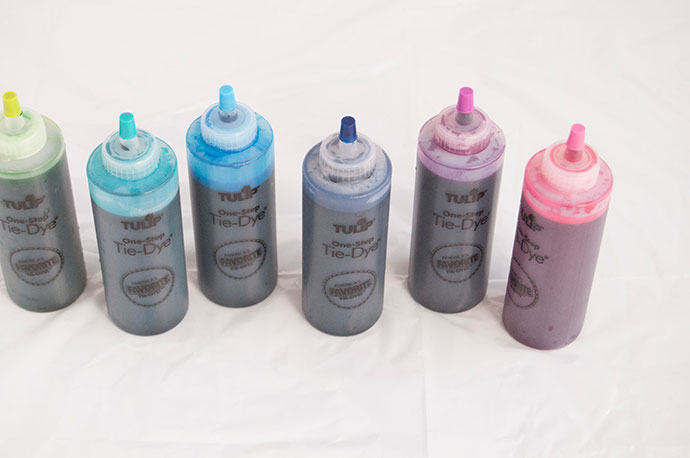
- Tulip’s One Step Tie-Dye Kit
- 100% cotton towel (white)
- Scissors
- Large plastic bag or plastic wrap
how-to:
Step 1
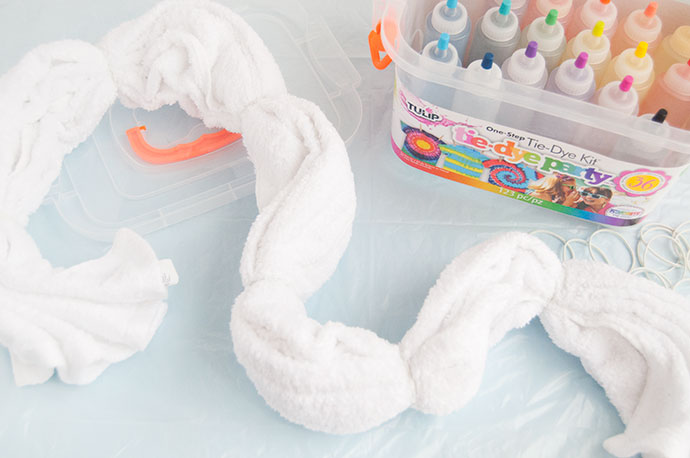
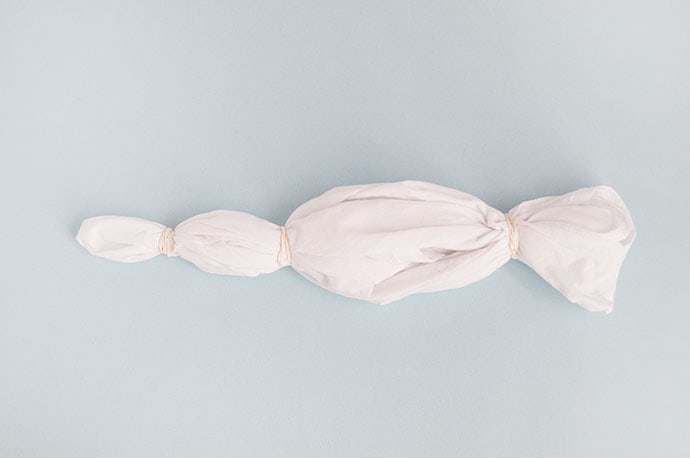
Prepare a white beach towel by putting it through the washer (but not the dryer). Make sure the towel is 100% cotton. To make the rainbow-striped towel, lay the damp towel on your work surface and scrunch it together across the width of the towel, so that you end up with a long snake-like tube. Wrap elastics around the towel – these will create the colored stripes, so keep in mind how many colors you want to use and how big to make them. We used seven colors on this one and eyeballed it to make sure the elastics were evenly-spaced.

Step 2
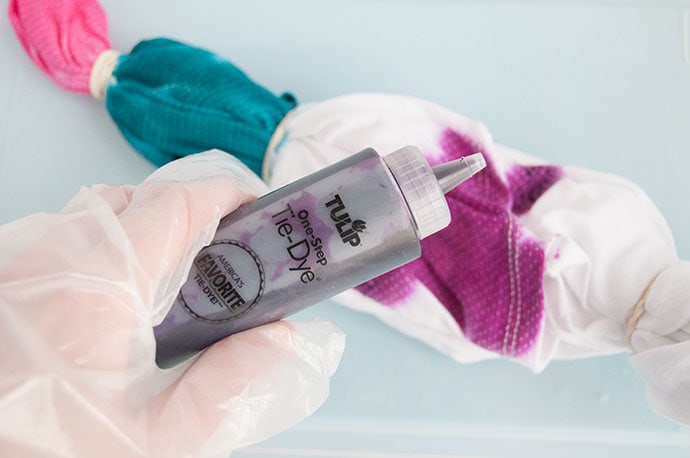
Prepare the dye following all the instructions in the kit. Make sure to shake the dyes well to mix thoroughly. Now is also a great time to pick out exactly which colors you want to use and arrange them on your work surface so that they’re ready to go.
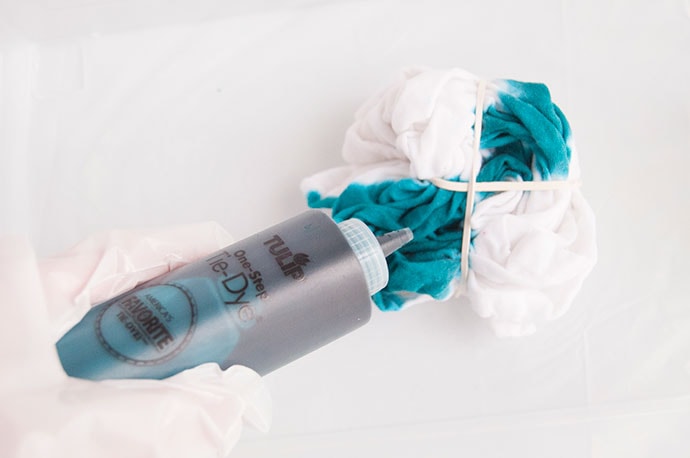
Step 3
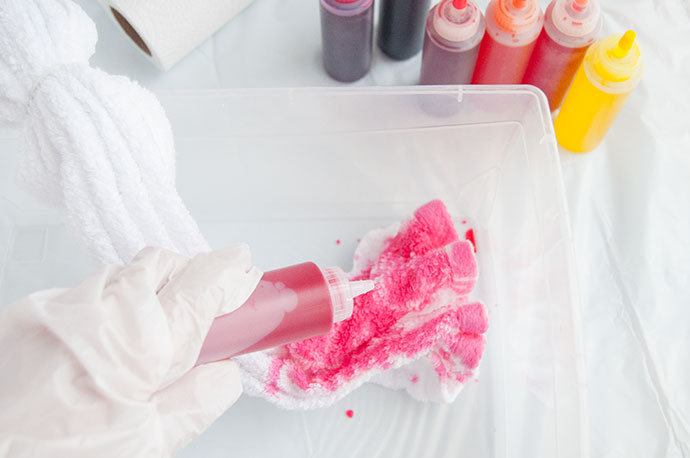
Apply the first color of dye to one segment of the towel. If you find that you may not have enough dye for the segment, add a little bit of water to the dye bottle, shake to combine, and continue to apply until you are happy with the coverage.
Make sure to get the inside areas of the scrunched towel – it doesn’t need to be completely saturated, but putting some dye on the inside of the scrunches helps avoid big white spots. Repeat this process for each segment and color of dye. Make sure to keep the towel spread out flat so that it doesn’t bend back on itself and have the colors touch accidentally. It also helps to wash your gloved hands between colors.
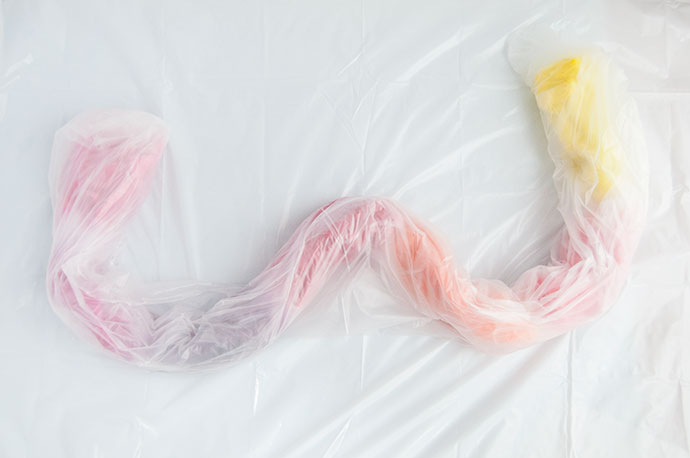
Step 4
Wrap the dyed towel with plastic wrap or a large plastic bag (as we did here). Be sure to keep the towel damp so the dye can best work – use tape to secure the plastic bag if needed. Let the towel sit for 6 to 8 hours (or longer) for brighter colors.
Step 5
Remove the plastic wrap/bag from the towel and use scissors to snip off the elastic bands. Rinse the towel under cool water until it runs clear, and then run the towel through your washer and dryer. Now it’s ready to hit the pool or beach!
Project 2 - Candy-Inspired Tie-Dye T-Shirts
What you need:
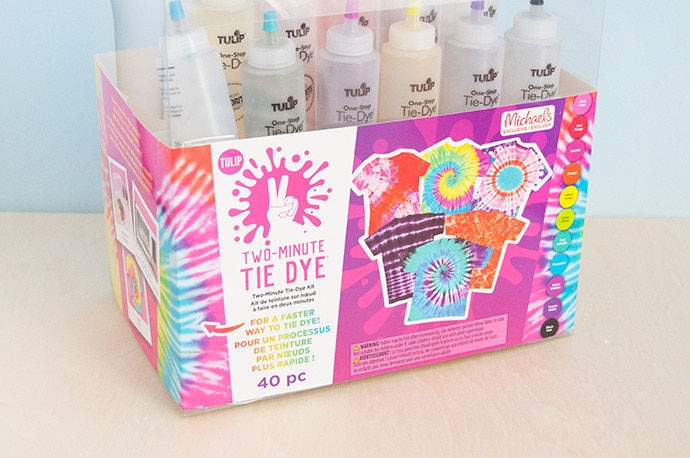
- Tulip’s Two-Minute Tie Dye Kit
- 100% cotton T-shirt (white)
- Scissors
how-to:

Step 1
Wash as many white cotton T-shirts as you’d like to dye. Don’t put them through the dryer – you want them to be damp. To make the double bubblegum pink shirt, we used the crumple technique. Simply lay out your shirt on your work surface and loosely crumple the fabric at first, as shown.
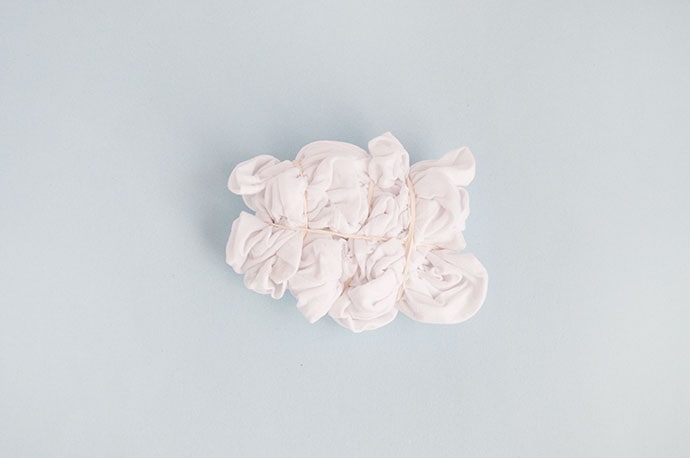
Step 2
Gather the fabric together a little bit tighter and secure with a few elastic bands.
Step 3
Prepare your dyes according to the instructions in the kit. We started off by using the pale pink shade for this shirt.
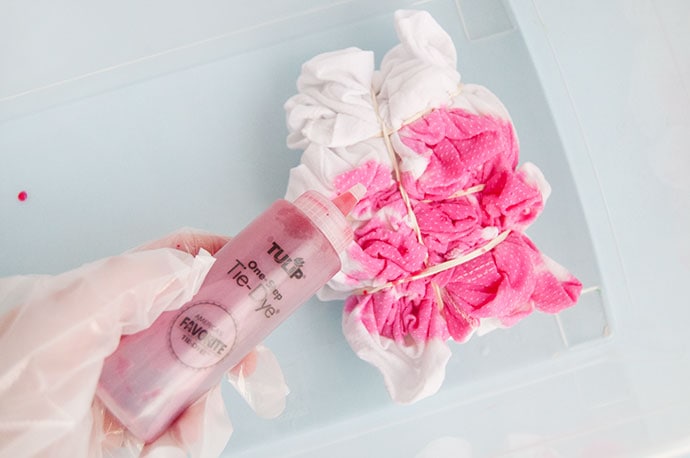
Step 4
Apply the pink dye onto the shirt, making sure to do this on both sides.

Step 5
Place the dyed shirt into the microwave tray included in the kit and close it snugly. Put in your microwave and heat according to the guidelines in the kit – this will vary depending on your specific microwave’s wattage and the size of your shirt.
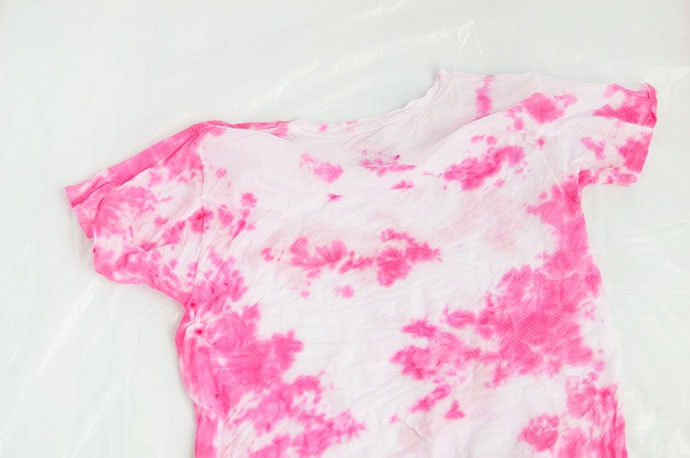
Step 6
After microwaving, let the tray sit for 15 minutes to cool and for the dye to saturate. Next, remove the shirt and snip off the elastic bands. Rinse the shirt under cool water and your shirt will look something like this:
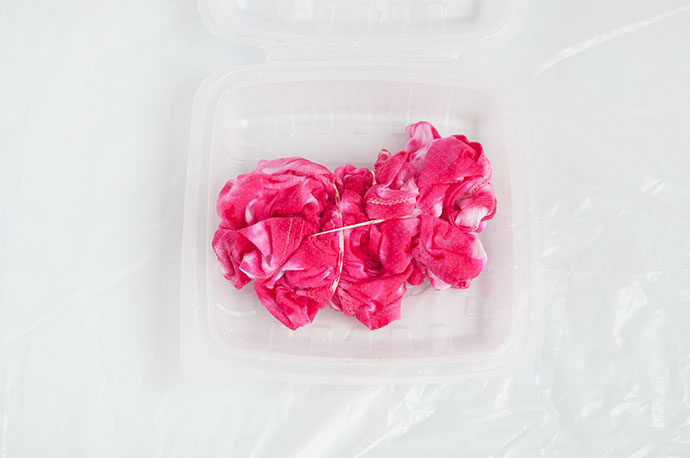
Step 7
To make the “double bubblegum” pink look, we repeated the crumple technique as before but this time with the darker pink dye to add some depth to the shirt.
Step 8
After microwaving and rinsing, the shirt will look something like this! Put into the washer and dryer and then your shirt is ready to wear.
Step 9
For the berry cotton candy shirt, we used the bullseye tying technique. This is another super simple way to tie, and to mix it up a bit we started the bullseye off to the side instead of the center of the shirt. Simply lay the shirt flat on your work surface (if you want the off center look like this, lay the shirt so that the sleeve and side seam are centered) and pinch the spot you want to be the center of the bullseye. Wrap an elastic around the bunched fabric to create the innermost circle. Continue to scrunch the fabric and wrap with more elastic bands to make additional circles on the bullseye.
Step 10
Apply dye to each segment of the shirt – we didn’t worry about keeping this too tidy since we wanted the playful and textured look of cotton candy to be the inspiration. After applying the dye, microwave, rinse, wash, and dry as described above.
Project 3 - Rainbow Tie-Dye Party Garland:
what you need:
- Tulip’s Two-Minute Tie-Dye Kit
- 100% cotton cloth napkins (white)
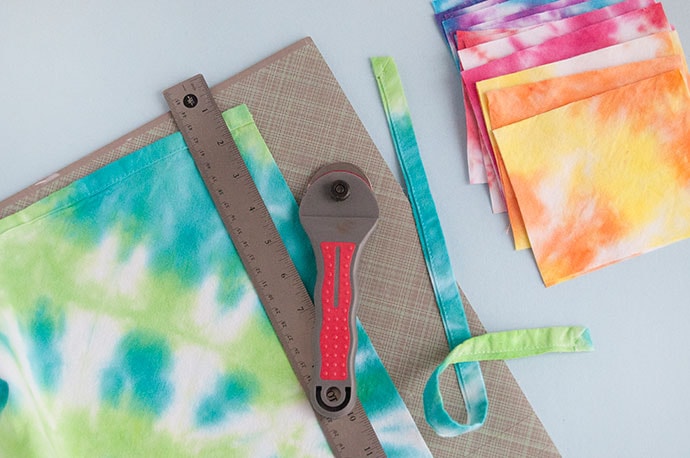
- Rotary cutter and cutting mat (or scissors)
- Ruler
- Double stick tape
how-to:
Step 1
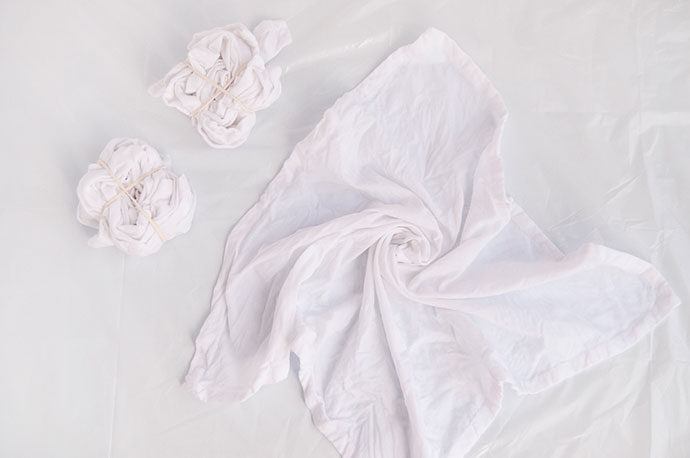
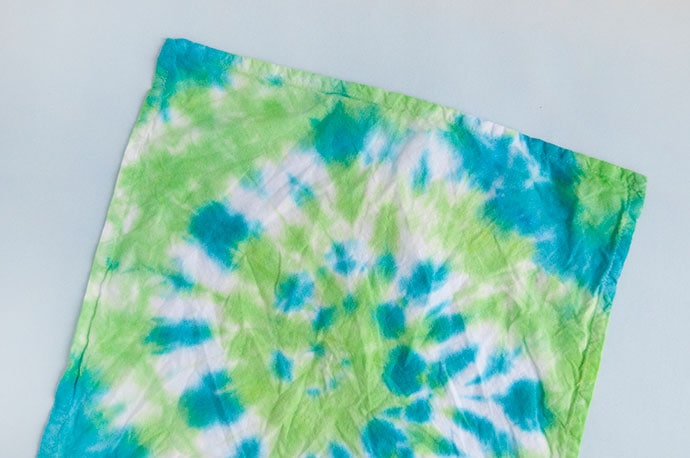
Wash your white cloth napkins and do not put in the dryer. You want them to remain damp when you’re dying them. For this garland, we used the swirl technique for all four colorways. To do this, simply lay out your damp cloth napkin flat on your work surface. Pinch the center of the cloth between your two fingers and twist your wrist, causing the fabric to twist and swirl. Continue twisting the fabric until it all comes together in a spiral. Use elastic bands to secure.
Step 2
Prepare your dyes according to the instructions on the package. Think about what color combinations you’d like to use and set the dyes out to prepare. We used two colors on each of the 4 cloth napkins that make up this garland.
Step 3
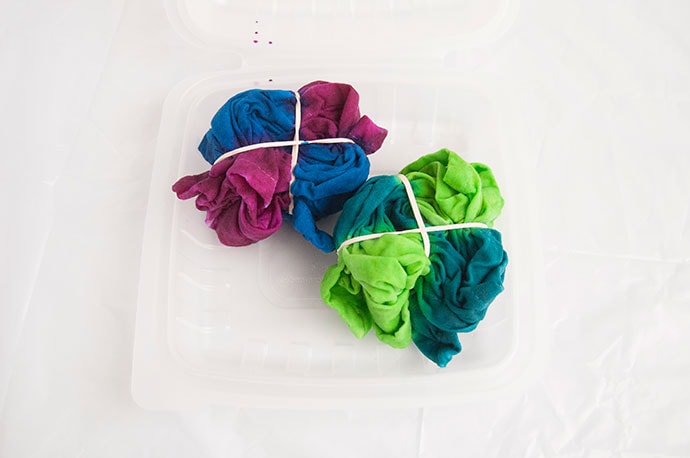
Apply the dye to the swirled fabric. We dyed two segments of the swirl in one color and the other two segments the other shade, as shown here. You can totally experiment with this, mixing and matching colors as much as you’d like! Don’t forget to apply dye to the back of the spiral too.
Step 4
Place the dyed fabric into the microwave tray and heat according to the chart in the instructions booklet, making sure to keep in mind your microwave’s wattage and using the time allocated for the youth/small shirt since these cloth napkins are on the small side. Note: when arranging multiple napkins in the same tray, try to keep similar colors together so in case they touch slightly the design isn’t affected – for example, blue and purple touching is ok, but yellow and purple might have some visible color transfer if they touch.
Step 5
After allowing the tray to sit for 15 minutes, snip off the elastic bands and rinse under cool water until they run clear. Run through the washer and dryer, and then give a quick press with an iron.
Step 6
Use a rotary cutter and cutting mat to get super tidy edges on the cloth, but scissors also work if you’re careful! You may get a little bit of fraying on the edges of the fabric, but you can choose to use pinking shears if you want to prevent this. Cut each cloth napkin into even rectangles.
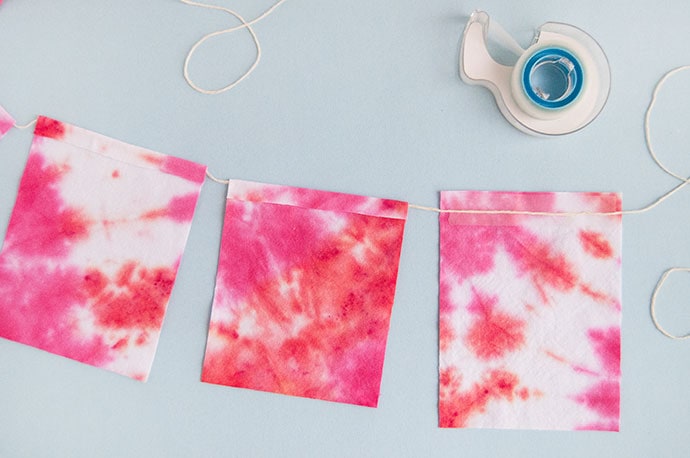
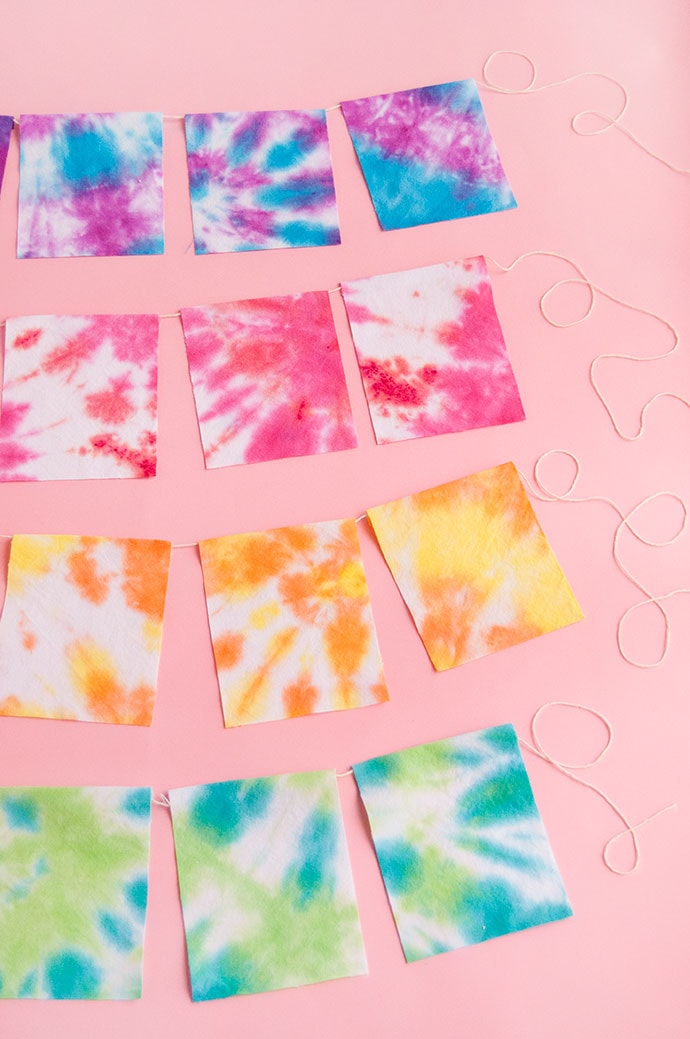
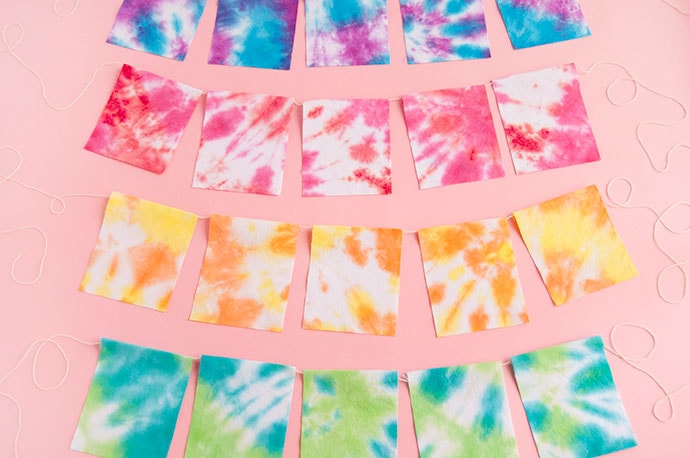
Step 7
Lay out the rectangles of one color in a row and apply a piece of double stick tape to the top edge of each. Lay a piece of string over the tape, keeping a slight gap between each cloth rectangle. Fold the top over to secure the fabric around the string. Repeat for all colors. Hang the garland in rainbow order as shown for some super fun party decor!

Happy crafting!