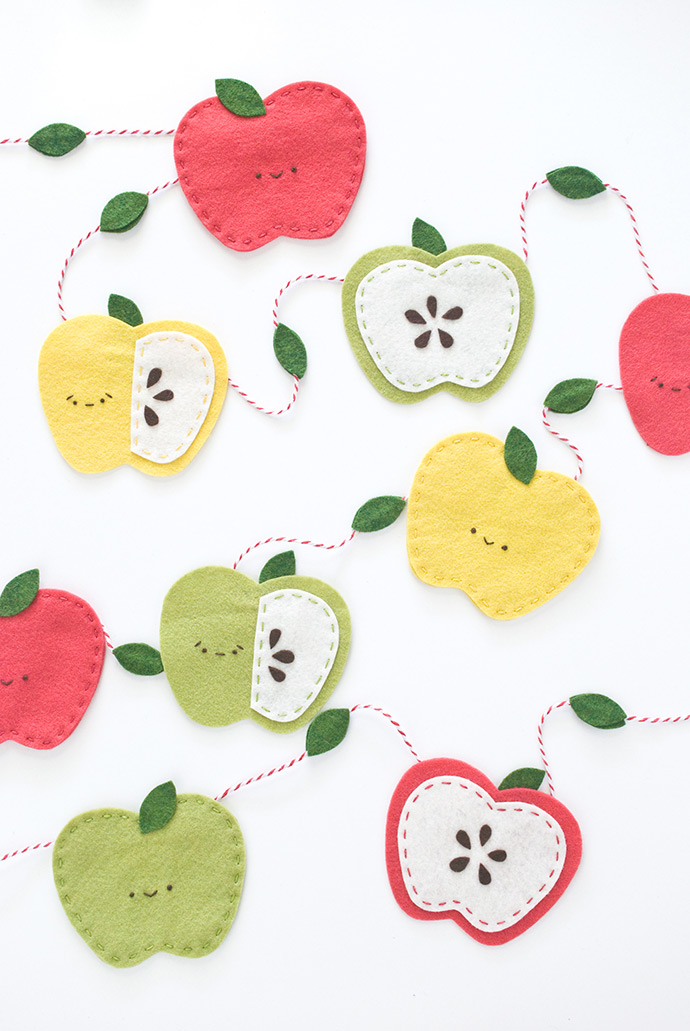
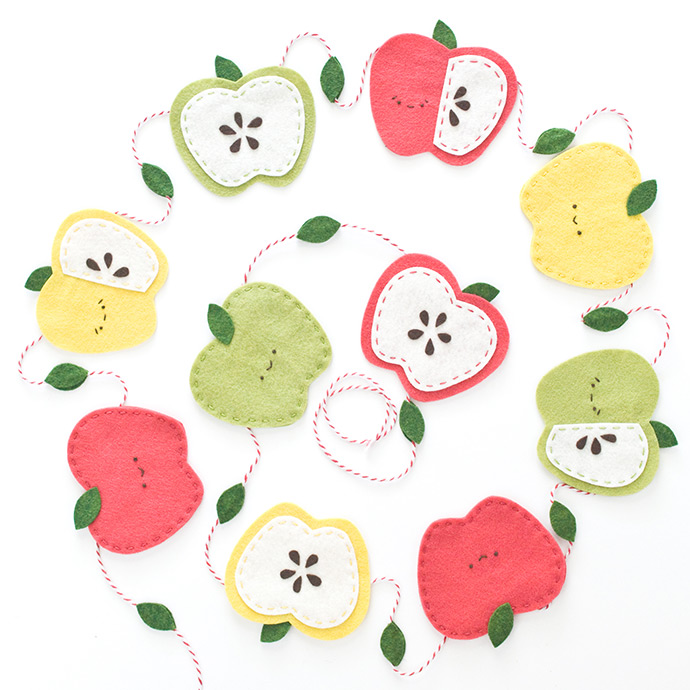
Decorate for autumn with this garland of felt apples sporting super cute faces! These fall fruits are easy to make and they’ll look great hanging in your home all season long.
All you need is some felt and embroidery floss in your favorite apple colors (choose several varieties or just one) and then put them together with a few simple stitches. And if sewing isn’t your thing, you can easily make your garland with colored paper instead of felt.

Now, let’s get this happy apple garland going!
what you need:
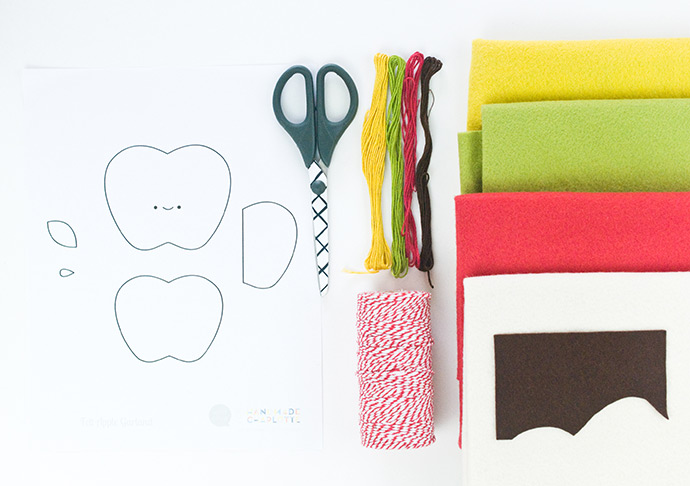
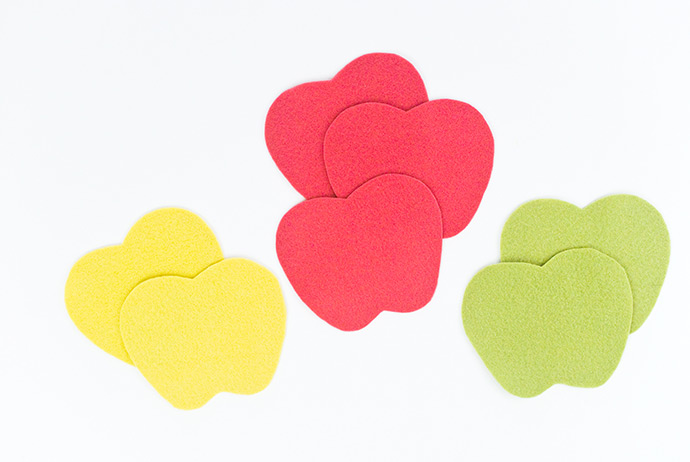
- Felt in red, yellow, green, cream, and brown
- Embroidery floss in matching colors
- Baker’s twine or other string
- Freezer paper
- Pencil
- Iron
- Scissors
- Needle
- Craft glue
- Printable template
how-to:
Step 1
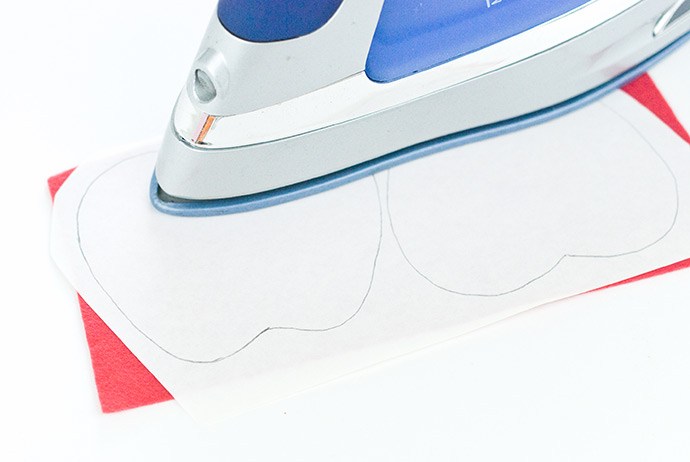
Trace the templates onto the non-shiny side of the freezer paper. Trace out as many shapes as you want apples for your garland, grouping them by the color of felt they will be.
You will need two large apple shapes for each solid apple, a large apple and a smaller apple for each half apple, and a large apple and a slice piece for each cut apple. You will also need a leaf for each apple and two leaves for each leaf spacer, plus a bunch of seeds.
Place the shiny side of the freezer paper on the felt and iron the the template to hold them to the felt.
Step 2
Cut out all of the shapes. At the same time, cut a 3/4 x 1-1/4in rectangle of felt for each apple that will be on the garland.
Step 3
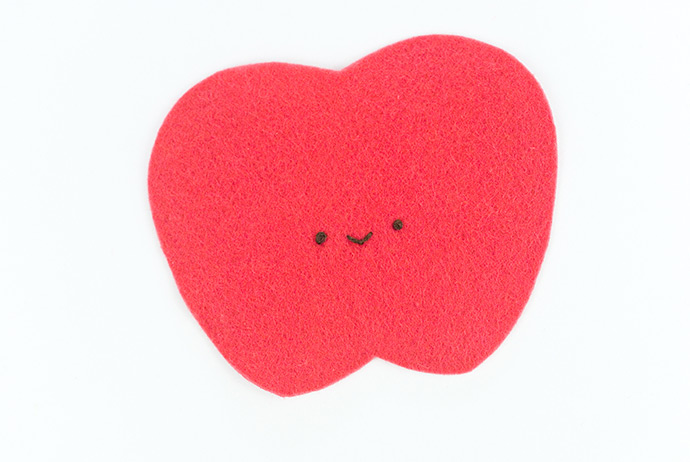
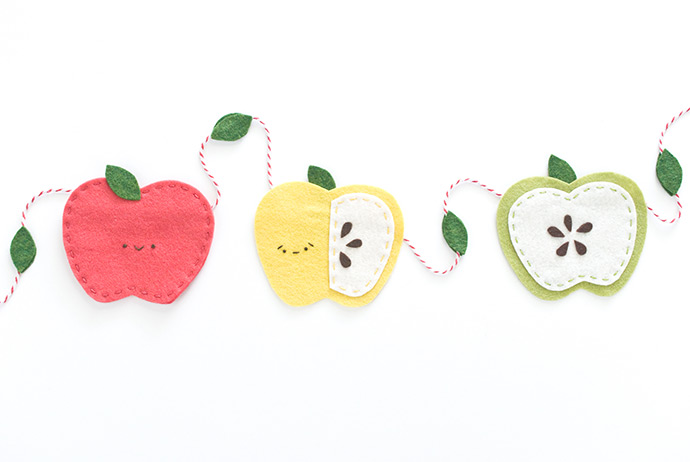
To add the faces, use three strands of dark brown or black embroidery floss. Embroider the smiling face on the full apples and the worried face on one half of the cut apples.
Stitch the eyes with french knots, the smile with a scallop stitch, and the serious mouth and eyebrows with straight stitch.
If you want to avoid the embroidery but still want faces, acrylic paint and a tiny paint brush will also do the trick!

Step 4
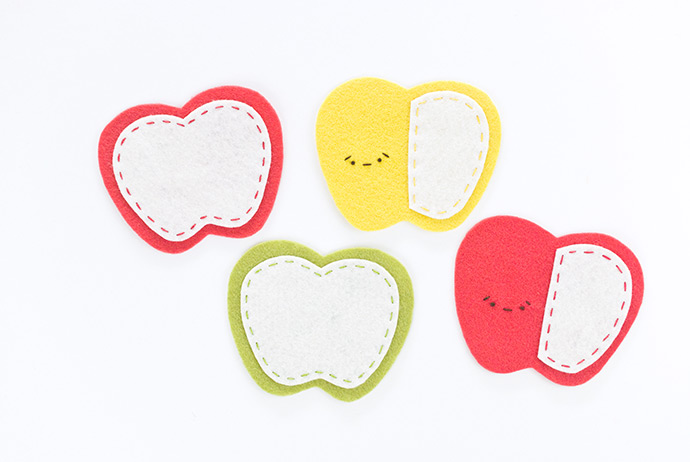
Use three strands of embroidery floss and running stitch to attach the apple pieces.
Stitch two full apples together or stitch the cream smaller sections onto a single large apple.
Step 5
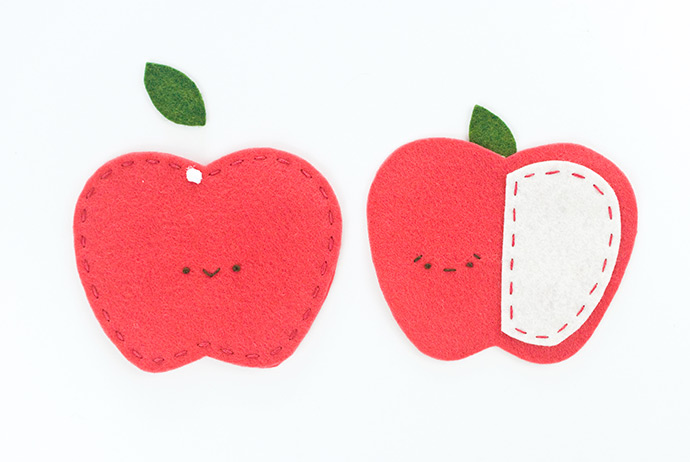
Use a small dab of craft glue to attach a leaf to the front of each full apple. On the half or cut apples, attach the leaf to the back so it peeks out over the top.

Glue the apple seeds to the half and cut apples. Make a star-shaped cluster of five seeds on the half apples and two or three seeds on the smaller cut section of the others.
Step 6
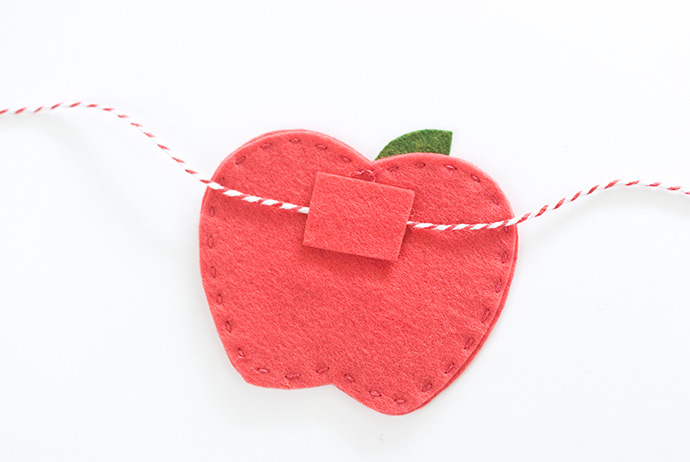
Attach the apples to the string. Sandwich the string between a rectangle tab of felt and the back of the apples. Use enough glue to cover the tab.

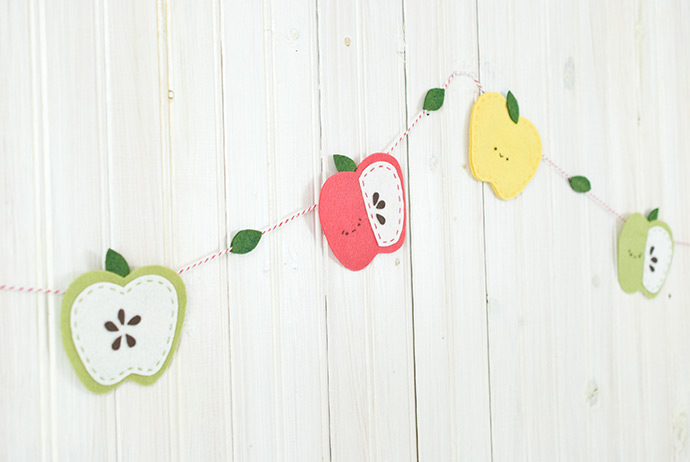
Between each apple, add a spacer leaf. Glue two leaves together with the string in between.
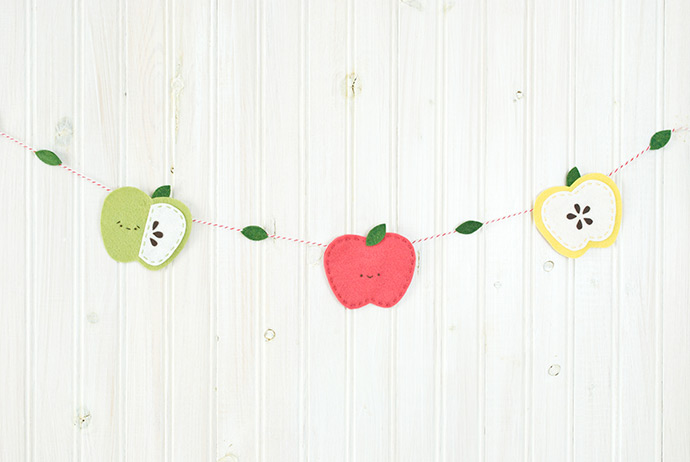
Let your garland dry overnight, then tie loops at the end so you can hang it up for autumn!
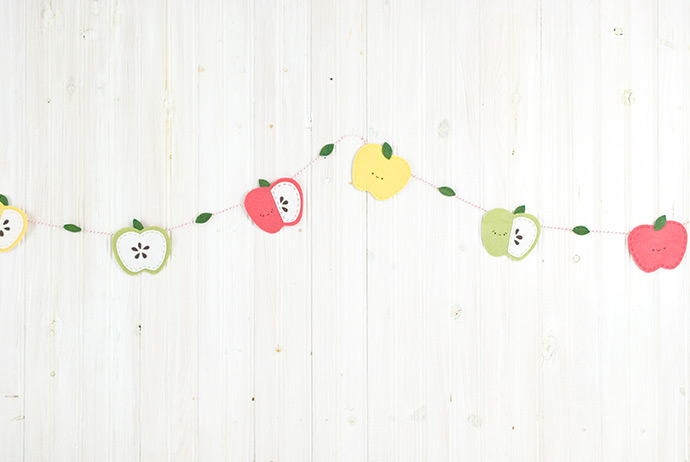
Even with the layers of felt, this garland is fairly lightweight and will hold with washi tape if you want to hang it up with scallops like you see here.
If you want to make this with colored paper, it will work best if you trace the templates onto brightly colored cardstock, although construction paper works too. Instead of stitching, use glue stick to attach the pieces and use a marker to draw the faces and the seeds. Tape the apples to the string.
Happy crafting!