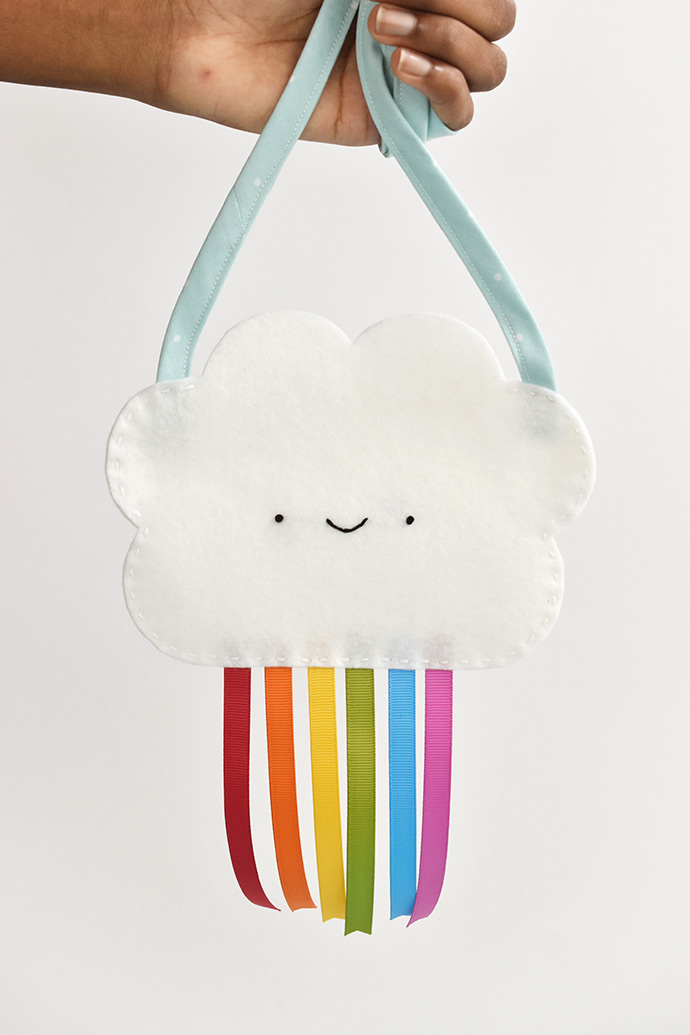
Want a super cute way to carry your belongings? Make this kawaii cloud purse with rainbow ribbon fringe! You can make a purse for a cute kid in your life or work as a team and make one together.
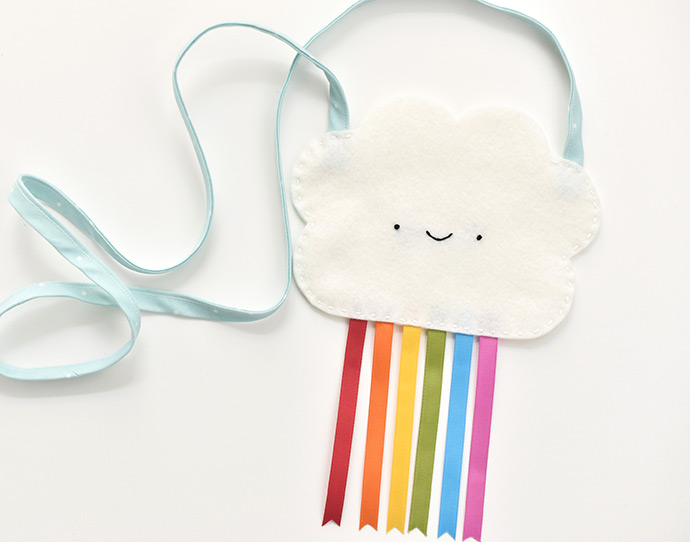
The style of this purse is a little like a festival bag, designed to hold a few small items. And you can adjust the length of the strap to fit kids young and old. Go for a longer strap if you want to wear it across the body.
After all, who doesn’t want to walk around with a smiling rainbow cloud at their hip?
what you need:
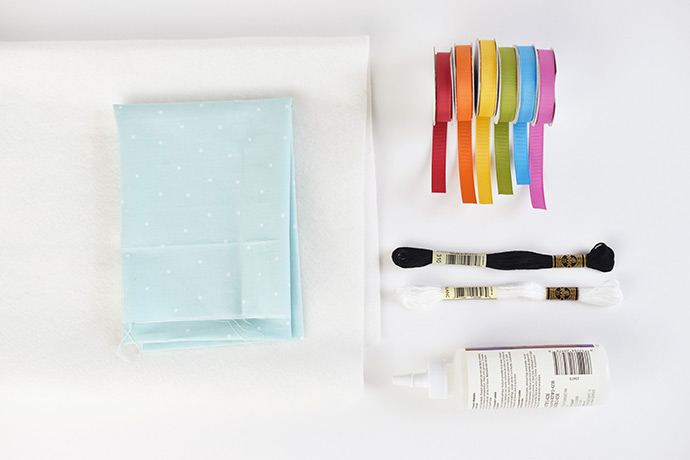
- White Felt (wool or wool blend is best)
- Scissors
- Black and White Embroidery Floss
- Needle
- 3/8″ Ribbon in a Rainbow of Colors
- Fabric Glue
- 1/8 Yard Light Blue Fabric -or- 1-1/2 Yards Twill Tape
- Iron (if using fabric for the strap)
- Sewing Machine (if using fabric for the strap)
- Printable template
how-to:
Step 1
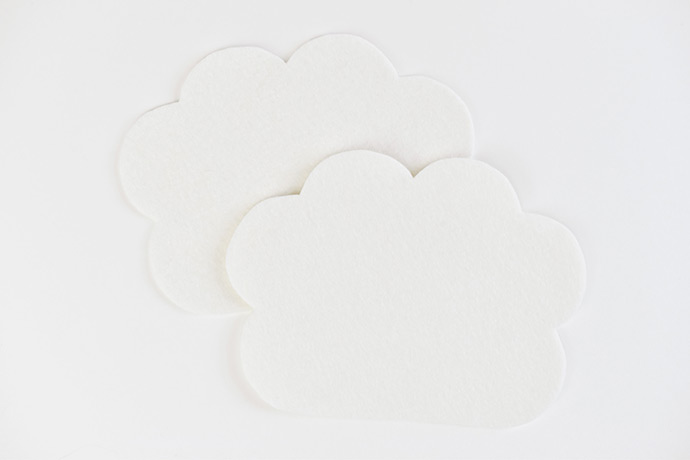
Cut out two cloud shapes from white felt.
Step 2
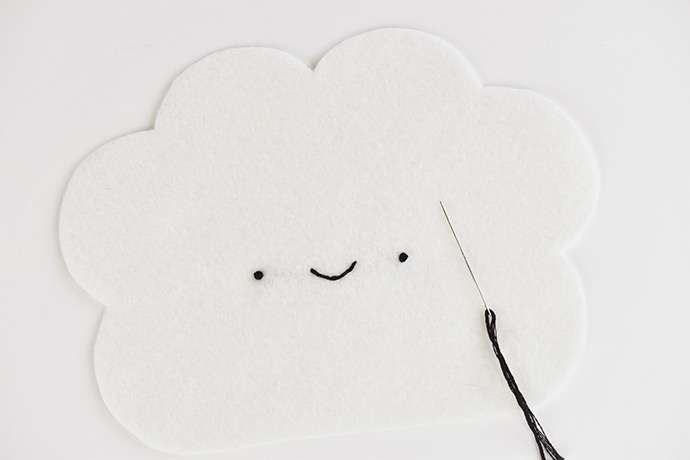
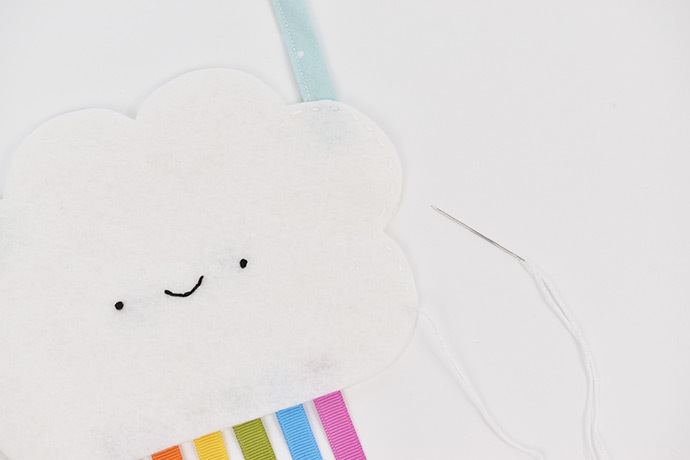
Embroider the face on one of the cloud shapes. You can trace the face pattern by holding the felt and pattern against a bright window. Or just stitch a face of your own design!
Work with all six strands of the black embroidery floss. Use french knots for the eyes and back stitch for the mouth.
If you don’t embroider, you can also use acrylic paint to make the face.
Step 3
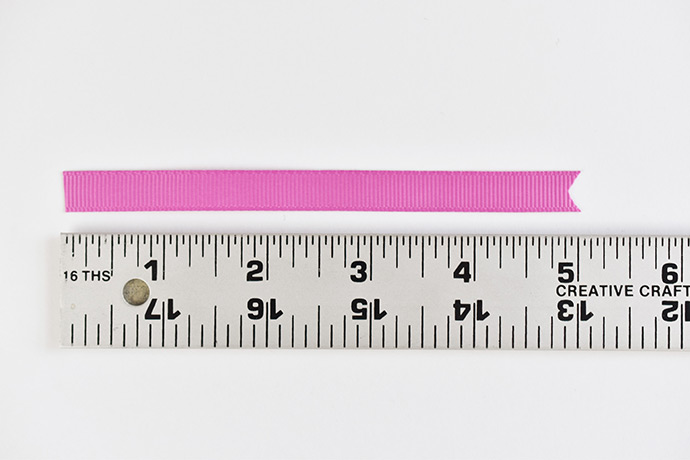
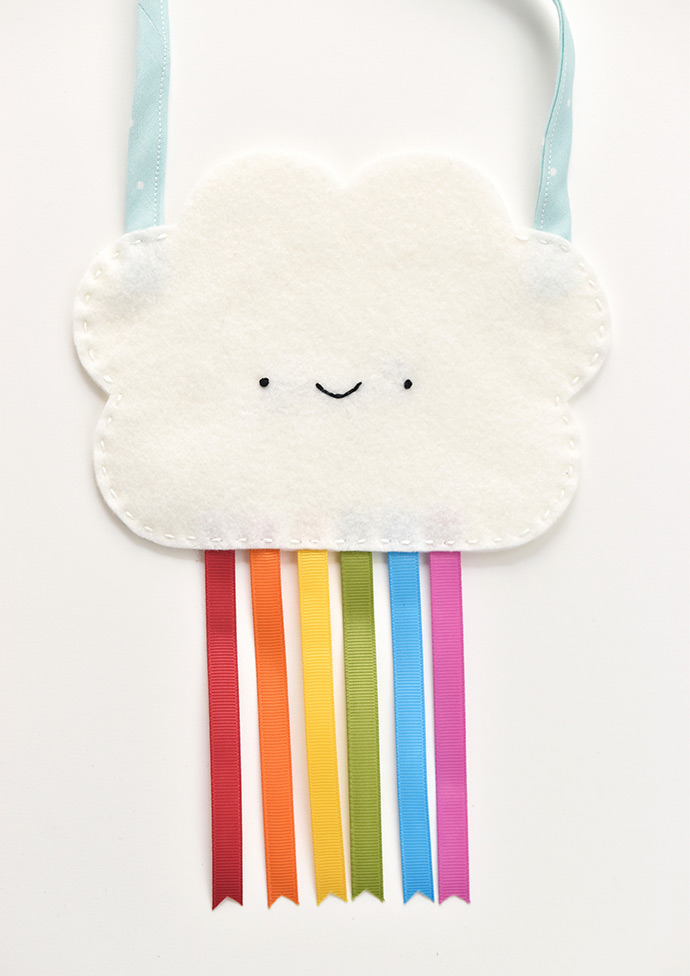
Cut each of the rainbow ribbons to 5″ long or whatever length you’d like.
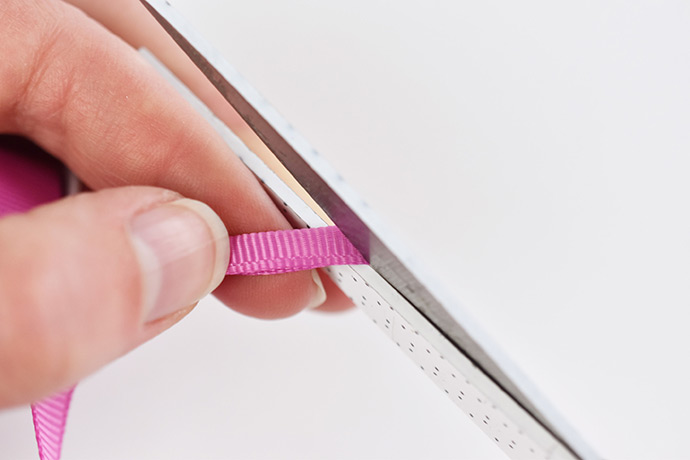
Trim one end of each ribbon with a V shape. To do this, fold the ribbon in have and cut it at an angle as shown.
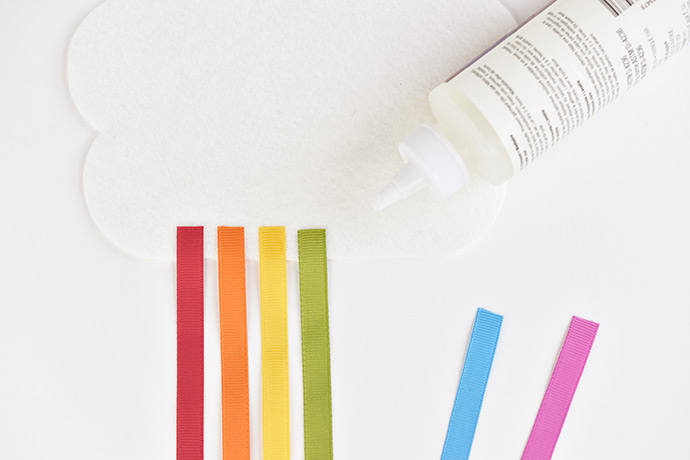
Step 4
Use fabric glue to attach the ribbons to the bottom edge of the cloud piece without a face. Be sure to attach them in rainbow order! The glue keeps the ribbons secure while holding them in place during the stitching in step 7.
Step 5
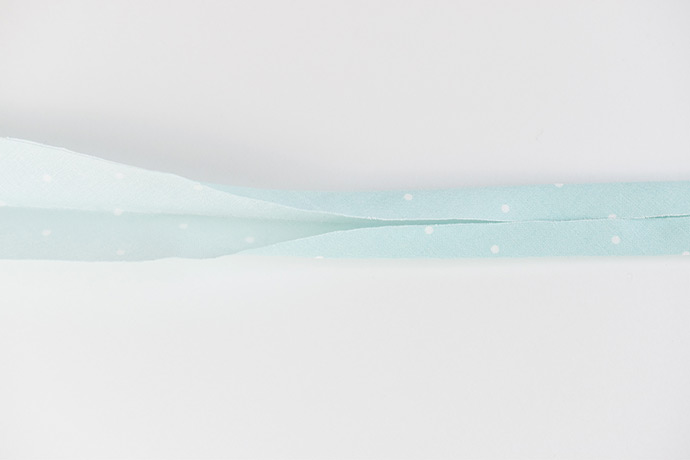
To make a fabric strap for your purse, cut a strip of fabric that is 2″ wide and as long as the fabric. To make a longer strap, cut another 2″ wide piece and sew them together.
Fold and iron the strip in half, then fold and iron the edges in to the center crease.
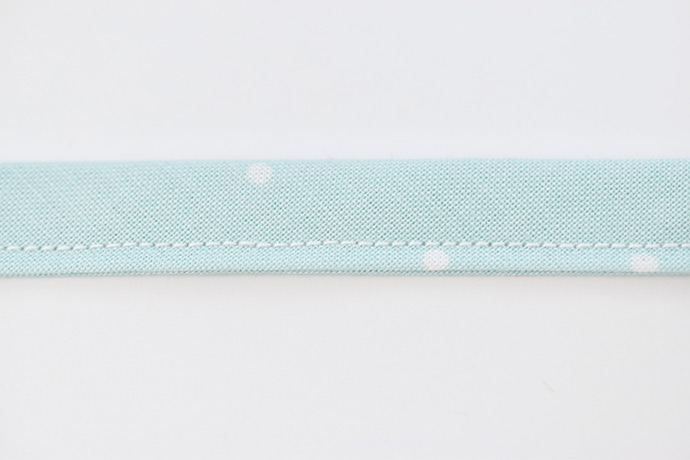
Sew the folded strip on a sewing machine. Sew near the open edge. You can also sew this by hand with white embroidery floss and running stitch, but it takes a lot longer.
If you’d rather skip making a fabric strap, use twill tape or ribbon instead.
Step 6
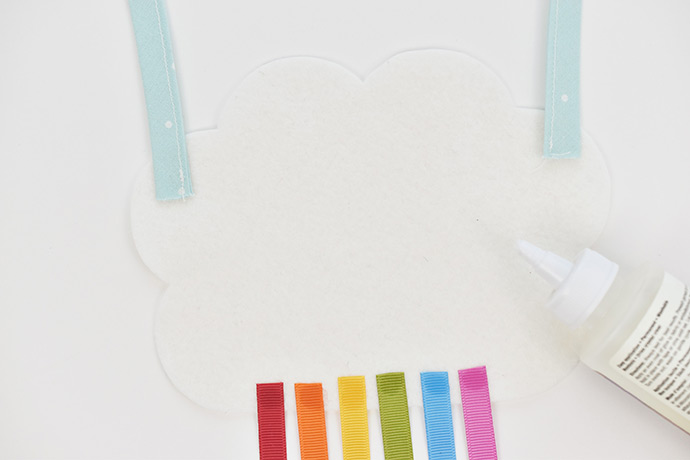
Glue the ends of the strap at the top edges of the back cloud piece.
Let the glue dry before you continue to the next step.
Step 7
Place the cloud with the face on top of the cloud with the glued pieces. Stitch around the sides and bottom of the cloud with running stitch. Use all six strands of white embroidery floss.
Be sure to stitch through the straps and the ribbons as you go.
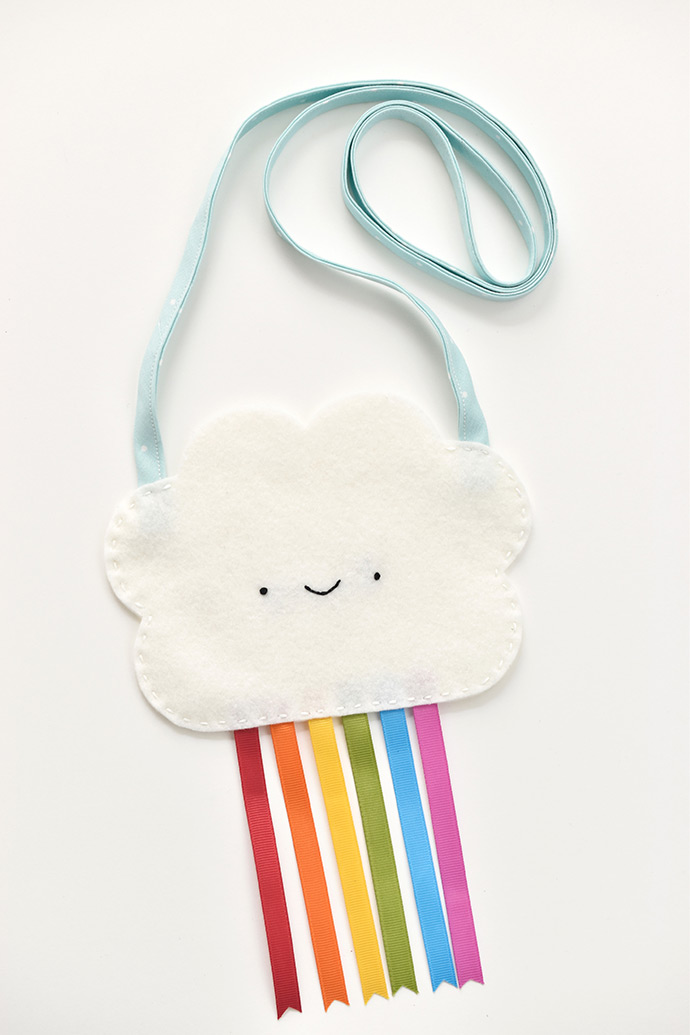
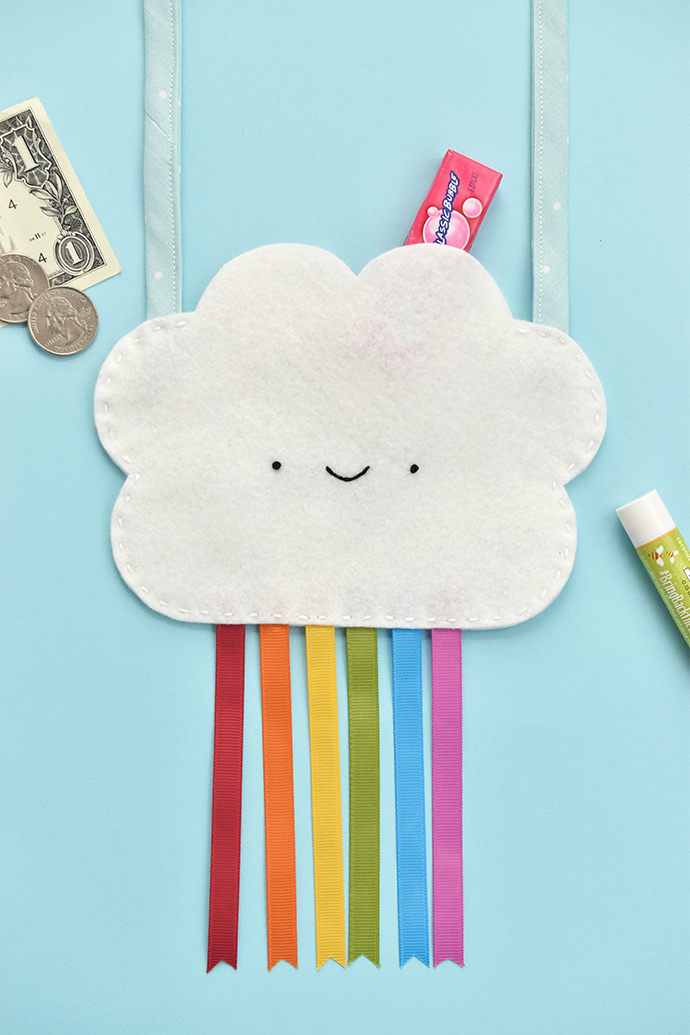
Your rainbow cloud purse is ready to wear and carry a few fun essentials.
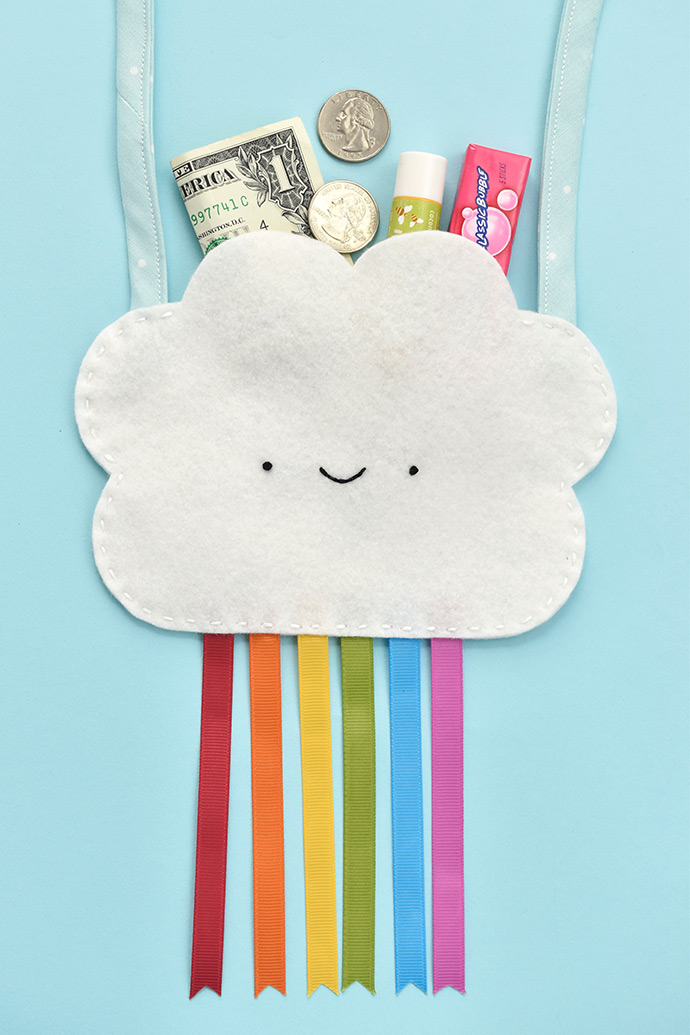
This purse is just the right size for holding a bit of money, and a few other goodies.
If you want to carry anything heavier or more precious (like a phone), it’s best to sew an extra line of stitches around the bottom, and really secure the strap. You should also add a button or snap at the top of the cloud so nothing falls out.
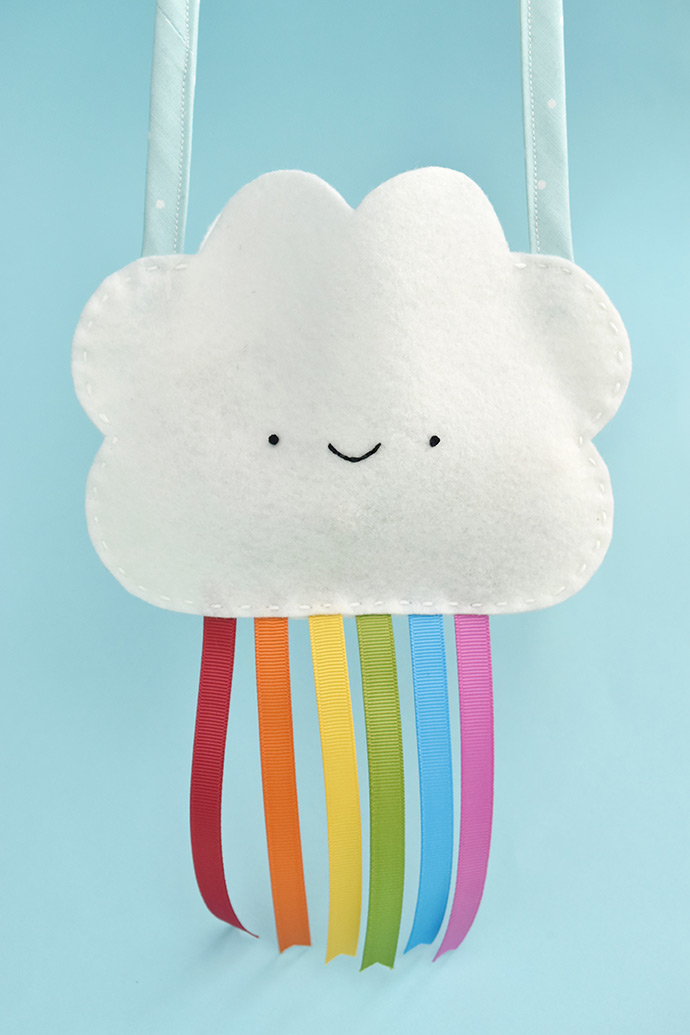
Take your kawaii cloud purse on the go and spread some happy rainbows wherever you go!
Happy crafting!