The party never stops at Handmade Charlotte! Especially when you’re joined by super talented party people like Barb Blair. Furniture designer, author, shop owner, and partner in crafty crime – I know I can always count on her for a good DIY time! With appearances from a few other friends throughout the day, what started as a single project turned into the craft party of the century (scroll down to see a snapshot of the entire gang!).
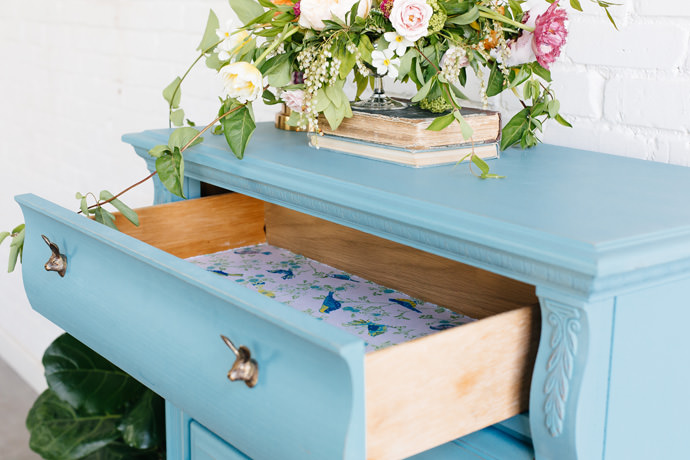
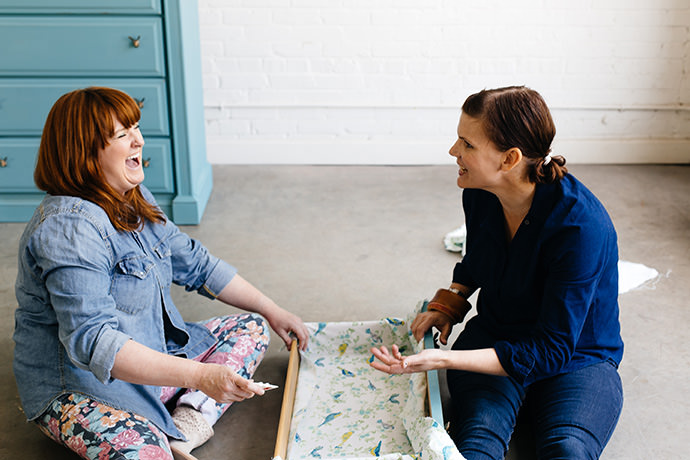
As you may recall, we recently spent an afternoon refinishing an absolutely stunning vintage dresser with Waverly’s new line of Inspirations Chalk Paint. Inspired by clear skies and summertime, we painted it a lovely shade of Agave blue. Once the outside of our dresser was complete, we were having too much fun to call it a day. We decided to keep the fun times going by making a beautiful fabric drawer liner, so that the inside of our piece packed just as much punch as the outside.
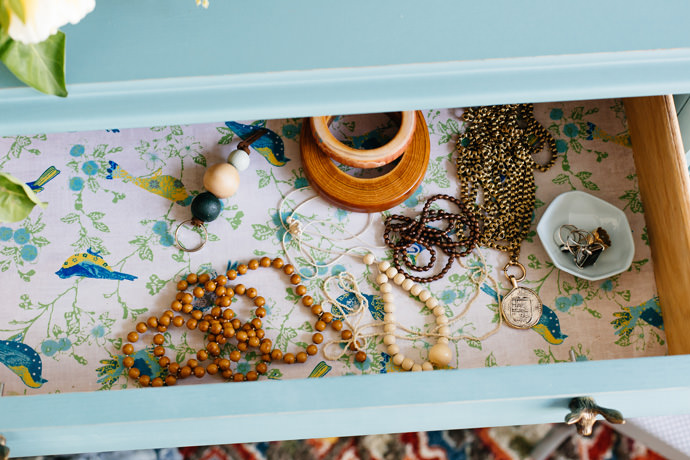
Lined drawers are an unexpected touch that can really liven up an entire piece from the inside out – and who doesn’t love a good surprise?! We chose this botanical fabric from Waverly’s new line available at Walmart (we thought the whimsy of it really made our dresser sing!), but Waverly has so many eye-catching patterns, you’ll have absolutely no problem finding one to perfectly fit your DIY needs. Pick our your personal favorite patterns at your local Walmart!
What You Need
- Waverly Fabric
- Craft Knife
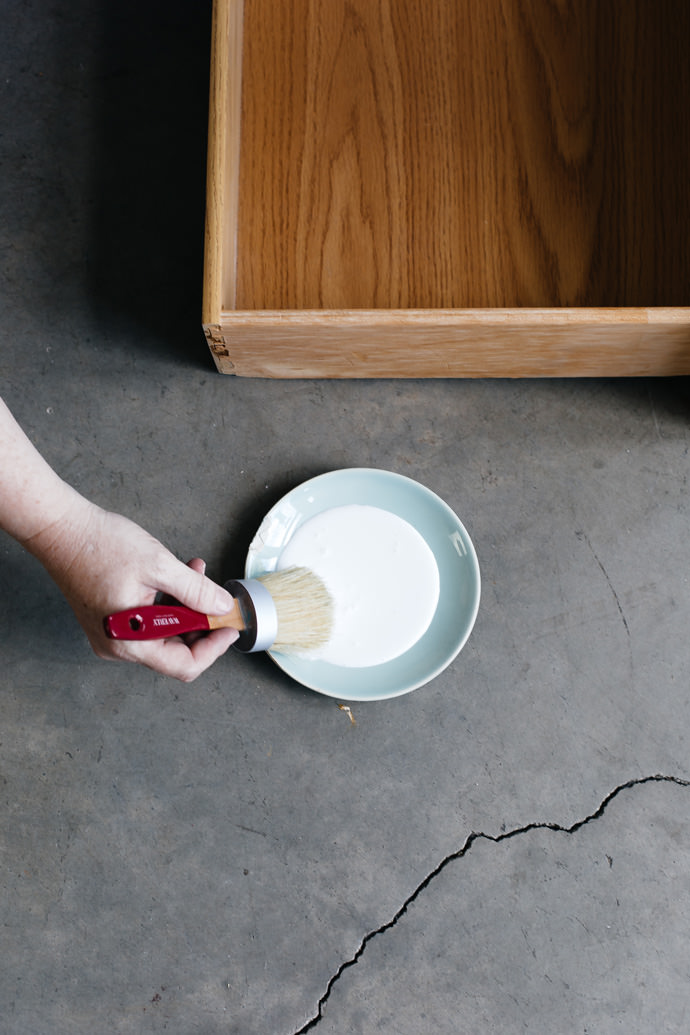
- Mod Podge
- Waverly Inspirations Chalk Brush
- Squeegee
- Scissors
- Ruler
- Paint tray or dish
How-To
Step 1
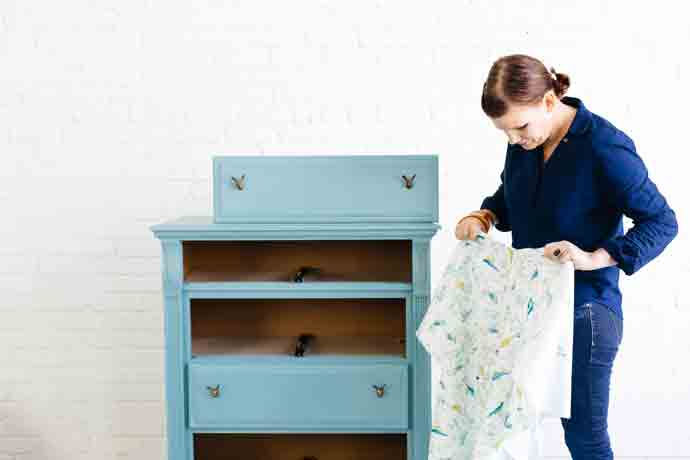
Spread the Waverly fabric out over the top of the drawer in order to measure the length and width you will need to line the inside of the drawer.
Step 2
Using scissors, cut the fabric to size using the drawer as your guide. It is ok to leave excess fabric since you will be cutting and trimming, but just make sure the excess isn’t too much for you to manage.
Step 3
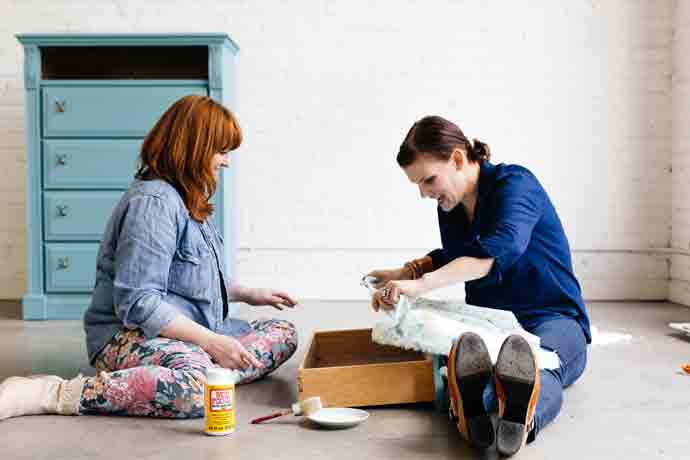
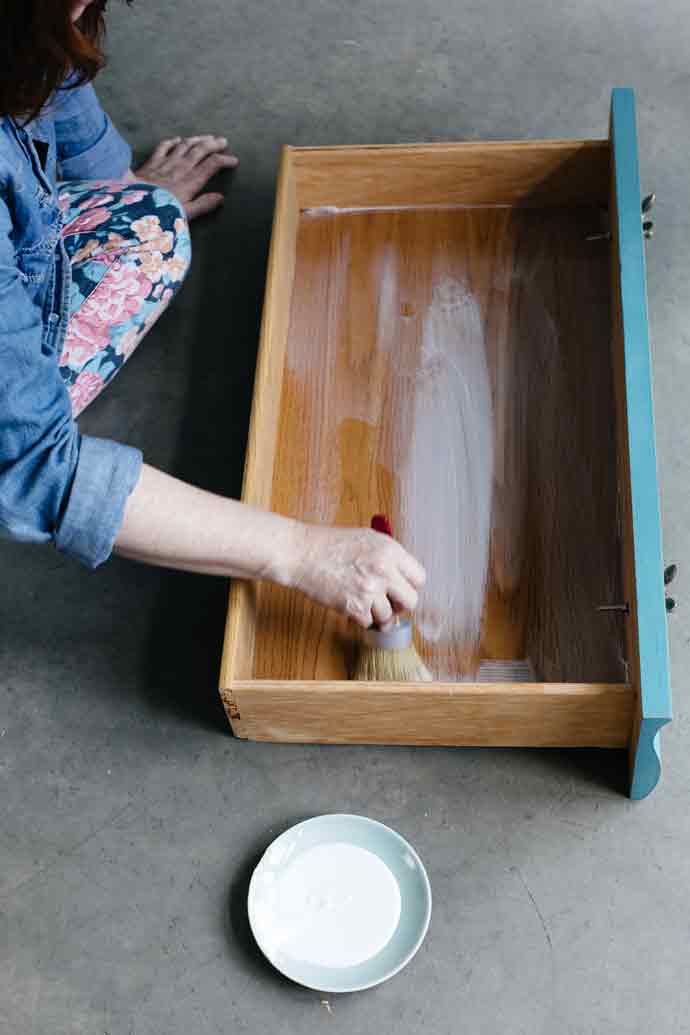
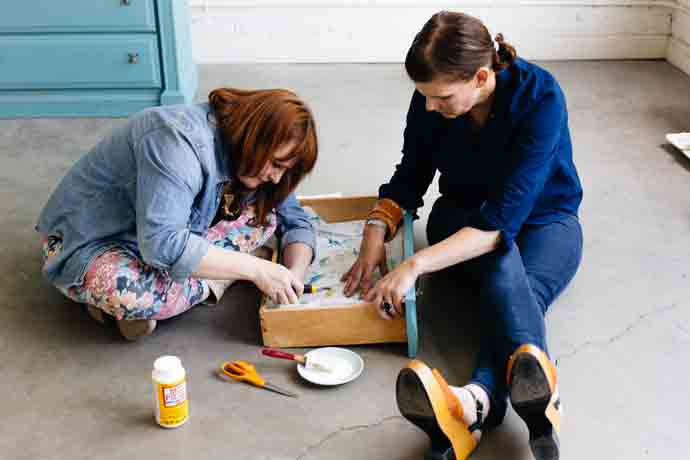
When the fabric is cut to size, apply Mod Podge to the surface of the drawer with a Waverly Paint brush. Apply liberally so that the fabric has plenty to stick to! Place the fabric inside the drawer and gently smooth it into place with your hands. Work from one side to the next to ensure that there are no wrinkles or bubbles.

Step 4
Once you have placed the fabric in the drawer and smoothed it with your hands, use a plastic squeegee to go over the entire surface for extra smoothing. Be sure to use the squeegee to push the fabric into the sides and corners of the piece.
Step 5
When the fabric is completely smoothed out and securely in place, apply a second coat of Mod Podge over the top of the fabric with a Waverly paint brush. You may use a squeegee after this as well if you would like to really smooth out the Mod Podge and make sure it gets in all of the cracks and crevices.
Step 6
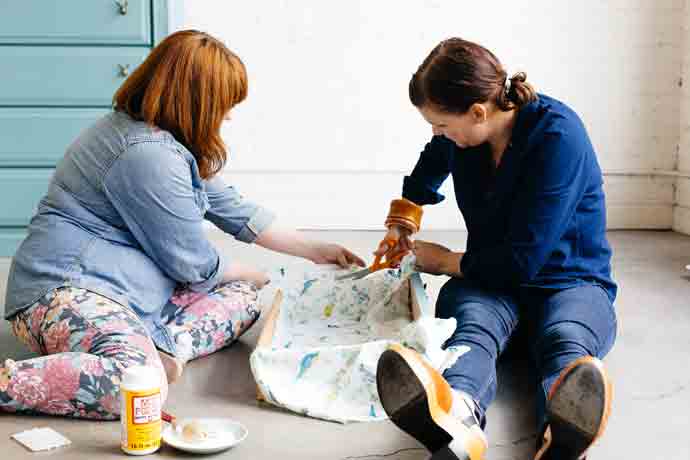
When the Mod Podge is completely dry (a few hours) use a craft knife and a ruler to trim the excess fabric from the inside of the drawer. Push the ruler up as tight as it will go next to the drawer side that you are trimming, and slide your craft knife gently between the ruler and the side for a flawless cut. Be sure to freshen your blade after every cut in order to keep your cutting lines nice and clean.
Step 7
Place the finished drawer back inside the piece and fill it with treasures!

Paint + parties + pals = the perfect day :)