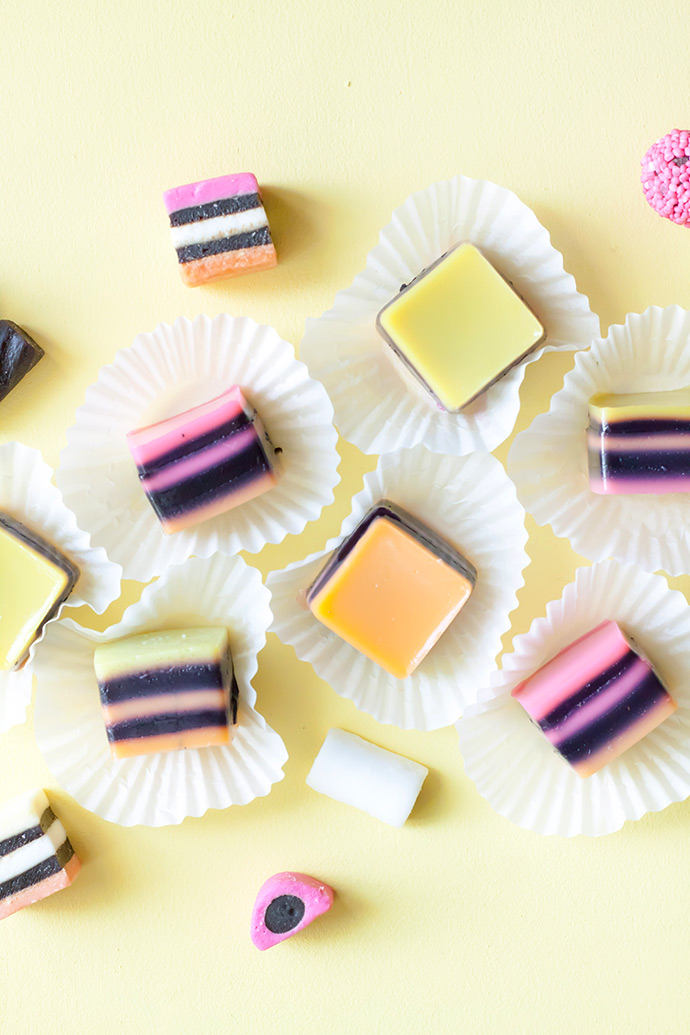
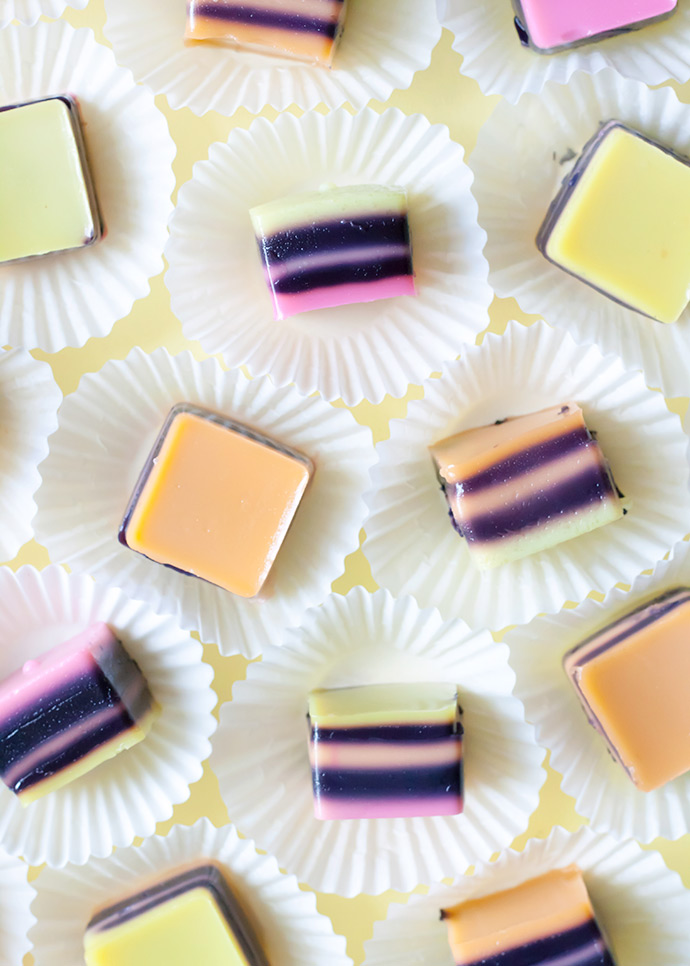
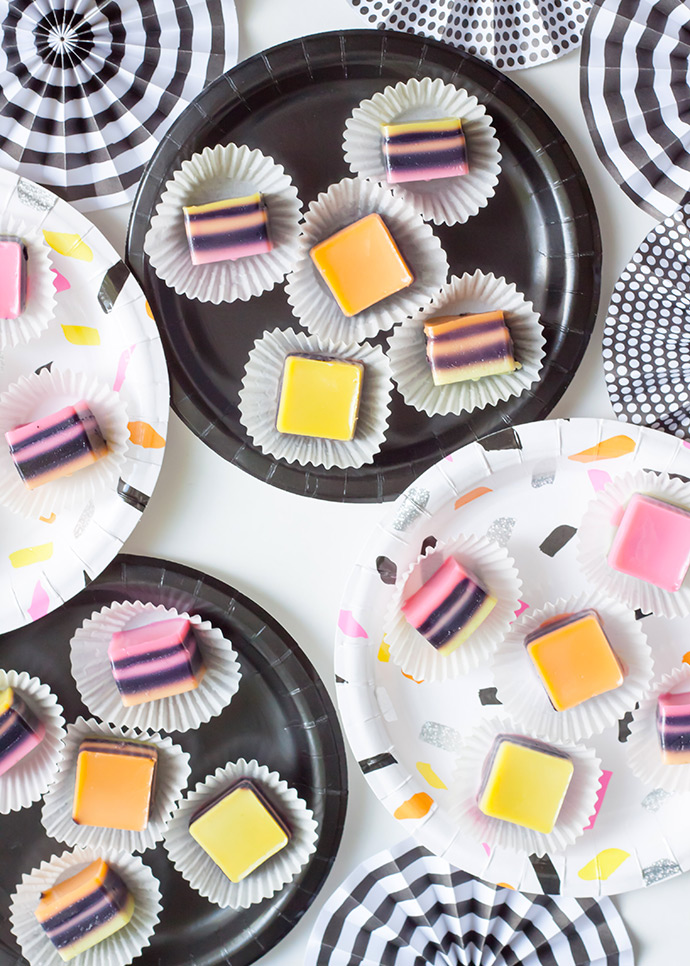
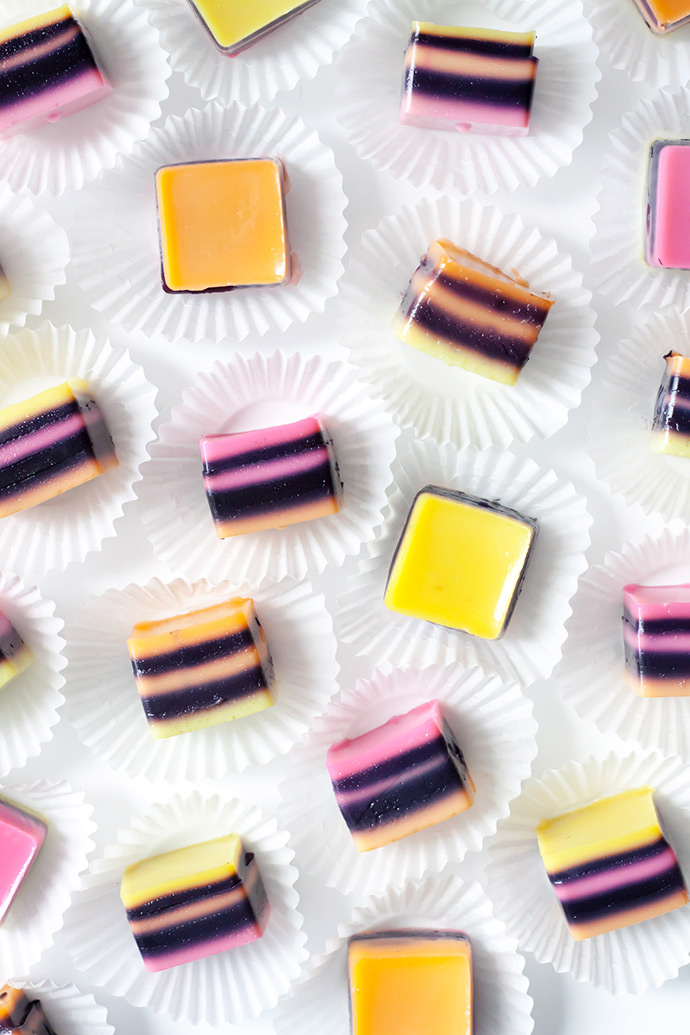
When your twelve-year-old gets braces, and is pretty bummed about the list of candy “no-no’s” come to the rescue with licorice flavored gelatin! You just have to make it look like licorice allsorts, because it’s the most adorable candy EVER! Perhaps that friend who just had surgery, and has to be on a liquid diet would love to receive a plate of gelatin squares too. Even if you don’t have braces or surgery, it’s just a fun and unique treat!

Halloween is just around the corner, and this would be the perfect post-trick-or-treat snack. Although it’s licorice-flavored, it’s actually not very sugary! It would be so festive on your snack table, or even sitting outside for the neighbors to enjoy while their kids are out and about. You could even experiment with some “adult” flavors, but make sure the kids don’t snag a bite!
PS These gelatin squares were twelve-year-old and Hubby-approved!
what you need:
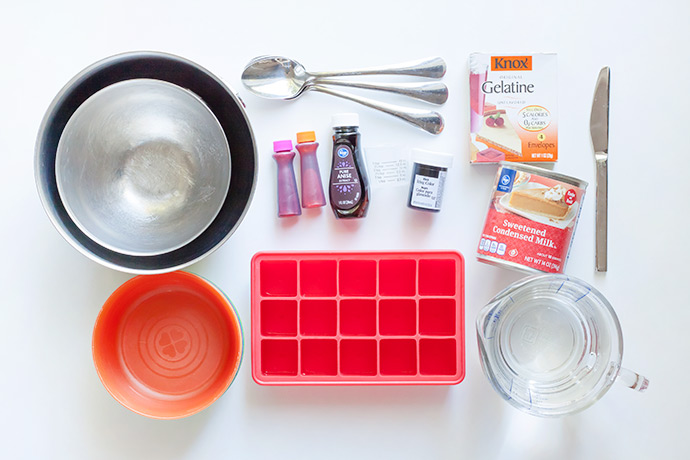
- Unflavored gelatin
- Food coloring and/or gel food colors
- 14 oz. can sweetened condensed milk
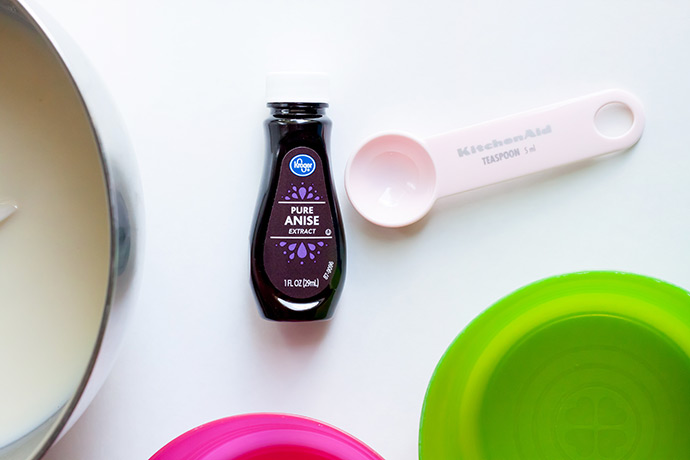
- 1 tsp. pure anise extract (or another flavored extract of your choice)
- ½ C cold water and 1 ½ C boiling water
- Glass liquid measuring cup
- 5 small bowls
- 2 large bowls
- Spoons
- ½ tsp. medicine cup
- Square ice cube trays
- Non-stick cooking spray (not pictured)
- Refrigerator!
- Small knife
how-to:

Step 1
In a large bowl, pour two envelopes of unflavored gelatin over ½ cup cold water. Allow to sit for a few minutes, then add ½ cup boiling water, and stir until gelatin dissolves. In a large bowl, mix 14 oz. of sweetened condensed milk with 1 cup boiling water, and stir to combine. Now combine the gelatin and milk mixtures in one bowl, and allow to cool to room temperature. Add 1 tsp. pure anise extract to the mixture, and stir well. (Adapted from this white Jell-o layer recipe)
Step 2
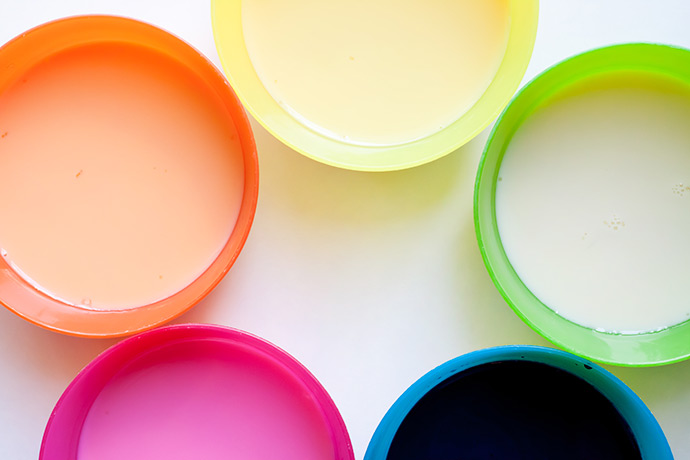
Separate the mixture into five bowls – four with fairly equal amounts, and a fifth with slightly more. Add black food color to the bowl with the most liquid, and add 1-2 drops of orange, pink, and yellow to three other bowls. Do each color in a separate bowl, and leave the final bowl white.
Step 3
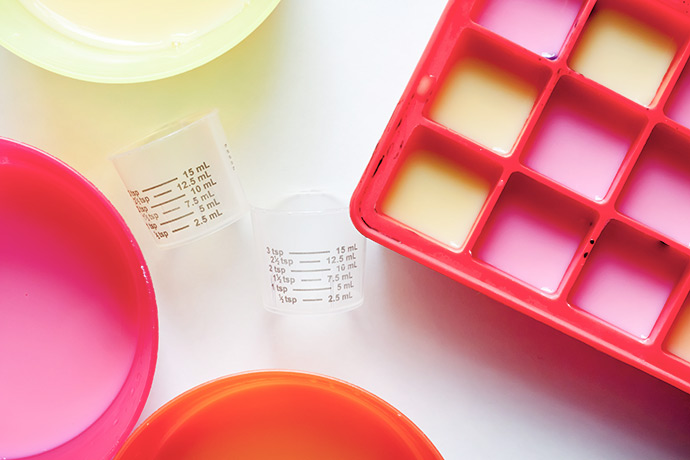
Spray a tiny amount of non-stick cooking spray in each section of your square ice cube tray. If it puddles at all, dab the excess off with a paper towel. Using your ½ tsp. medicine cup, scoop slightly more than ½ tsp. of your pink, yellow, or orange gelatin, and pour it into one square of your ice cube tray. Repeat this step with all three colors, until you have filled each section of the tray. Put the tray in the refrigerator for about 2 hours to chill.
Step 4
Once your first layer of color has firmed up, add ½ tsp. black mixture on top of each color. If the mixtures have hardened between layers, you will have to microwave them for 15-20 seconds, and allow them to cool before adding to the refrigerated layers. Put the tray back in the refrigerator, and allow to firm for another 2 hours.
Step 5
Add ½ tsp. white to most of the cubes, and ½ tsp. orange to a few. Do not add orange to any cubes that already have a layer of orange. Refrigerate again for 2 hours.
Step 6
Add ½ tsp. black to each cube, and refrigerate another 2 hours.
Step 7
Add slightly more than ½ tsp. of pink, yellow or orange to each cube, using a color that has not already been used for each particular cube. Refrigerate again for 2 hours.
Step 8
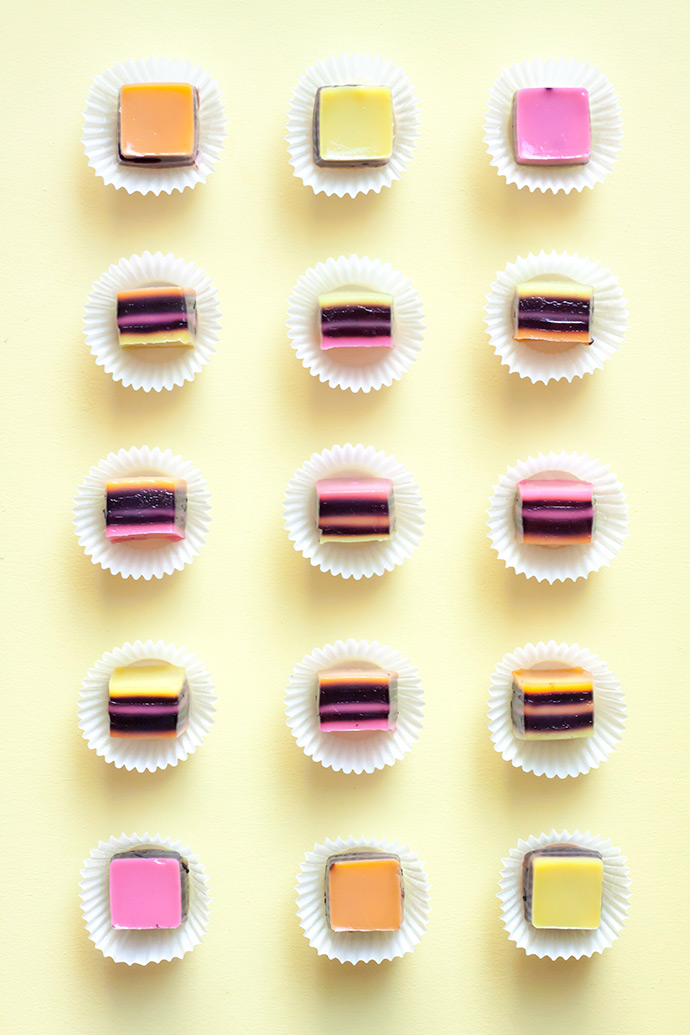
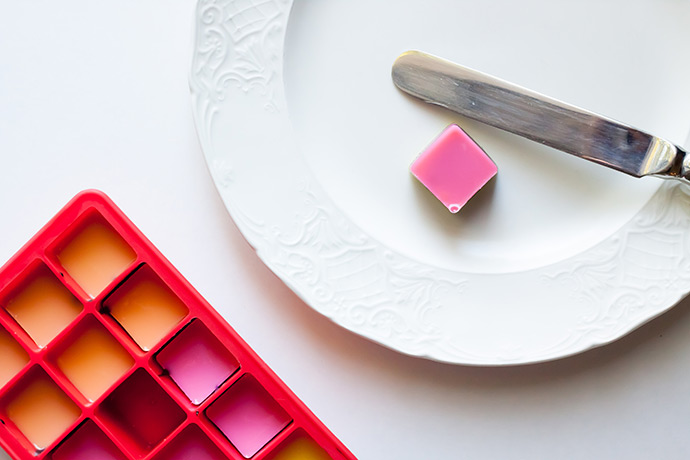
Use a small knife to separate each edge of your gelatin cubes from the tray, and push each cube out individually. Put them in mini cupcake wrappers or on a plate, and serve! Keep refrigerated.
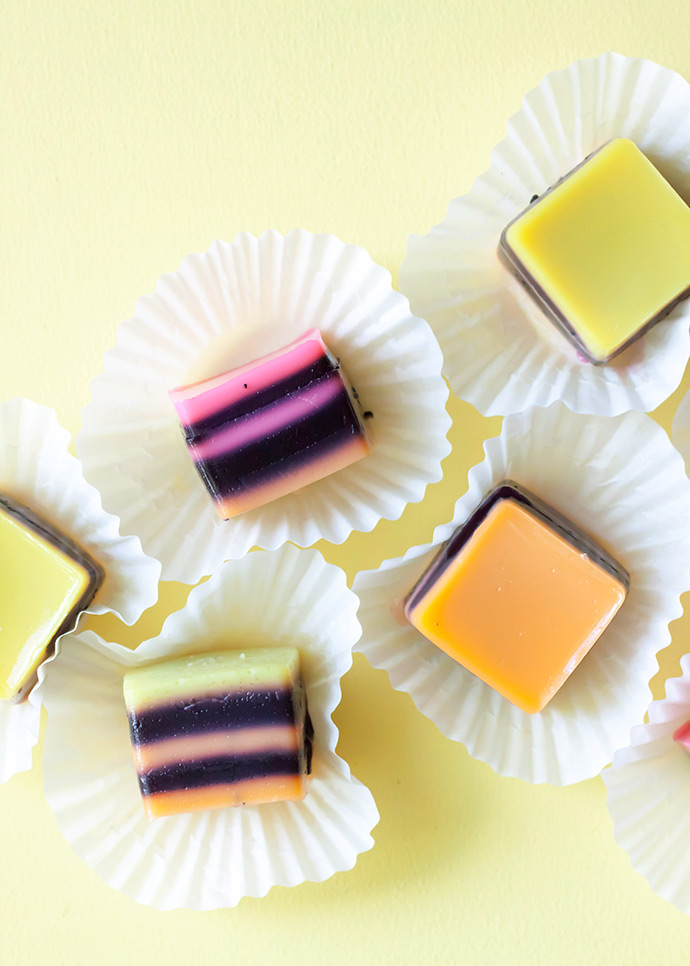
Yum, yum! Enjoy!