This post is sponsored by Paramount Pictures.
Where Dora goes, her backpack follows! If, like us, your family grew up watching Dora, then we know you’re as excited as we are for her latest adventure. But – if you think you know Dora, think again! Dora and the Lost City of Gold hits theaters August 9 and this time, Dora’s all grown-up and taking on high school.
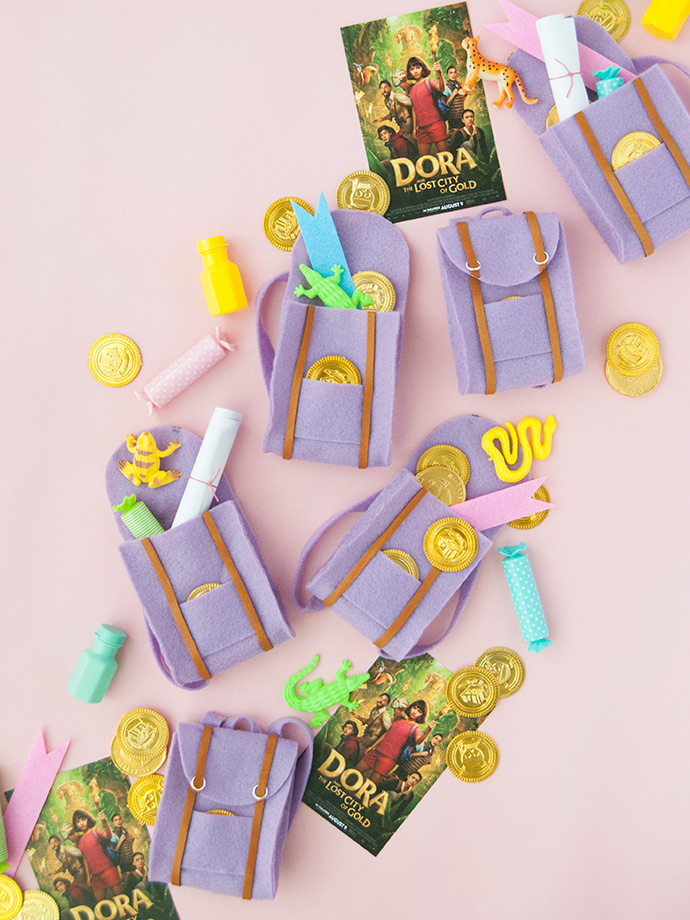
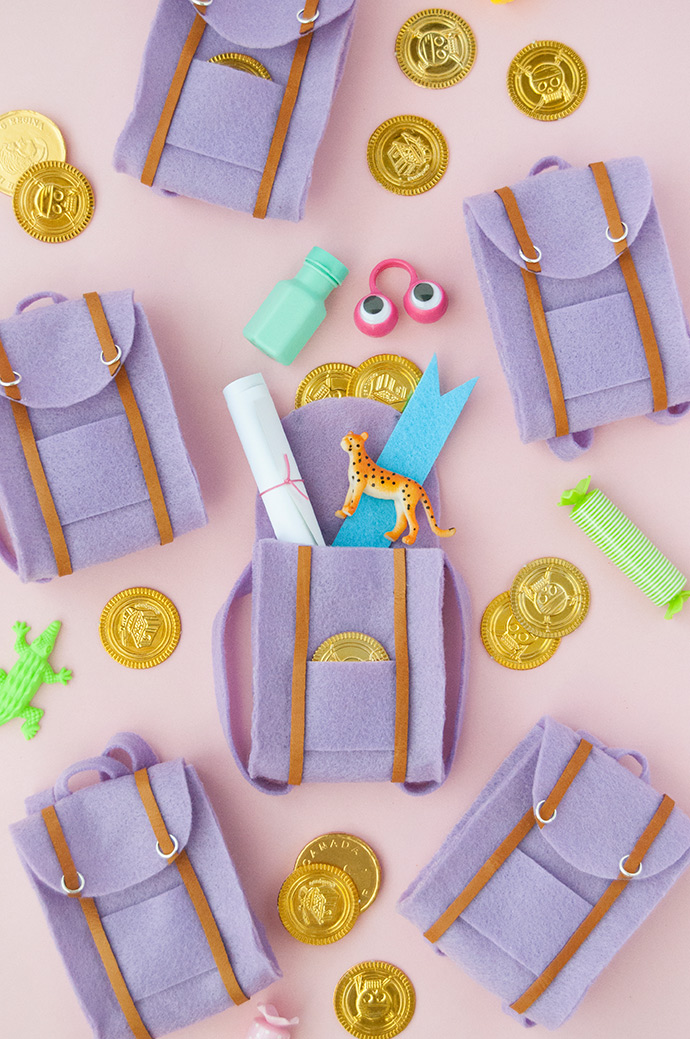
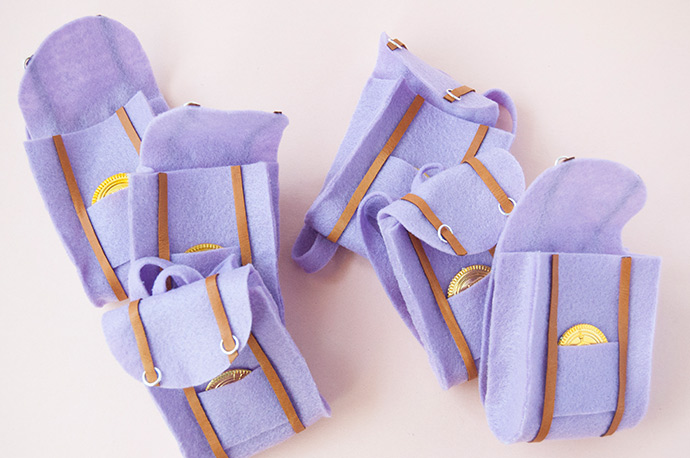
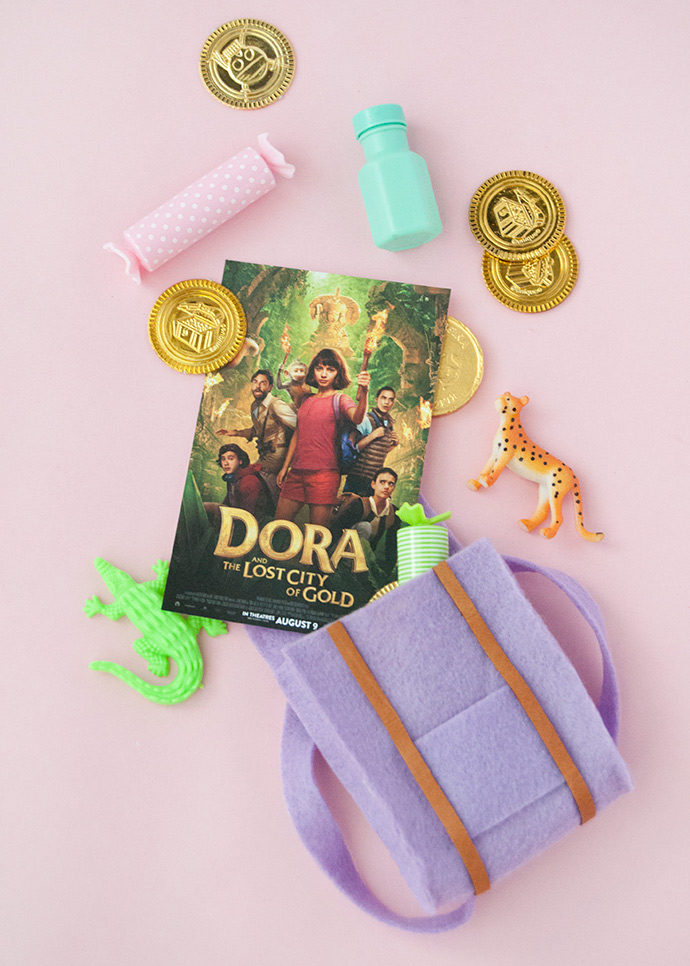
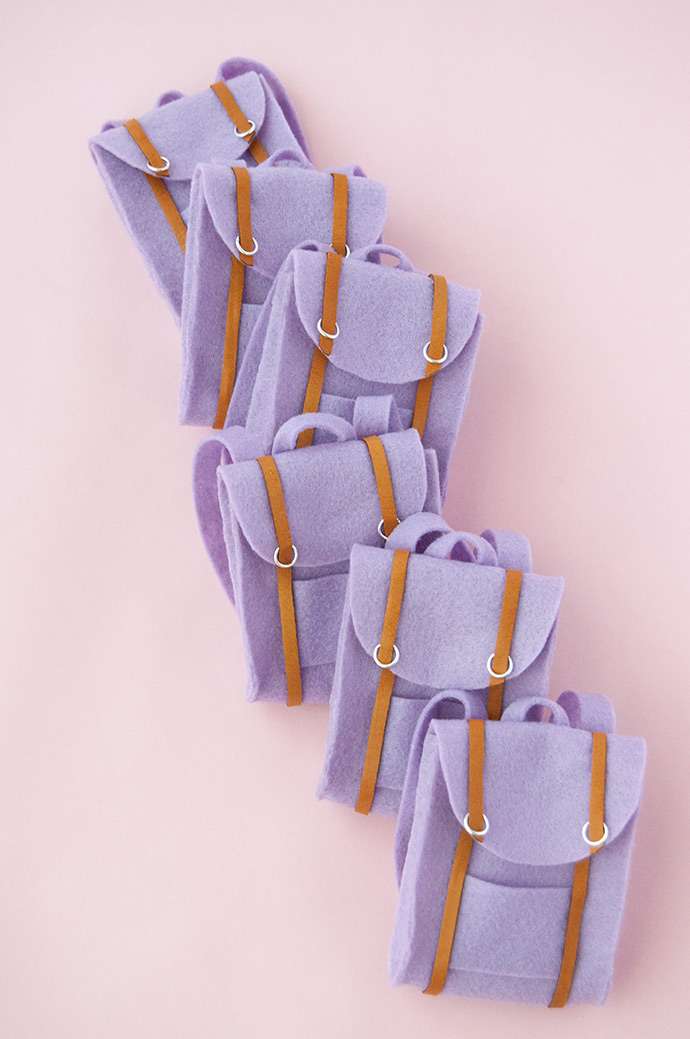
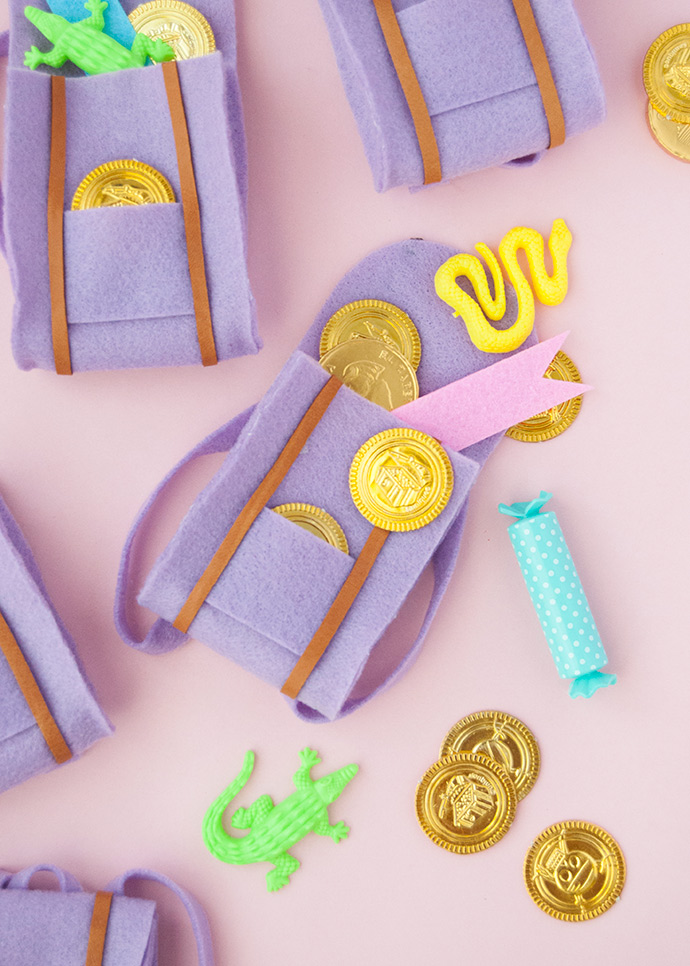
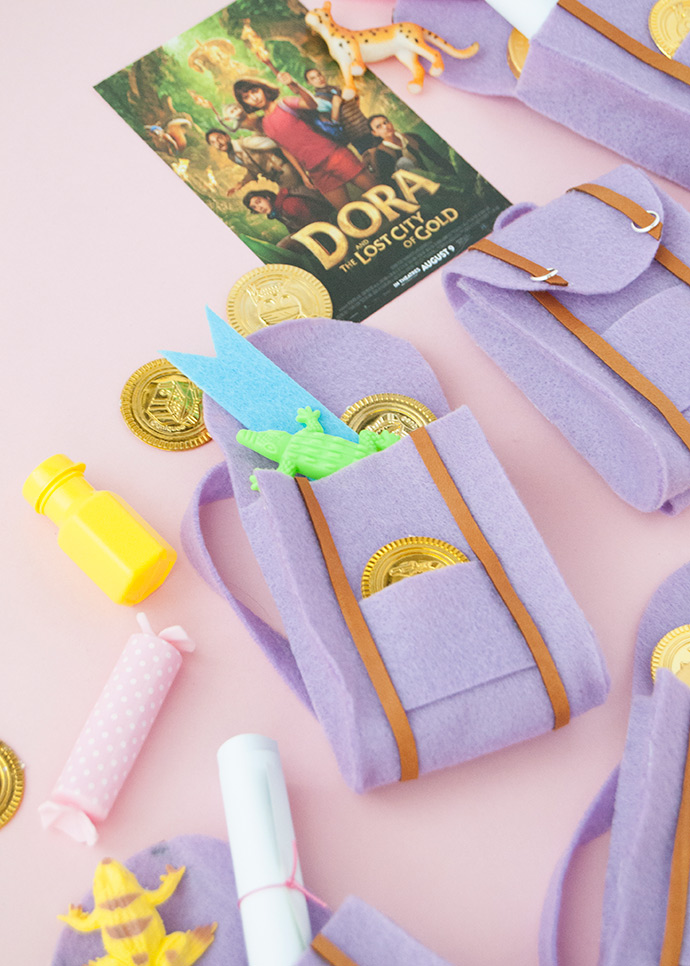
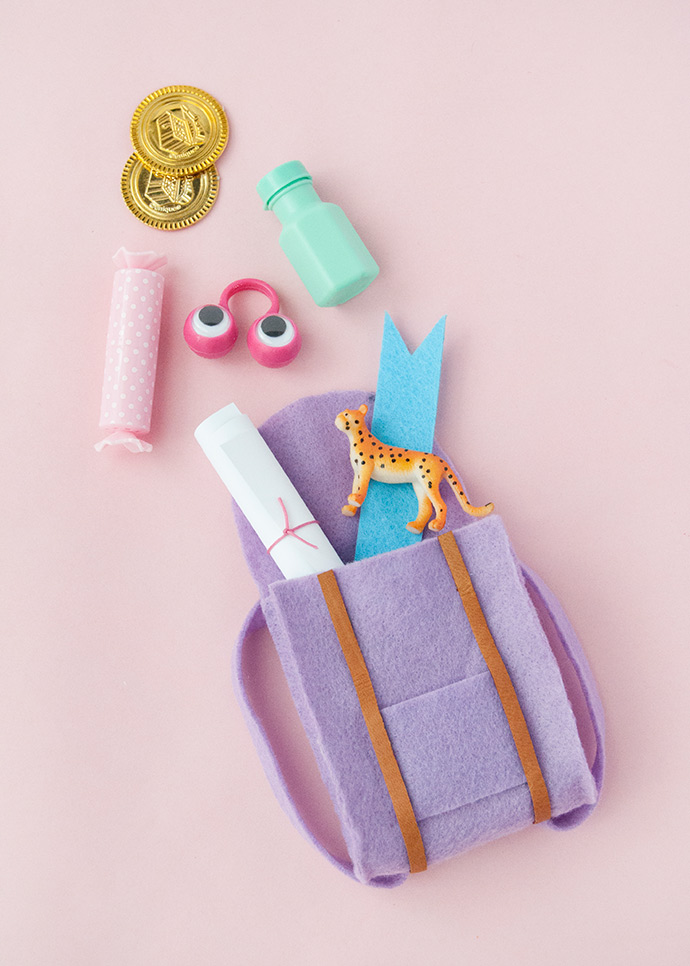
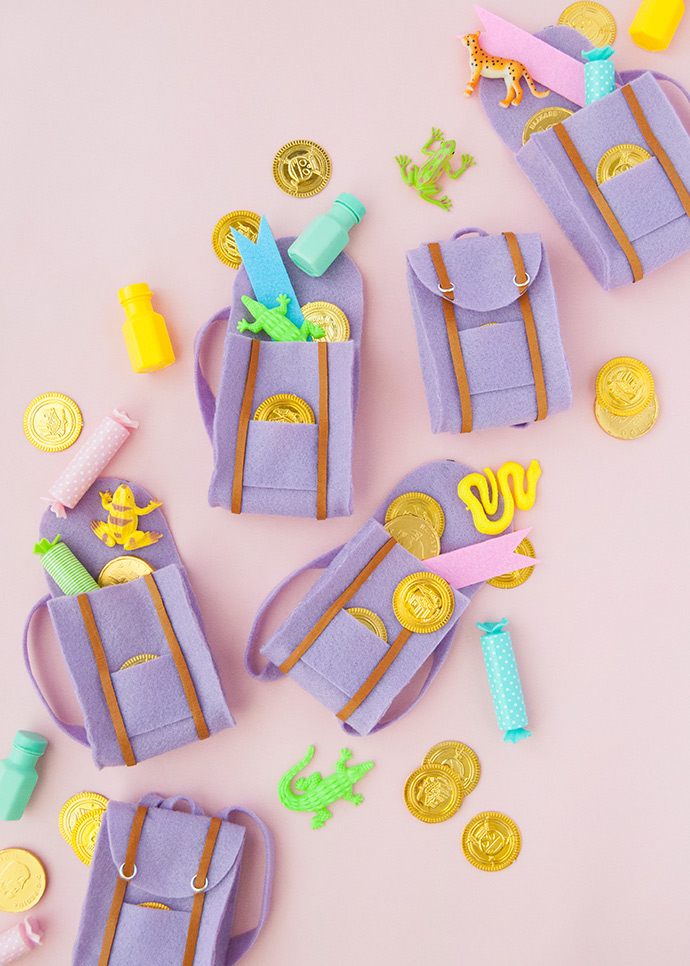
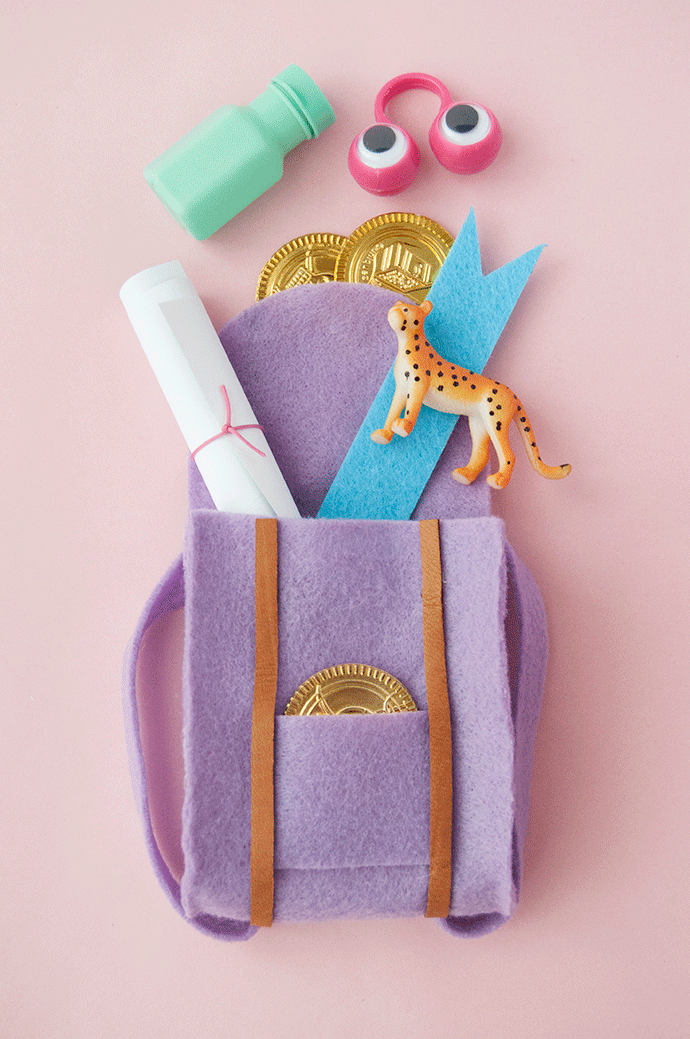
To celebrate, we’ve decided to pay tribute to one of Dora’s most trustworthy sidekicks – that’s right, her backpack! And guess what – no sewing is required to craft these miniature felt favors! Celebrate the release of everyone’s favorite adventurer by hosting your own Dora-themed party and movie night! Use these backpacks as favors and fill them with gold coins, mini animal toys, and other goodies.
Or use them as party invitations instead! Write out the details (like the movie theater address, showtime, etc) on a note card and include them in the backpacks. We even printed out miniature posters and rolled them up inside too!
what you need:
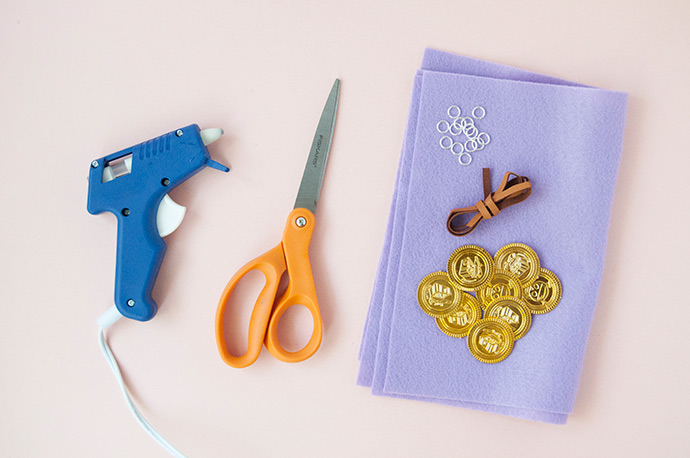
- Purple felt
- Leather trim
- Hot glue gun
- Scissors
- Jump rings
- Golden coins & other treats
- Printable template
- Chalk (optional)
how-to:
Step 1
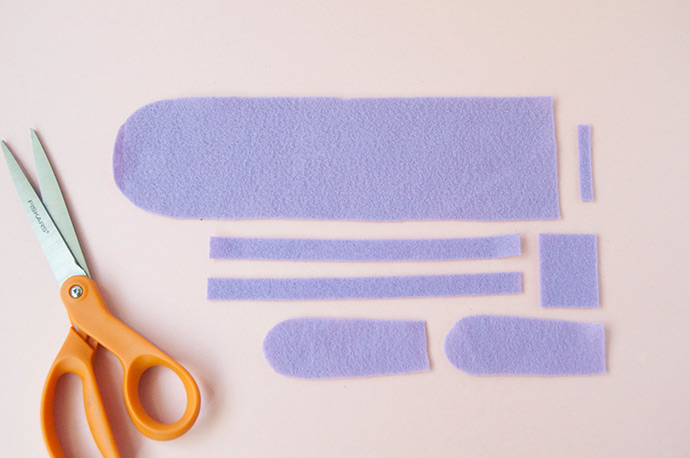
Print out the template and trace the shapes onto purple felt, using chalk if needed. Cut all the shapes out for as many backpacks as you’d like to make.
Step 2
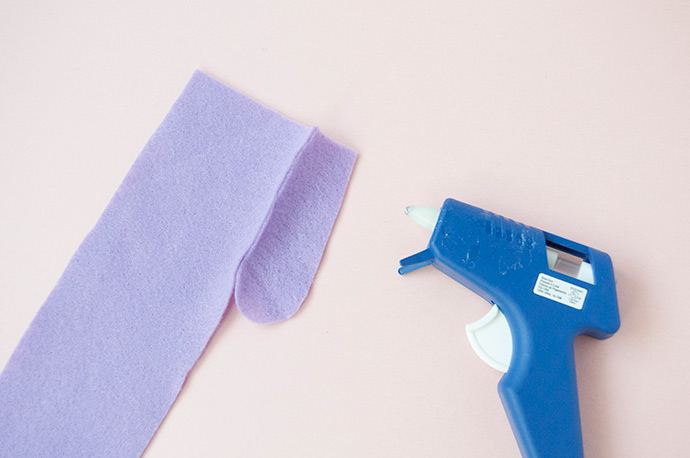
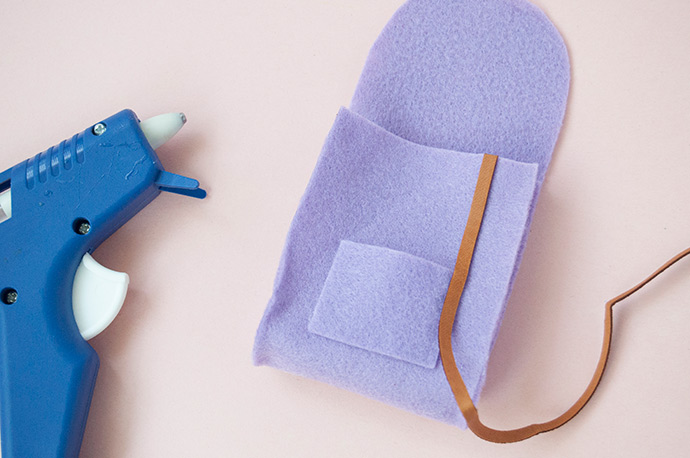
To make the main pocket of the backpack, apply a thin line of hot glue along the edge of one of the curved side panels. Stick this to the edge of the longest piece of felt, lining up the two straight edges as shown. Continue gluing the two pieces together, applying hot glue an inch or two at a time so that it doesn’t dry before you get to it.
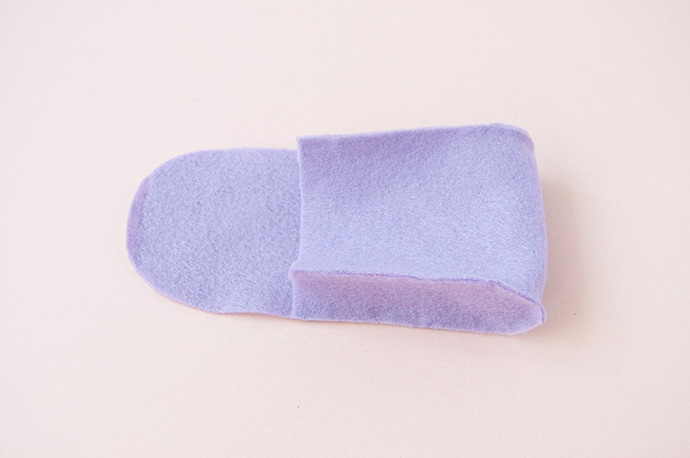
Continue this until both side panels are attached.
Step 3
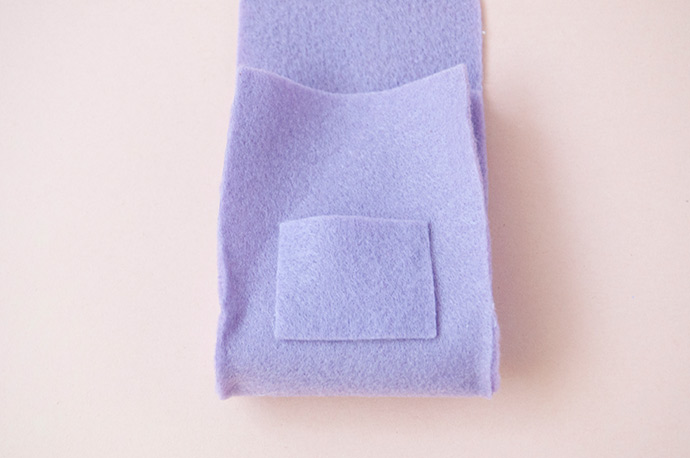
Hot glue the rectangle pocket onto the front of the backpack so that it’s centered but closer to the bottom as shown. Make sure to only glue three sides so that you can put goodies into it!
Step 4
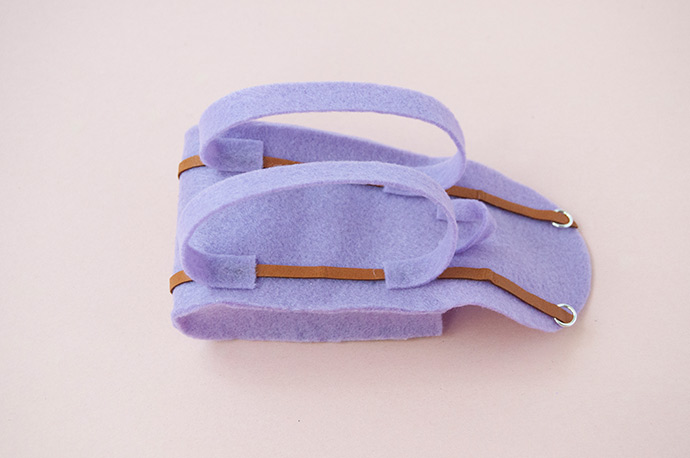
Hot glue a piece of thin leather-look trim onto the backpack, keeping it in line with the edge of the front pocket.
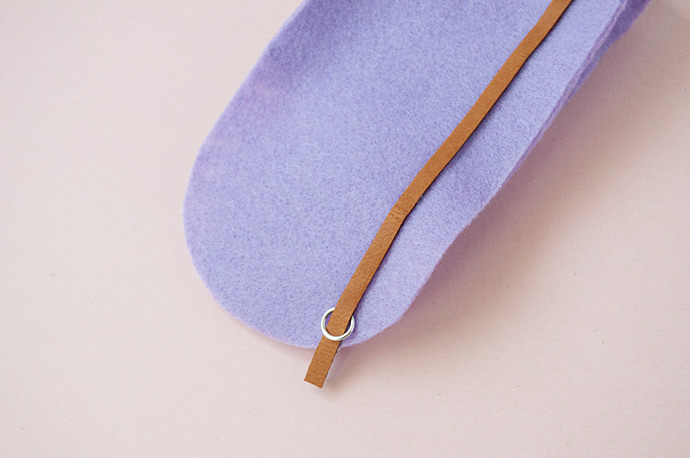
Continue gluing the trim around the back and then onto the flap of the backpack. Before you get to the edge of the flap, slide a silver jump ring onto the trim and then glue the trim down, locking the jump ring in place so that it looks like a miniature buckle. Trim any excess trim from the curved edge of the flap.
Repeat this for the other side as well.
Step 5
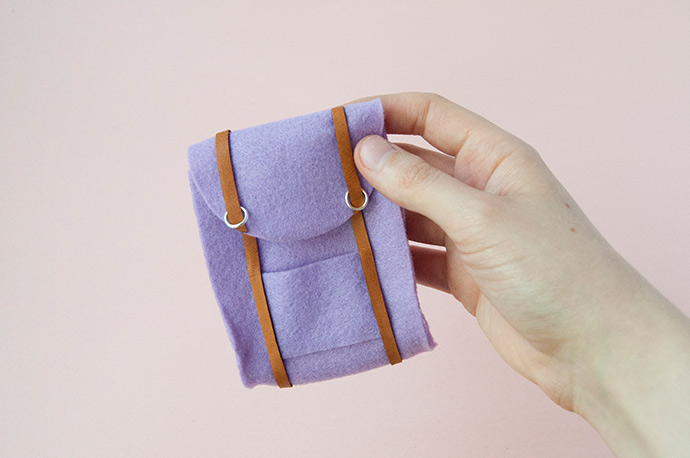
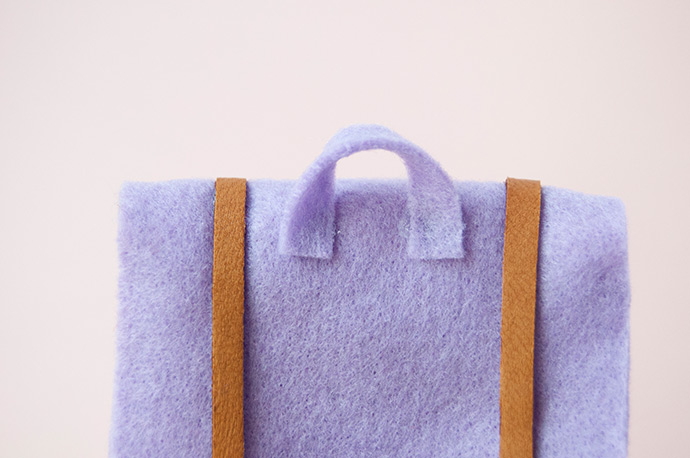
For the handle, apply a dab of hot glue to each of the ends of the smallest rectangle piece. Attach to the top edge of the back of the backpack, holding in place until dry.
Step 6
Finally, apply hot glue to the ends of one of the remaining long felt strips. Attach onto the back of the backpack, forming a loop, to make one of the straps. Repeat with the final piece on the other side.
Step 7
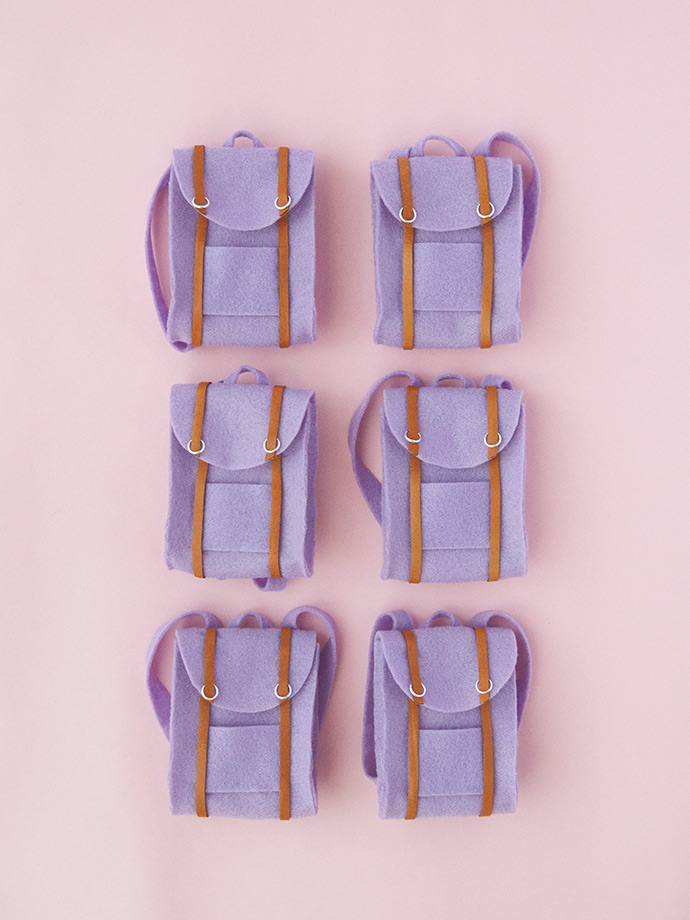
Repeat this process until you have as many backpacks as you need! Once they’re all ready, fill them with candies and goodies – we used golden coins (both chocolate and plastic), jungle animal figurines, and rolled up mini posters for Dora and the Lost City of Gold. You can use these backpacks as party favors like we did here, or hand them out as invitations instead! Write all the details on a small note card inside the backpack, including the location of the movie theater and showtime.

Happy crafting!