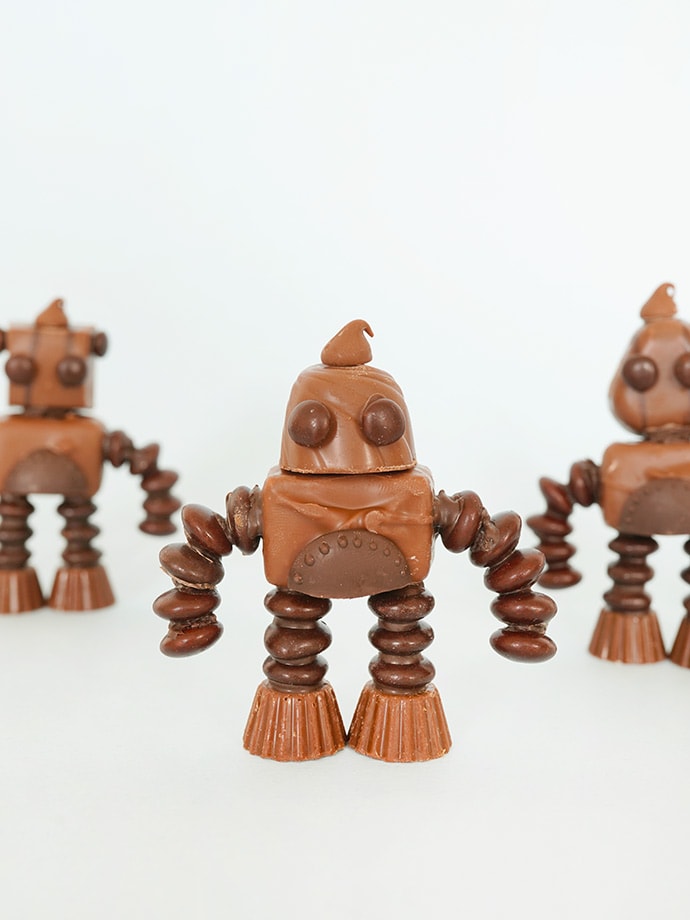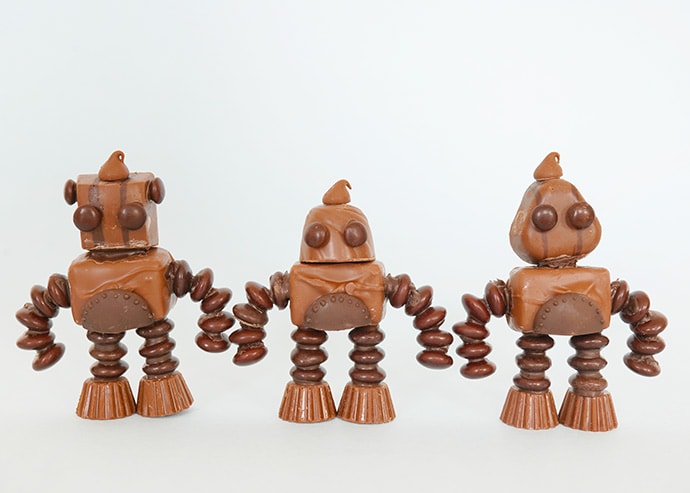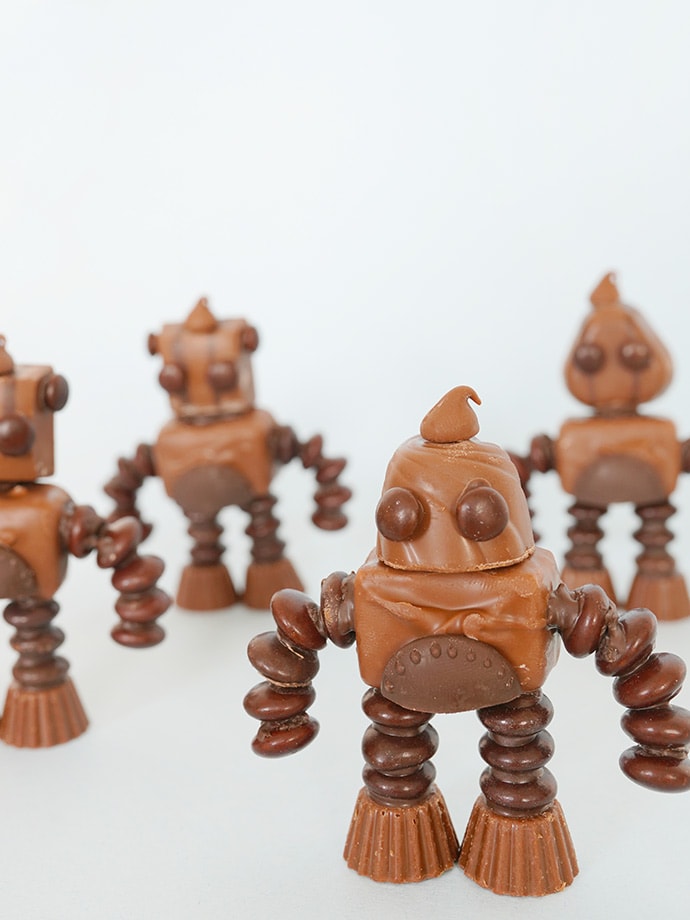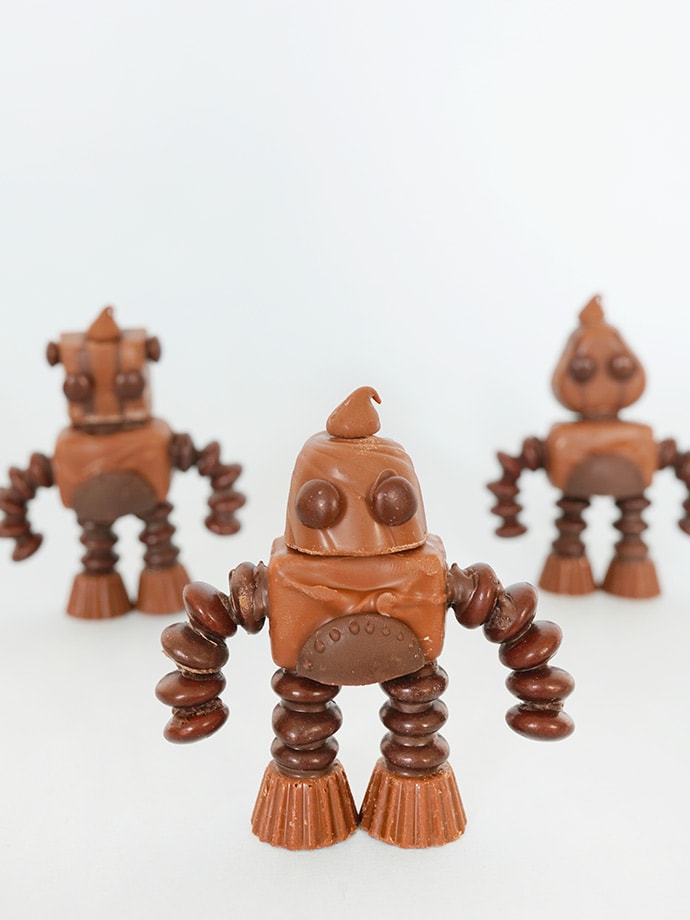
If you’ve been reading the blog for a few years now, you might think these little cuties look familiar and you’d be right! Almost six years ago now, contributor extraordinaire Sandra Denneler came up with these adorable mini robots and we’ve been smitten ever since. Despite what we all grow up hearing from our parents, we are big fans of playing with our food and these robots make that as fun as ever. Making them reminds us a little bit of assembling and decorating a gingerbread house, but you can make these guys year-round!
And the great thing is, the availability of all these exact chocolates is totally not crucial to making these robots – you can mix and match to use what you already have or are able to grab on your next grocery run without needing to make a special trip. We ended up using differently shaped chocolates from a Pot of Gold box we found in the back of the pantry that we completely forgot about. Don’t have M&Ms on hand? Try making the robots’ arms and legs with Cheerios and chocolate instead! Think of these little guys as inspiration when making your own crew of robots versus there being a right or wrong way to do it. Kids will love creating their own little robot treats!!

what you need:
- Mini Reese Cups
- M&Ms (regular size)
- Mini M&Ms
- Chocolate melting wafers
- Mini Mars bars (or similar)
- Chocolate chips
- Assorted boxed chocolates (for the head)
- Toothpicks
how-to:
Step 1
Begin by laying out all the chocolates you need for one robot. If you’re making these with kids, it helps to count out exactly how many you’ll need and have them ready to use in small bowls or on a work surface of wax or parchment paper. To make one robot as pictured above, you’ll need:
- 16 regular sized M&Ms
- 2 mini M&Ms
- 2 mini Reese Cups
- 1 mini Mars Bar
- 1 chocolate wafer (cut in half)
- 1 boxed chocolate
- 1 chocolate chip
- 1 toothpick
Step 2
Put a handful of chocolate melting wafers into a bowl and microwave in 30-second increments until melted, stirring every 30 seconds to avoid scorching.
Step 3
Start by assembling the M&Ms into the robot’s arms and legs. Each leg is made of 3 M&Ms stuck together with melted chocolate. Use the toothpick to apply the chocolate, stick the M&Ms together and let them harden on the wax paper. Do the same for the robot’s arms, but this time with 5 M&Ms and try to give the arms a slight curve to them. Set the arms and legs to the side of your wax paper to harden.
Step 4
While the arms and legs dry, we’ll work on the body and head. For the body, simply attach the half chocolate wafer onto the Mars Bar with melted chocolate. Use more melted chocolate to apply little dots along the outside curved edge of the wafer to look like miniature bolts.
Step 5
For the head, pick any shaped chocolate from a box of assorted chocolate – different shaped chocolates give the robot a different look and personality! You can really use any mini chocolate here, even if you don’t have a whole box of chocolates to choose from. A mini chocolate bar that is a slightly different size from the body (like a Snickers or the slightly larger but still mini Reese Cups) would also work! Use melted chocolate to attach the two mini M&Ms for eyes, and a chocolate chip on top for the robot’s radio antenna.
Step 6
Let all the separate pieces dry until the melted chocolate holding them together has hardened completely.
Step 7
Time to assemble this robot! We liked doing this flat on the work surface vs standing up tall. Attach an arm on either side of the body and put the head on top, using as much melted chocolate as needed. Attach the two legs onto the bottom. Set aside to let the new melted chocolate harden.
Step 8
Finally, we attached the two mini Reese Cups to the bottom of the legs for the feet. We found that doing this step vertically was helpful so that you can make sure your robot can actually stand! Lean him against a drinking glass to help him dry in a good upright position if you like.

Another hint: if assembling these robots is proving difficult for littler hands, you can easily adapt this to be made flat on a graham cracker instead. That way, you don’t need to worry as much about the robot being structurally sound enough to stand up!

Photos by Camilla Brenchley.