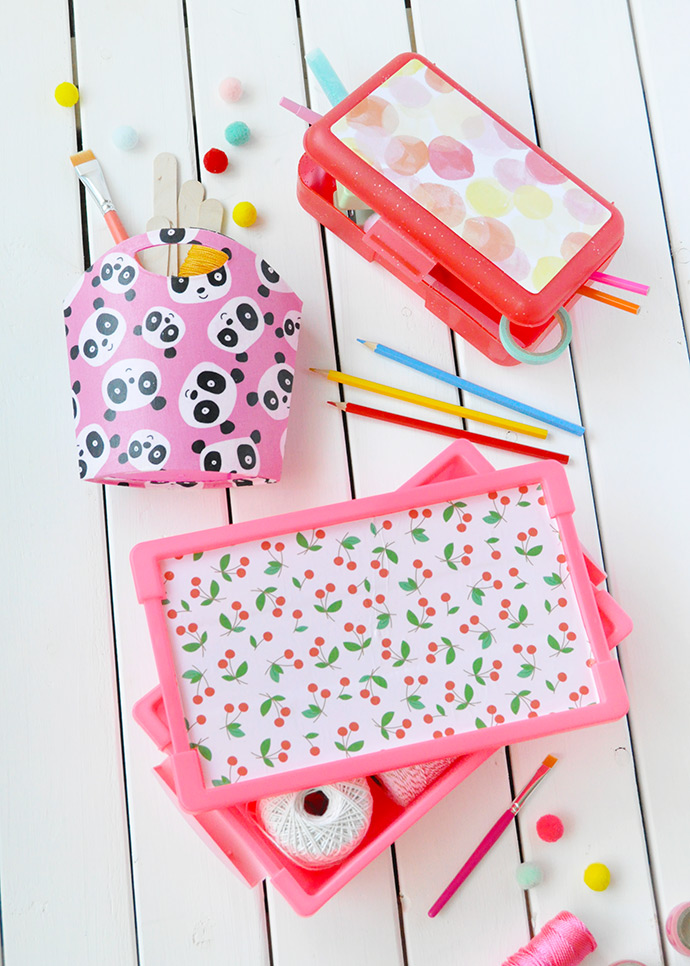
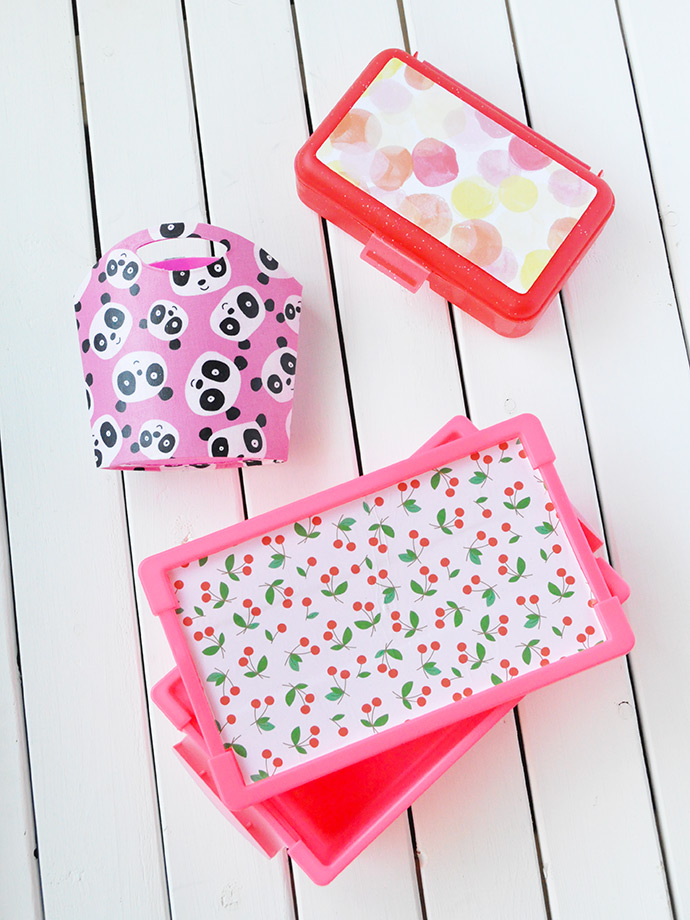
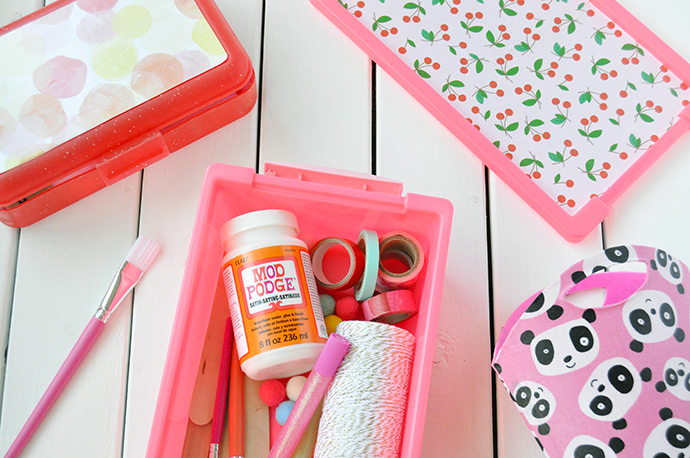
Did you know that May is Mod Podge Month? We’re already huge fans of everything Mod Podge and we’ll take any excuse to use it even more! Today we used Mod Podge to turn these plain storage bins into adorable craft storage!
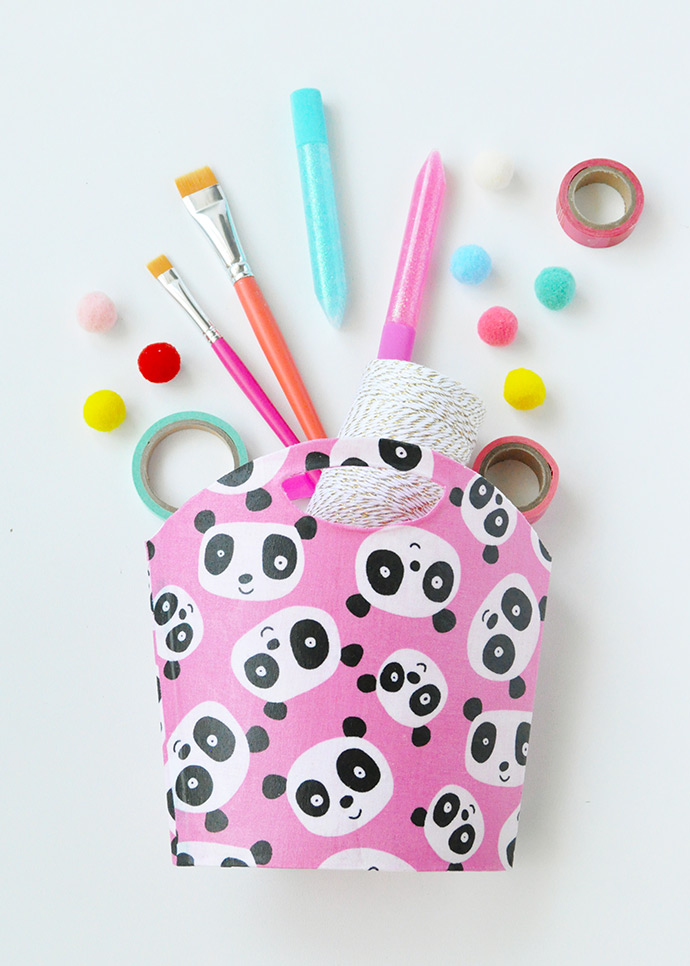
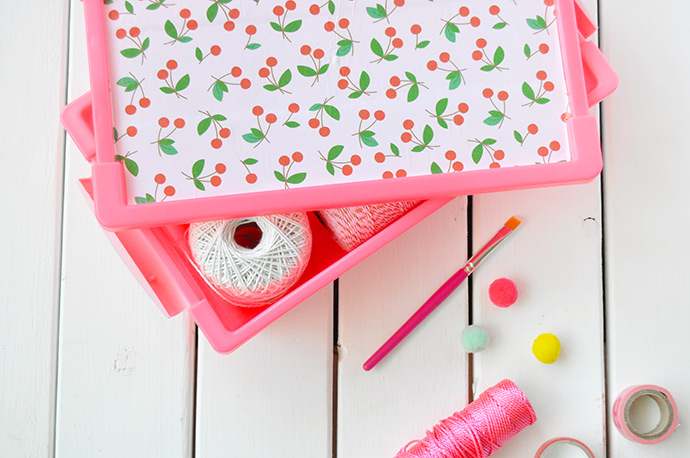
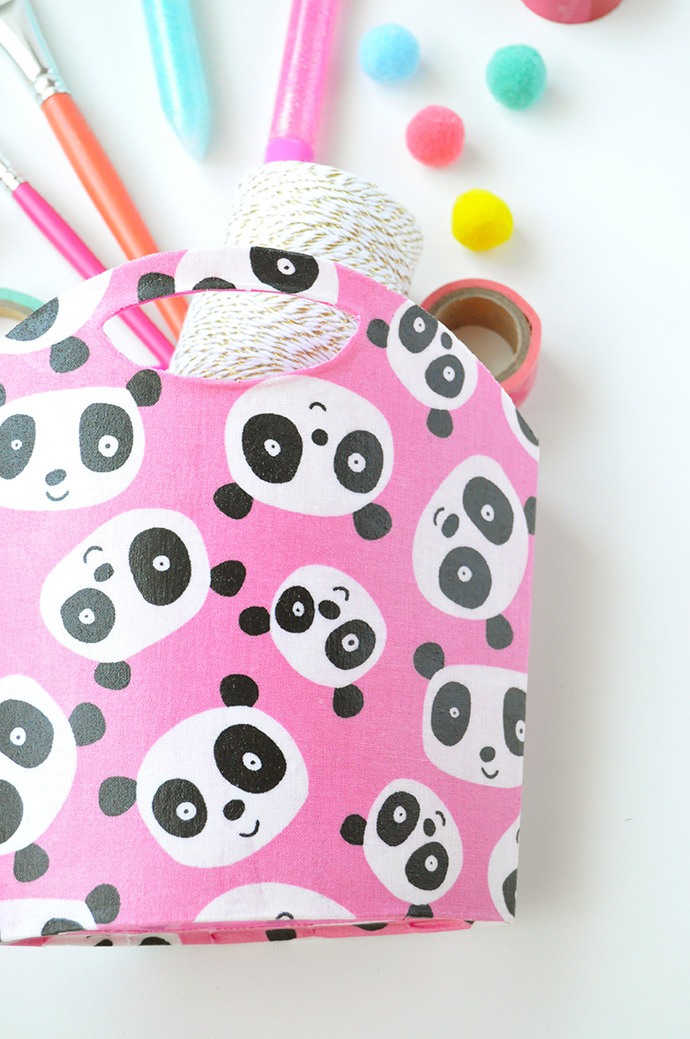
Picking colorful patterned paper and fabric that all goes together, and with the colored bins, was super fun. If you already have a big collection of fabric and scrapbook paper, then you probably have some you can use up for this project! We especially had fun making the panda-covered bin – fabric and Mod Podge are a match made in heaven! Scroll down to see tips and tricks for making your very own decoupage storage bins!
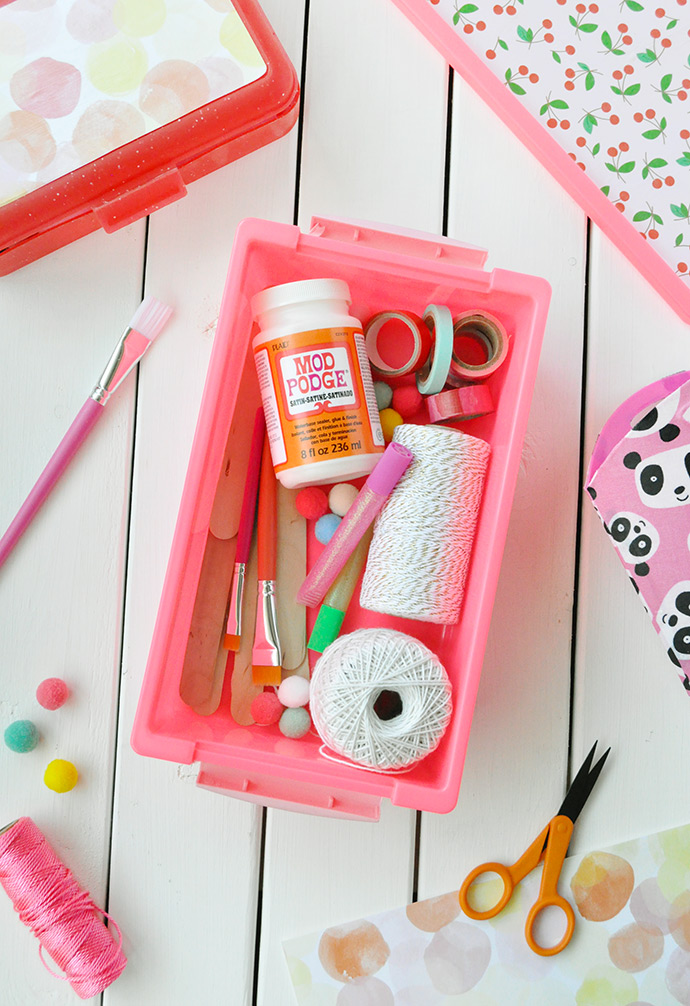
what you need:
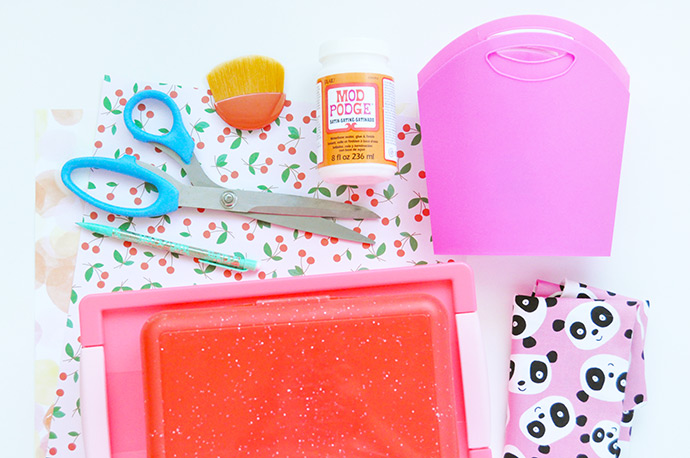
- Mod Podge
- Mod Podge brush
- Storage containers
- Patterned paper / fabric
- Scissors
- Pencil
how-to:
Step 1
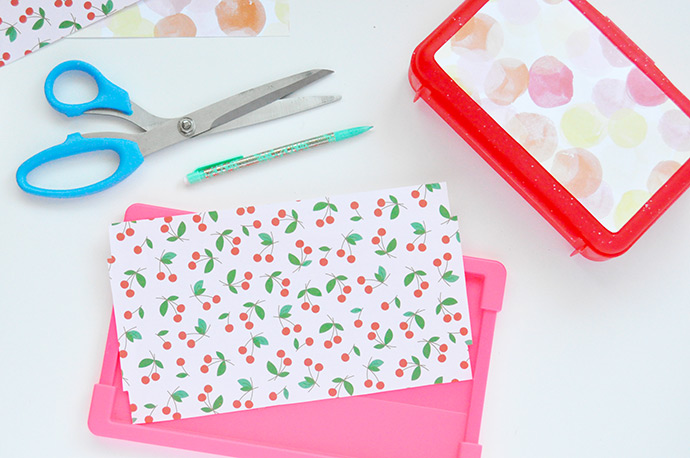
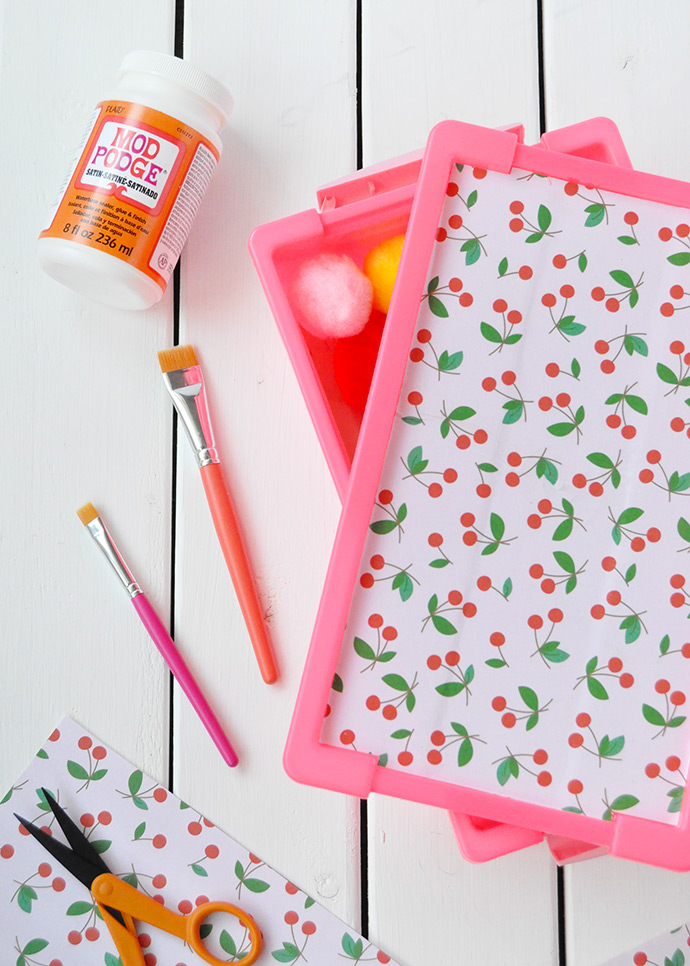
First things first: decide which paper or fabric you’d like on each storage container. Once you decide that, trace the container onto the paper and cut out so that the paper fits the area you want to cover.
Step 2
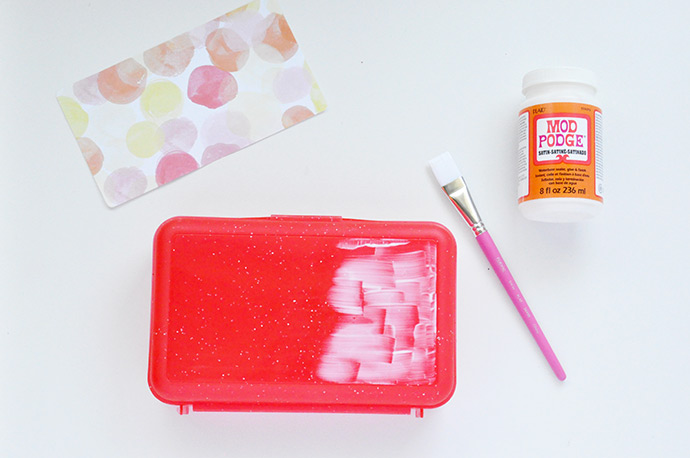
Apply a coat of Mod Podge onto the surface – depending on the size, it can be best to work in sections so that the Mod Podge doesn’t dry before you’re ready.
Step 3
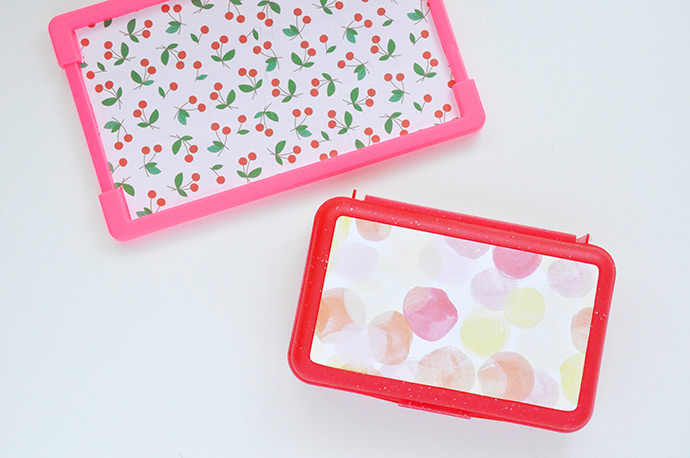
Place the paper onto the Mod Podge covered area, pressing to smooth and adhere the paper. If you still have to add more Mod Podge under the paper, carefully lift the corner so that you don’t make any creases, apply the Mod Podge, and again press the paper to adhere. Once all attached, apply another coat of Mod Podge on top to seal. Let dry.
Step 4
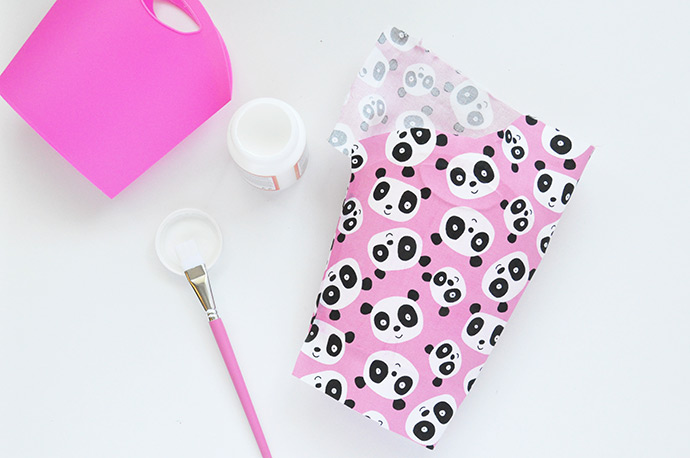
For the rounded plastic bin, we used patterned fabric and applied it in almost the exact same way. Apply Mod Podge onto the surface – in this case, we coated one side first. Apply the fabric onto this area, pressing to adhere and keep smooth. Don’t worry about the edges or handle hole for now, we’ll fix those up later. Apply more Mod Podge to the other side of the bin and press the rest of the fabric down on that side. Trim only the side edge for now so that it lines up nicely. Let dry.
Step 5
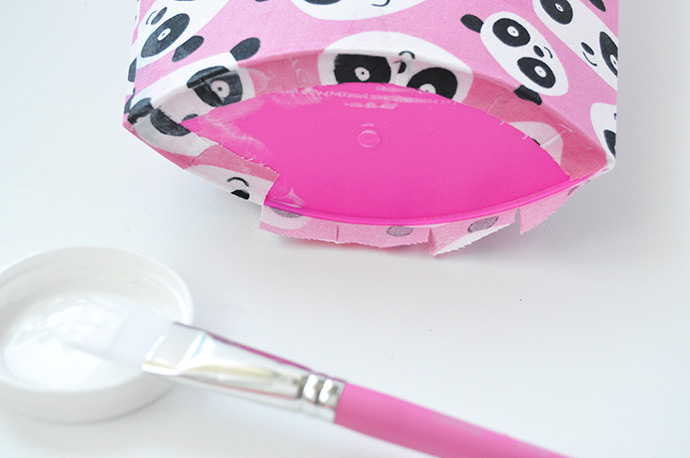
Trim the excess fabric along the bottom edge of the bin so that it’s an even 1/2″ all the way around. Cut snips into this excess and use Mod Podge to attach to the bottom of the bin, applying more on top to seal in place.
Step 6
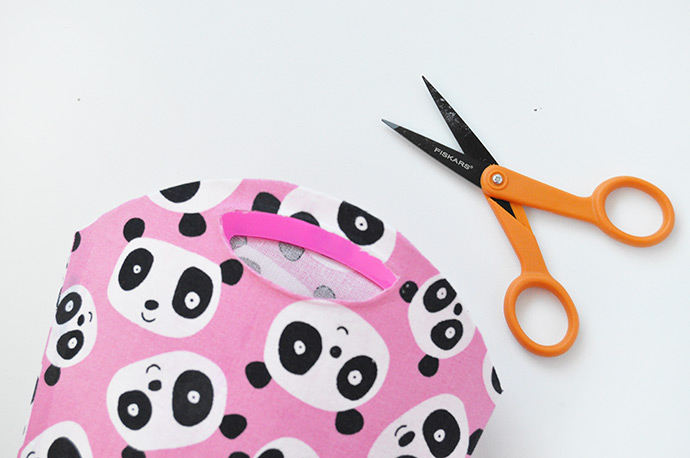
Apply a coat of Mod Podge to both sides of the bin to seal the fabric. Once dry, use scissors to trim the excess along the top edge and in the handle hole. Now that the fabric is sealed with Mod Podge, it shouldn’t fray as you cut it.
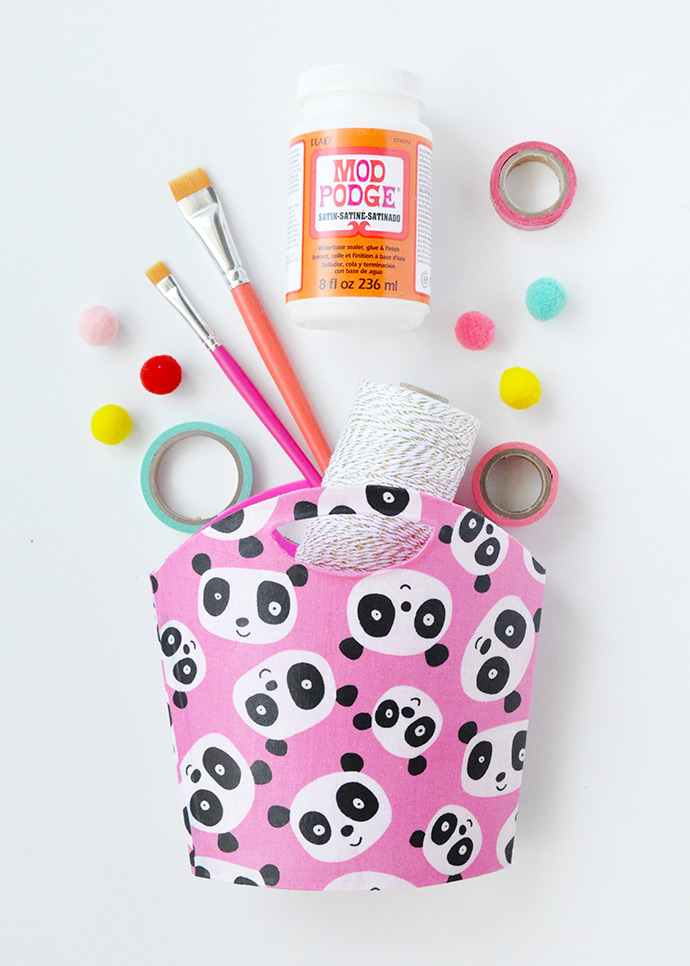
Fill your newly decorated bins with whatever you like! We, of course, went straight to craft supplies.
Happy crafting!!
This post is sponsored by Plaid Enterprises.