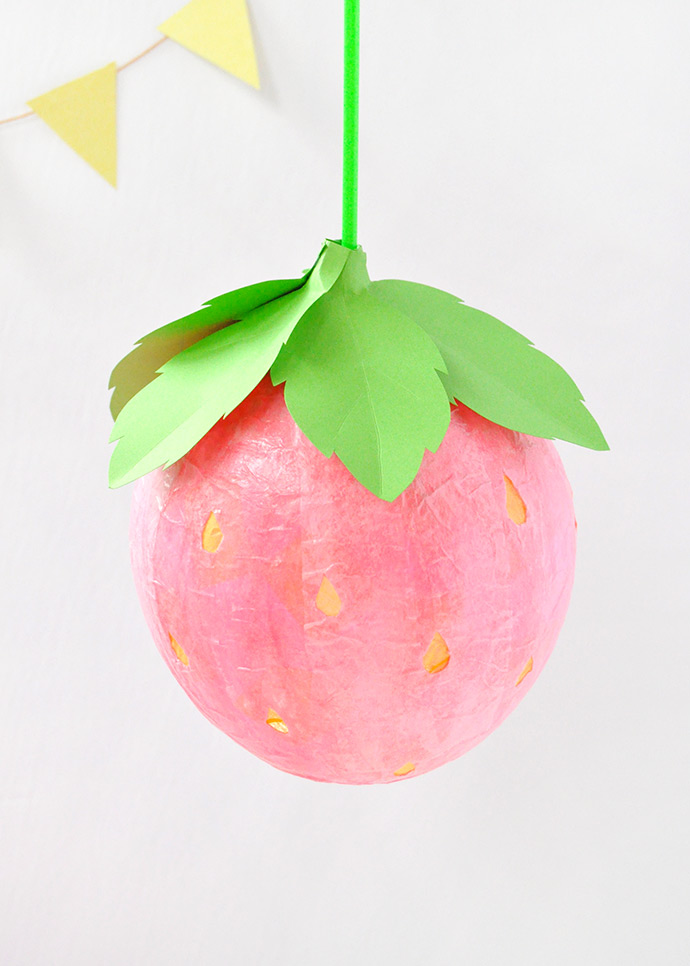
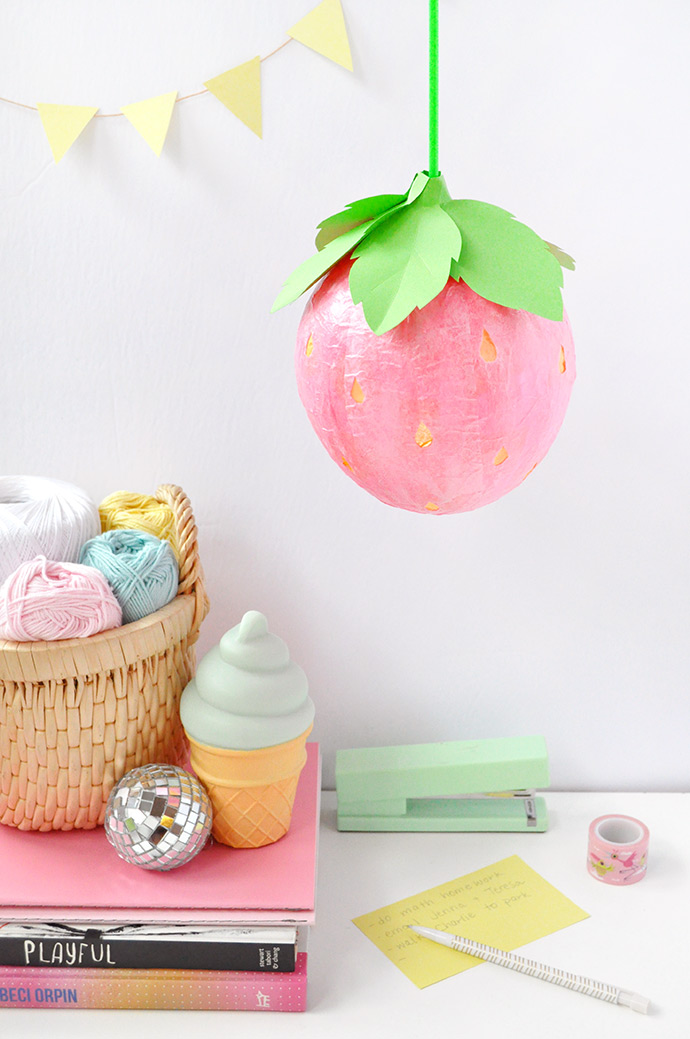
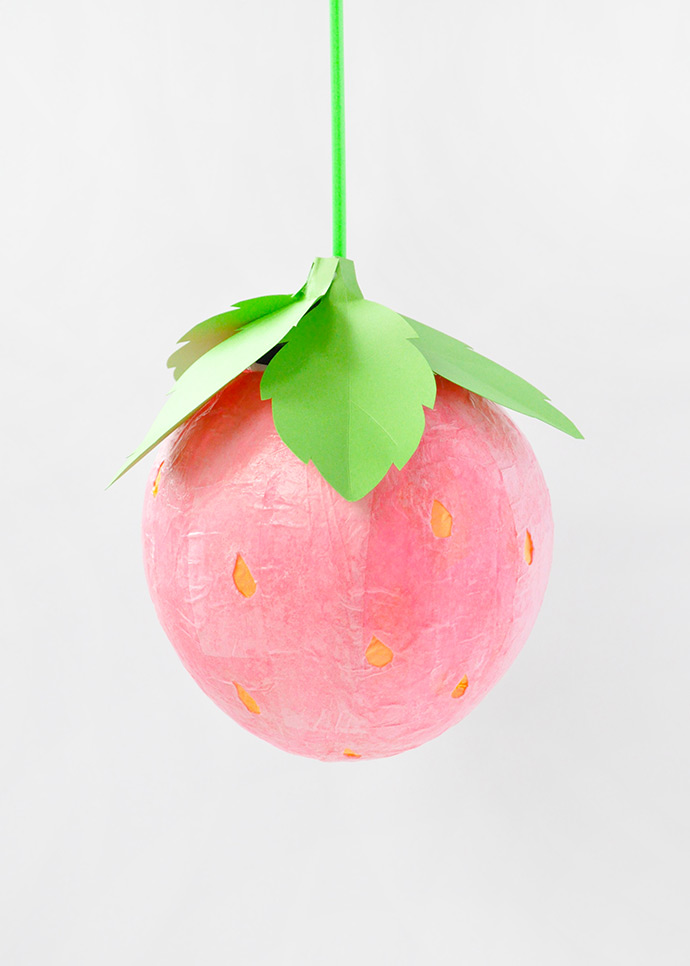
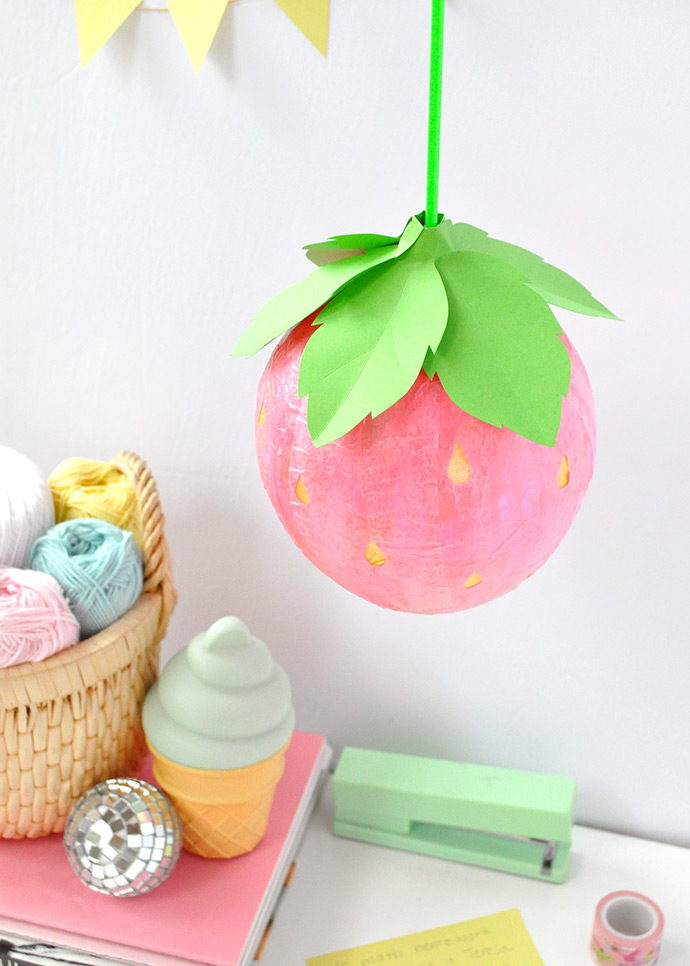
Give your room a makeover with this sweet DIY strawberry lantern! We love projects that use supplies you probably already have at home, or you can find easily at the dollar store. If you’re like us and are constantly looking for new and fun DIY projects to make to decorate your space, this lantern is just the ticket!
Make one or make a whole basket-full! We use Mod Podge and tissue paper on a regular sized balloon for this lantern, but you could even try using water balloons and make a bunch of minis instead! Keep reading to see the full how-to.
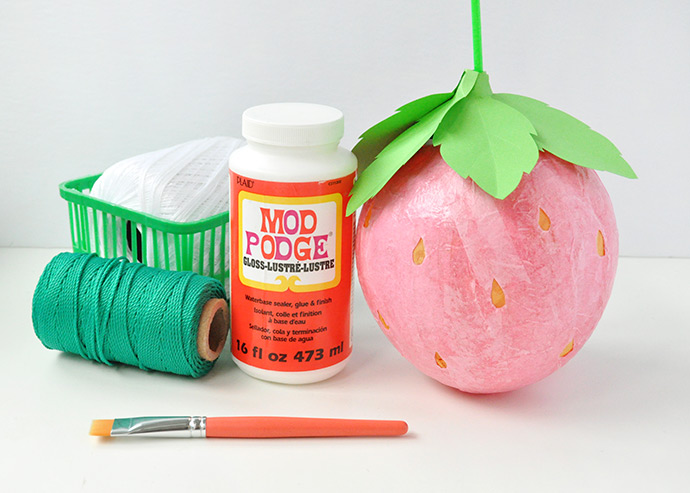
what you need:
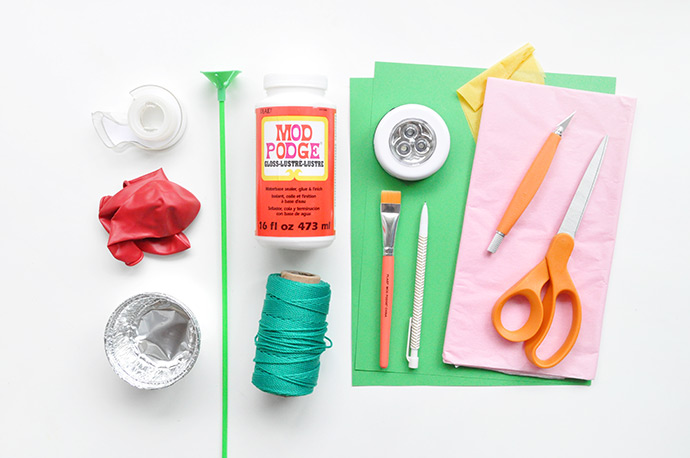
- Mod Podge (Gloss)
- Brush
- Balloons
- Clear tape
- Small tins / plastic cups
- Green cord
- Plastic balloon stick
- Battery-operated push light
- Pencil
- Hot glue gun
- Green cardstock
- Tissue paper (pink/red and yellow)
- Scissors
- Craft knife
how-to:
Step 1
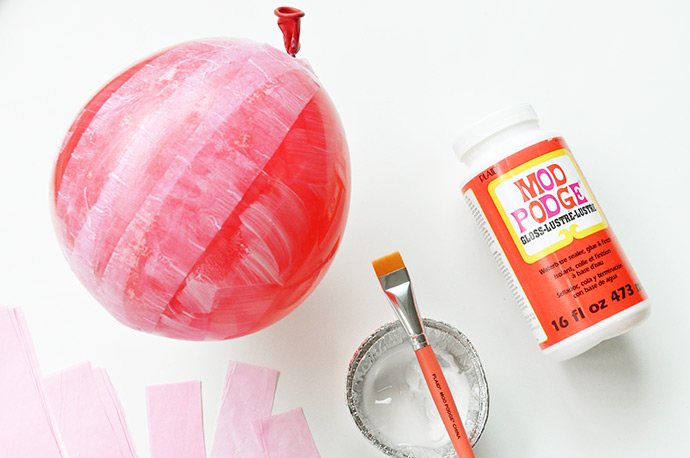
Inflate your balloon and rest on the tin / plastic container to prevent it from rolling around. Cut strips of tissue paper about 1″ wide. Apply Mod Podge onto the balloon, lay a tissue paper strip on top, and then apply more Mod Podge on top to seal it in. Repeat this, overlapping the strips each time working your way around the balloon.
Step 2
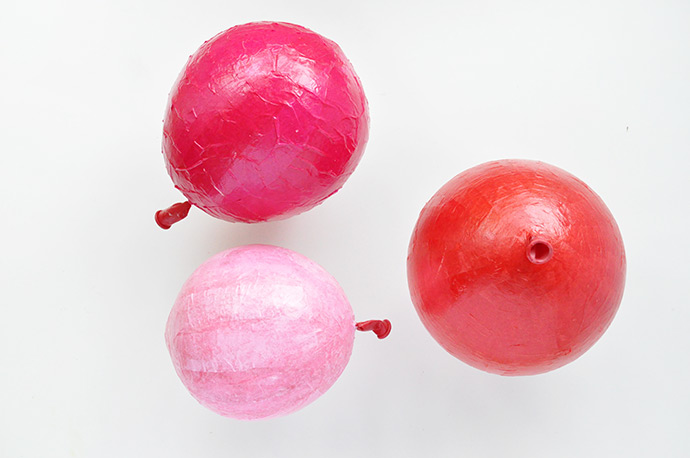
Keep applying tissue (and letting dry in-between if it becomes too difficult to work with) until you’ve done at least 3 layers. Let dry completely.
Step 3
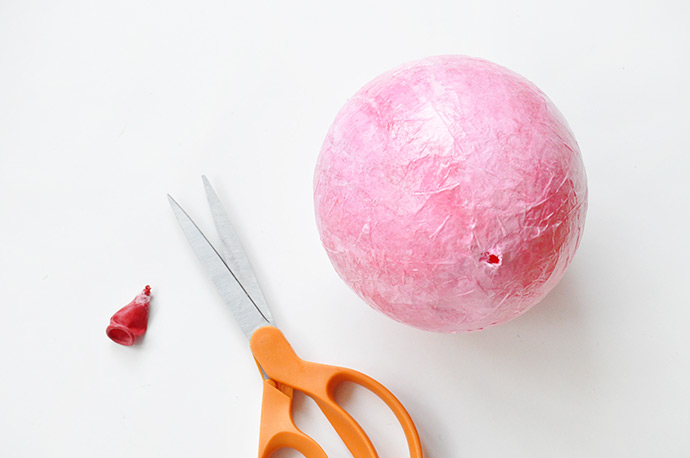
Cut the balloon tail off and discard. You might notice that the balloon inside starts to peel away and deflate.
Step 4
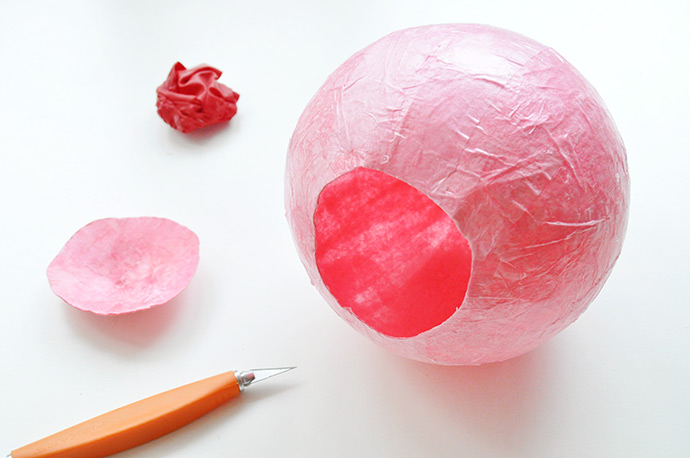
On the end of the balloon opposite the tail, cut a small circle just smaller than your battery-operated light. You can use a pencil to trace this on before cutting with a craft knife, or eyeball it and adjust. Remove the delated balloon.
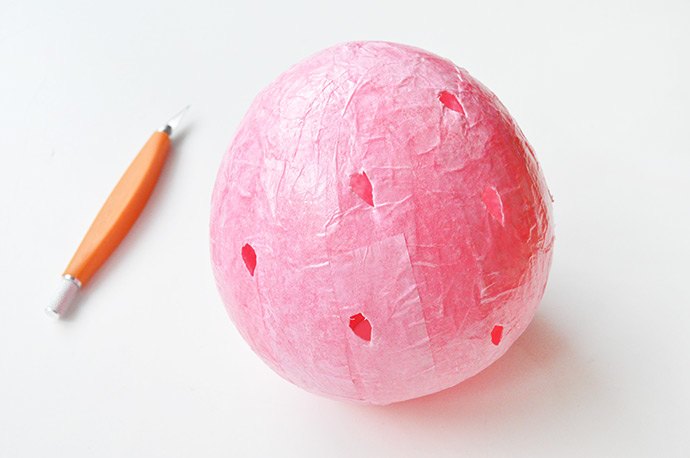
Step 5
Use the craft knife to cut seed-shaped holes into the tissue paper.
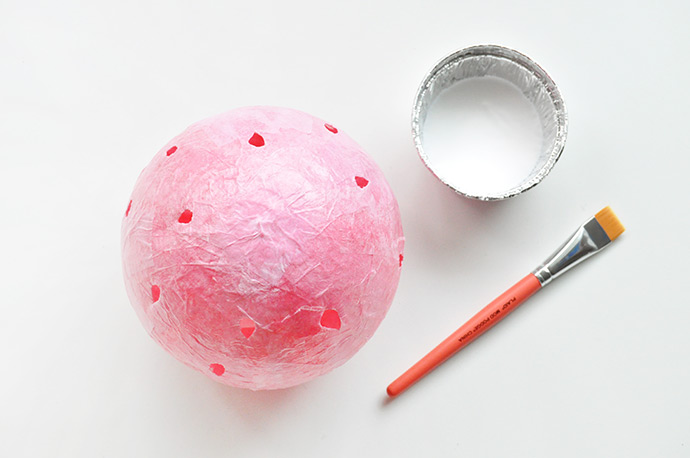
Step 6
Apply a few layers of pink tissue paper and Mod Podge to cover the small hole on the bottom left from the balloon tail.
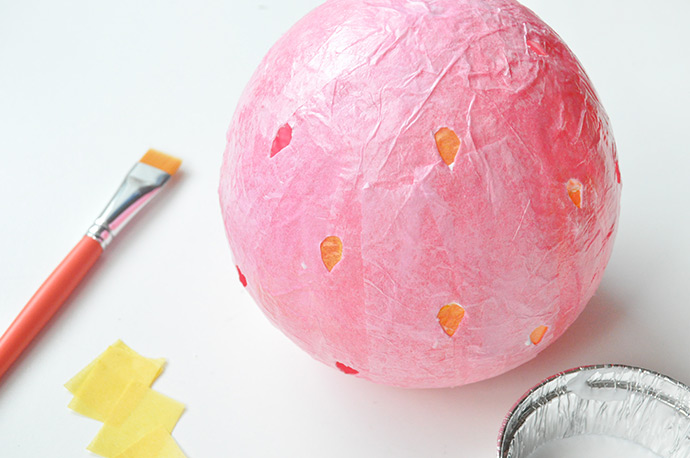
Step 7
Apply a thin coat of Mod Podge around each of the holes on the inside of the tissue paper berry and then attach a small square of yellow tissue paper.
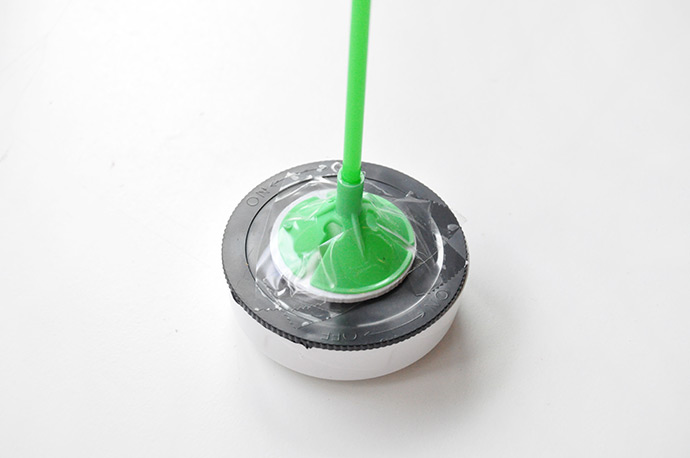
Step 8
Tape the balloon holder to the bottom of the battery-operated light. (Use hot glue to attach the balloon holder to the stick if they’re not already secure and strongly attached.)
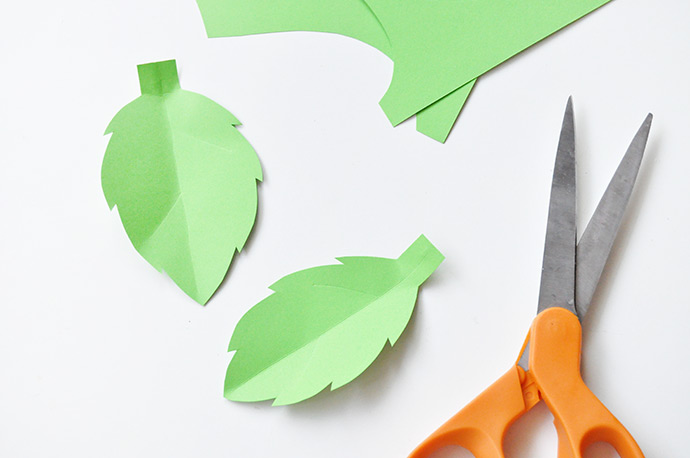
Step 9
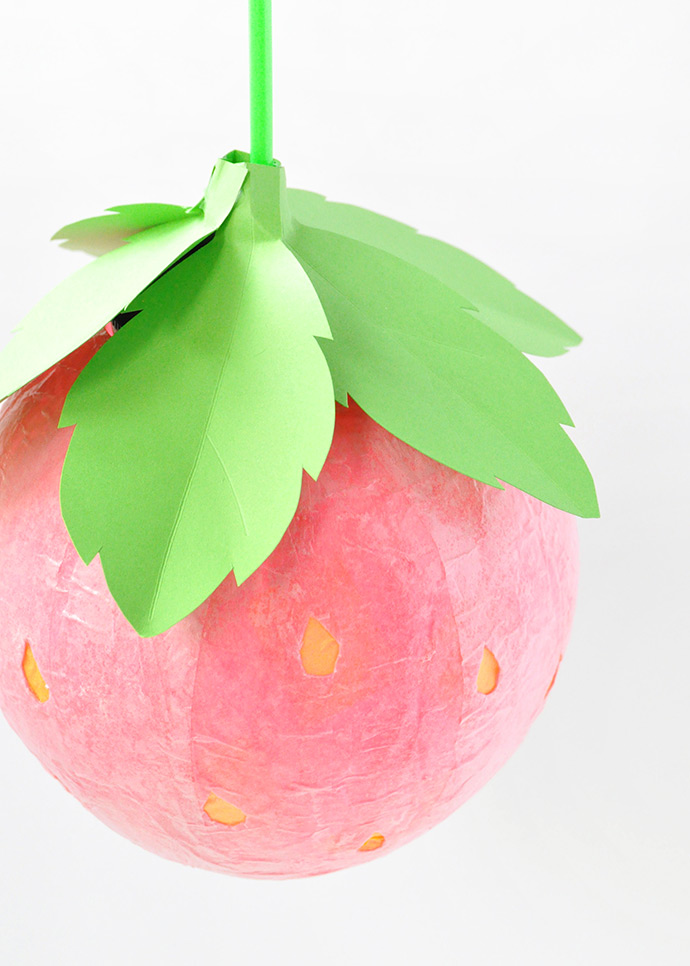
Draw and cut out leaves from green cardstock – about 5 will do. Fold or crease the leaves for more depth, and don’t forget to leave a small tab, as shown above, on one end of each leaf.
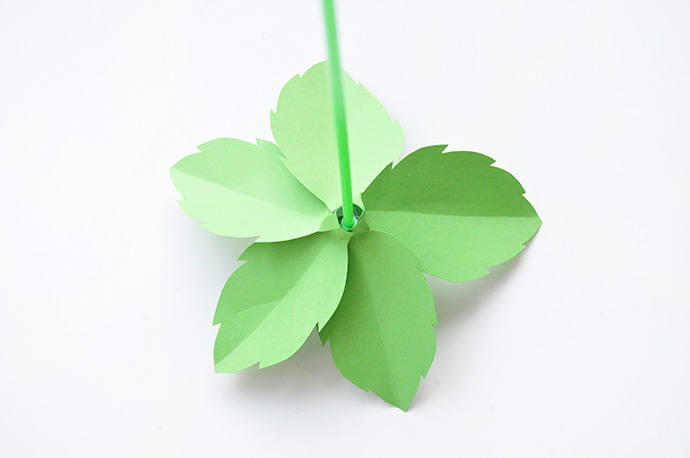
Step 10
Use small dabs of hot glue to attach the leaves onto the balloon holder and light.
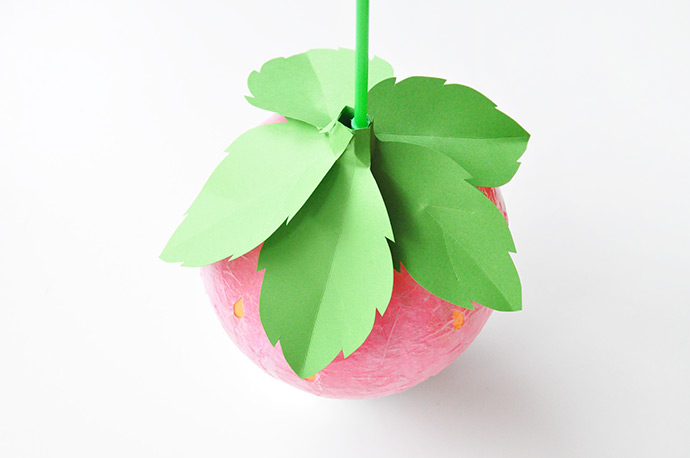
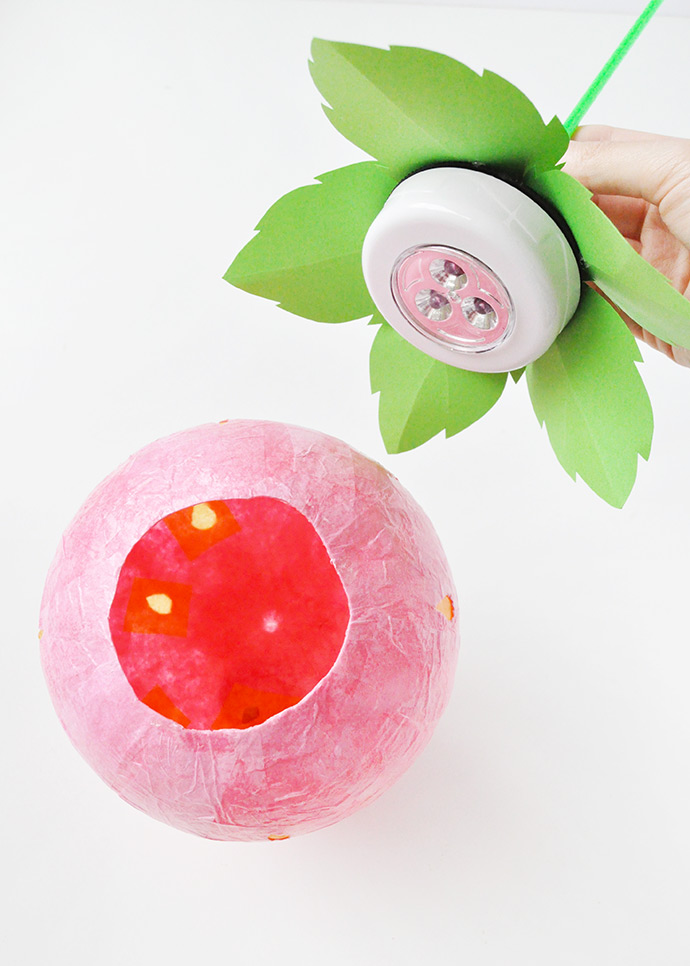
Step 11
To put the leafy stem onto the berry, simply fit the light into the paper berry. To turn the light on and off, you just have to remove and replace the paper berry.
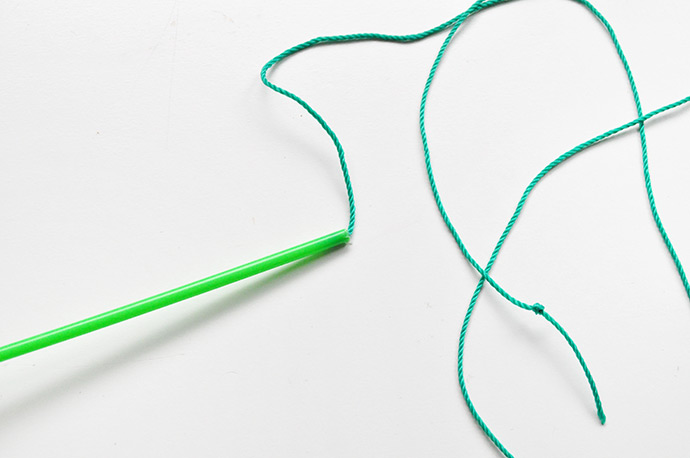
Step 12
Tie or use hot glue to secure a piece of green cord to the top of the balloon holder so that you can hang the lantern from a hook.

Happy crafting!!
This post is sponsored by Plaid Enterprises.