This post is sponsored by Plaid Enterprises.

Can you believe 2018 is almost over already? We sure can’t! With New Year’s Eve right around the corner, we’re sharing these super simple DIY decorations for your New Year’s party this year! We love crafting with paper plates around here, and they lend themselves to these DIY clock faces perfectly. Kids will love helping with this project but we think the finished craft has such a clean, modern look that it works perfectly for a grown-up or kid-friendly New Year’s Eve bash!
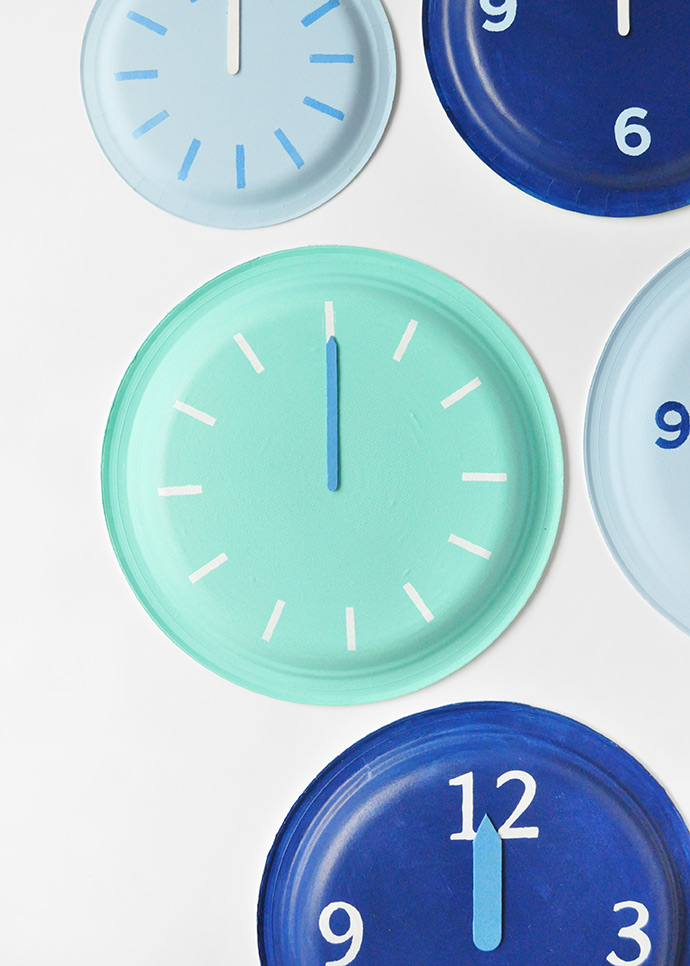
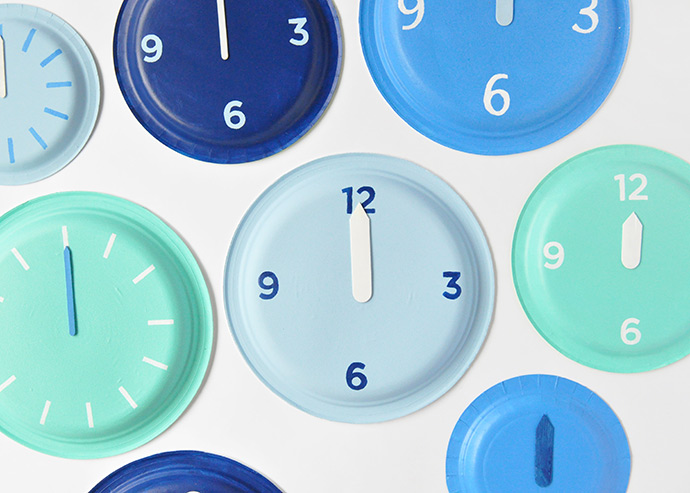
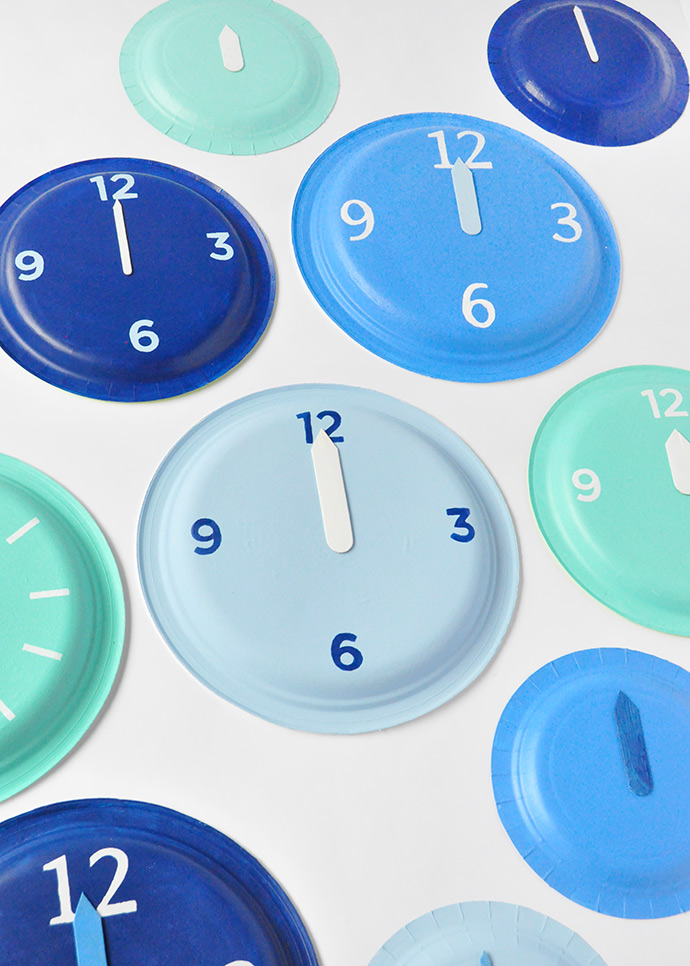
We chose a few of our favorite blue shades of Folk Art acrylic paint for a cool, wintery look but of course you can mix and match any colors you like to exactly match whatever theme you like. Silvers, golds, and other metallics would look pretty great here! Keep reading for the full instructions below!
what you need:
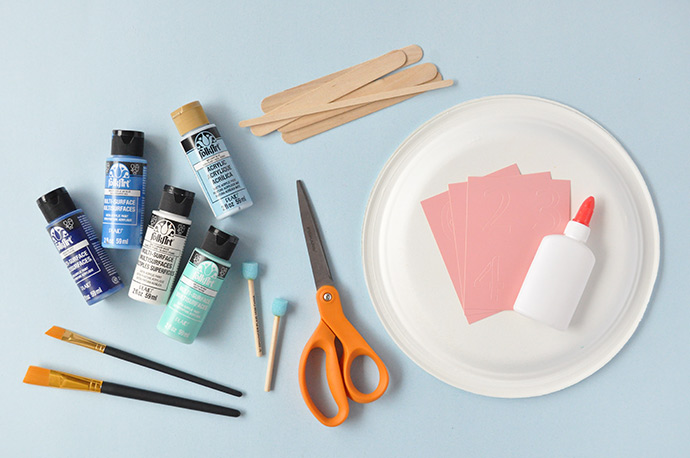
- Folk Art Acrylic Paint Set
- Paintbrushes
- Number stencils
- Foam pouncers
- Paper plates (various sizes)
- Popsicle sticks
- Scissors
how-to:
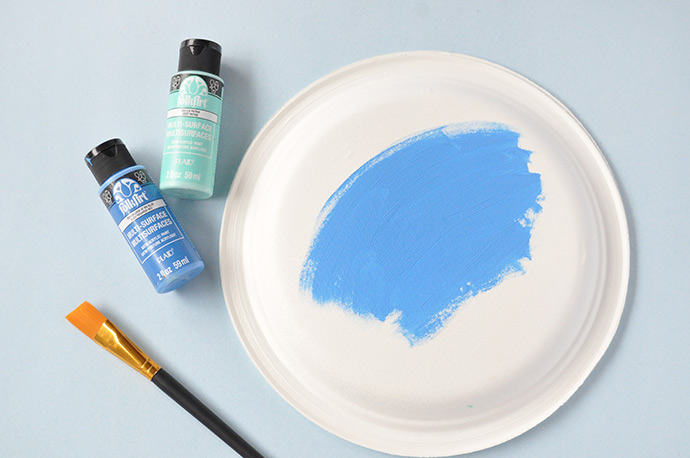
Step 1
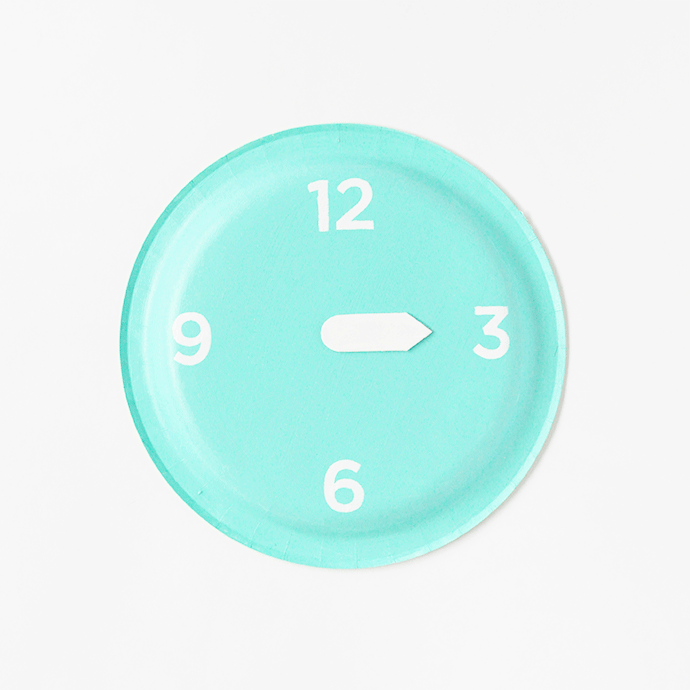
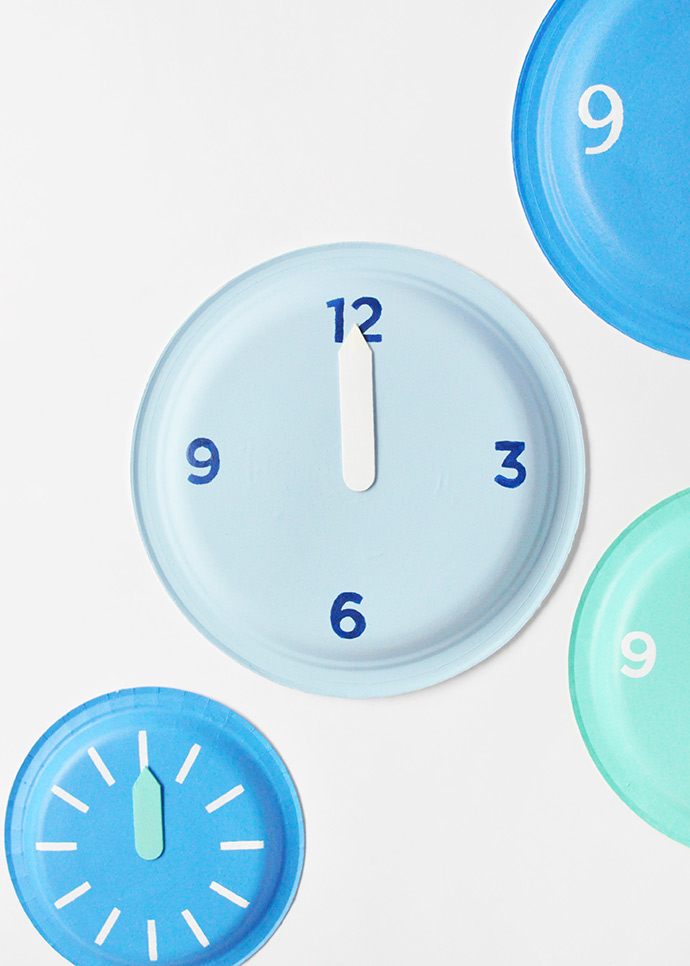
Begin by laying out all your paper plates on your work surface. Depending on the shape and size of your plates, you can paint either the front or back side – for ours, we painted the backs so that the clock faces would have a nice raised face. Use whatever paint colors you like and let dry completely.
Step 2
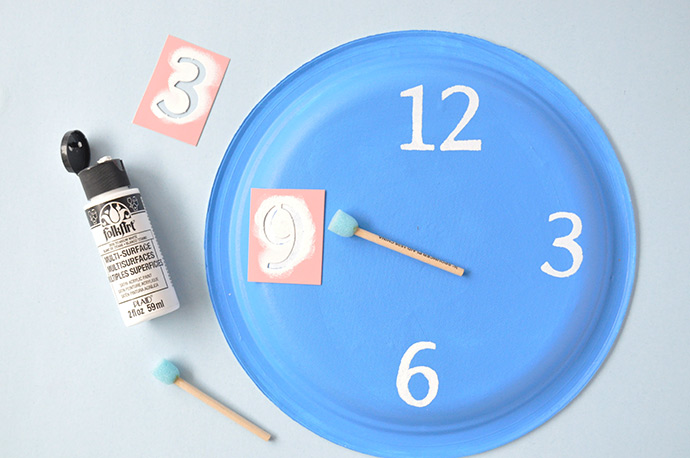
Once the paper plates are dry, pick out your stencils and arrange them onto the plates at the 12, 3, 6, and 9 o’clock positions. Squeeze some contrasting paint onto a paint palette and use the foam pouncer to dab up and down vertically so that you have some paint on the pouncer, but not too much. Use one hand to hold the stencil in place on the plate and the other to apply the paint moving the pouncer in that same up and down motion. Make sure not to use too much paint at once to prevent any messy edges on the stencil. Do this for all the numbers on the clock and let dry.
Step 3
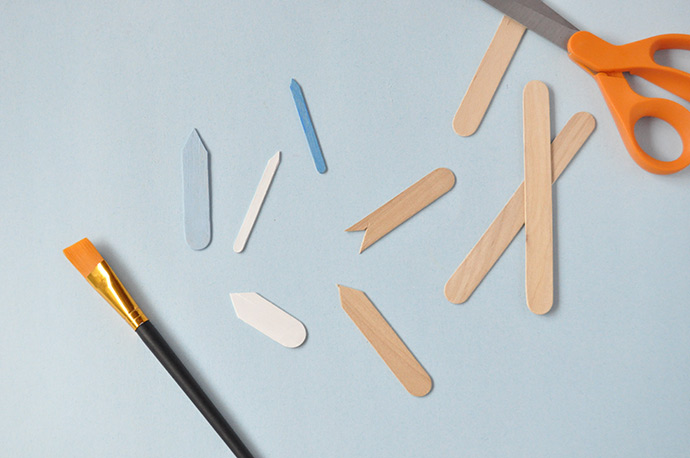
To make the clock hands, cut a popsicle stick so that it fits the face of your paper plate clock nicely. Apply a coat of contrasting paint and let dry.
Step 4
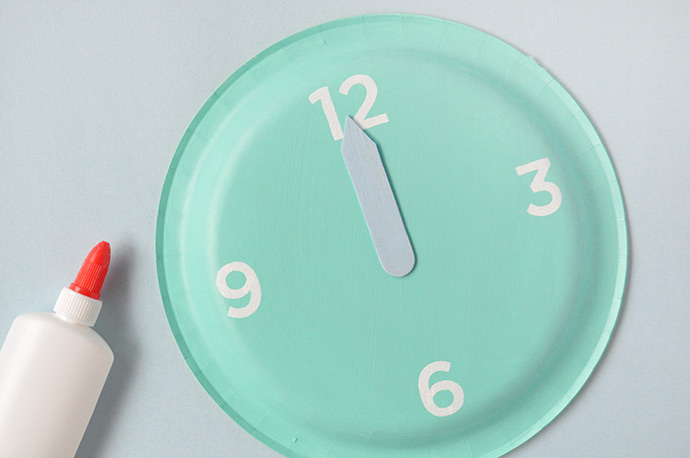
Once everything is dry, use a dab of glue to attach the hand onto the clock face at midnight. Repeat for as many clocks as you wish!
Use rolls of tape to secure the plates onto the wall as decorations for your new year’s eve party!
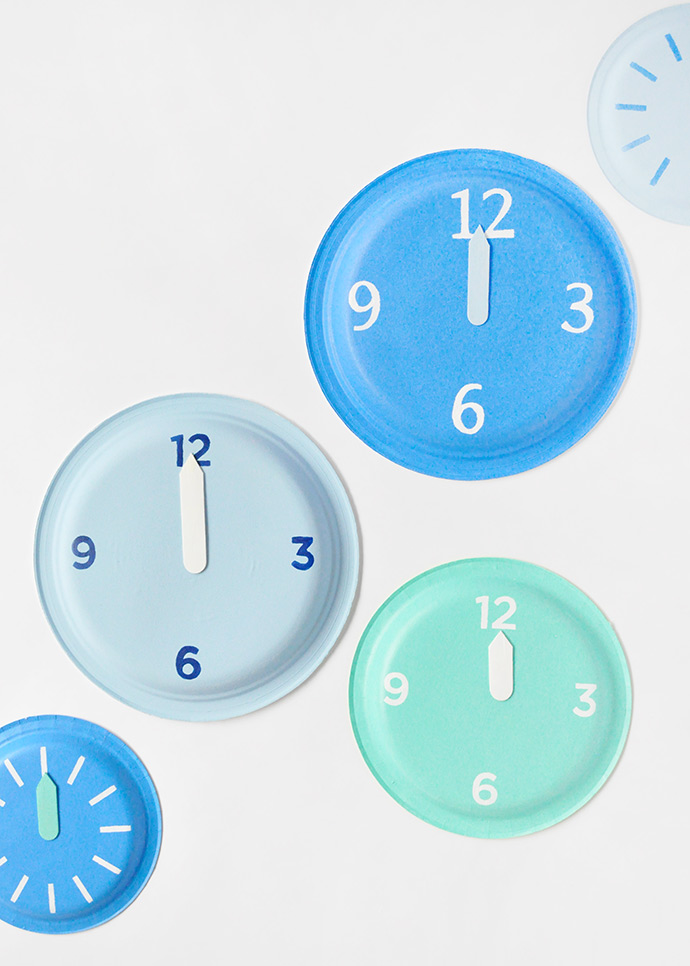

We used number stencils on the bigger paper plates, but on the smaller ones we left them numberless or used the I stencil to make 12 tick marks around the clock face.
Happy New Year!!