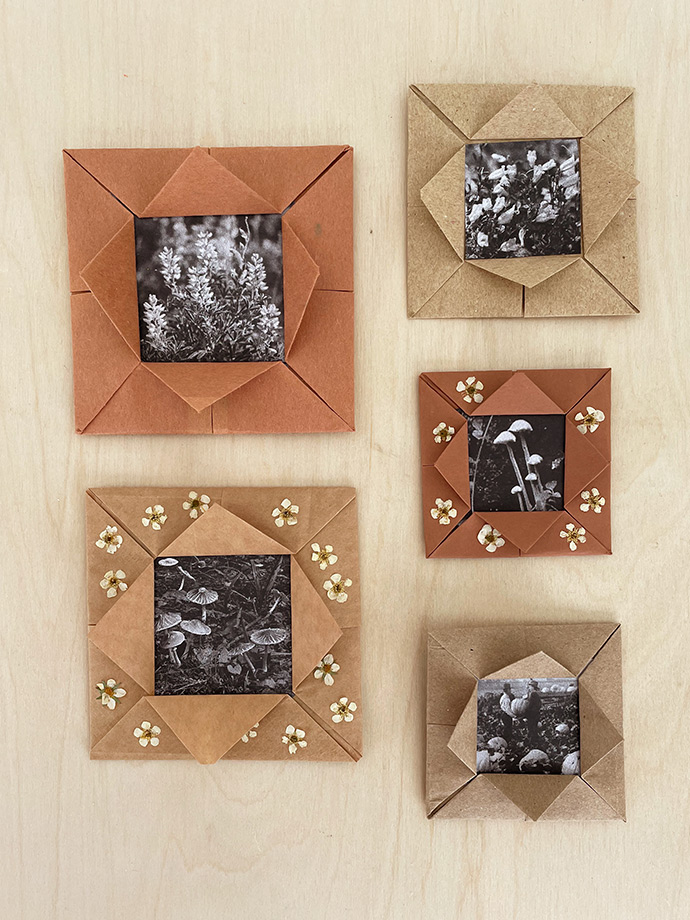
Fall is right around the corner, and we couldn’t be more ready for it. You might recognize these frames from a blog post several years ago now – they were inspired by a method included in a vintage craft book that we’re sharing on Instagram Reels today, where you can see the full video tutorial. This time, we used neutral tones and added on a few pressed flowers for a more natural look. We found these woodland photos online and love the cozy fall feeling they give – scroll to get the links to all these photos below.
what you need:
- Paper
- Scissors
- Glue (gluestick and white glue)
- Printed photos
- Pressed flowers (optional)
how-to:
Step 1
Cut a piece of paper into a square.
Step 2
Fold one corner diagonally across to the other, making a fold. Unfold and do the same for the other two corners.
Step 3
Now fold each outer corner of the square into the center.
Step 4
Flip the paper over and fold these new corners into the center again.
Step 5
Now fold each of these corners that meet in the center back out to touch the edge of the square.
Step 6
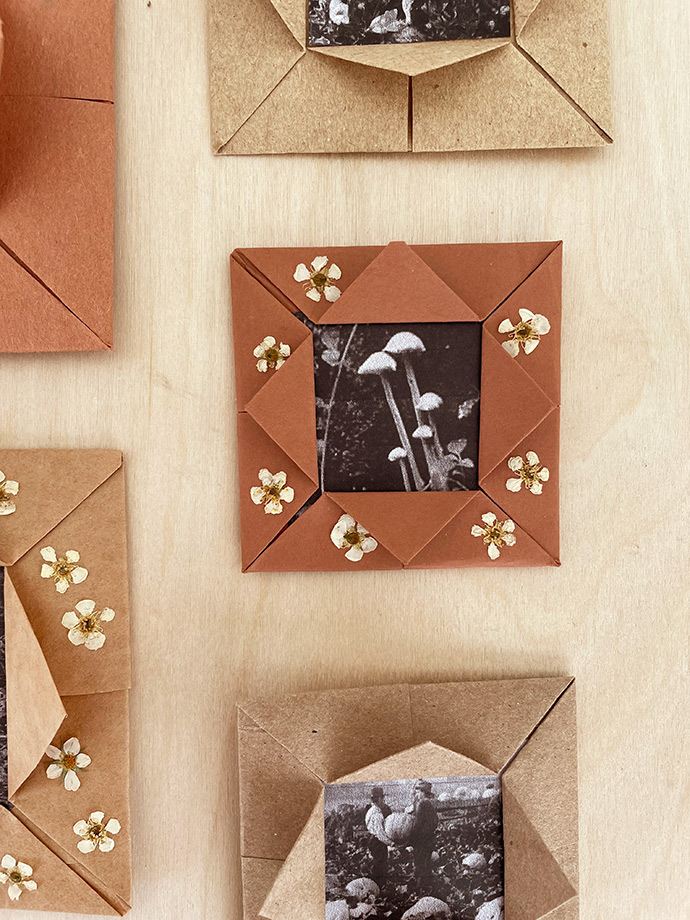
Glue your printed photos into the center of the paper frame, trimming if needed.
Step 6
Apply white glue to the undersides of the paper frame – press them down to help prevent the frame from popping open.
Step 7
Decorate the frames with small pressed flowers like we did here, or with painted polka dots, use crayons to draw simple patterns, or leave as is.

We used photos from the Library of Congress website:
Bell Flower | Lupin | Gathering Pumpkins | Adirondack forest mushrooms | Woodland mushrooms
Happy crafting!