This post is sponsored by Plaid Enterprises.

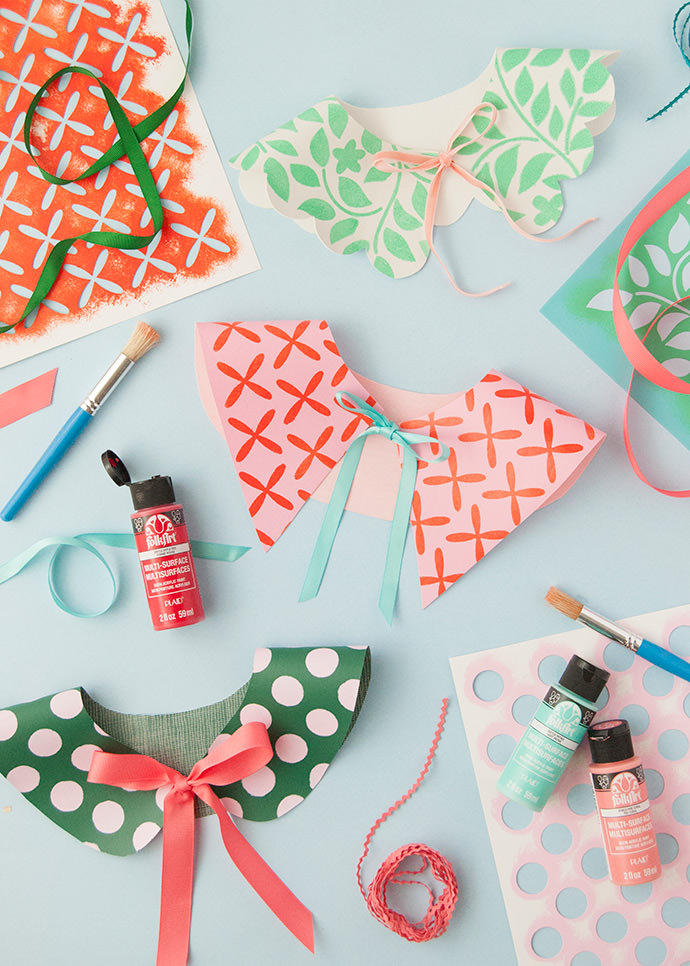
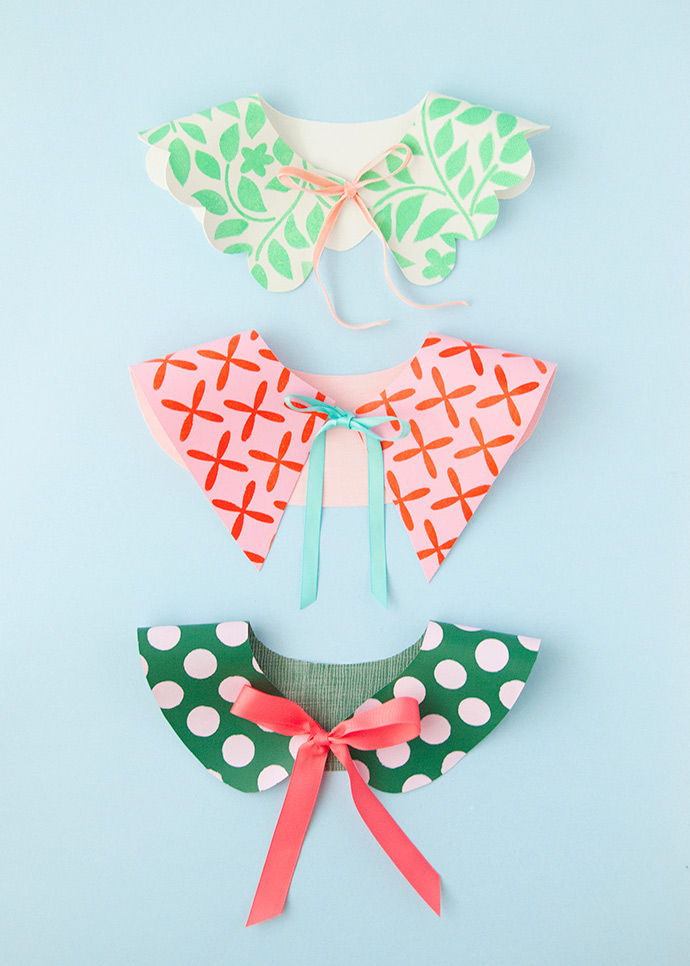
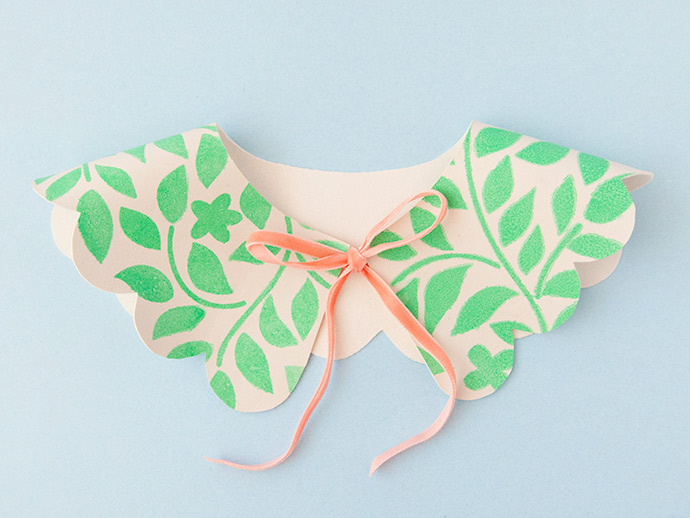
Put a new spin on old outfits with these DIY stenciled collars! There’s no need to go out and get a whole new wardrobe – these colorful collars are just what you need. Go to your local craft or fabric store and pick out a few shades of vinyl to go along with your favorite colors of Folk Art Multi-Surface Acrylic Paint. Using vinyl here is perfect for a whole bunch of reasons: 1) it comes in so many colors! 2) you can cut it without worrying about frayed edges, and 3) it takes paint beautifully!
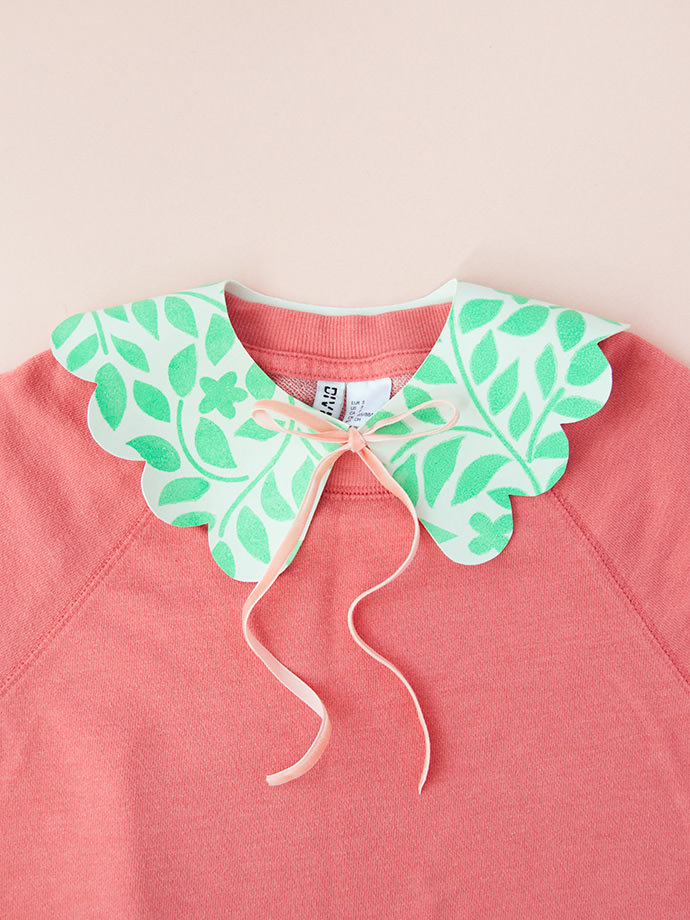
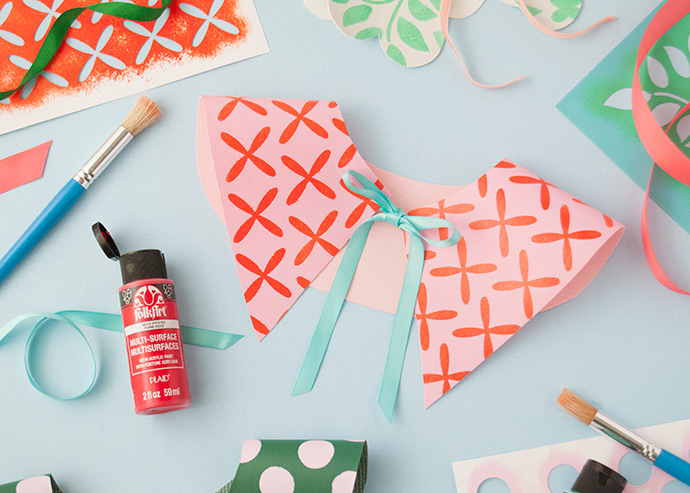
We loved using stencils to create all-over patterns for these three collars, but you could absolutely freestyle your own designs or arrange smaller stencils for a custom design. They come together so quickly too, so you’ll have a whole collection of collars in no time! Keep reading for all our tips and tricks below!
what you need:
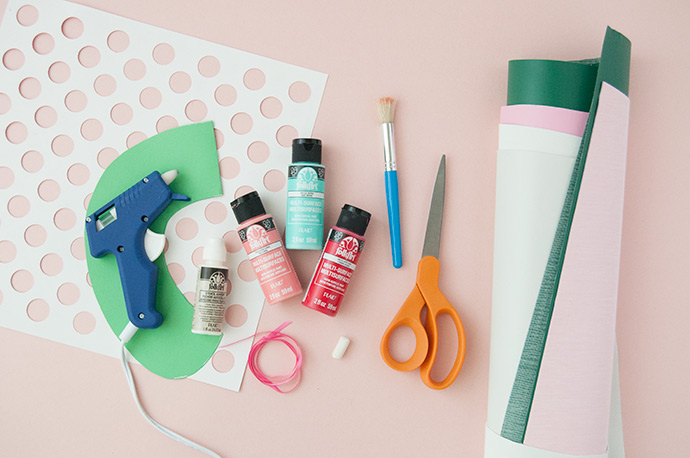
- Folk Art Multi-Surface Acrylic Paint
- Stencil brushes
- Stencils
- Stencil Adhesive
- Vinyl
- Printable templates
- Chalk
- Scissors
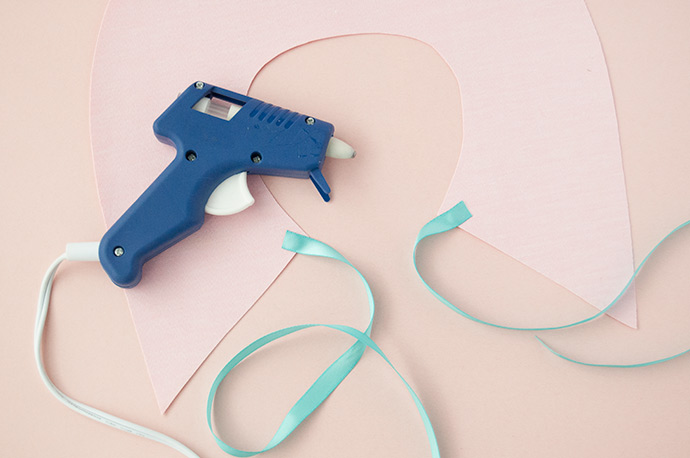
- Hot glue gun
- Ribbon
how-to:
Step 1
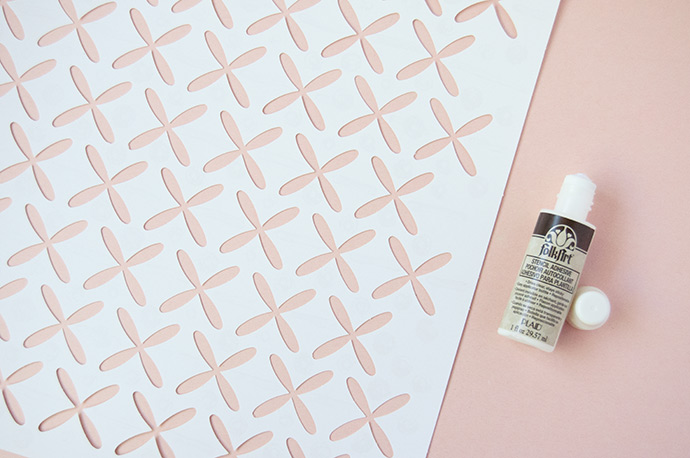
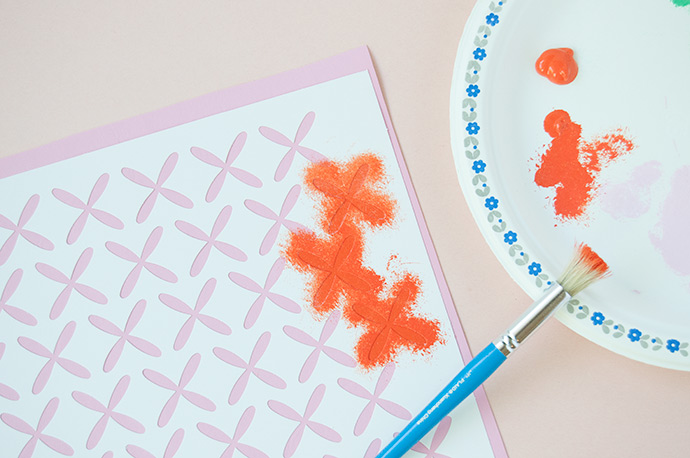
Once you’ve selected your stencil (we love large all-over patterns for these collars!) apply some stencil adhesive to the back. This goes on wet and within a minute or two dries to become tacky. This will help keep your stencil in place while you work!
Step 2
Place your stencil onto your vinyl, smoothing and pressing it to adhere it in place. Pick out your paint color and squeeze onto a paper plate or palette. Lightly dab your stencil brush into the paint and then, using an up and down motion, dab the brush onto a clean area of the paint, making sure that the paint is evenly distributed on the bristles.
Do this same up and down dabbing motion over the stencil as shown. It’s better to do one lighter coat first, and follow with a second coat than use too much paint. Too much paint could lead to blobs and a messy pattern when you remove the stencil.
Step 3
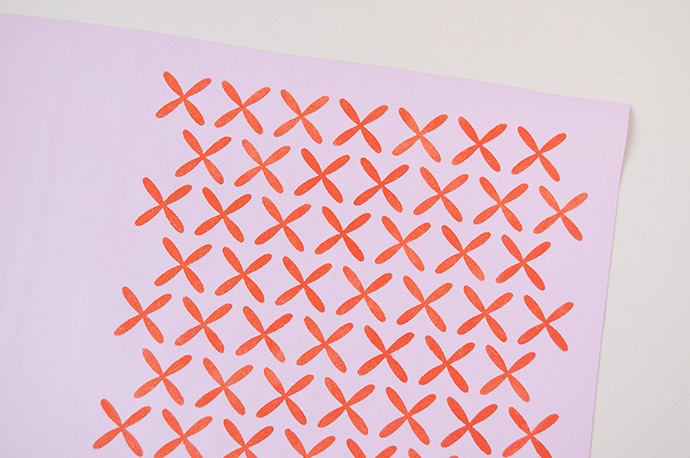
Once you’ve covered the entire stencil with as many coats as needed, carefully remove the stencil. Repeat this process until you have as much painted vinyl as you need for your template.
Step 4
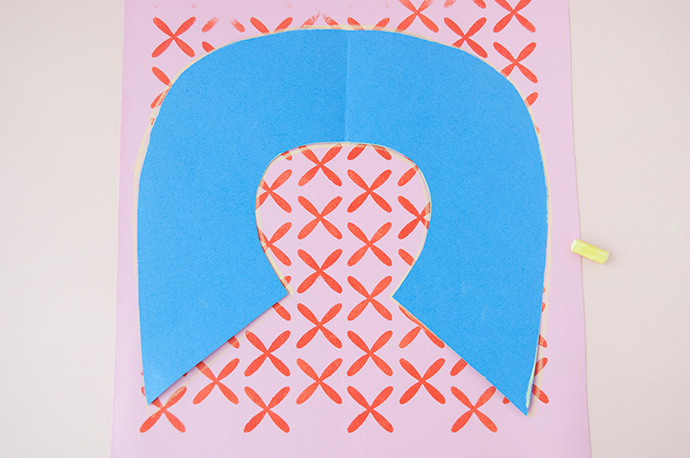
Print out the provided templates and use chalk to trace onto the vinyl.
Note: these templates can easily be adjusted or altered as needed. Trim the inner area to widen the neck hole and cut the two points to change the shape of the collar. You can even make your own template based on a favorite shirt you have! We suggest testing the template on paper first before committing and cutting out of vinyl.
Step 5
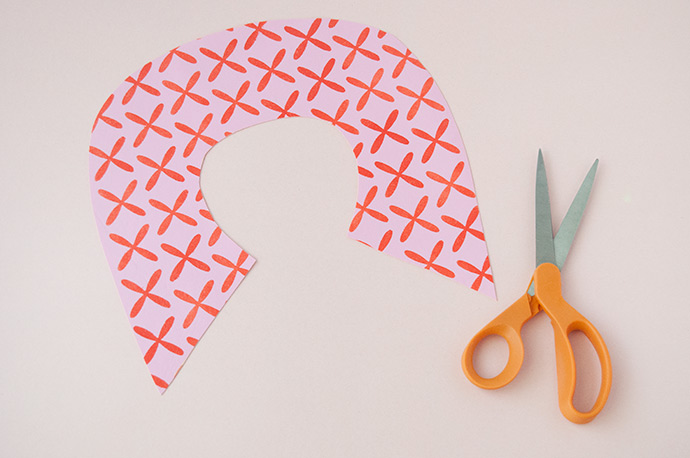
Cut out the shape!
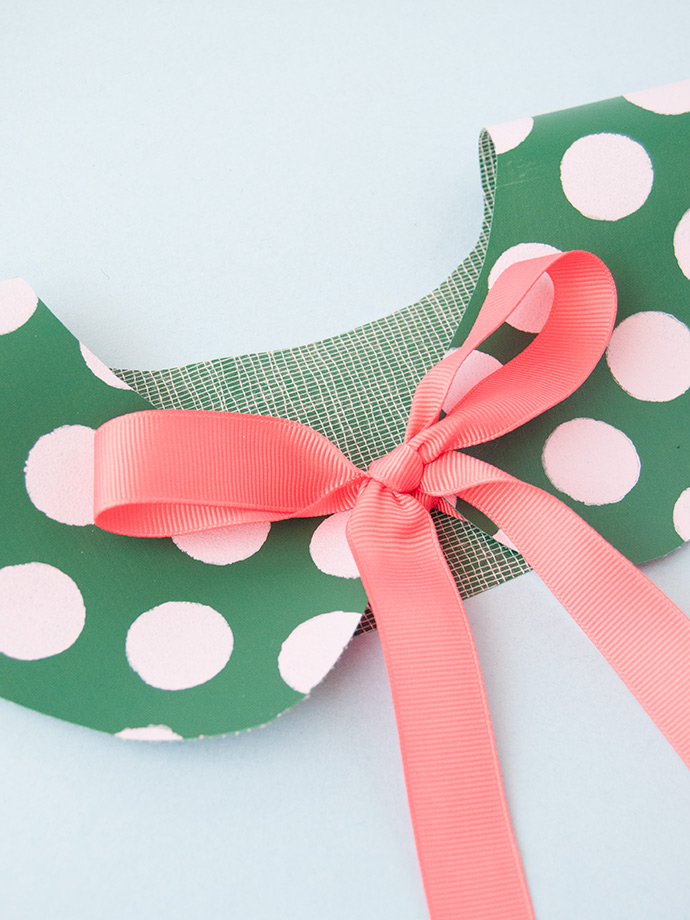
Step 6
Cut two pieces of ribbon and glue each to the backside of the collar.
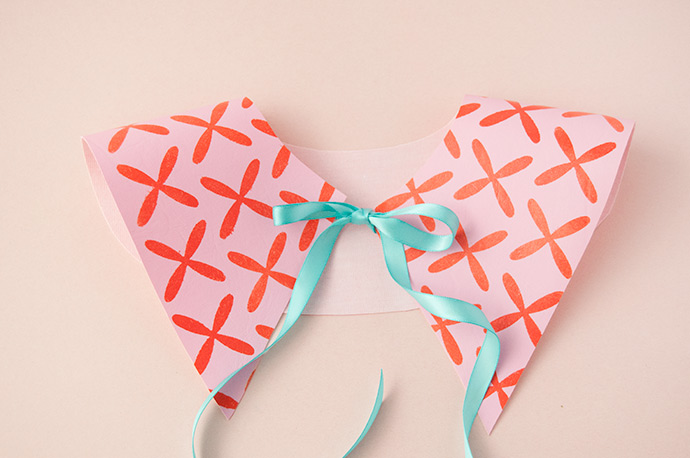
Step 7
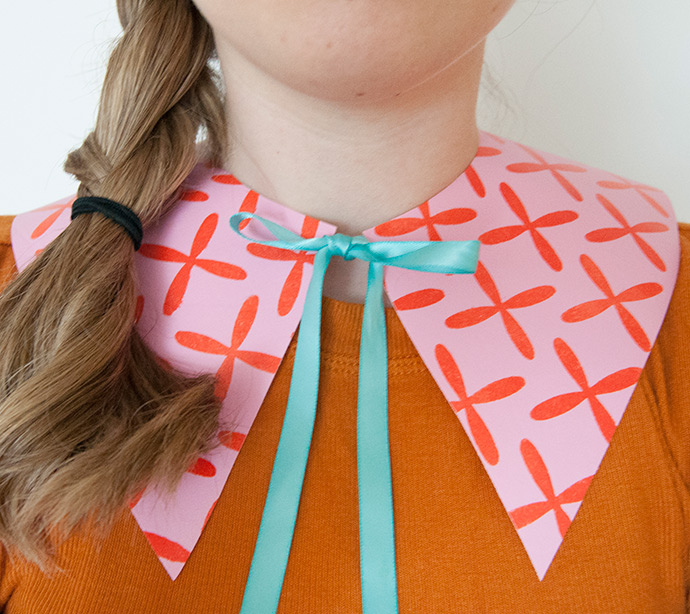
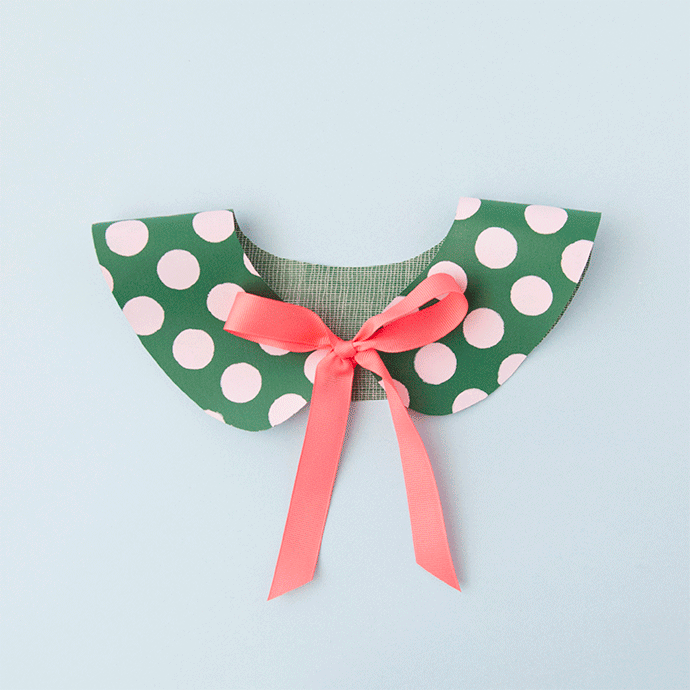
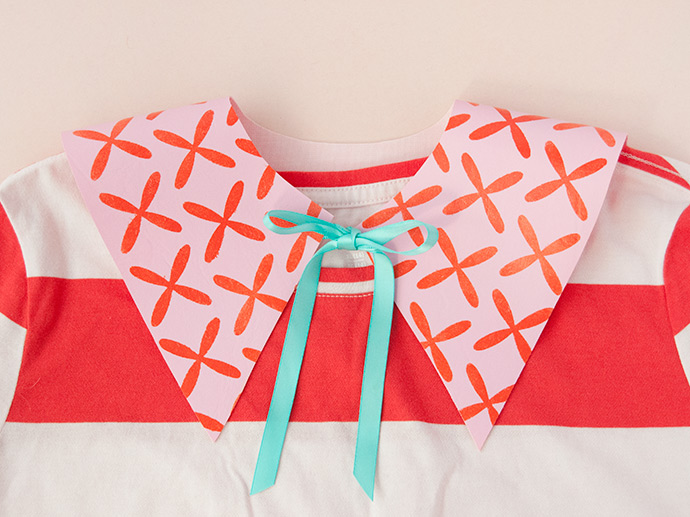
Flip the collar over and tie the two ribbons into a bow.

Step 8
Repeat this process to make as many collars as you like! Mix and match colors, stencils, and ribbons.

Happy crafting!!