This post is sponsored by Plaid Enterprises.
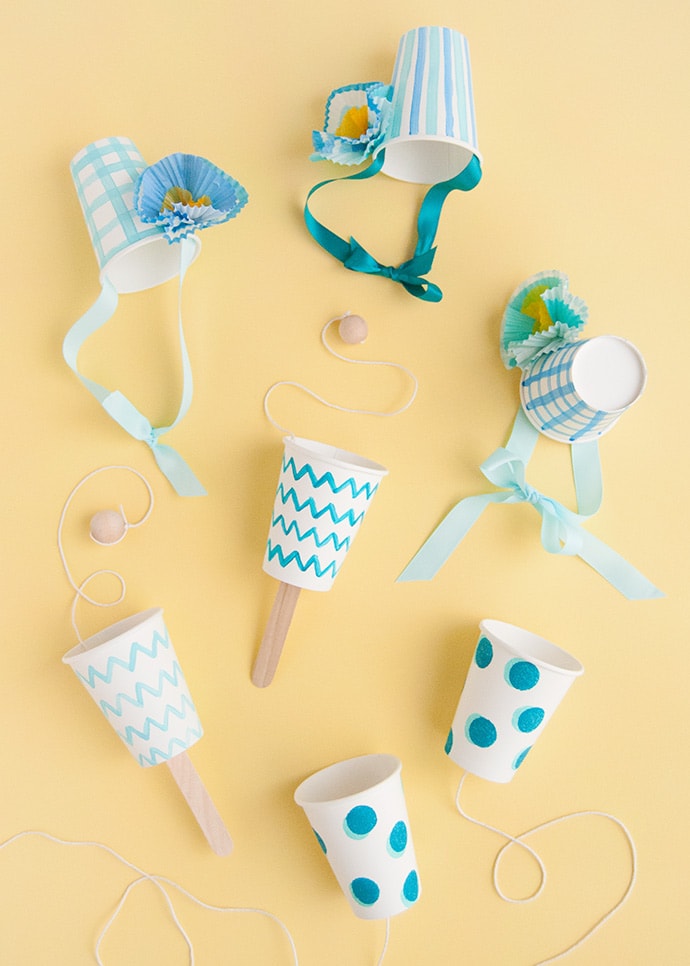
Plain paper cups are such a versatile crafting supply. Today we’re sharing three simple crafts you can make using a paper cup, paint, and just a few other supplies. We were so excited to try making our own paper cup walkie-talkies and loved how well they really work.
Sometimes the oldies really are the goodies, and this definitely applies to this simple craft. The cup and ball toss is another classic – such a simple concept, but you’ll be surprised at how long you’ll find yourself playing with this DIY toy. And finally, the floral party hats—why not wear a cute little cap around the house?
By using paint in fun shades of blue, the three crafts instantly become a little suite of color-coordinated party activities. Make all three and host a mini at-home celebration for your family! Make floral party hats for everyone to wear, have a friendly cup and ball toss competition, and then play broken telephone with the paper cup walkie-talkies. Sounds like an entire day of fun to us!
what you need:
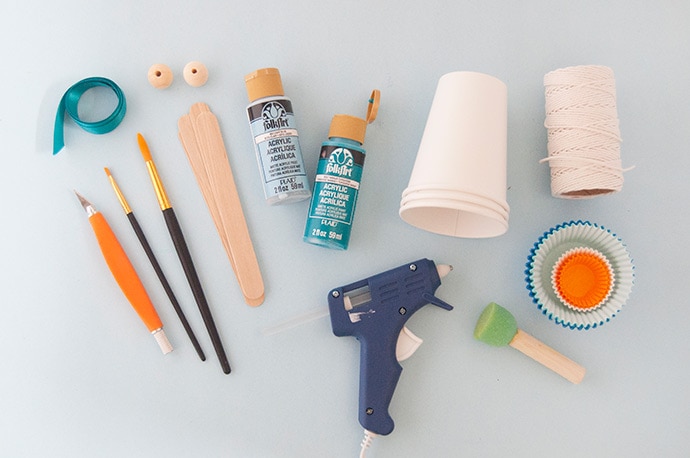
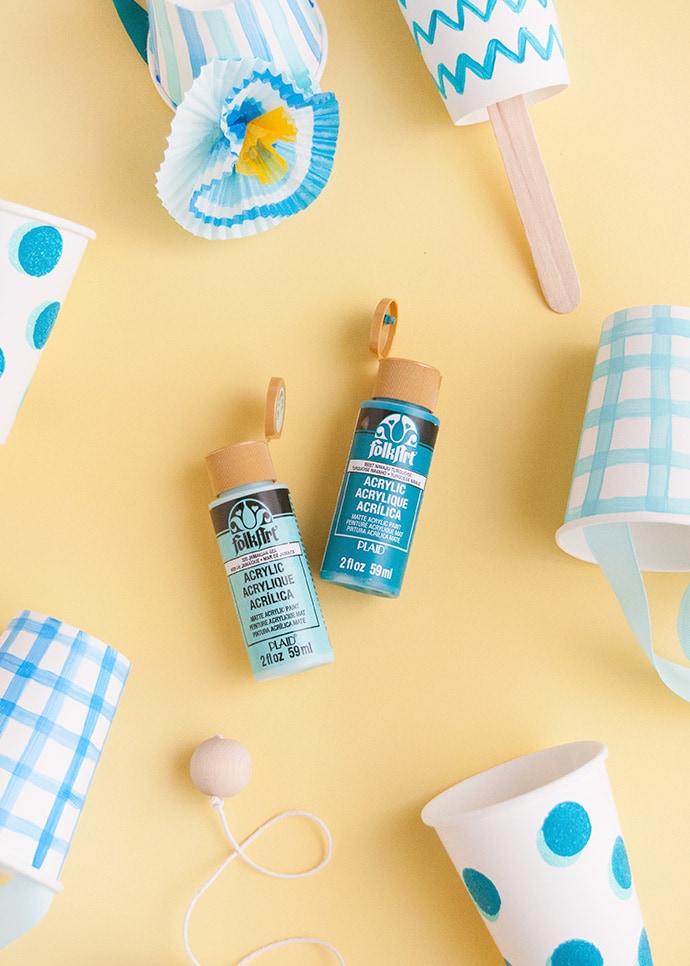
- Acrylic craft paint
- Paintbrushes
- Foam stencil brush
- Paper cups
- String
- Colorful cupcake liners
- Hot glue gun
- Ribbon
- Craft knife
- Scissors
- Popsicle sticks
- Wooden beads
how-to:
For the paper cup walkie talkies:
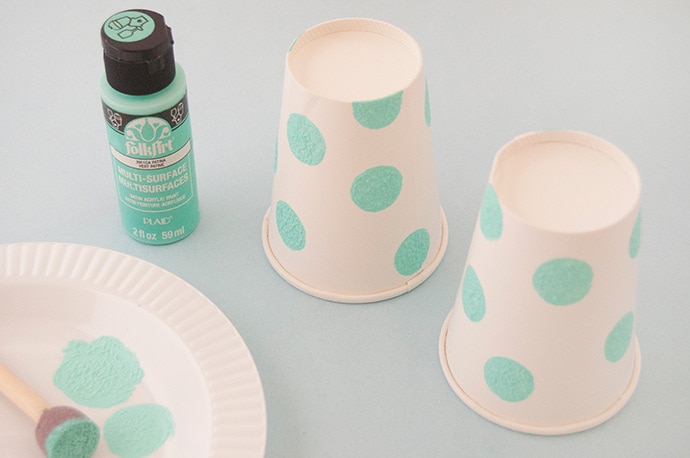
Step 1
Use a foam stencil brush to stamp polka dots onto the outside of two paper cups. Let dry and repeat with a contrasting paint color, slightly overlapping onto the first dots to make a “3D” look. Let dry.
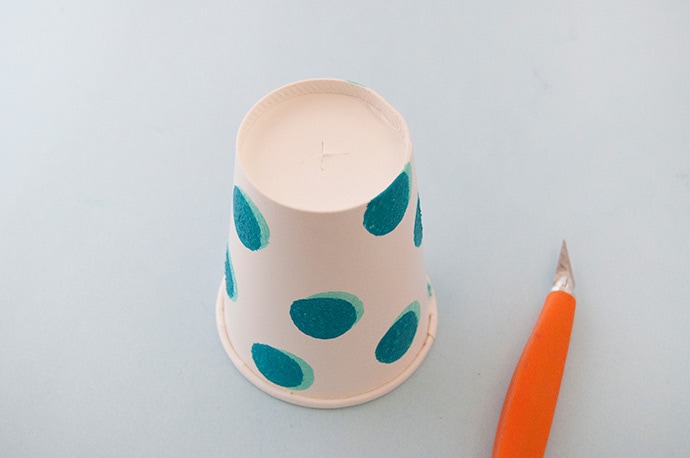
Step 2
Use a craft knife to cut a small X into the bottom of each cup.
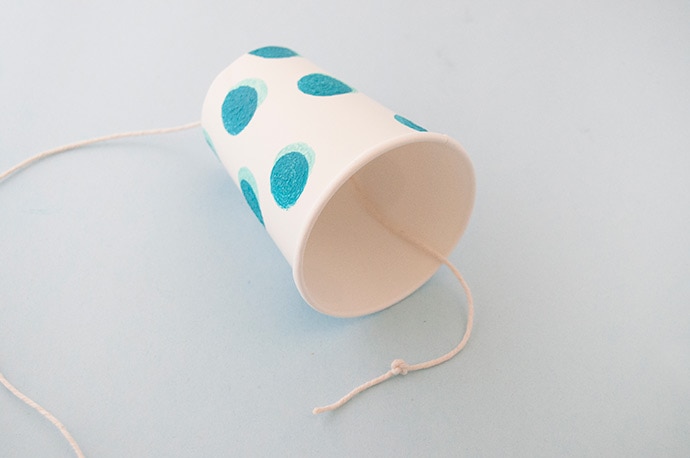
Step 3
Cut a long piece of string and feed each end into the bottom of each cup. Tie a double or triple knot into the end and pull taught into the cup. Remember that the length of the string will dictate how far apart you and your partner can stand while using the walkie talkie, so make sure to cut it as long as you think you’ll want.
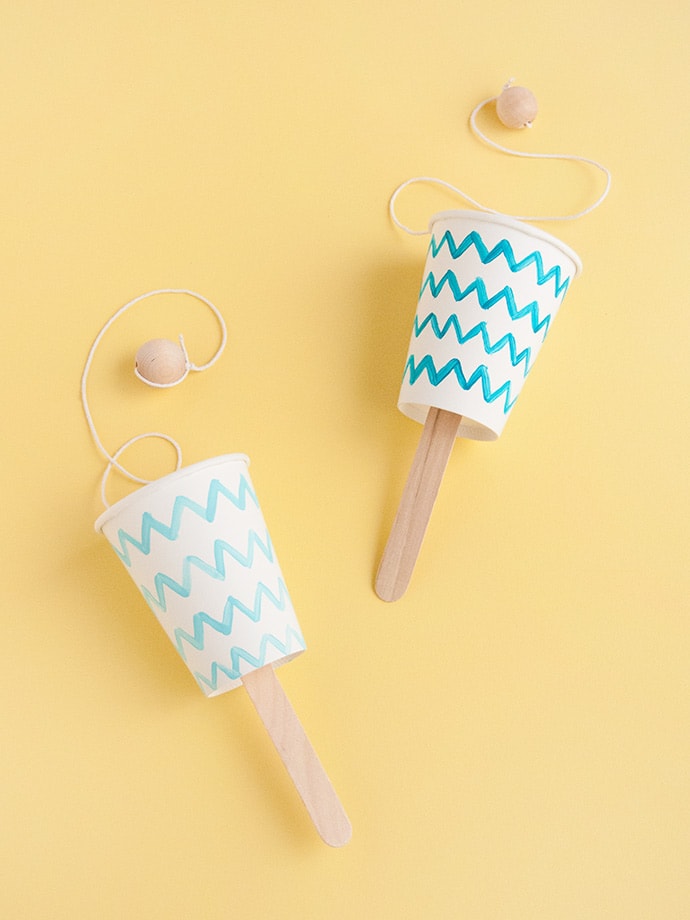
For the ball toss game:
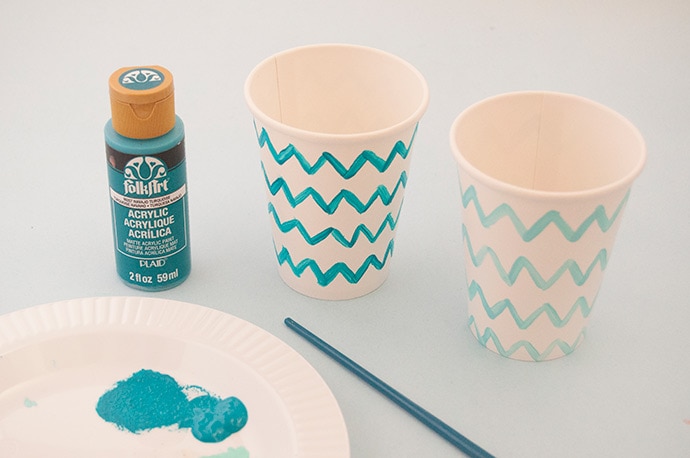
Step 1
Paint a playful pattern onto the outside of each cup. Each game only needs one cup, so paint as many as you want. Let dry.
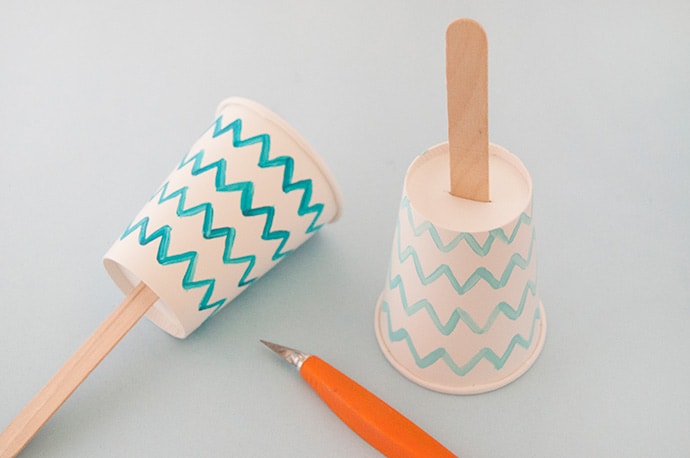
Step 2
Use a craft knife to cut a slit into the bottom of each cup. Fit a popsicle stick in and use hot glue to secure in place if needed.
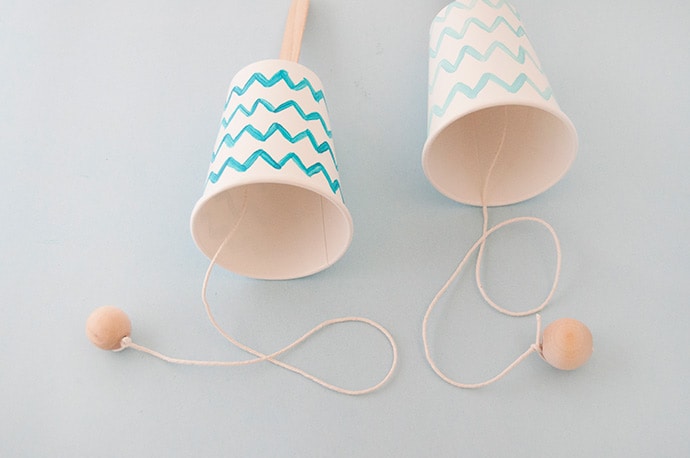
Step 3
Cut a piece of string about 36″ long. Tie one end securely onto a wooden bead and the other end to the popsicle stick inside the cup. Use hot glue to secure the knot onto the popsicle stick.
Note: Test out the game and adjust the length of the string accordingly. Kids might prefer to start with a shorter string while they learn.
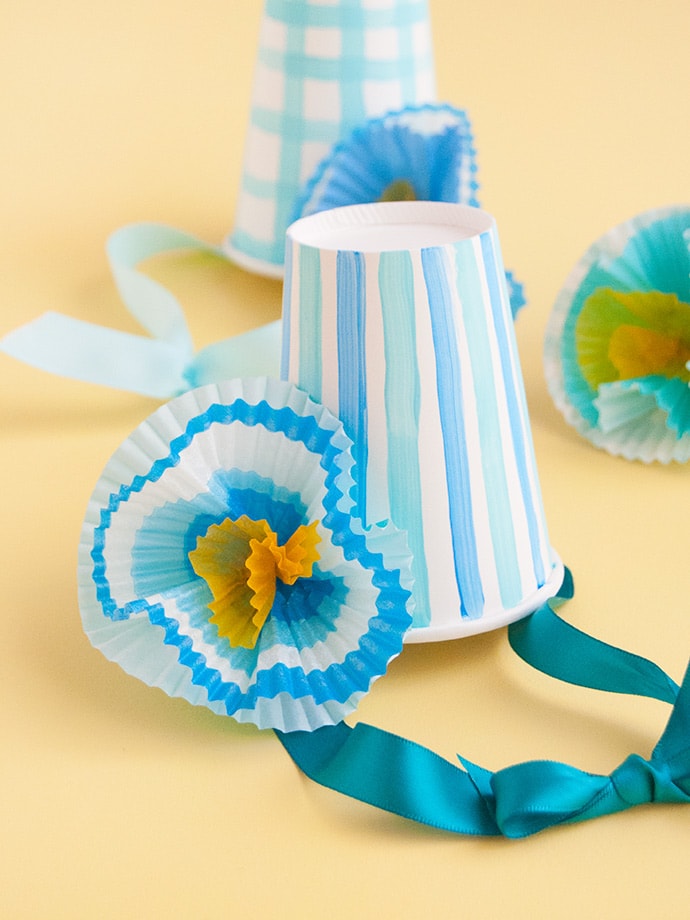
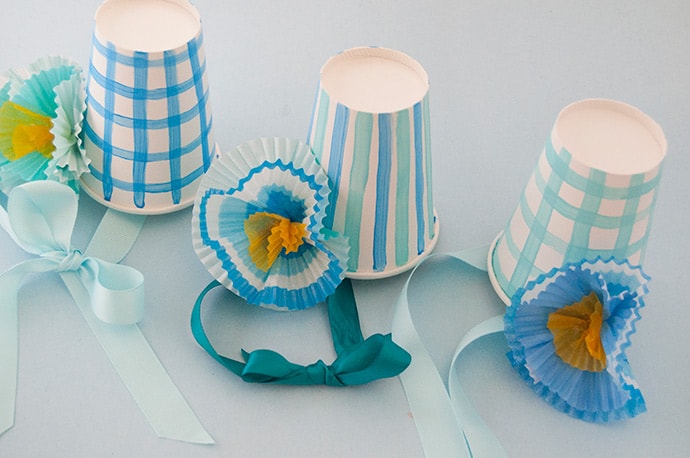
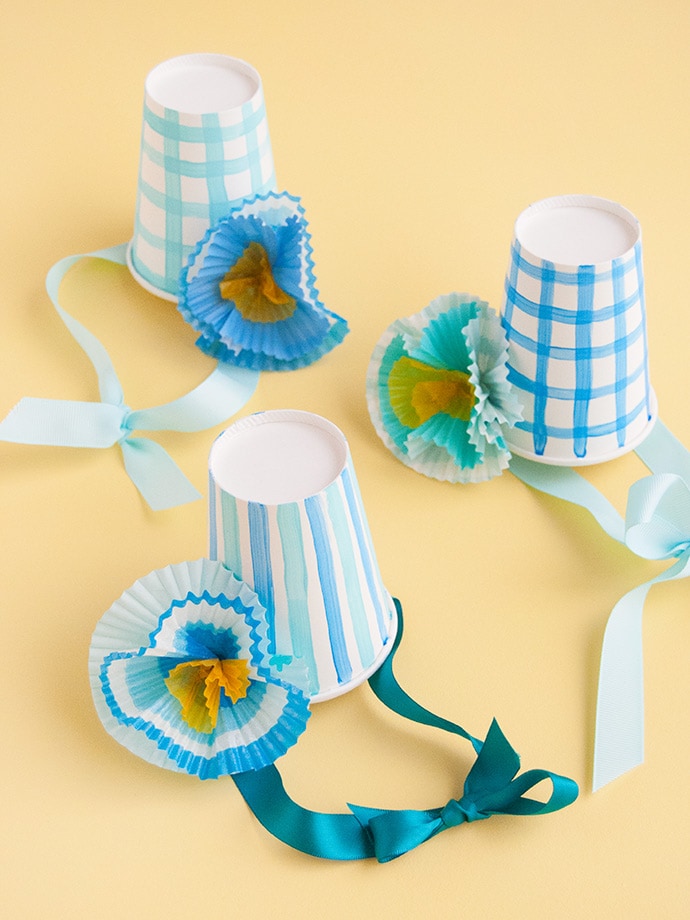
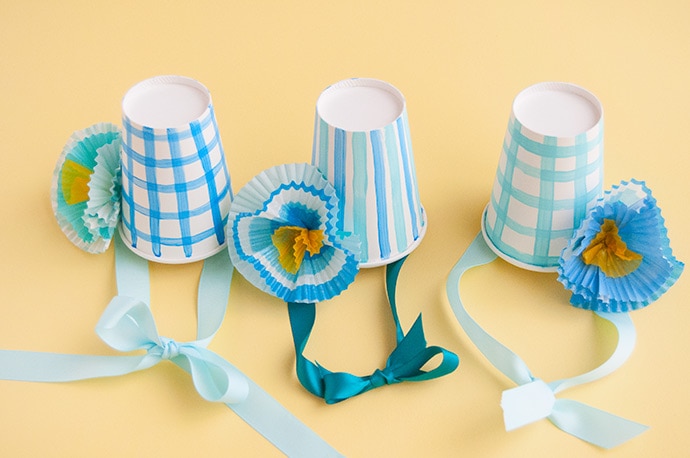
For the party hats:
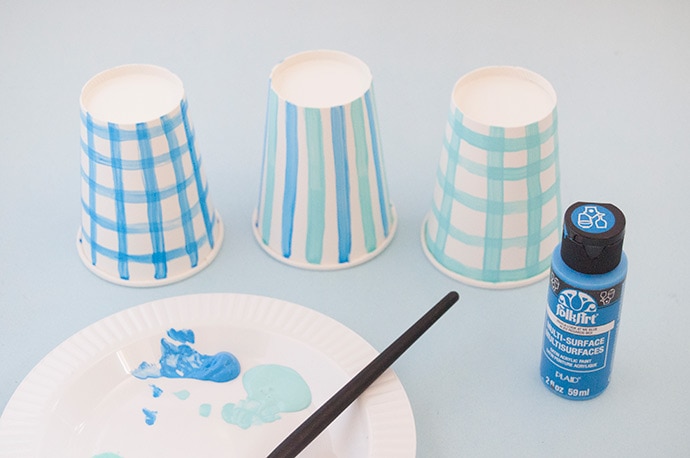
Step 1
Paint patterns onto the outside of as many cups as you’d like hats. Mix and match colors and patterns for a festive party feel! Let dry.
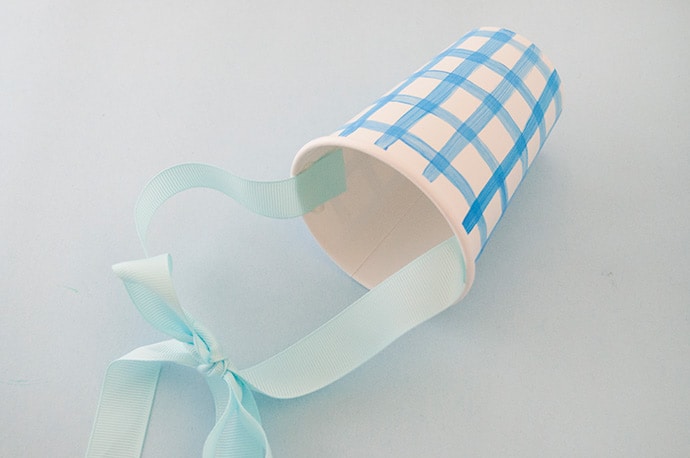
Step 2
Cut two pieces of ribbon and hot glue into the inside of each up on opposite sides. Make sure that the ribbons are long enough to wrap around the wearer’s head and be tied into a bow under their chin.
Step 3
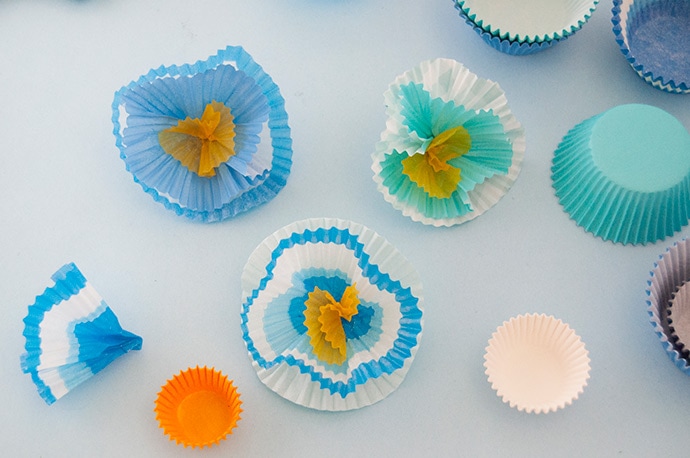
Create the flower details with cupcake liners! Simple pinch them in the center and glue them together in a little stack as shown.
Step 4
Hot glue the cupcake liner flower to the side of each hat and they’re ready to wear!

Happy crafting!