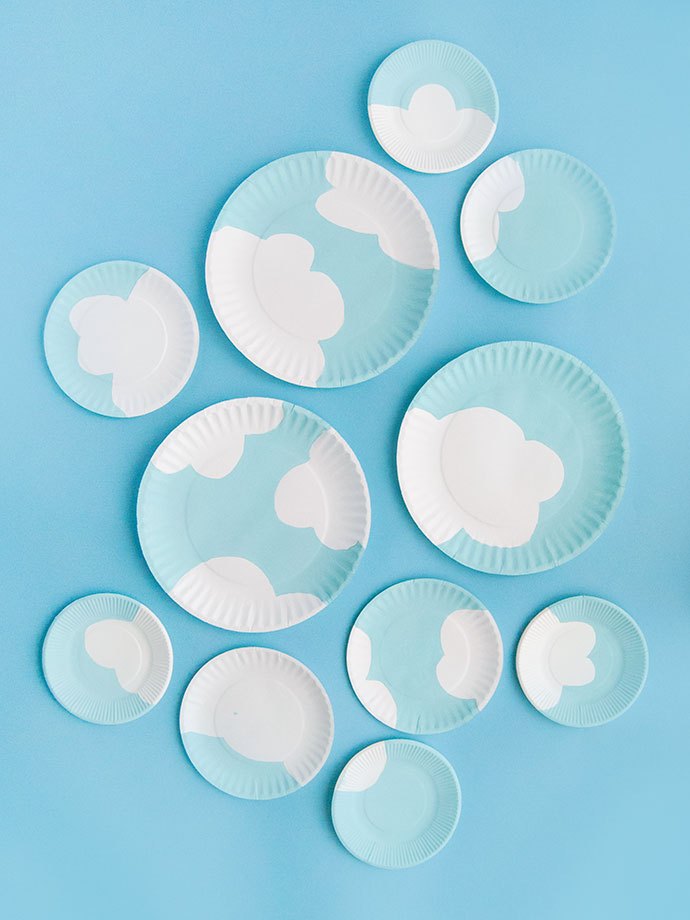
Spring is officially here, and that means warmer weather is on the horizon! We are so excited for flowers to be blooming and to spend some family time out in the yard. While the skies are still a little bit dark and cloudy on some days for the inevitable April showers coming up, we’re dreaming of nicer days and bluer skies. Enter these DIY painted plates! Bring some of the outdoors in with these simple cloud-painted plates. See all our tips below.
what you need:
- White paper plates
- Pencil
- Folk Art Acrylic Paint
- Paintbrush
how-to:
Step 1
Lay out your paper plates on a work surface. If you’ll be decorating a wall with these plates, keep in mind the size of the wall so that you lay out the plates in a way that matches.
We used a mix of different sized plates for variety, but you can use whatever you like here. We also prefer to use the super-thin paper plate for crafting because they’re so affordable and uncoated on both sides so take paint very well. If you don’t have these style of plates on hand, you can always use whatever plates you do have – the backs of them are likely matte paper and should take paint well.
Step 2
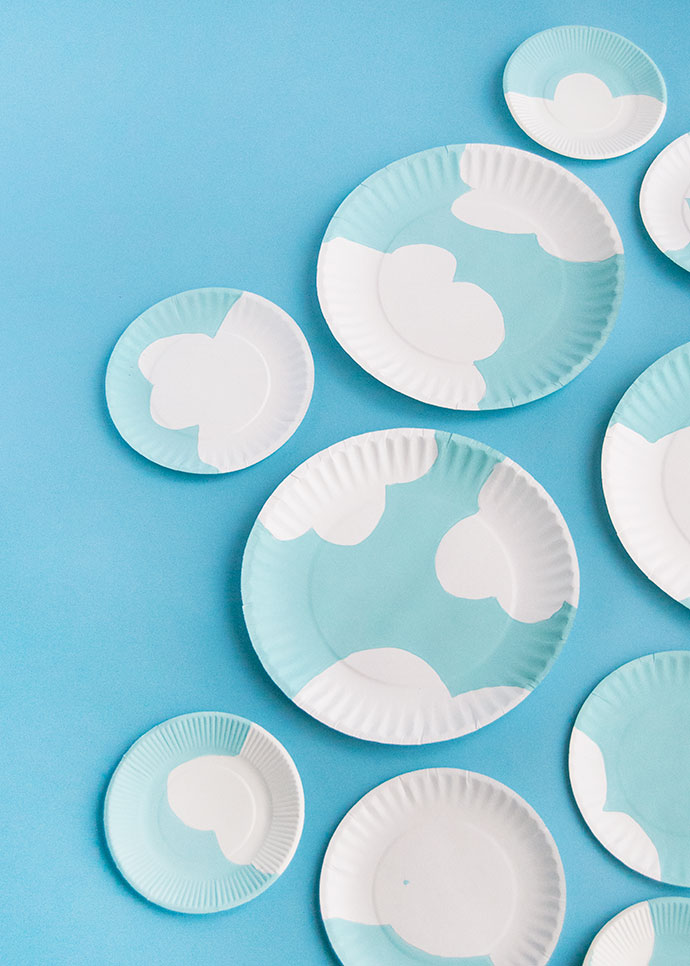
Use a pencil to sketch out simple cloud shapes across the plates. This doesn’t need to be perfect, and you can always erase any pencil marks later if you make any changes or accidental marks. You can keep the clouds within the plates, but we liked the look of the clouds overlapping between them. You can even add other designs of things you might also see the in the sky: the sun, flying birds, airplanes, or even a hot air balloon!
Step 3
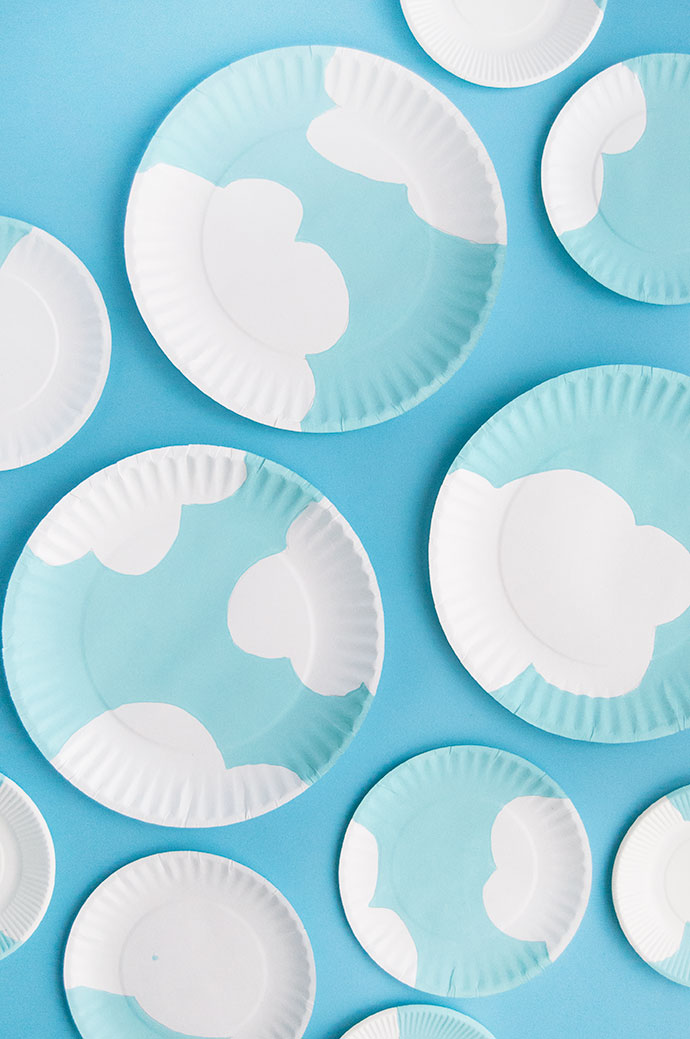
Pick a shade of blue paint and use your paint brush to apply it in all the negative space between the clouds, forming a nice blue sky. Use other paint colors to add any other details on top once the first coat has dried.
Note: When painting, we found it helpful to keep the plates arranged in place as much as possible to prevent any confusing mix-ups with their placement. You can also snap a quick photo for your reference if you plan on moving them around as you paint.
Step 4
Once all the paint is dry, take a quick picture of the plates as they’re still laid out on your work surface to have as a reference. Now use washi tape (or something similar that won’t leave any residue on your walls) to attach the plates on the wall. We like to do this one by one so that we can keep track of the placement. Voila! Your wall has a new window outside!

Happy crafting!