This post is sponsored by Plaid Enterprises.
The holiday season is getting closer and closer, so we’re all about coming up with the very best DIY gifts for all our friends and family. Some people can be especially tricky to shop or even craft for, so today we’re putting a handmade spin on a classic gift: framed photos!
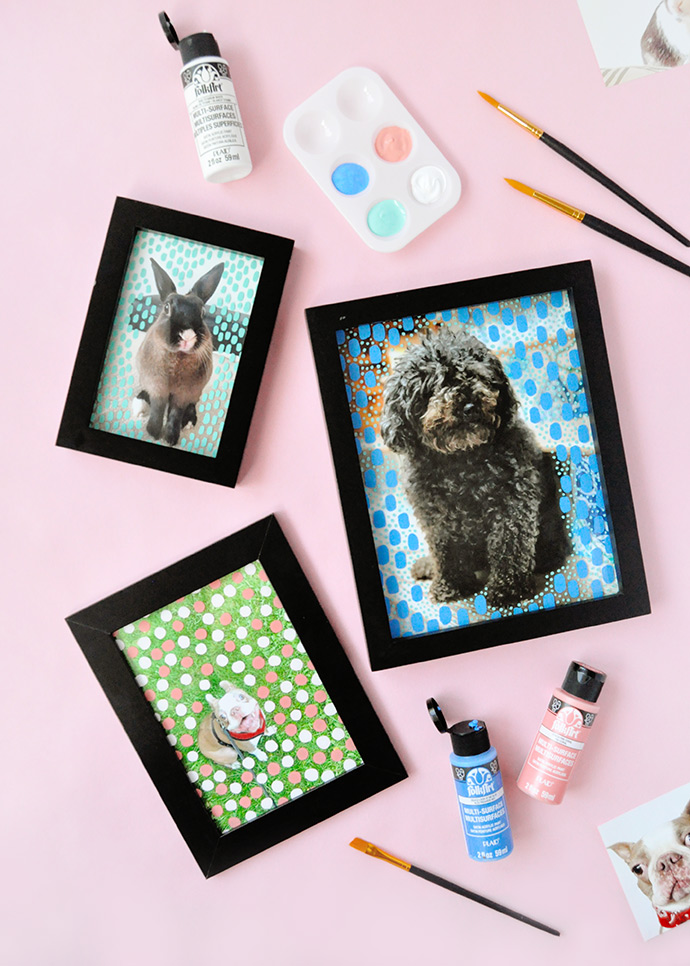
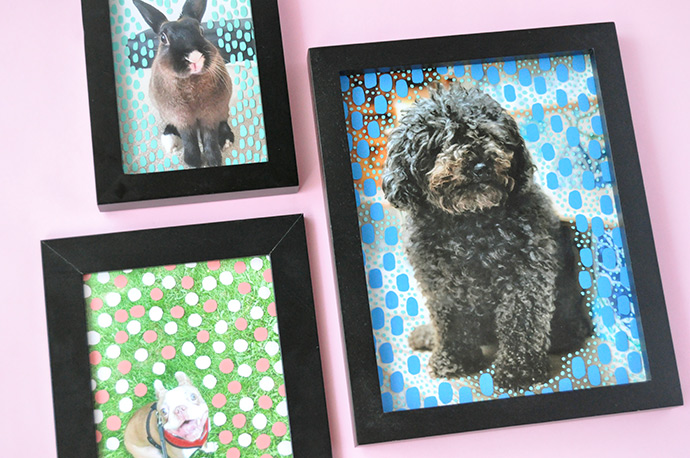
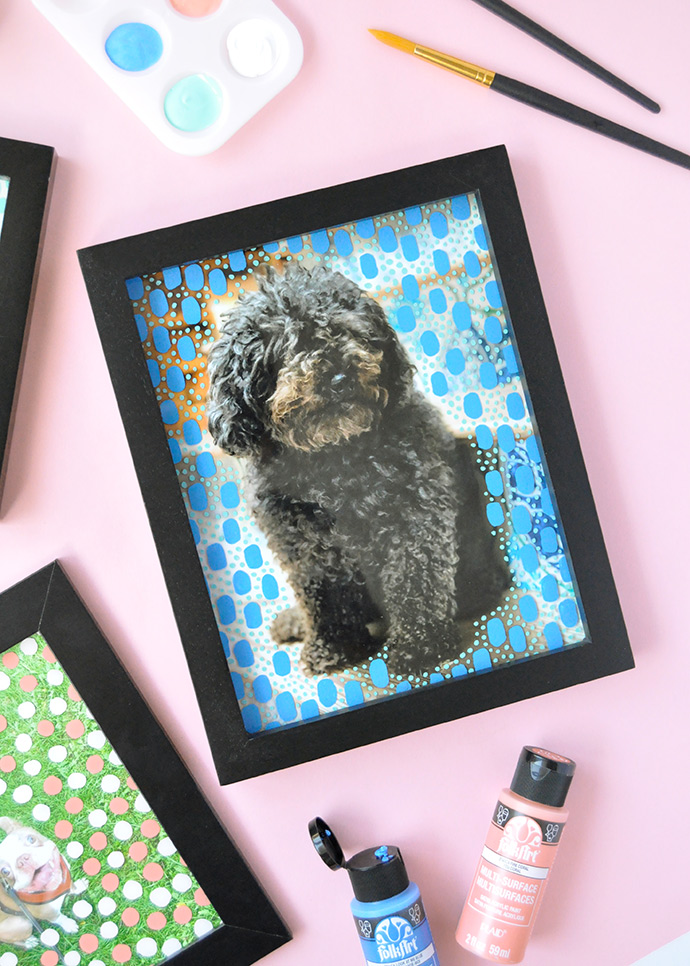
Adding these handpainted details onto your photos really couldn’t be easier! We opted for this adorable pet photos, but you can absolutely deck out any photo you like: family photos, landscapes, whatever! For this technique, we used Folk Art’s Multi-Surface Satin Acrylic Paint on the inside of the glass itself versus painting directly onto the photos. By applying the paint this way, we found that the patterns had a sharper and cleaner look with no visible texture or brushstrokes. To see the full tutorial, as well as a few helpful tips & tricks, keep reading!
what you need:
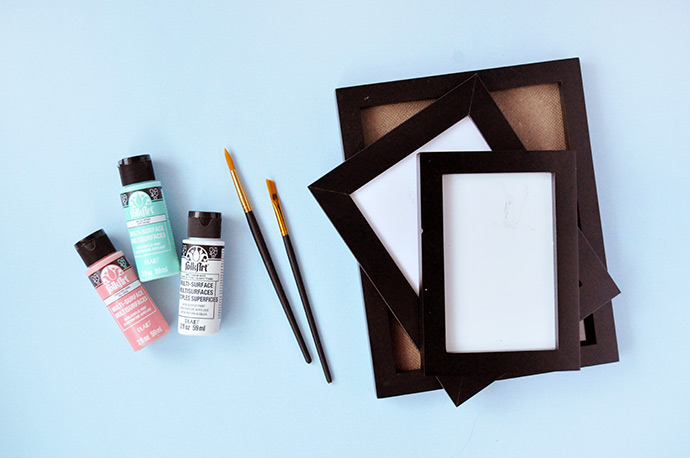
- Folk Art Multi-Surface Satin Acrylic Paint
- Paintbrushes
- Picture frames and photos
- Pencil (optional)
how-to
Step 1
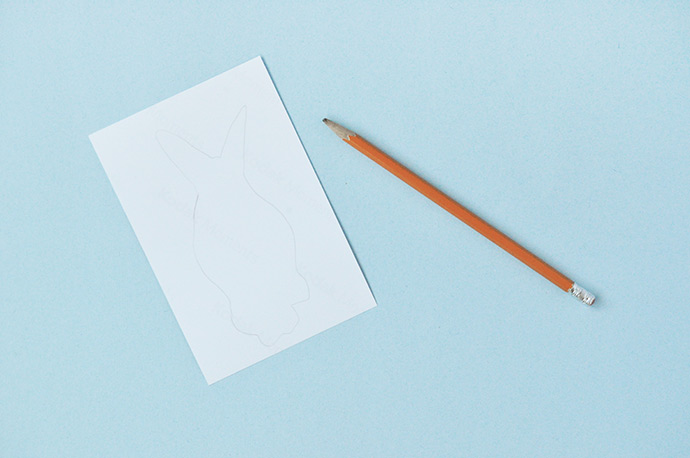
Start by tracing the outline of your main focus (in our case, the pets) in pencil on the back of the photo. It helps if you can hold the photo up to a window or light source when doing this.
Alternately, if you don’t want such an outlined pattern, you can skip this step and go with a more freestyle approach.
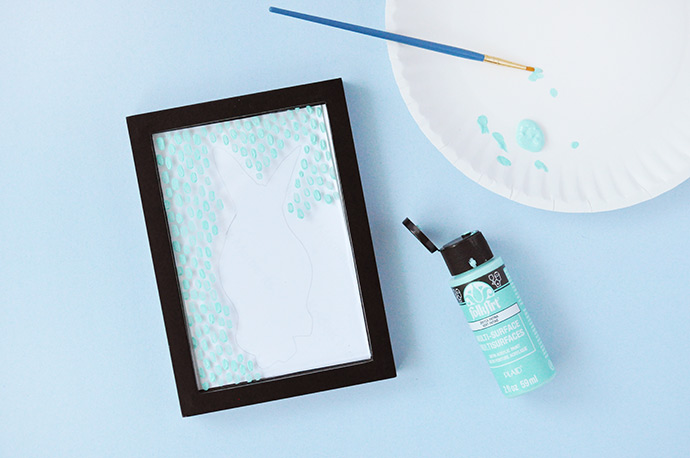
Step 2
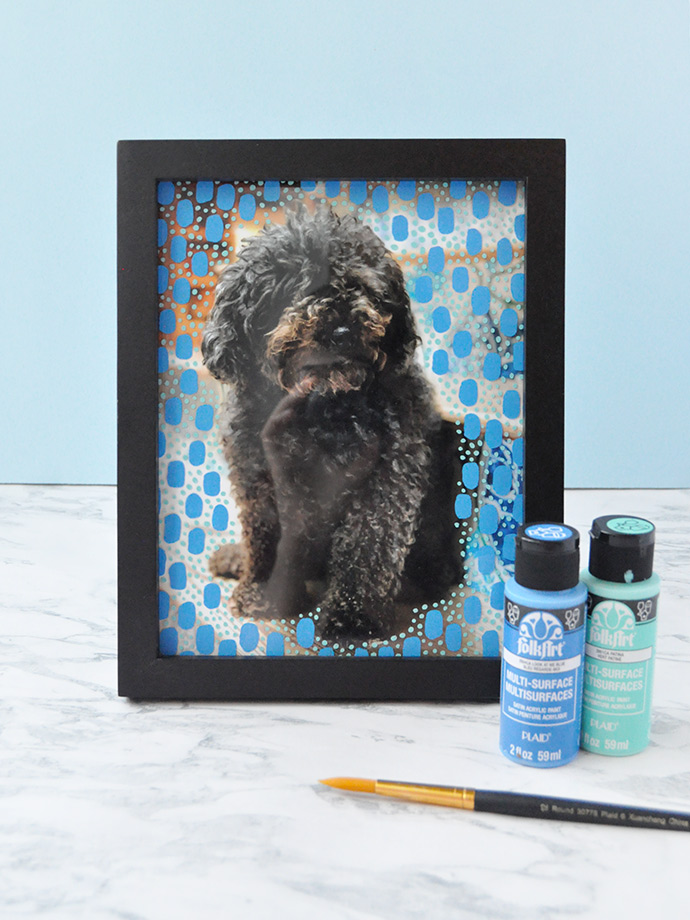
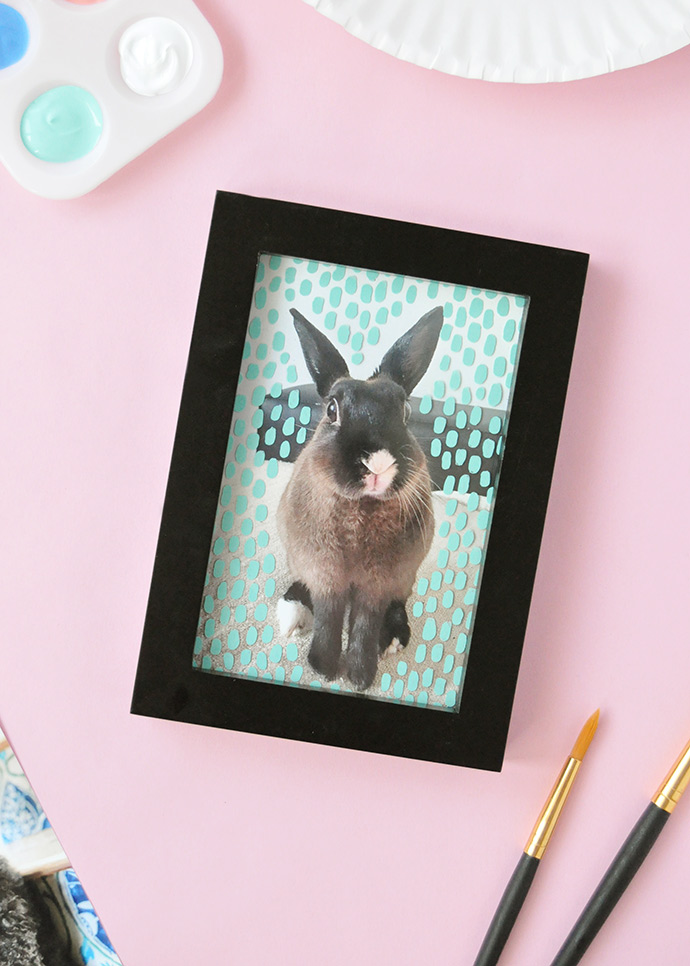
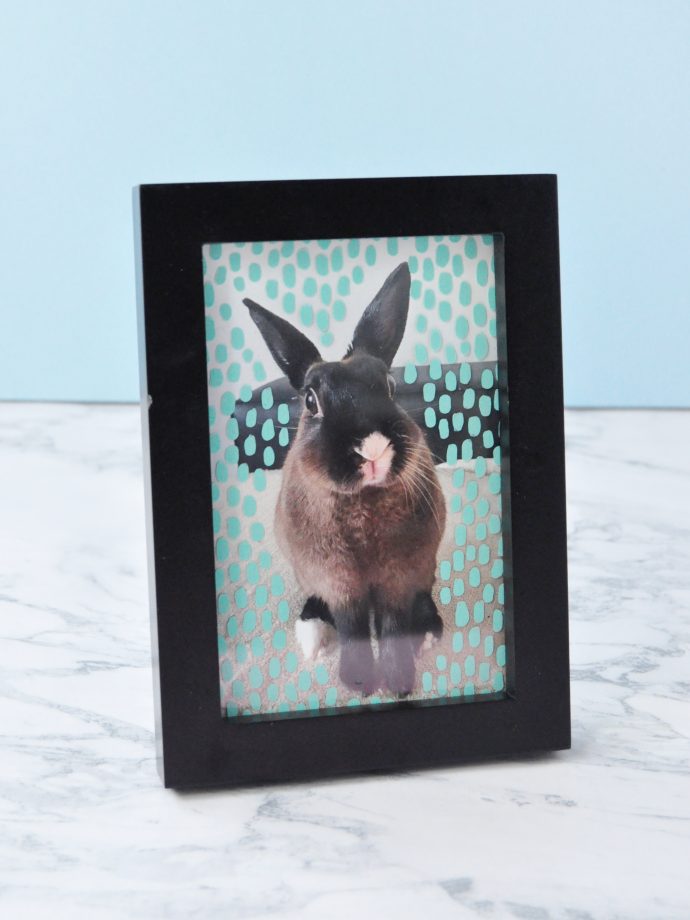
Open up the back of your picture frame, removing the back panel and glass. Place the photo into the empty frame and put the glass on top so that you can see the back of the photo through, as shown above. Pick out a paint color and begin applying your pattern in the area outside the lines. For this one we made small brushstrokes, but you can do any pattern you like: polka dots, stars, stripes, you name it. Once the entire outside area is covered in the pattern, let dry completely. Depending on your pattern, you might want to apply a second coat to make it even bolder.
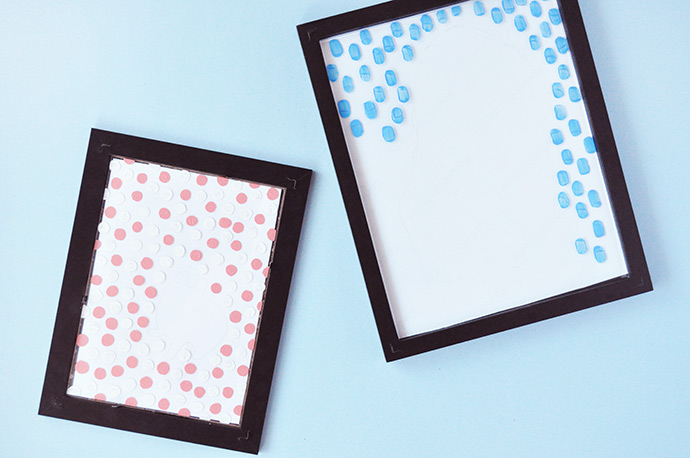
These are the other two patterns we made – polka dots in pink and white, and more blue brushstrokes.
Step 3
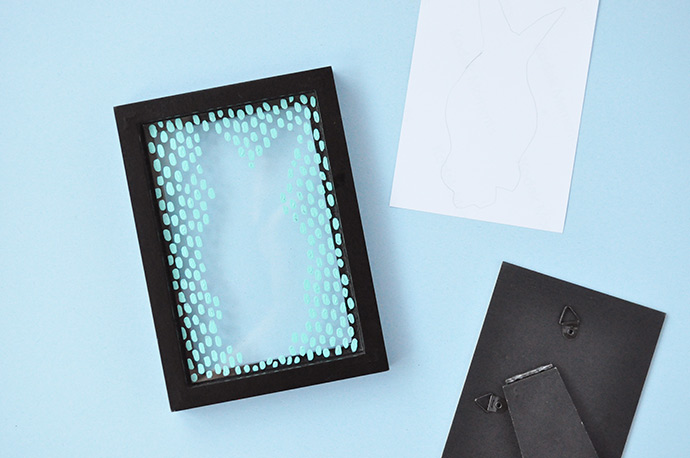
Once dry, remove the glass the glass and photo from the frame and replace the glass making sure that the painted side is facing the back, not the front, of the frame. Then put the photo on top of the glass as you normally would, and close the back of the frame up.
And your handpainted frames are ready to display!
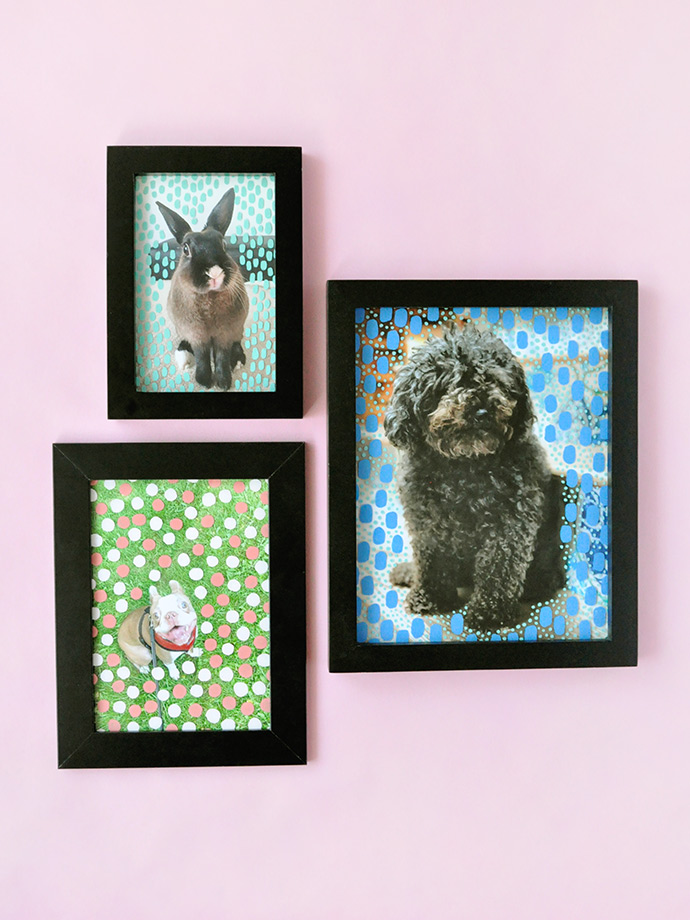
Happy crafting!!