This post is sponsored by Plaid Enterprises.
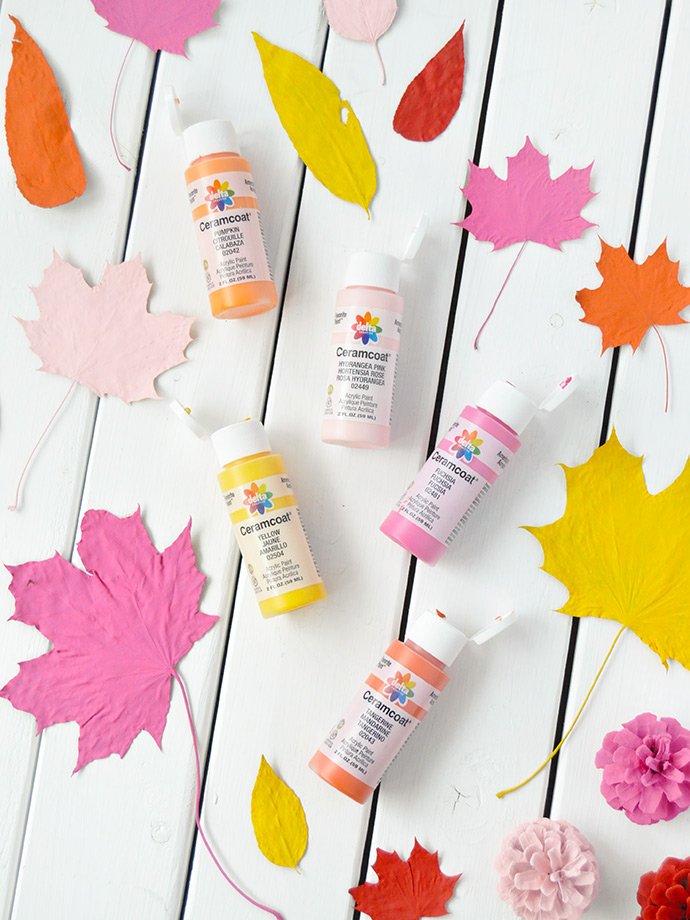
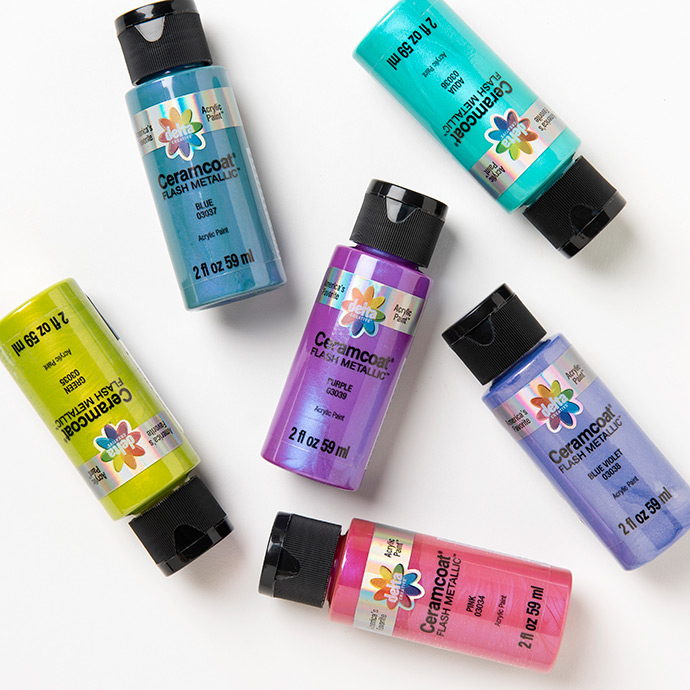
We can’t get enough of crafting with nature, especially this time of year! That said, we’re so excited to share this colorful Thanksgiving tablescape we put together using a few of our favorite fall shades from Delta Ceramcoat® Acrylic Paint! On your next family walk around the neighborhood, collect some fallen leaves, stones, and pine cones to turn into this fun centerpiece perfect for the kids’ table this year. Painting rocks and leaves is seriously the best, especially with these awesome colors – find all 22 shades and 6 brand new Flash Metallic colors in the craft aisle at Target!
We kept it simple using solid colors on the rocks, leaves, and pine cones but you and your little ones can definitely mix and match, or paint playful patterns! We can just see the adorable polka dotted leaves now. So cute! The great thing is that since the formula is so rich, it takes no time to color all your little pieces of nature. Keep reading to see the full instructions and some helpful tips and tricks!

what you need:
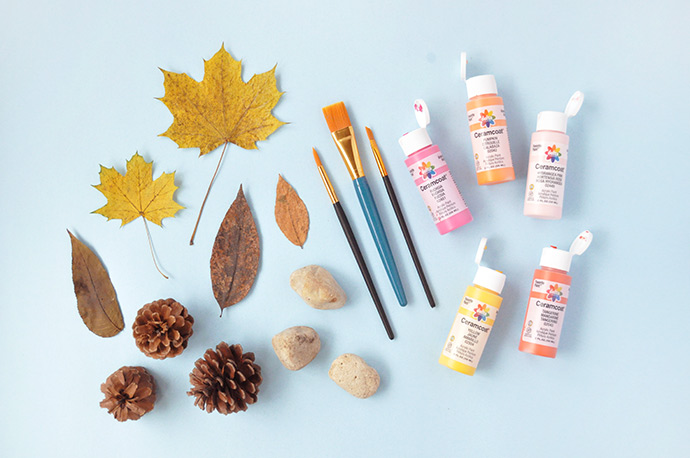
- Delta Ceramcoat Acrylic Paint
- Paintbrushes
- Rocks
- Pine cones
- Pressed leaves
how-to:
Step 1
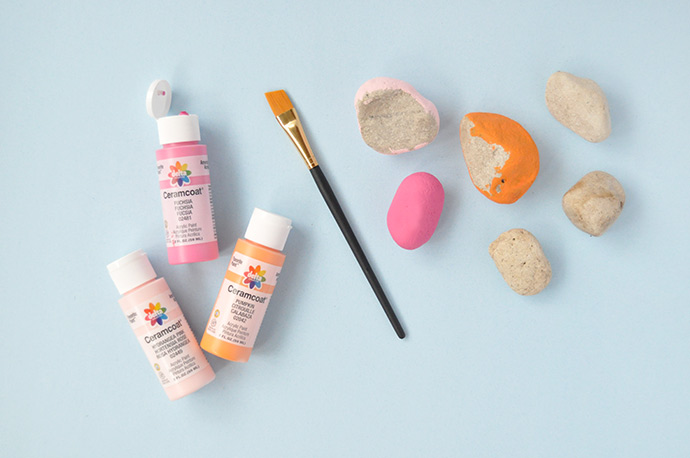
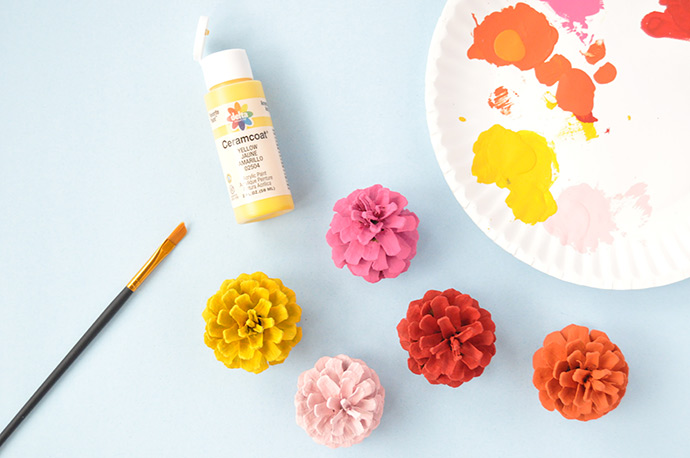
Begin by painting your rocks a solid color. We used fuchsia, pumpkin, hydrangea pink, yellow, tangerine, and red. Make sure to paint at least as many rocks as you need to spell out your message. For “Give Thanks” you’ll need 10 rocks, but you can create your own custom message too! Let dry completely.

Step 2
Paint the letters onto the rocks! We eyeballed it, but you can use a pencil to lightly draw the letters on first as a guide.
Step 3
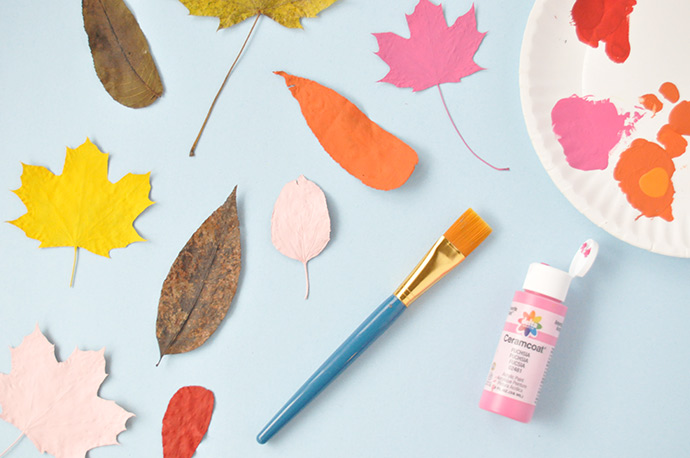
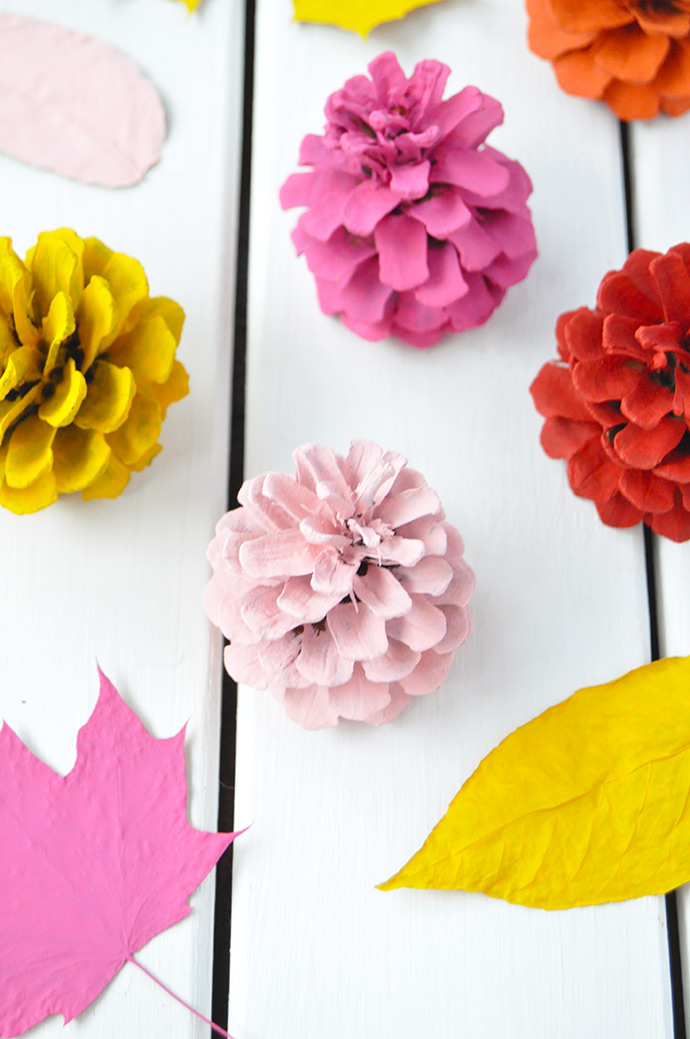
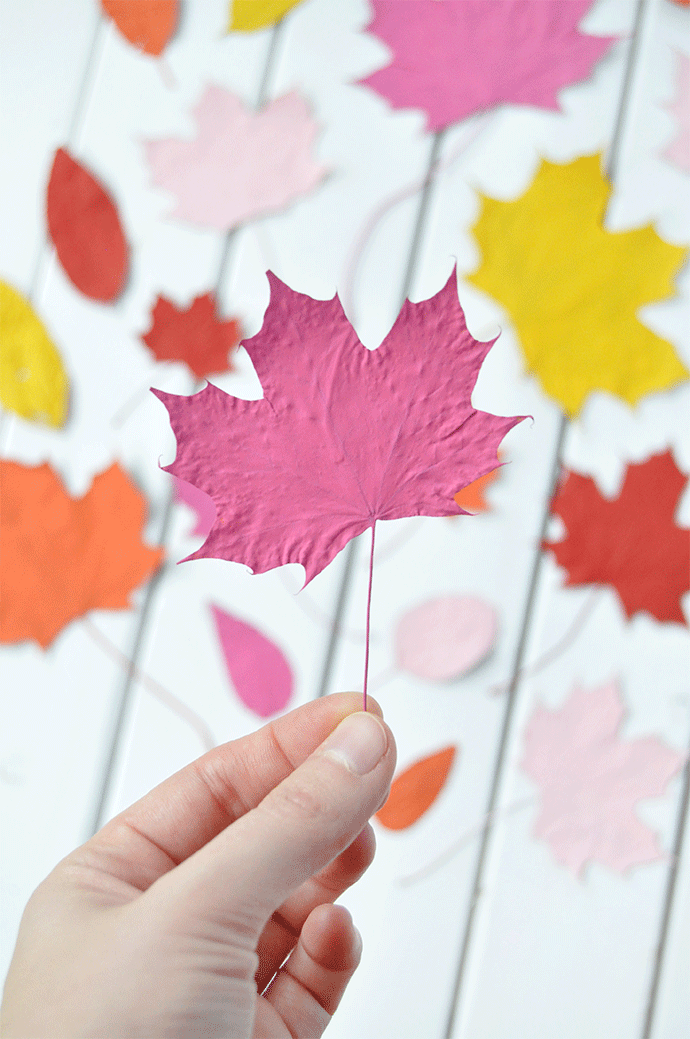
Time to paint your leaves! Before you begin, we recommend you press your leaves first. To do this, we sandwiched the leaves in a single layer underneath a pile of heavy books. It doesn’t take long for this to happen, so check on them in a couple hours. We found that if we skipped this step, the leaves tended to curl up, wrinkle, and not sit flat on the table. For the leaves, we used the same colors as the rocks and again let dry.
Step 4
Paint the pine cones to match everything else, using a smaller brush to get into the inner part. This can mash your brush up a little bit depending on how dense your pine cone is, so it’s not a bad idea to use a cotton swab or an older brush you don’t care about so much for this part. Let dry.

Once everything is dry, arrange the rocks, leaves, and pine cones along the center of your table, forming a colorful centerpiece. Isn’t that festive!

Find all 22 shades of Delta Ceramcoat® Acrylic Paint at your local Target along with the six new Flash Metallic shades in the craft aisle or at Target.com. Wouldn’t these leaves look awesome with a hint of metallic?
Keep in the loop about all of Plaid’s new products and DIYs – follow them on Instagram, Pinterest, Facebook, and YouTube.


Happy Thanksgiving!