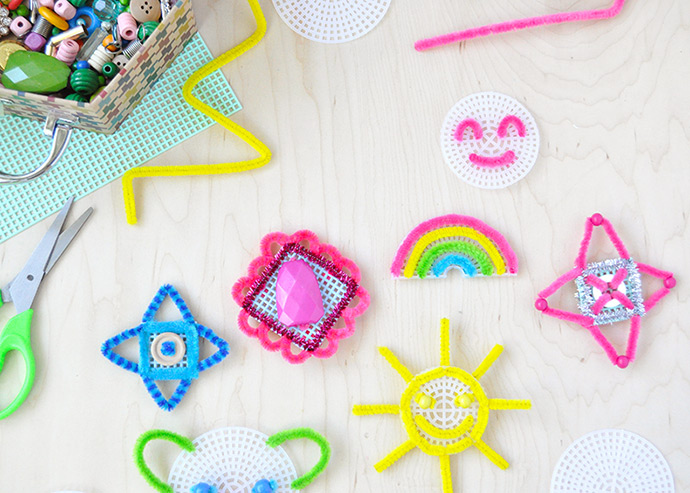
If you have little ones who are just learning to sew, pipe cleaner embroidery is the perfect way to get them started! A needle and thread can be a little tricky for kids new to sewing, so using pipe cleaners instead is a great starting point. For these adorable patches, we used all our favorite Kid Made Modern pipe cleaners, beads, and accessories. The colors coordinate perfectly and mixing and matching the beads and findings is a breeze.
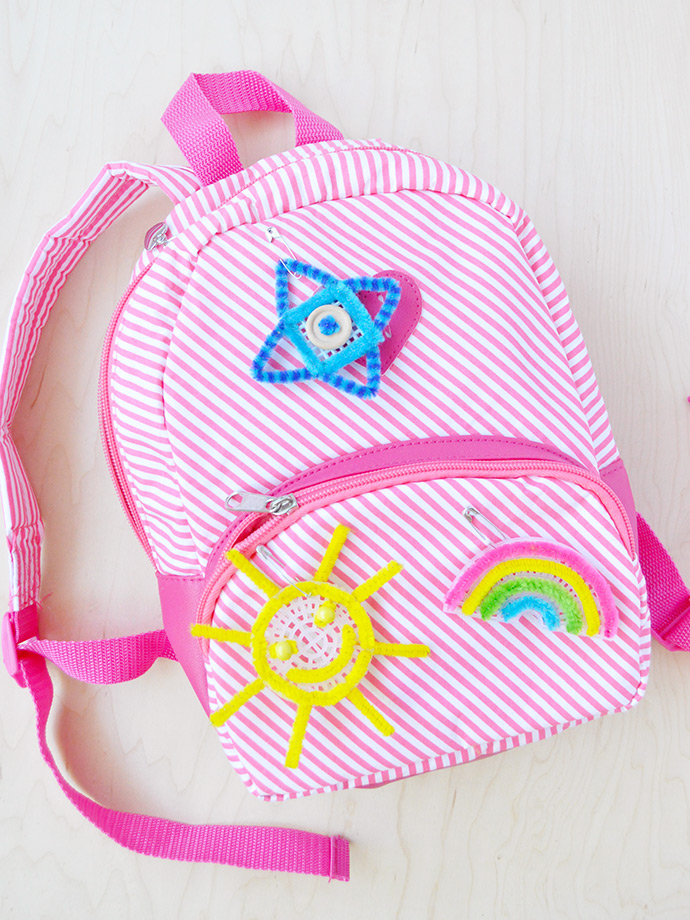
We love that this project helps build sewing skills but you still get a really fun end result. The plastic embroidery canvas (you should be able to find this at a second-hand shop or craft store) acts as a sort of blank stitching card for kids to get creative and make whatever designs they like. The beads, pipe cleaners, and sequins included in Kid Made Modern’s Arts & Crafts Library and Bits & Pieces Jewelry Kit are so much fun to dig through and pick out the perfect combinations. Plus, finished pieces can be pinned onto a backpack to be a playful DIY backpack charm!
what you need:
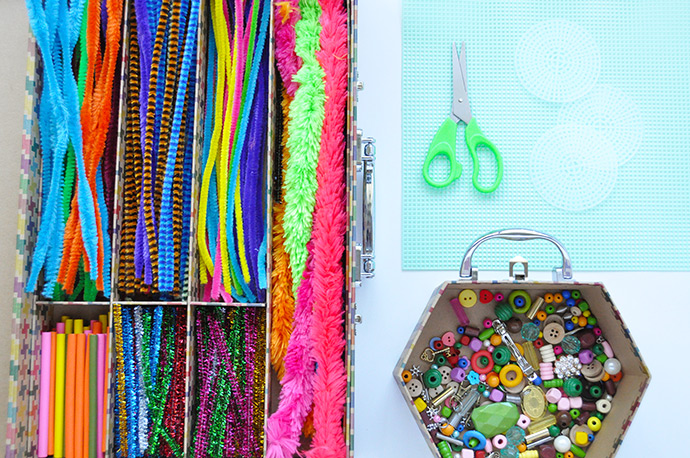
- Arts and Crafts Library
- Bits and Pieces Jewelry Making Kit
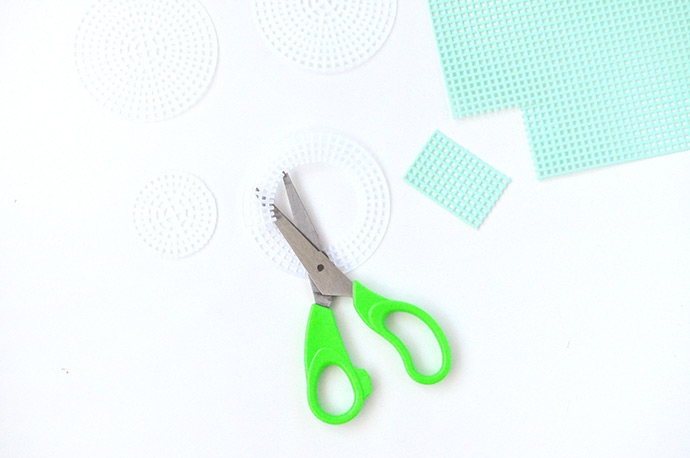
- Plastic embroidery canvas
how-to:
Step 1
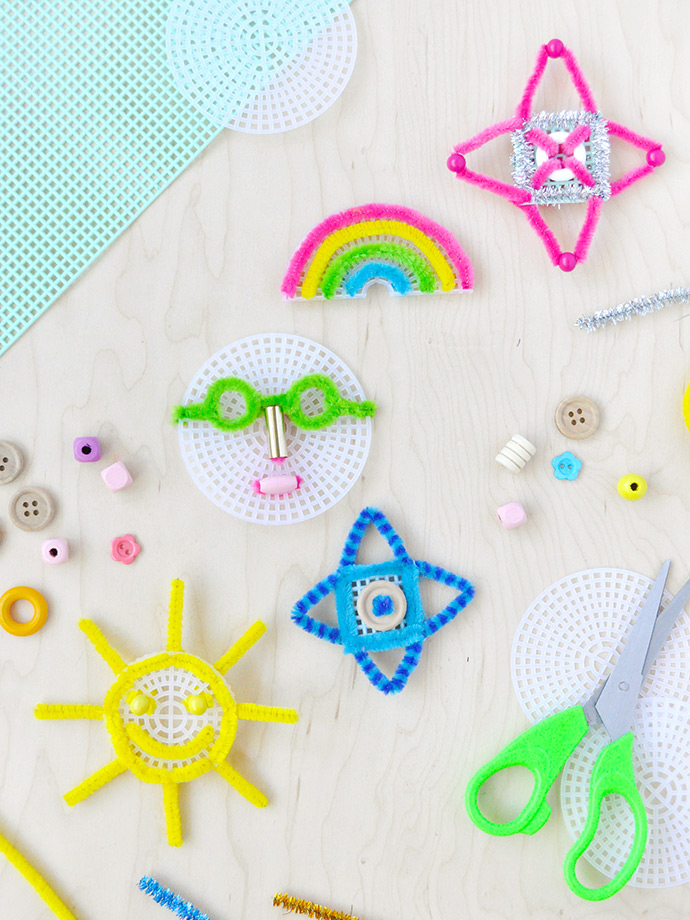
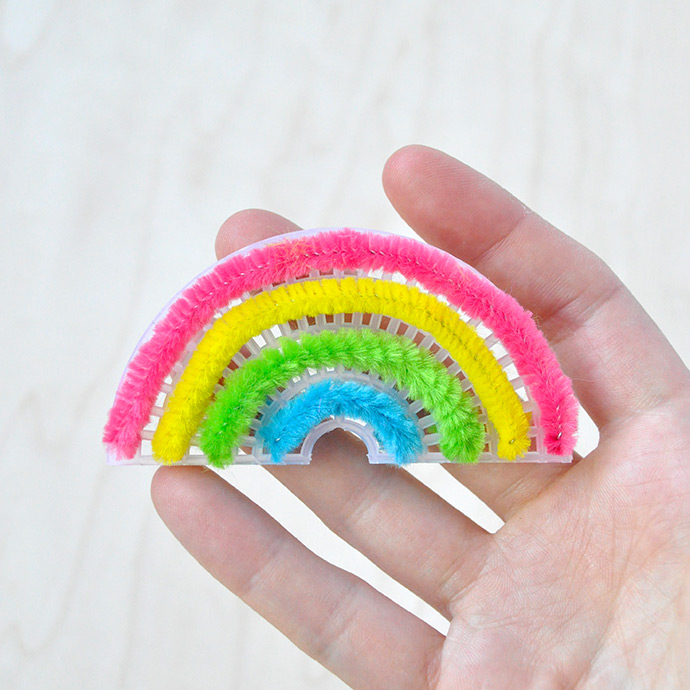
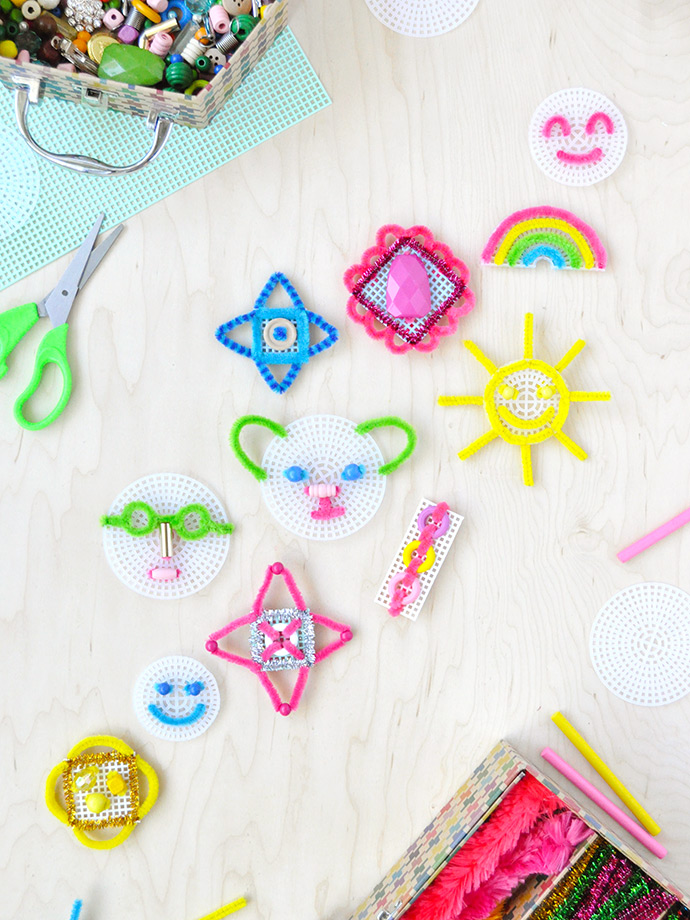
Begin by cutting the plastic embroidery canvas into whatever shape you like. If using a large rectangle you can trim off a smaller square or rectangle. If using the small circular canvases, you can use these as-is or trim off a few of the outer rows to make a smaller circle.
Step 2
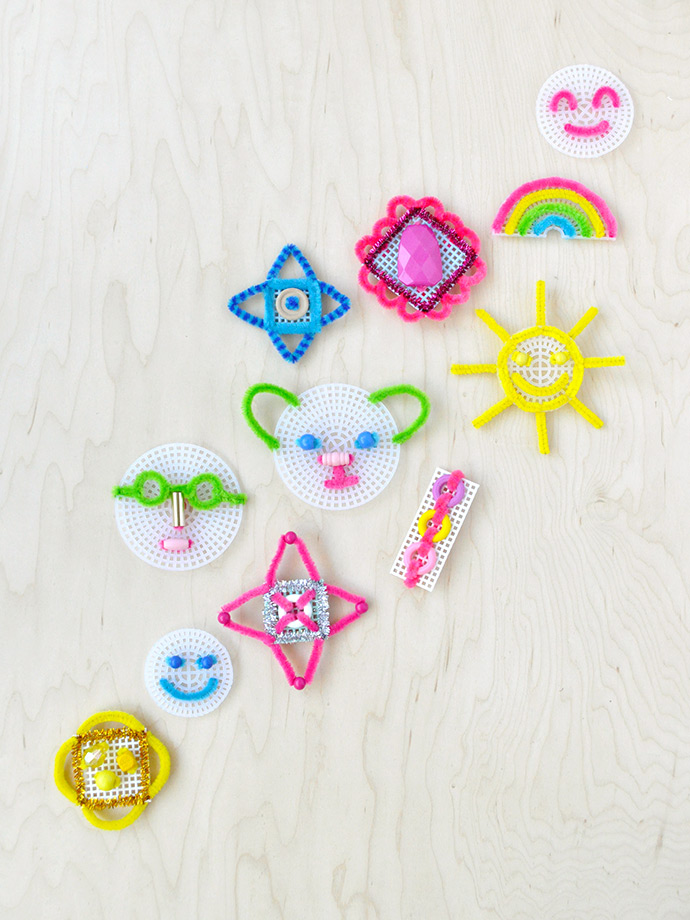
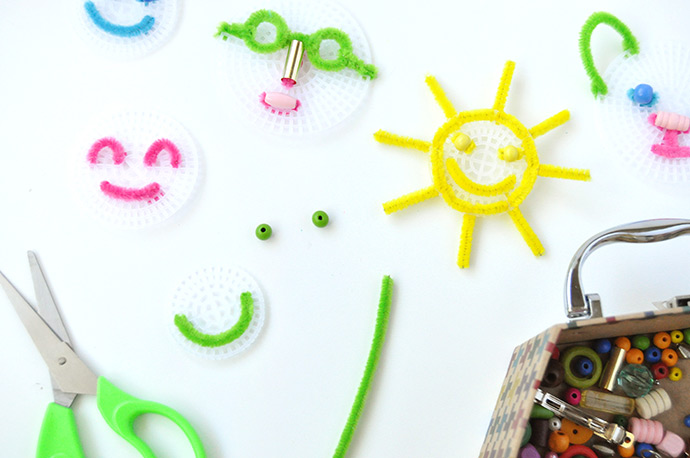
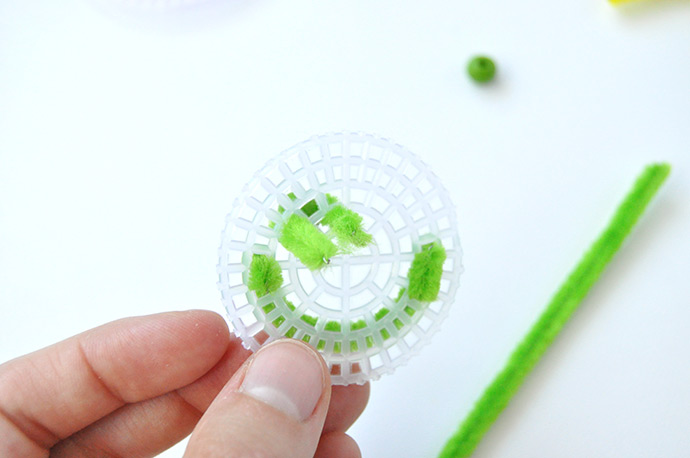
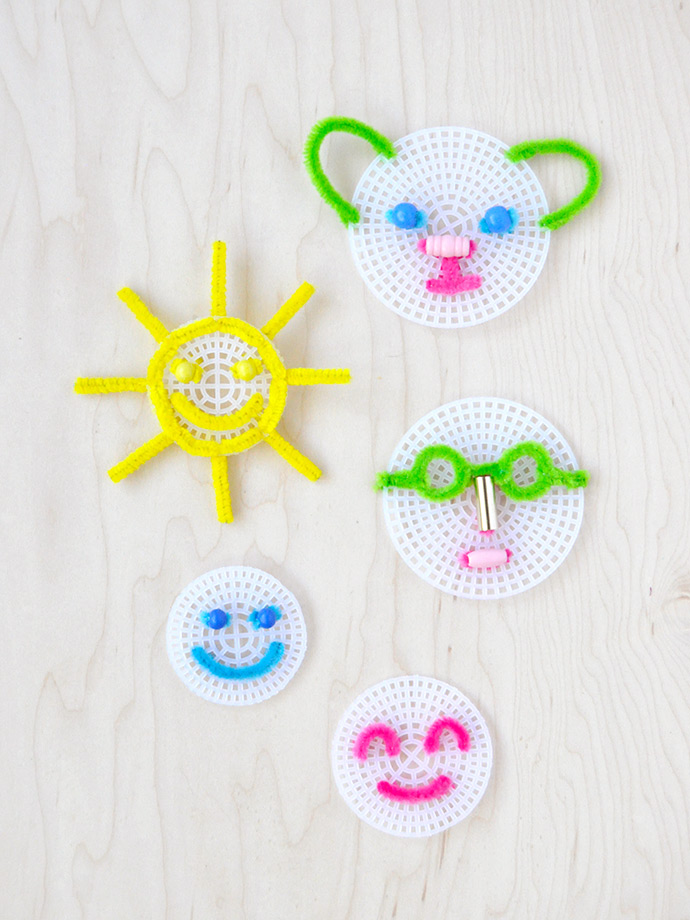
And now the fun part: embroidery! Pick whatever color of pipe cleaner that you like and think about what design you’d like to make. We did a bunch of different faces to start and they’re a nice simple way to get warmed up. To make a smiling mouth, simply thread one end of the pipe cleaner into the grid, bending a tiny little tail back on itself on the back of the canvas to lock it in place. Then curve the pipe cleaner into a smile shape and thread it into another square on the grid, pulling it through so that the pipe cleaner smile sits flat against the canvas in the shape that you want. Trim the excess again leaving a small tail to fold and secure the smile.
Step 3
To make the beaded eyes, cut a piece of pipe cleaner about 1 1/2″ long and thread through the bead. Then thread both ends of the pipe cleaner through the canvas and twist together. Add the second eye in the same way.
Step 4
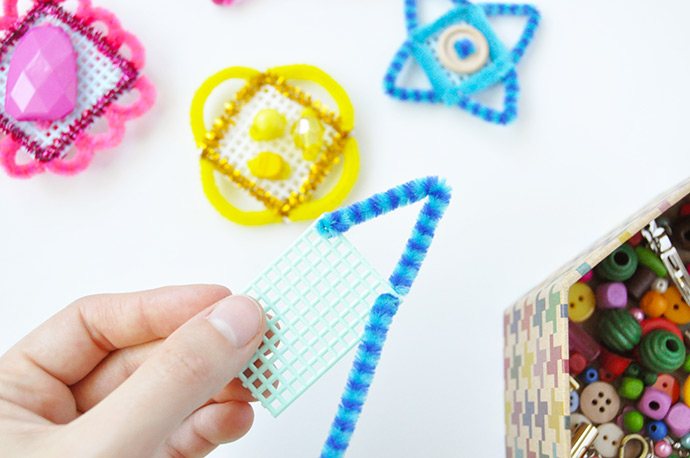
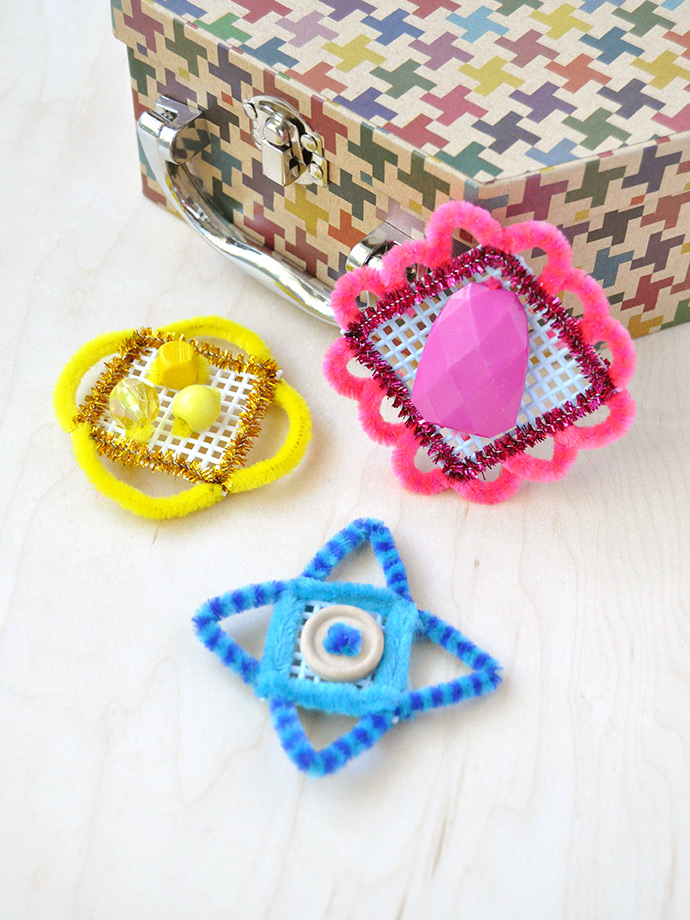
We also made a bunch of more abstract pieces, kind of badge-inspired. These ones are really fun because you can really do whatever you like. We used the beads as inspiration and used pipe cleaners to attach those onto the middle of the canvas and then added pipe cleaner borders outside the edges as shown above.
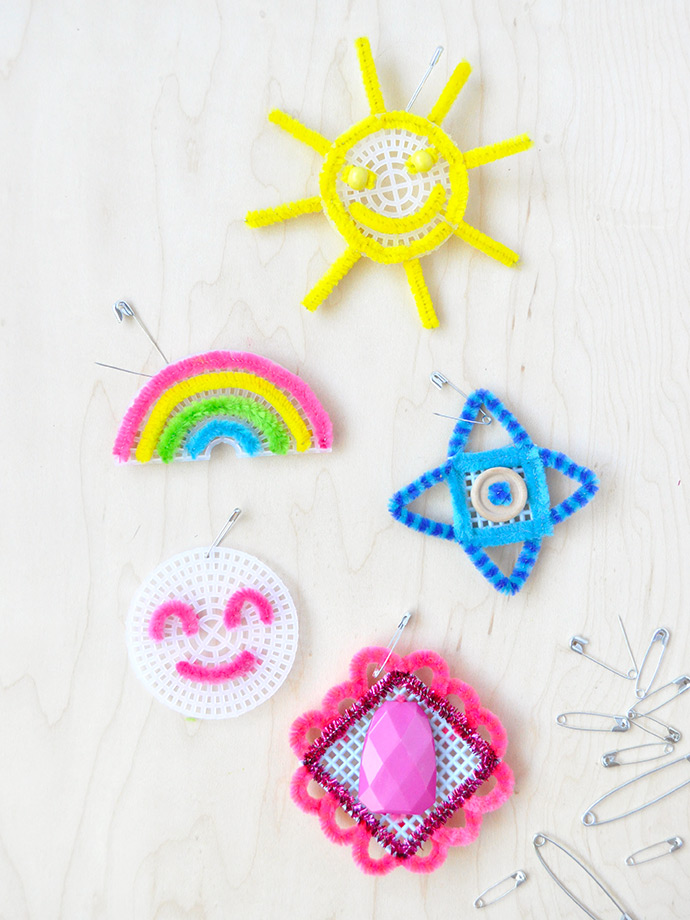
When you’re done with your designs, you can hook a safety pin through the top and pin them onto your kids’ backpacks as fun little charms!
Happy crafting!!
This post is sponsored by Kid Made Modern.