This post is sponsored by Kid Made Modern.
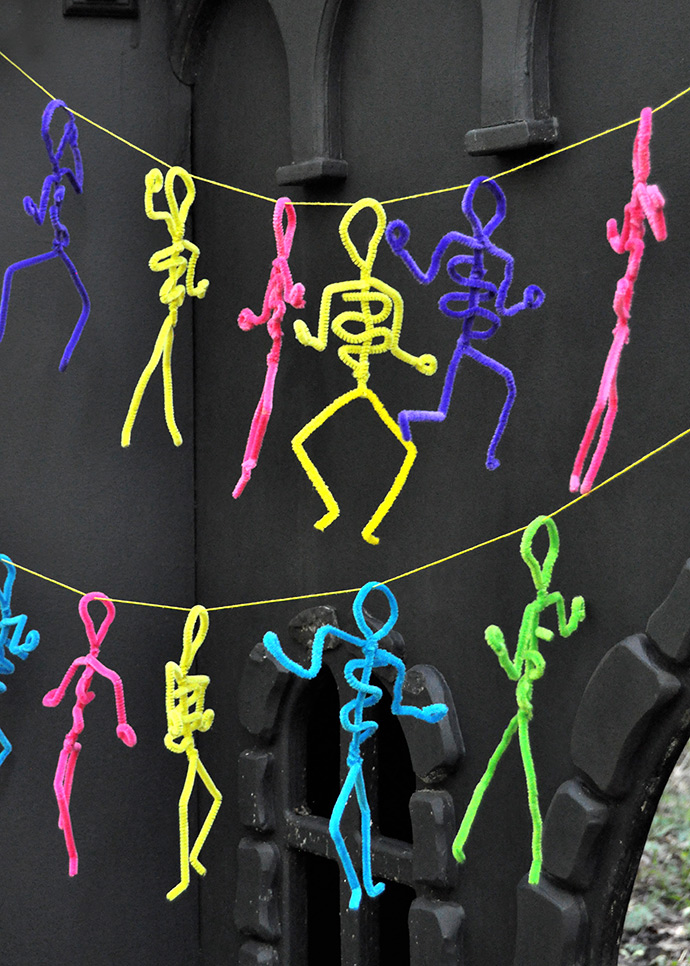
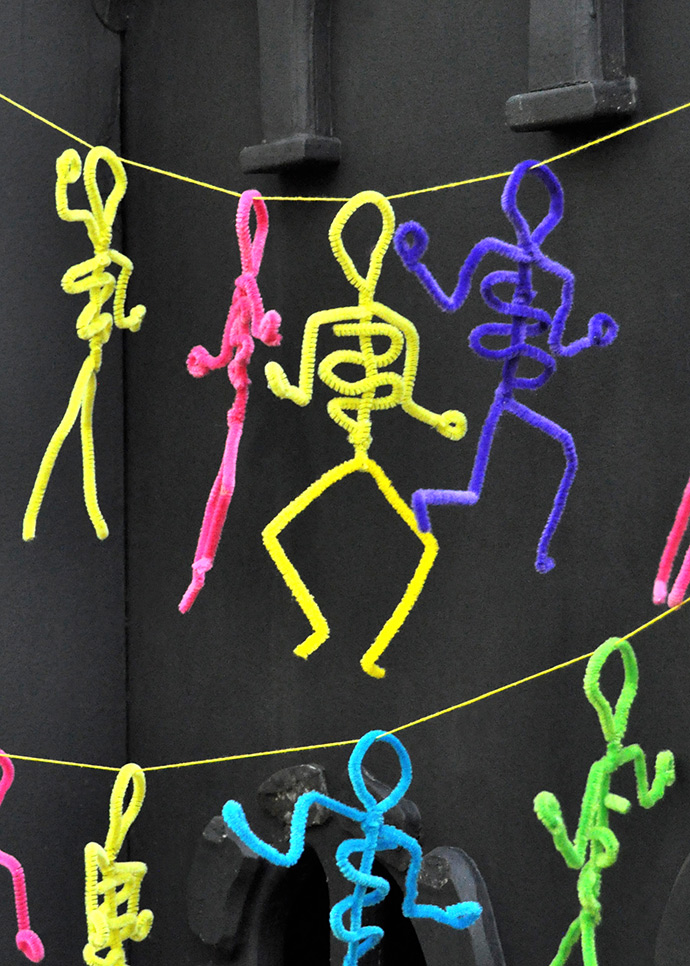
Who doesn’t love a good Monster Mash dance party for Halloween? These colorful skeletons are all ready to dance the night away, that’s for sure! Making these colorful friends is a real breeze and you literally only need three supplies to make this fun garland: pipe cleaners, scissors, and string, all of which are included in Kid Made Modern’s Arts & Crafts Library! Rainbow colors for Halloween might be a little bit untraditional, but we just couldn’t resist the neon-hued pipe cleaners and don’t the colors remind you of sugar skulls and dia de los muertos?
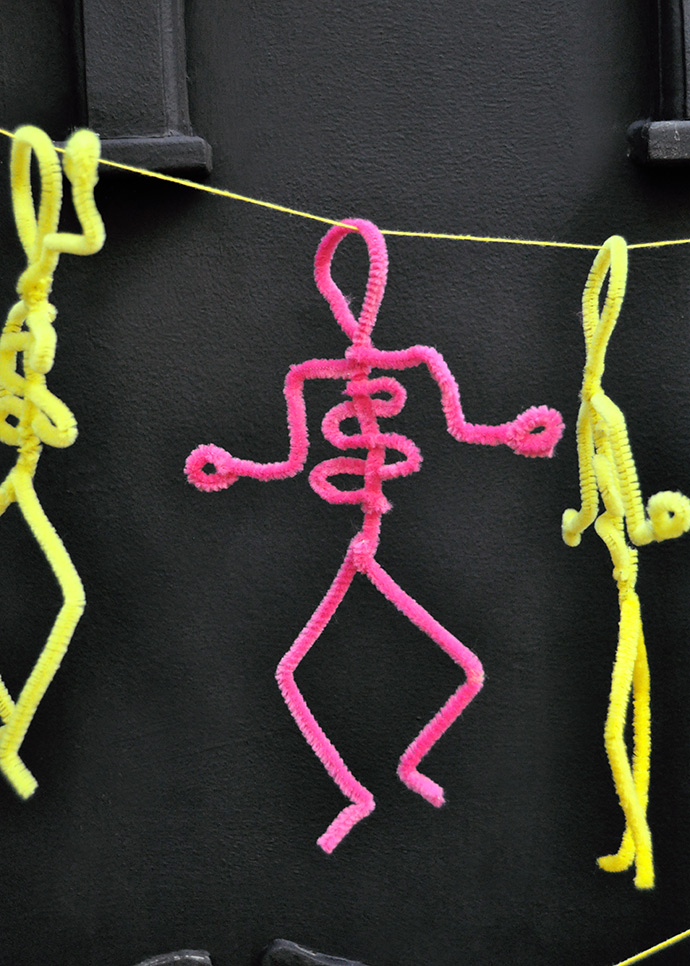
String all your finished skeletons onto a garland and watch them dance in the breeze! Or, tie a string onto each one individually and decorate your entire house with them! You can hang them on doorknobs, wall hooks, corners of chairs … it won’t be long before you have these friendly skeletons dancing all over your house! Watch the DIY video below and keep reading for the full instructions.
what you need:

- Kid Made Modern Arts and Crafts Supply Library
(pipe cleaners, scissors, embroidery floss)
how-to:
Step 1
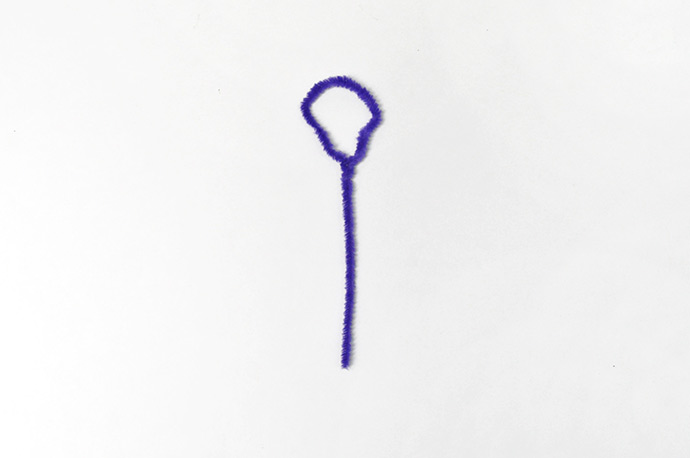
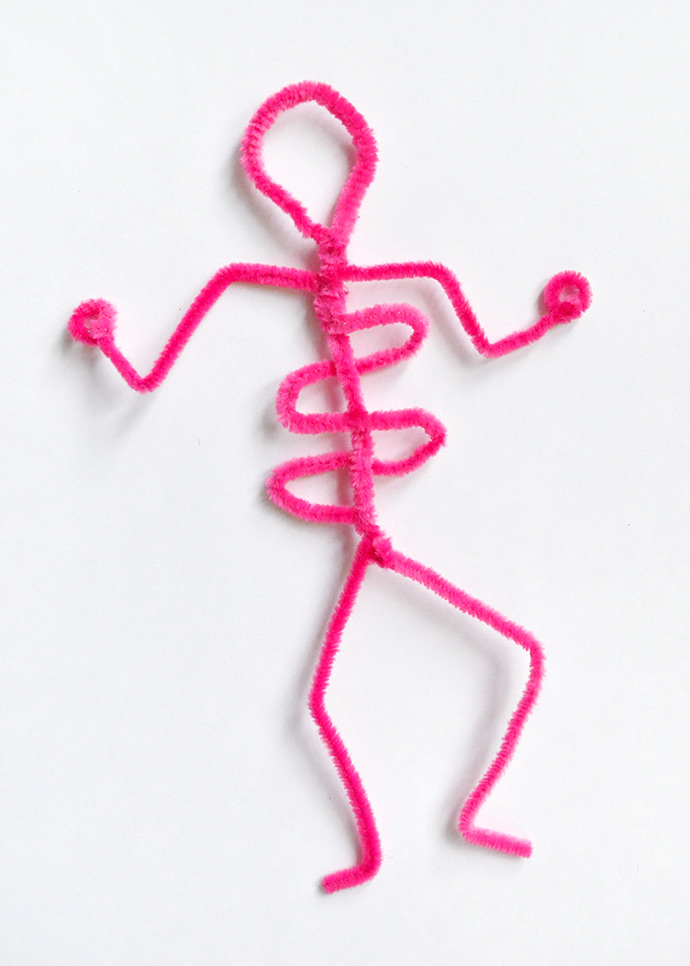
Each skeleton needs 4 pipe cleaners in matching colors. With the first pipe cleaner, bend one end into a loop and twist it back onto itself, forming a sort of bubble wand. Shape the loop into a simple skull shape as seen above.

Step 2
Time to add some arms! To do this, take the second pipe cleaner and twist the very center of it around the vertical pipe cleaner, right below the head. Leave a little bit of space between the arms and the bottom of the head for a neck. Once twisted on, bend the pipe cleaner to look like shoulders and elbows, and then twist the ends into mini loops as hands.
Step 3
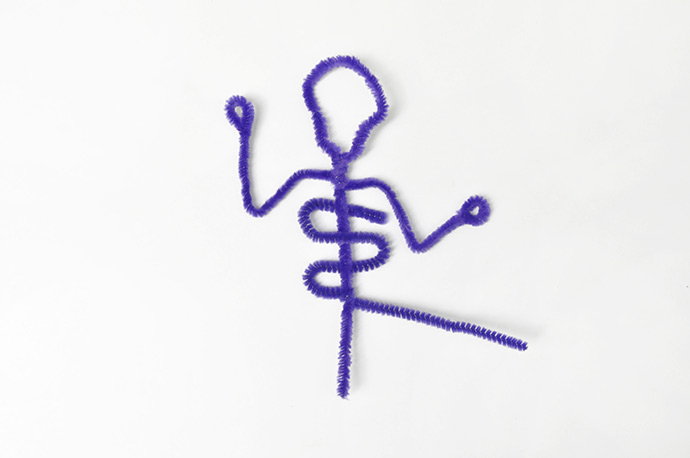
With the third pipe cleaner, form ribs by bending it back and forth as shown above. You won’t need the entire pipe cleaner for this, so once you have a few ribs wrapped around the pipe cleaner spine, twist the end around the spine and cut off any excess pipe cleaner.
Step 4
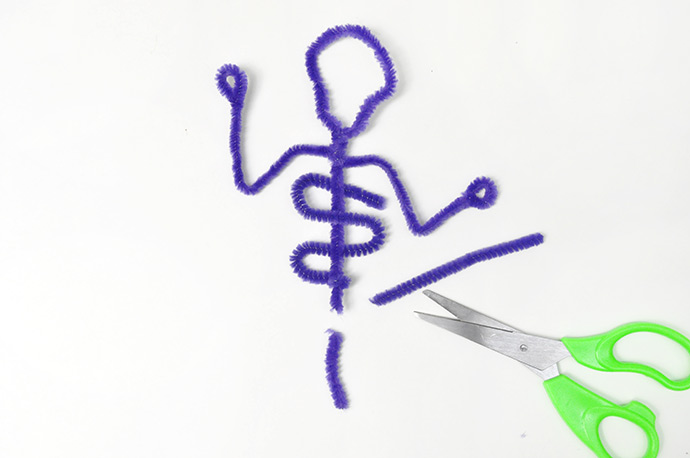
Depending on how big you made the skull and how far the ribs go down the spine, you may want to cut off some excess pipe cleaner from the spine.
Step 5
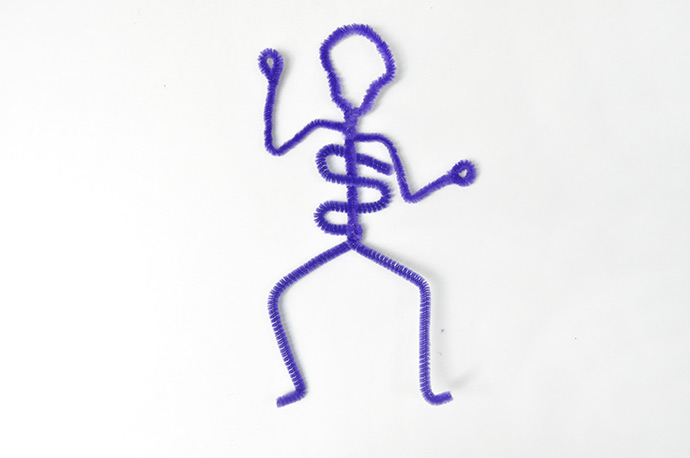
And with your final pipe cleaner, we’ll make the legs! Simply twist the center of this pipe cleaner around the base of the spine to secure. Then bend knees and feet into the legs and voila!
Step 6
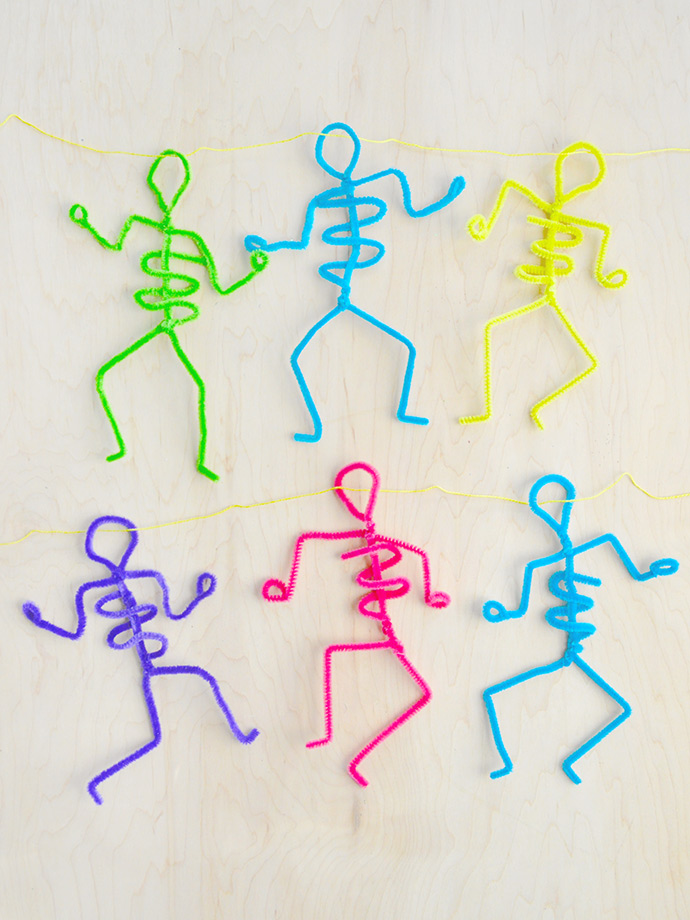
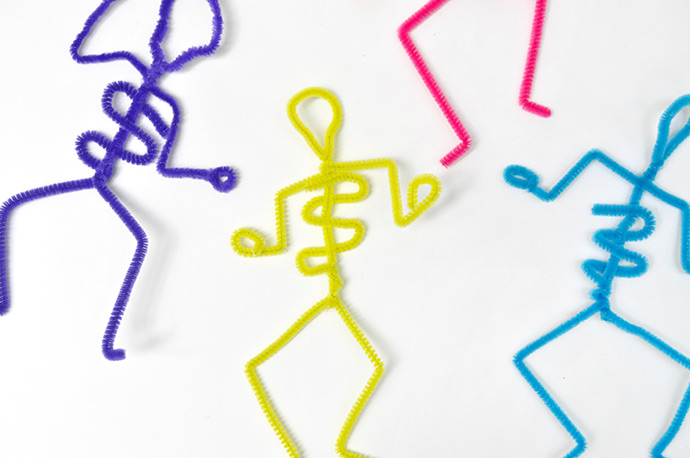
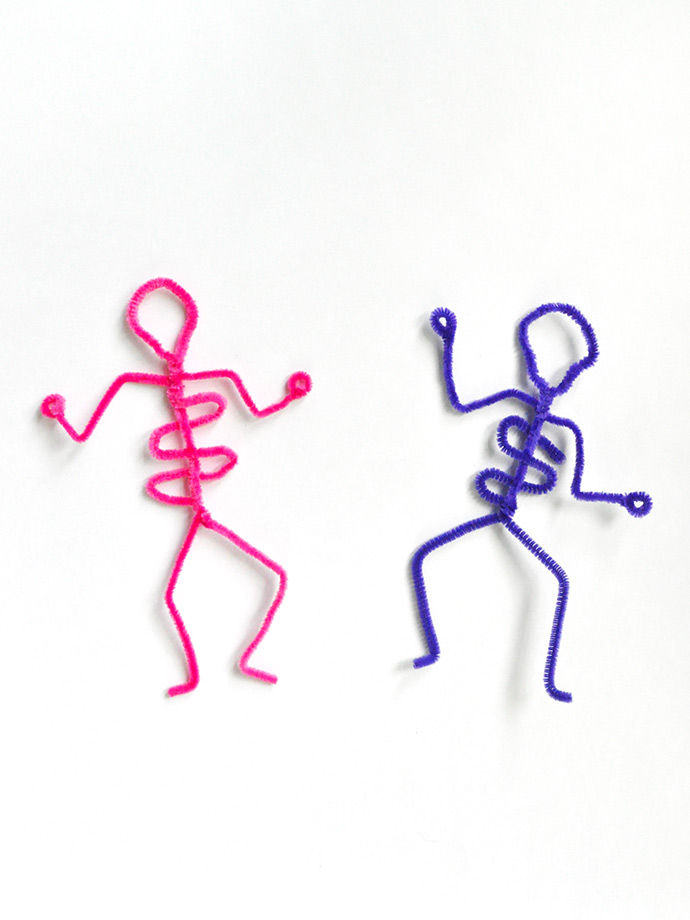
Repeat in lots of different colors until you have a whole crew of skeletons. Bends their arms and legs in different directions and it sort of looks like they’re dancing! You can attach embroidery floss to each one to hang individually around the house, or simply thread them all together to make this colorful Halloween garland.
Happy Halloween!!