When the Christmas tree comes down and the lights go away, I always get a little sad. In the dark of winter, those twinkling lights make such a difference! Before you put away all the decorations (or before they disappear completely from the post-holiday sale aisles!), grab a set of lights and make your own fairy lights to brighten your home.
What You Need
- Pretty Punched Fairy Lights Template
- White card stock
- Scissors
- Hole punches in various shapes or sizes
- Holiday lights
- Crayons (optional)
How-To
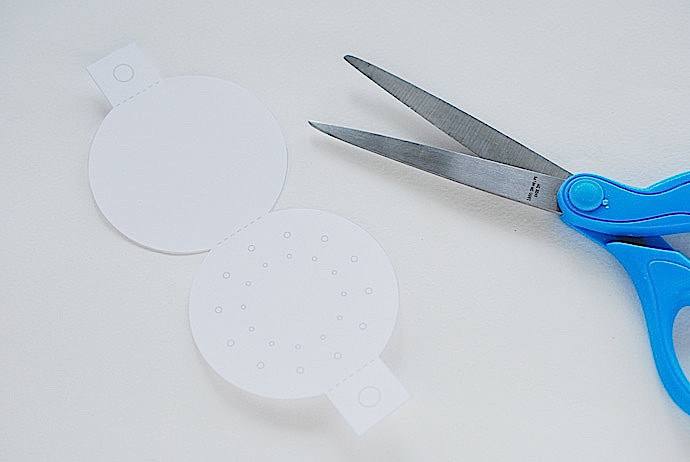
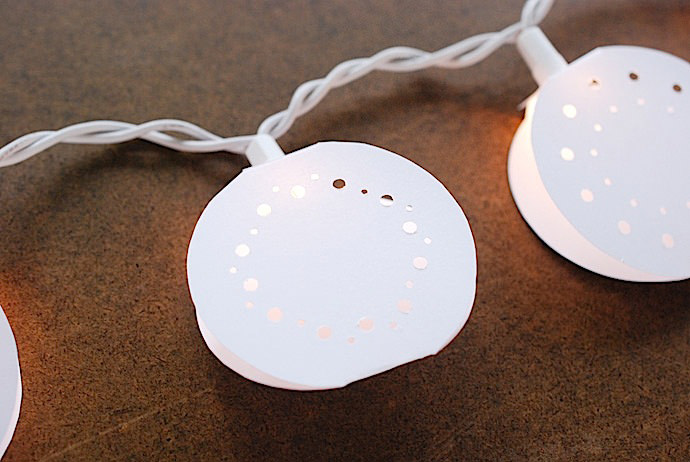
Print the template onto card stock. The PDF contains two pages: one with punching guides and one that is blank. Cut around the light cover shapes.
Step 2
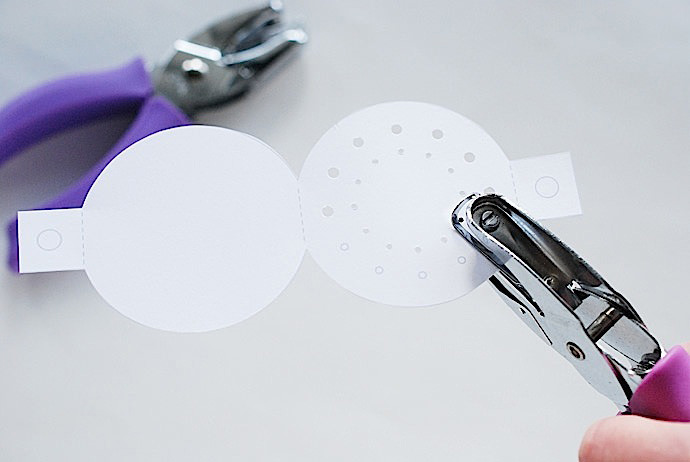
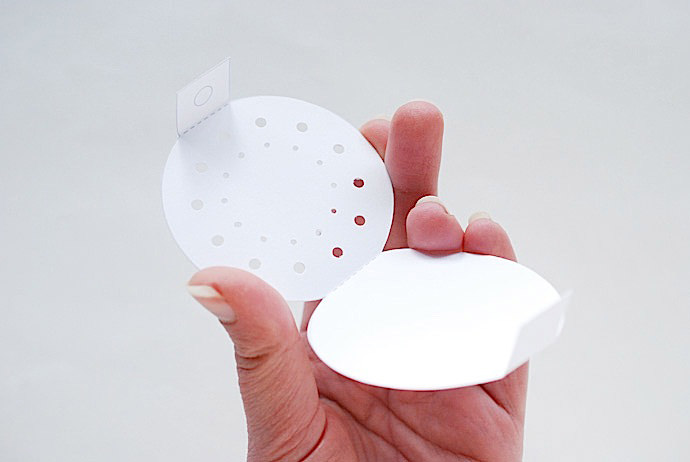
Punch designs into one side of the light covers, following the guides or making your own designs. Using hole punches of different shapes and sizes is fun and makes the fairy lights look more interesting. I used a 1/8″ and a 1/16″ punch on mine.
Step 3
Fold the covers on the dashed lines with the printed ink on the inside.

Step 4
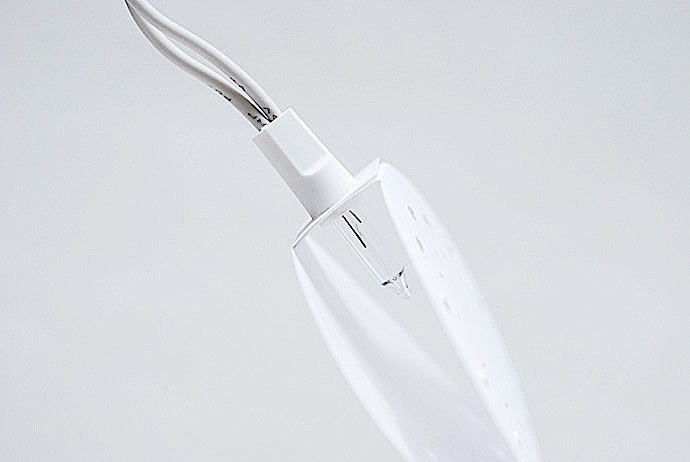
Overlap the two tabs and punch a hole in the center using a 1/4″ hole punch.

Step 5
Depending on the size of your lights, you may need to make the hole a little larger with some partial punches overlapping the first hole.
Step 6
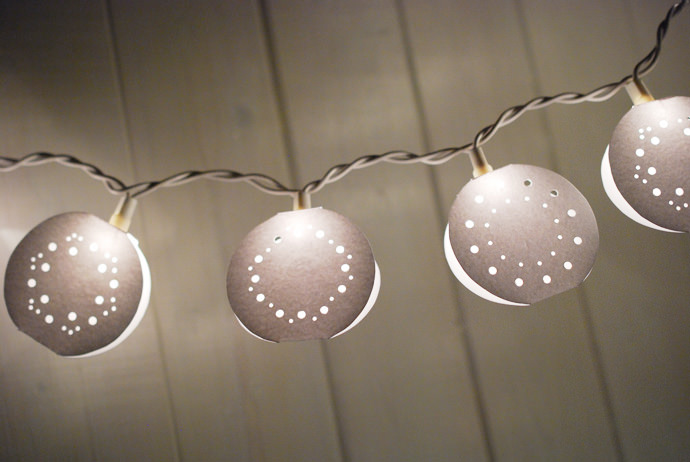
Gently push each light cover onto a bulb. They should fit snugly enough that they don’t slide off, but not so much that they tear.

Step 7
Cover all the lights, then plug them in and enjoy the glow!

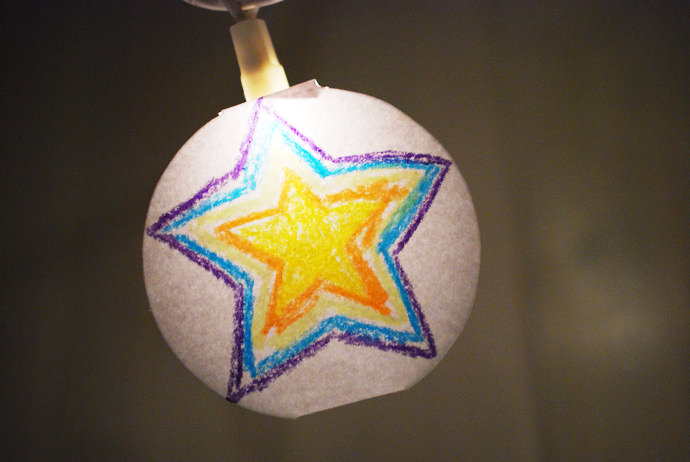
For extra fun, decorate your fairy lights with children’s drawings. Use crayons on the blank covers and watch how your artwork lights up!
Happy crafting!