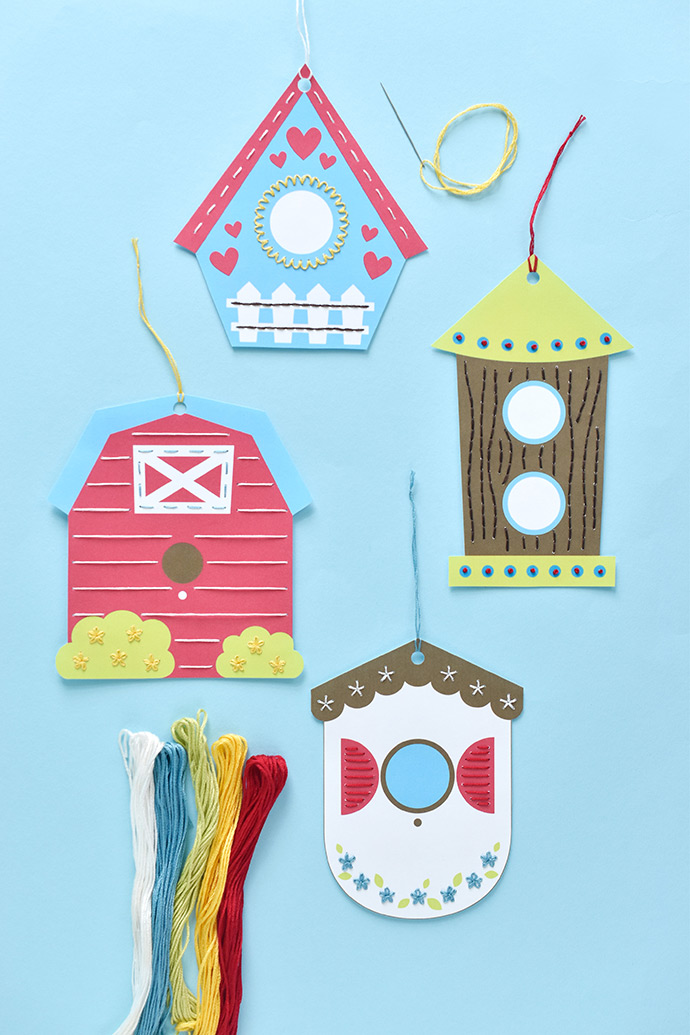
Embroider adorable details on sweet birdhouses with these free printable stitching cards! They’re a great way to practice embroidery while making fun decorations.
Use basic running stitch or back stitch if you’re new to embroidery, or try making scallops and lazy daisy flowers.
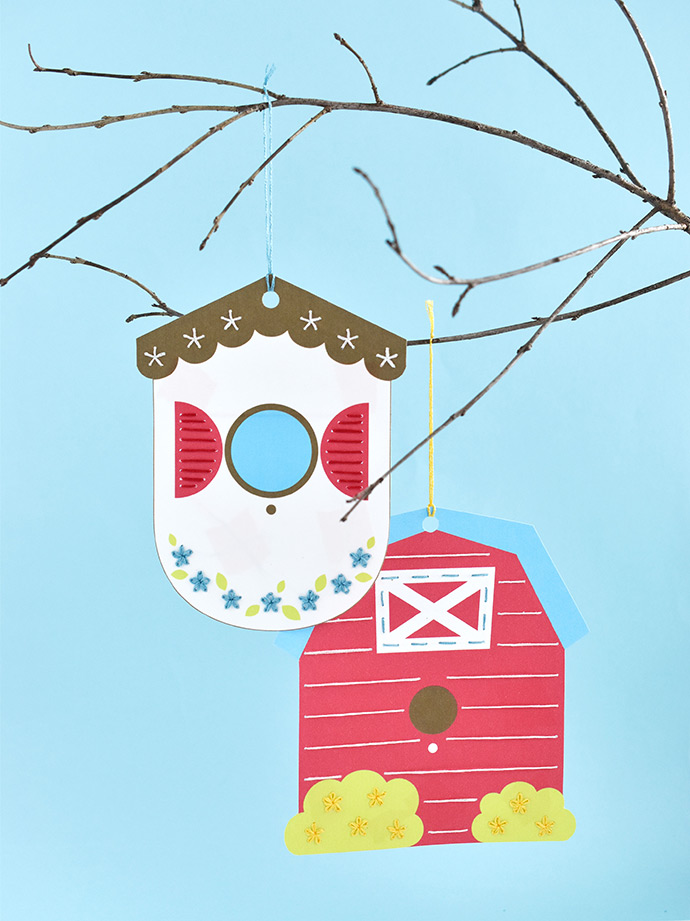
When you’re finished, hang your birdhouses on a branch and they’ll look right at home.
Now, let’s start stitching!
what you need:
- Card Stock
- Scissors
- Corrugated Cardboard or a Cork Board
- Pushpin
- Embroidery Floss
- Tapestry Needle
- Tape
- Hole Punch (optional)
- Printable bird houses
how-to:
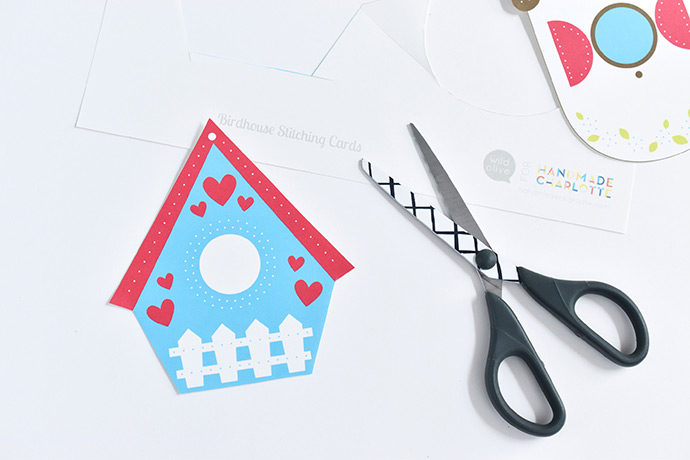
Step 1
Print the birdhouses on card stock. Thicker card stock keeps the stitching cards sturdy while you stitch. Cut out the birdhouse shapes.
Step 2
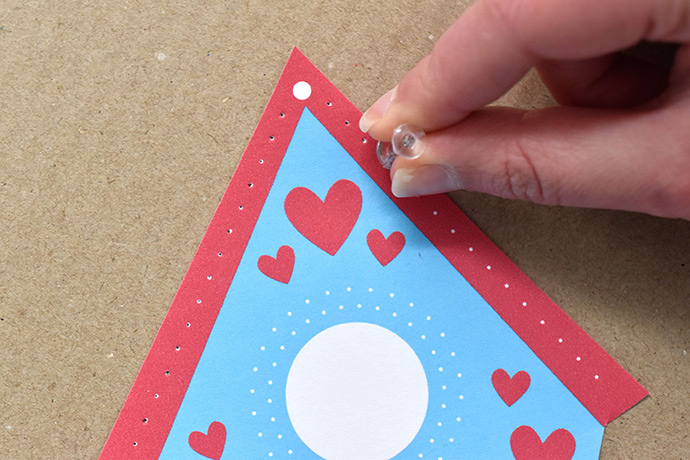
Place a birdhouse on a piece of cardboard or cork and use a pushpin to pre-punch all the tiny, marked dots. A needle also works for this, but it’s easier to hold the pushpin.
Step 3
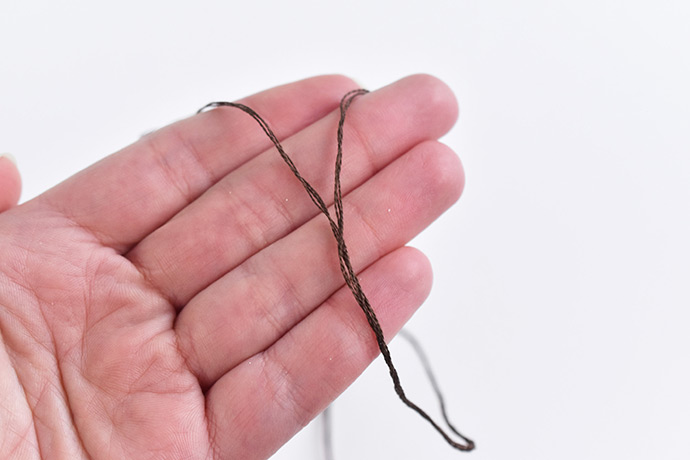
Cut a piece of embroidery floss that’s about 18 inches long. Divide the thread so you can work with three strands at a time.
Thread your needle and tie a double knot with a tail at the other end of the embroidery floss.
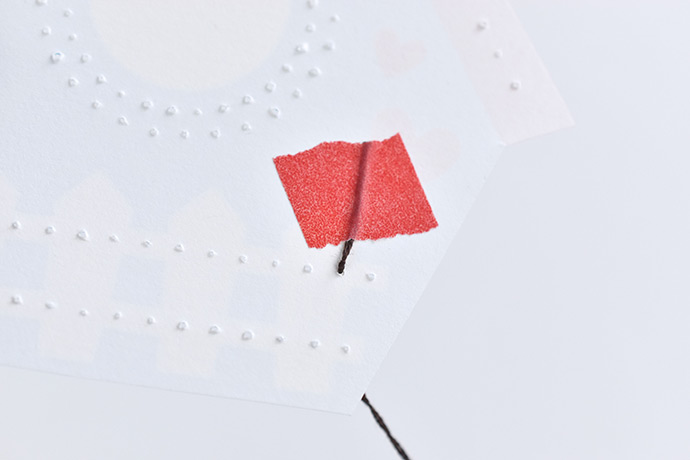
Bring the needle through the stitching card from the back to the front. Secure the tail with a piece of tape to keep it from pulling through the card. If you use washi tape, you can peel it up and add more tails as needed.
When you finish a length of thread, tie a knot and tape the end on the back.
Step 4
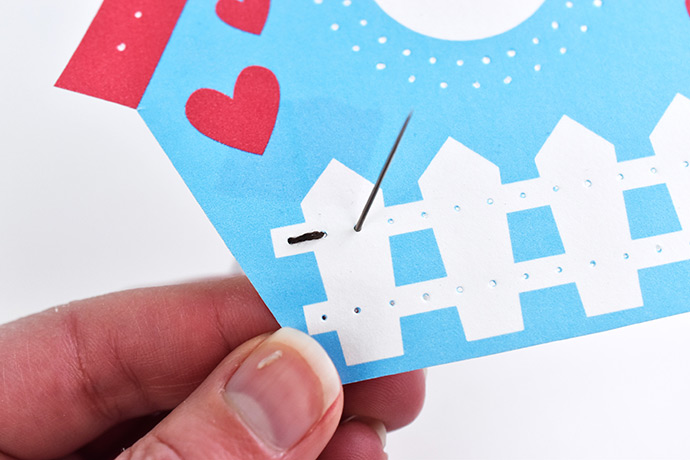
Start stitching through the pre-punched holes. It helps to flip the card over when you bring the needle through from back to front.
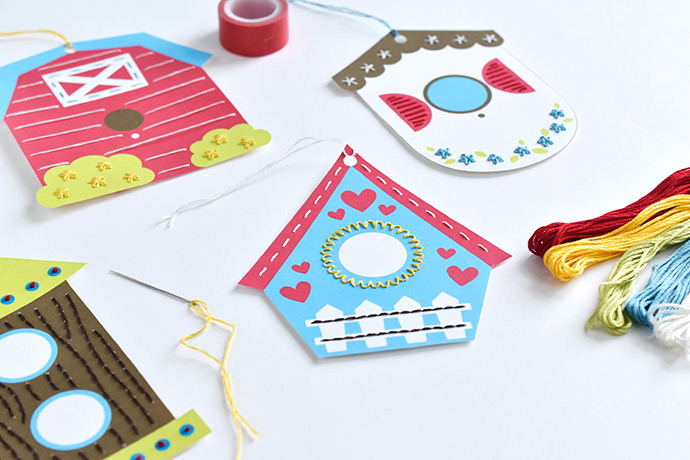
For lines of stitching, you can use running stitch or back stitch. Use the finished photos as a guide for which stitch to use where or choose your own stitches!
Step 5
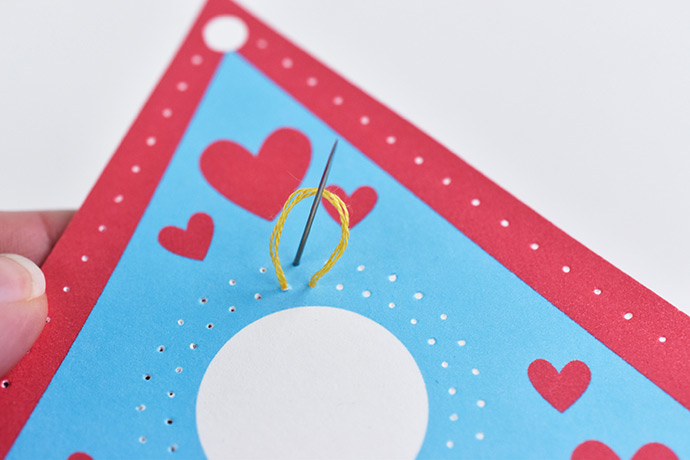
Around the circle on the first card, you can use simple straight stitches or you can make scallops:
Come up on one of the inside dots and go down at the next dot, leaving a loop of thread on the front. Bring the needle up on the outside dot between the loop, catching the loop of thread.
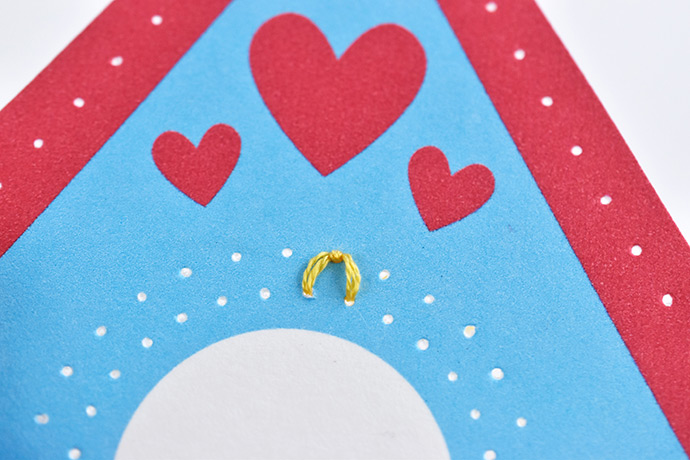
Pull the thread to tighten the loop and then go back down in the same hole you came up. Try not to pull this too tight or it will pull the tiny stitch through the hole.
 Step 6
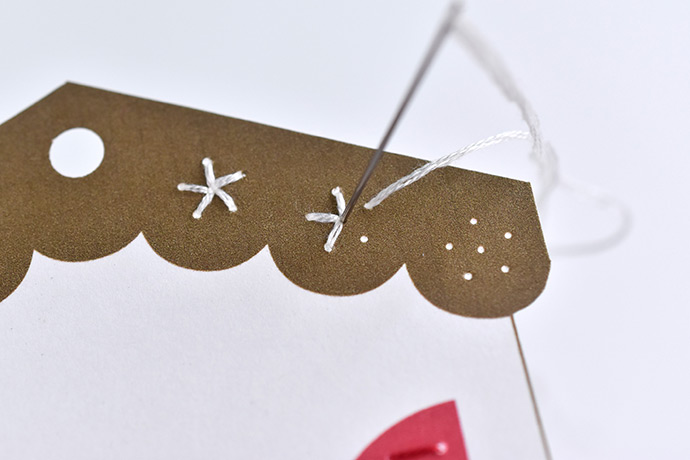
On the clusters of dots, you can stitch them with straight stitches to make a star/flower shape.
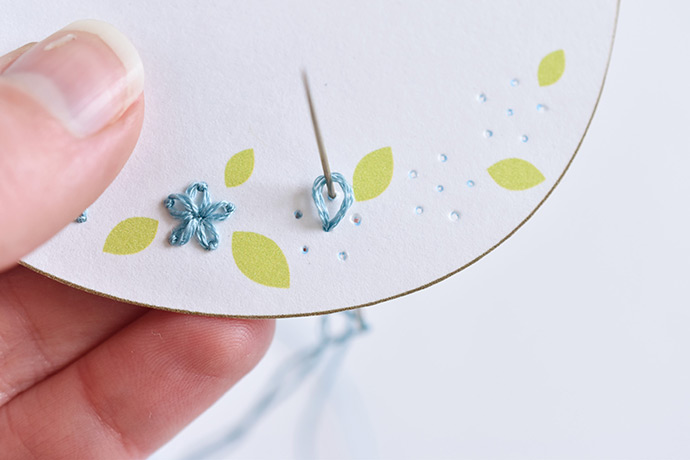
For a more advanced version, stitch these clusters with lazy daisy stitch. Come up through the center dot and go back down through the same hole. Leave a loop of thread on the front.
Bring the needle up through one of the outer dots and catch the loop with the needle. Go back down through the same hole. Repeat this for each of the outer holes to make a flower.
Step 7
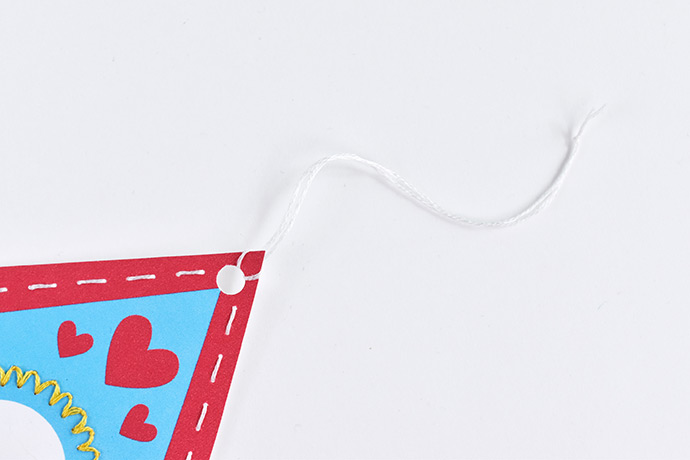
To hang your birdhouses, use a hole punch on the circle at the top of each roof. Tie a loop of thread through the hole and it’s ready to display!
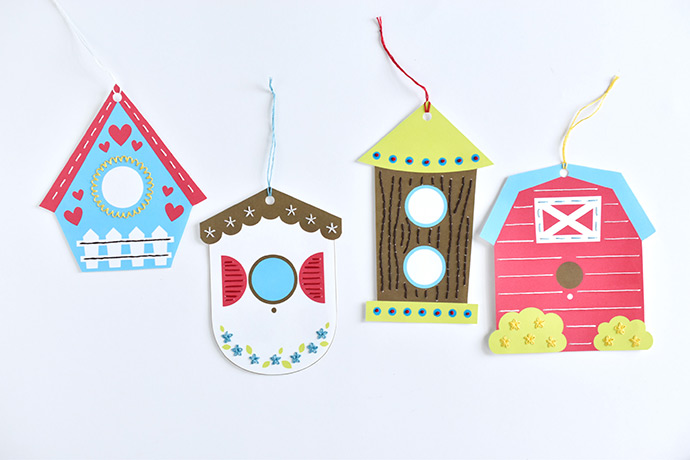
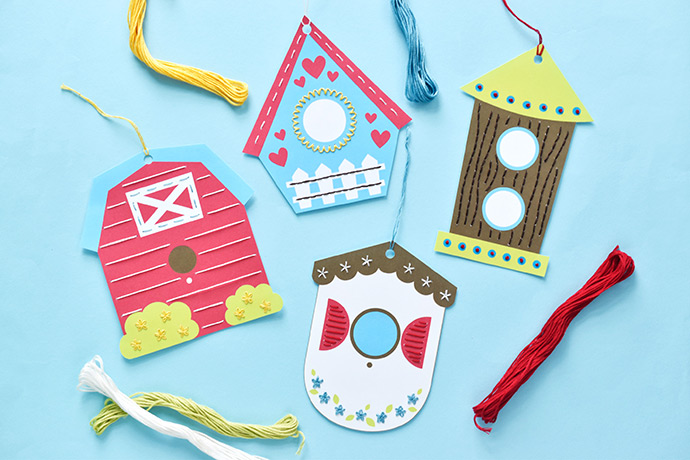
You can stitch your birdhouses with any colors or stitches that you like. Or use these as a guide to help you get started!
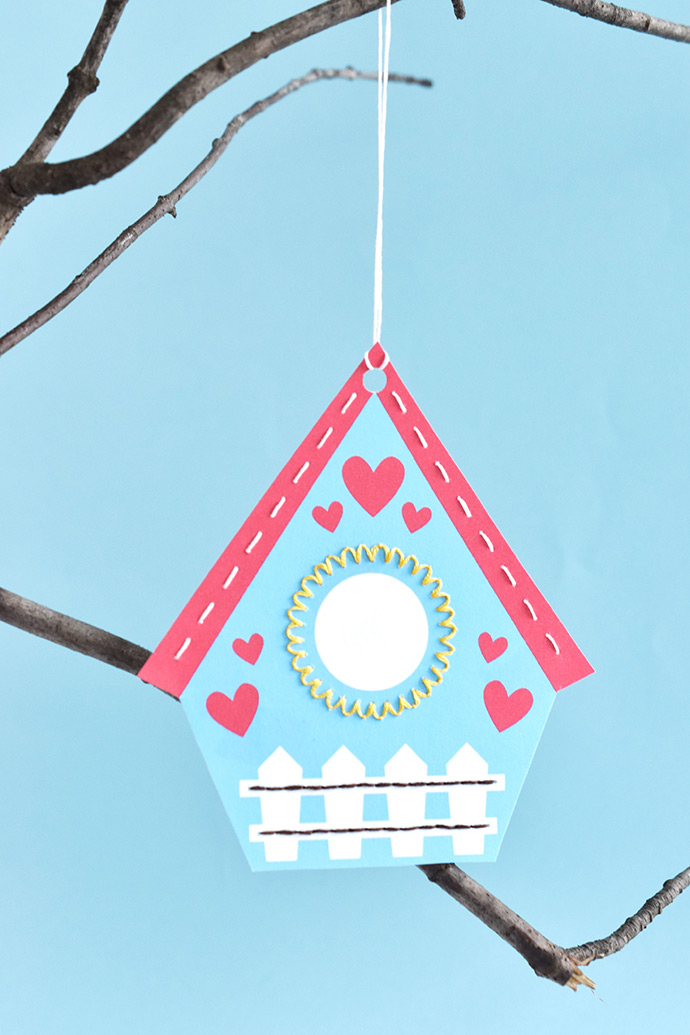

These birdhouses won’t last long if you hang them outside in a tree, but you CAN bring a tree branch inside to display them! You might want to glue a piece of patterned paper to the back to cover your stitches and tape.
You could also make a garland with these, or even hang one on your wall.
However you choose to display them, make sure people see your hard work and stitching skills!
 Happy crafting!