This post is sponsored by Sizzix.
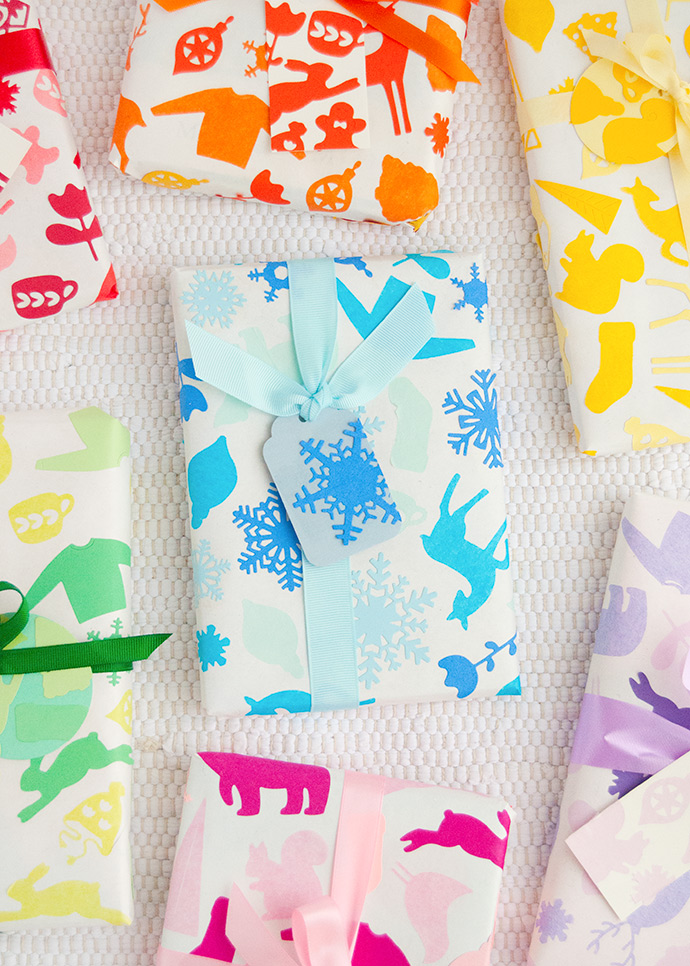
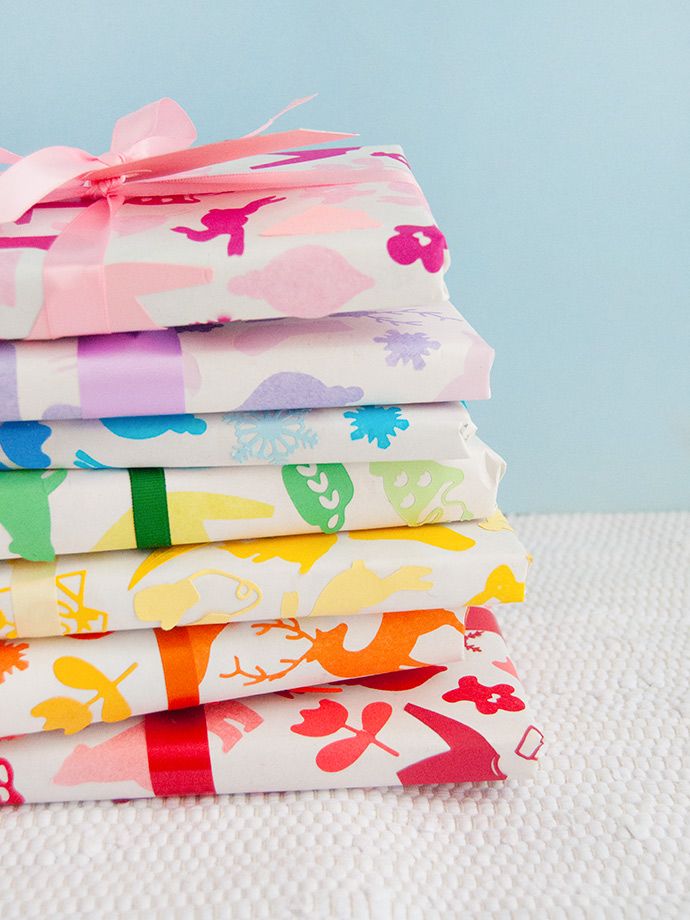
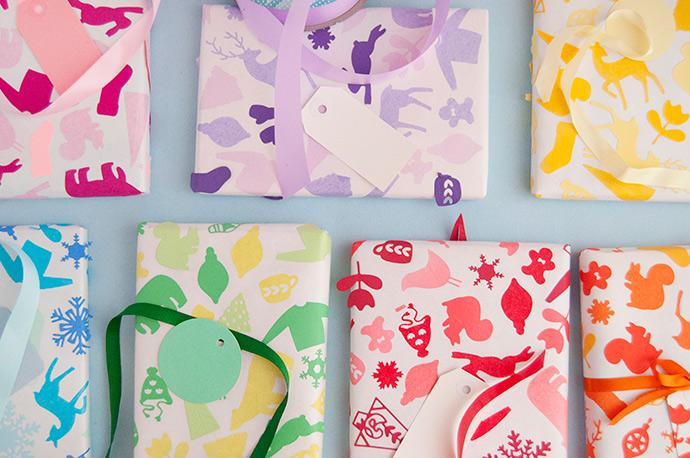
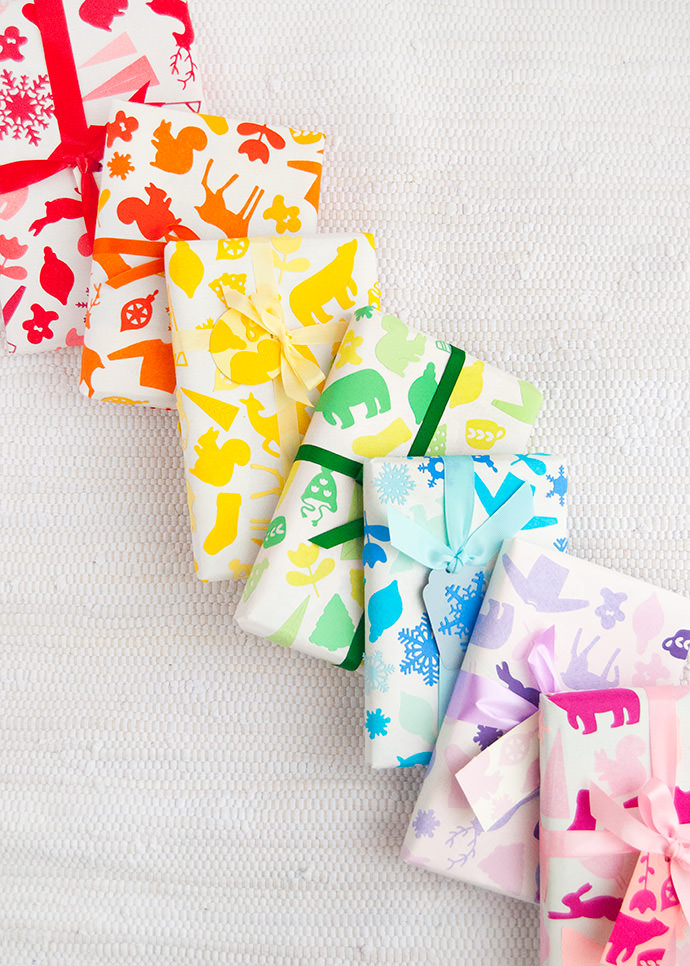
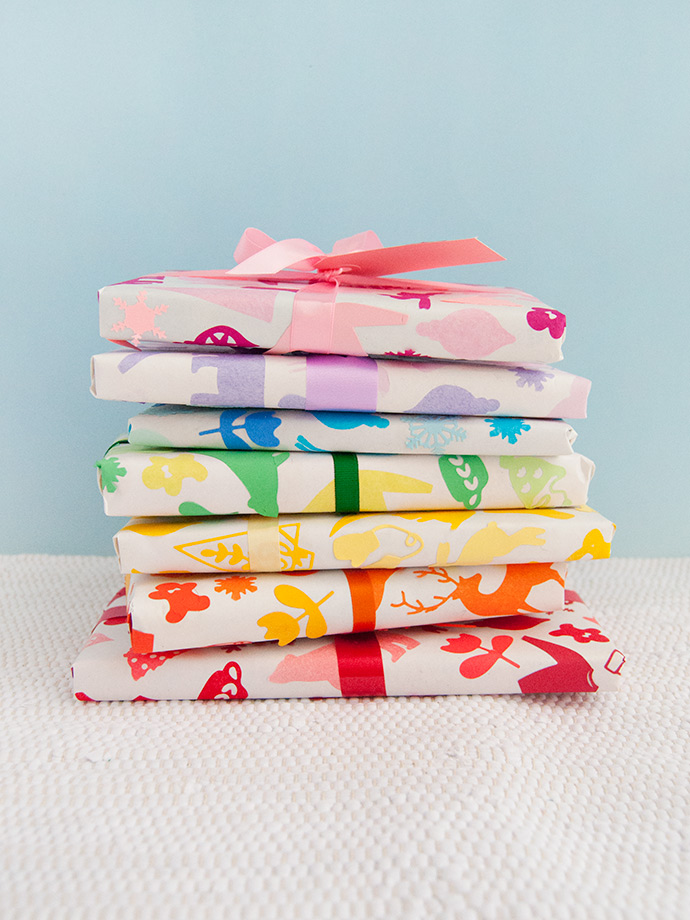
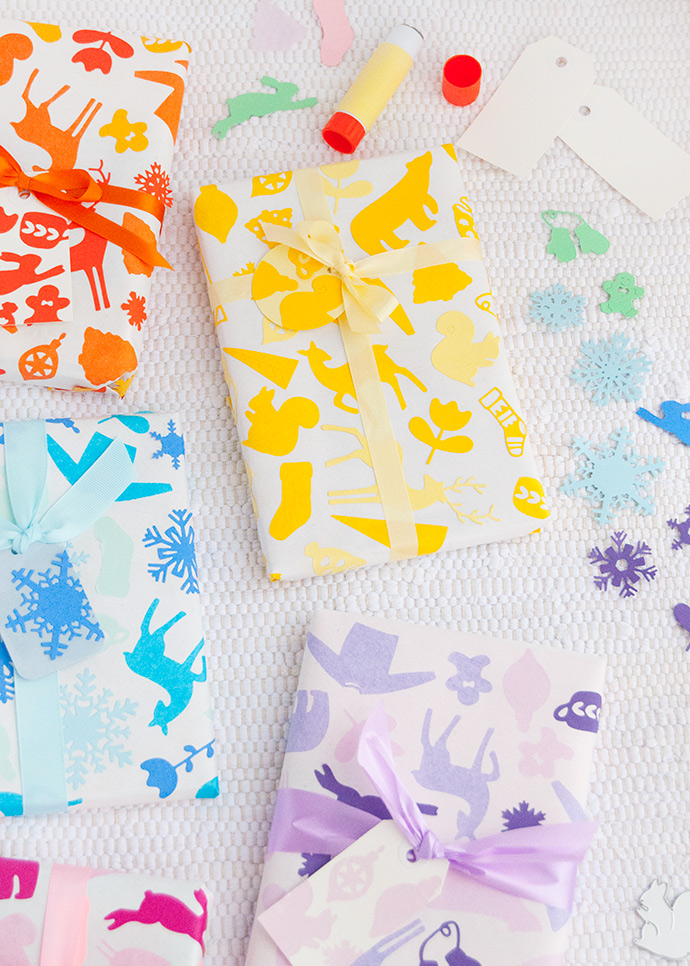
Normally when we think of Christmas colors, red, green and white come immediately to mind. This holiday season, mix things up a bit and put a whole rainbow under your Christmas tree with this DIY gift wrap. Wrapping gifts is one of our favorite creative projects to do leading up to Christmas, so making our own custom paper was a real treat.
We are in love with all the festive holiday designs from Sizzix and immediately knew that they would make the perfect collaged wrapping paper.
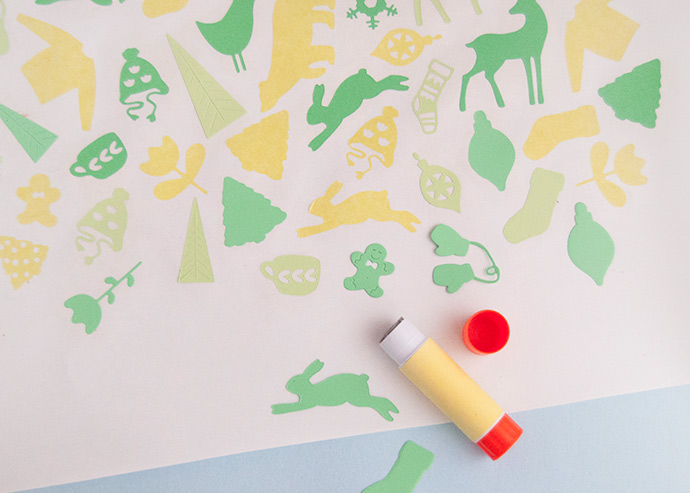
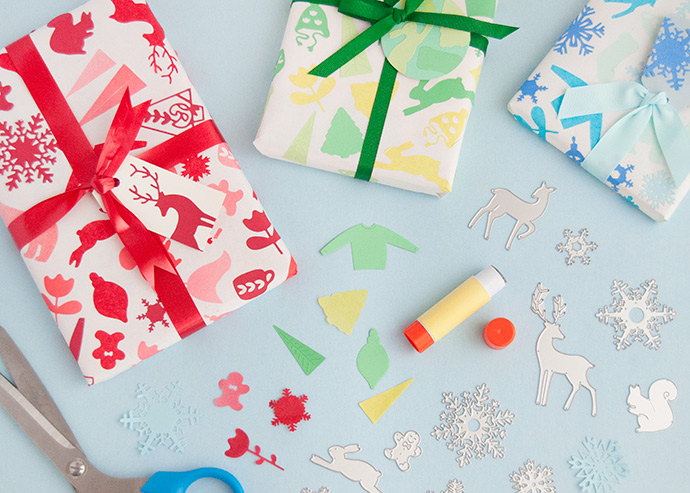
Using the Big Shot is so fun and easy that kids will be eager to help with this Christmas craft. After they’ve picked out and cut their favorite holiday shapes, creating the wrapping paper is just as simple as you’d imagine – just grab a glue stick, attach the rainbow-colored shapes, and get wrapping.
If you’re like us, you probably have a stack of scrap paper that you can’t quite get rid of – this is the perfect project to use up those scraps, mixing and matching different shades to make this magical rainbow of gifts.
what you need:
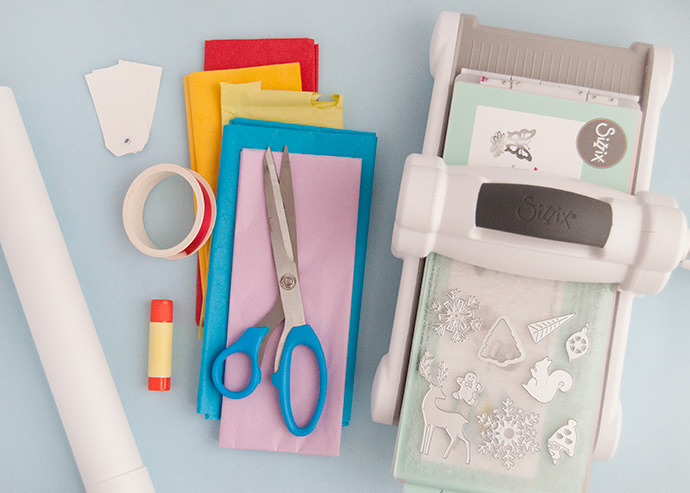
- Sizzix Big Shot Starter Kit
- Sizzix Thinlits Die Set – Paper Snowflakes, Mini
- Sizzix Thinlits Die Set – Winter Elements
- Sizzix Thinlits Die Set – Christmas Elements
- Sizzix Framelets Die Set – Christmas Classics
- Colored paper
- White wrapping paper
- Blank gift tags
- Glue stick
- Scissors
- Colored ribbons
how-to:
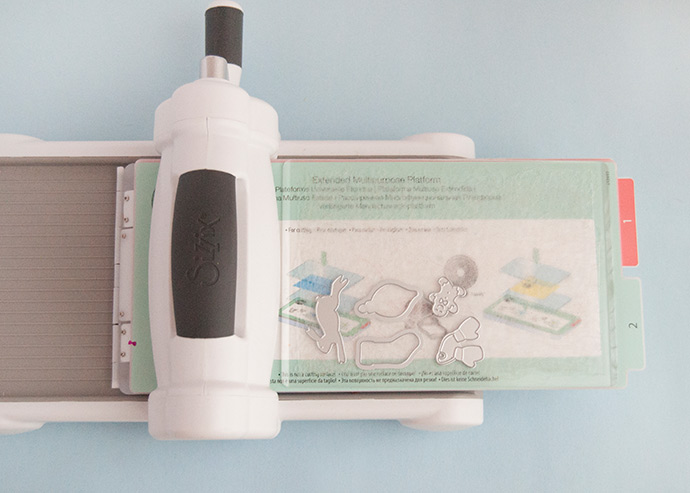
Step 1
Pick out your favorite winter Thinlits and arrange onto the cutting pad of your Big Shot, making sure that they’re facing up.
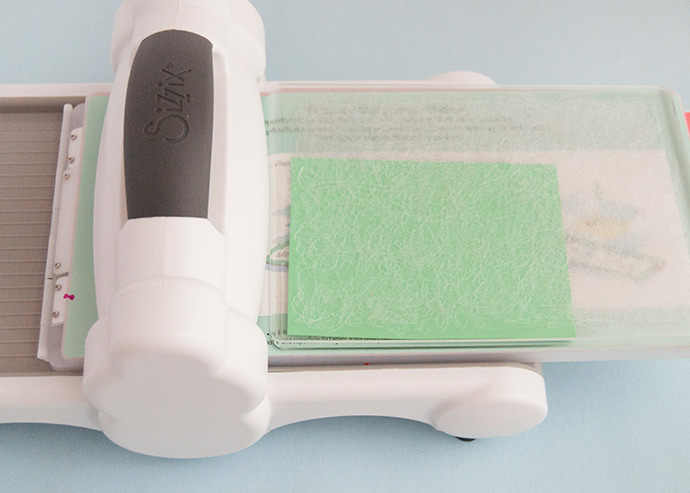
Step 2
Place a piece of colored paper on top, covering all the Thinlits, and finish the sandwich with the second cutting pad.
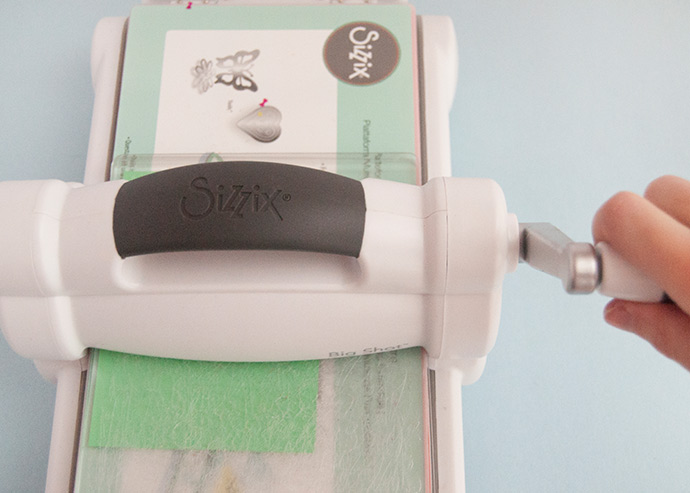
Step 3
Use the hand crank to feed through the Big Shot. Your holiday shapes will begin to appear as they come out the other side!
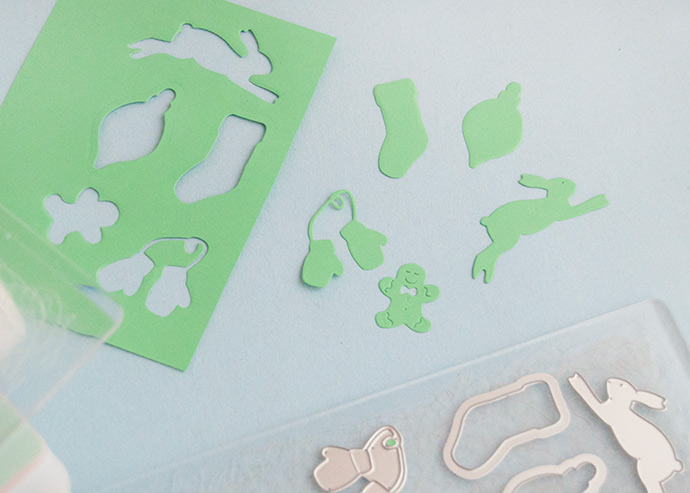
Step 4
Remove the sandwich from the Big Shot, taking the cut shapes from the Thinlits.
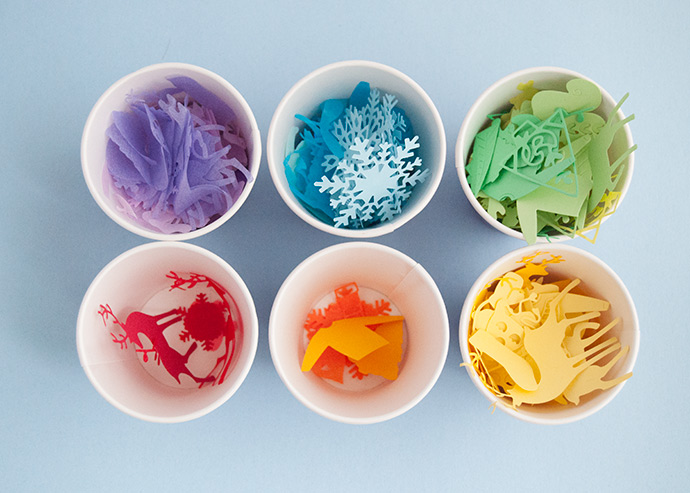
Repeat this process with all colors of the rainbow: red, orange, yellow, green, blue, purple, and pink. Sort the cut paper shapes into cups to keep them organized. This is a great project to use up assorted paper scraps of slightly different shades – this way, each color of wrapping paper will have a nice variety!
Step 5
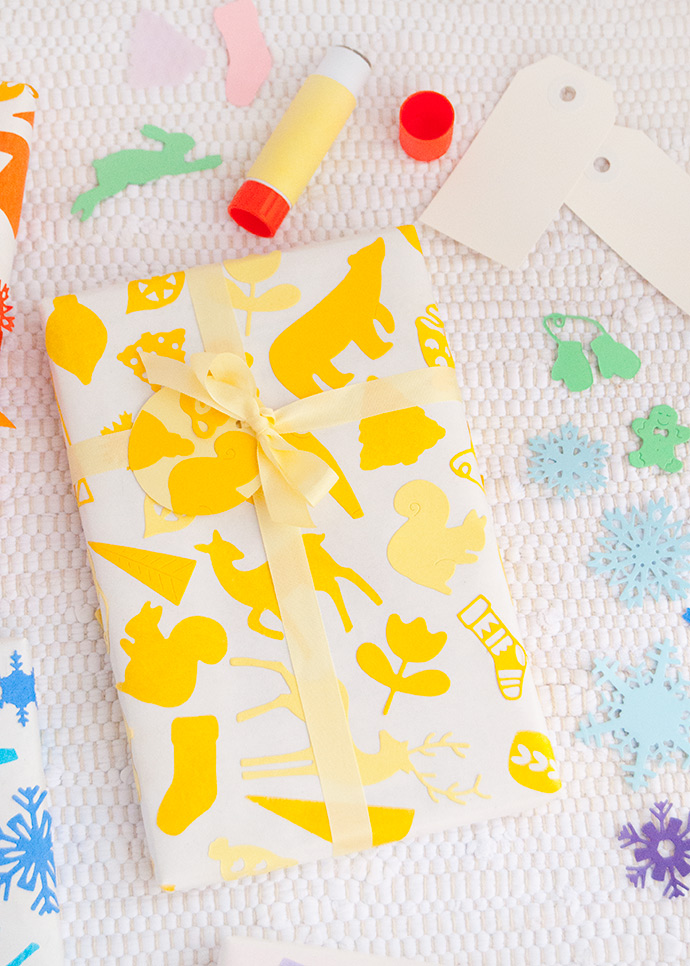
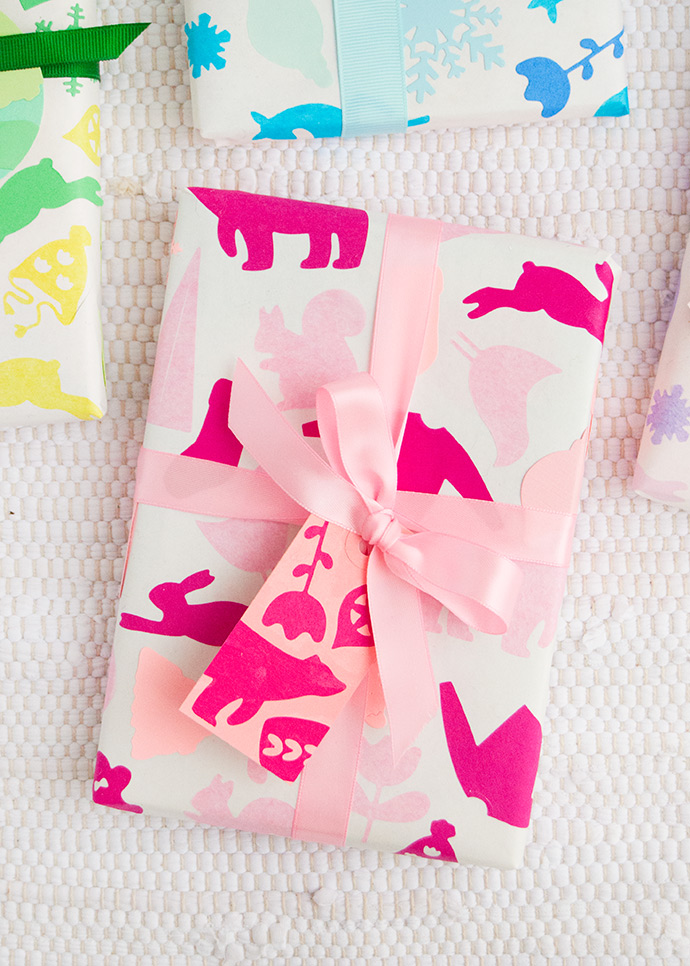
Unroll and cut off a piece of plain white wrapping paper, making sure that it’s big enough to cover the gift you’d like to wrap. If you don’t know exactly what gift you’re wrapping yet, go on the big side just to be safe. Grab your first color and begin applying the shapes onto the white paper using a glue stick. We glued the shapes on so that there was no defined right way up, but you and your kids can do this however you like – random like we did, or creating little scenes on the paper.
Note: For the more solid shapes, you should easily be able to apply glue onto the back of the shape itself. For the more delicate shapes with many holes in them (like the snowflakes) it can help to apply the glue directly onto the white paper instead and then press the shape on to adhere.
Step 6
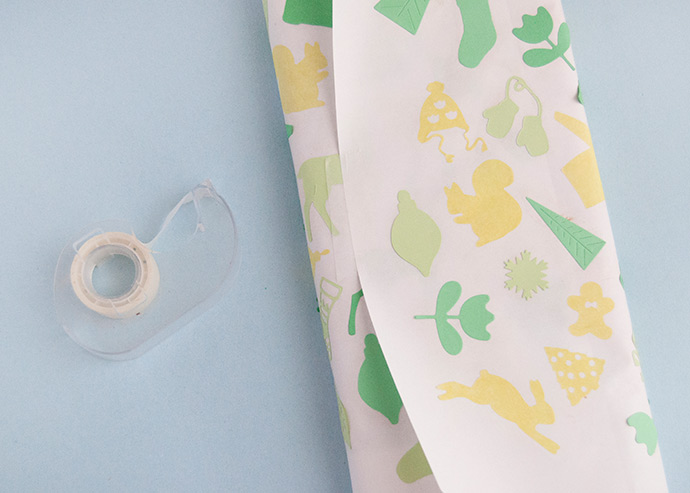
Once you’ve covered the paper with shapes, set aside to dry completely. Once the glue is dry and the paper isn’t tacky to the touch, wrap your gift as you normally would!
Step 7
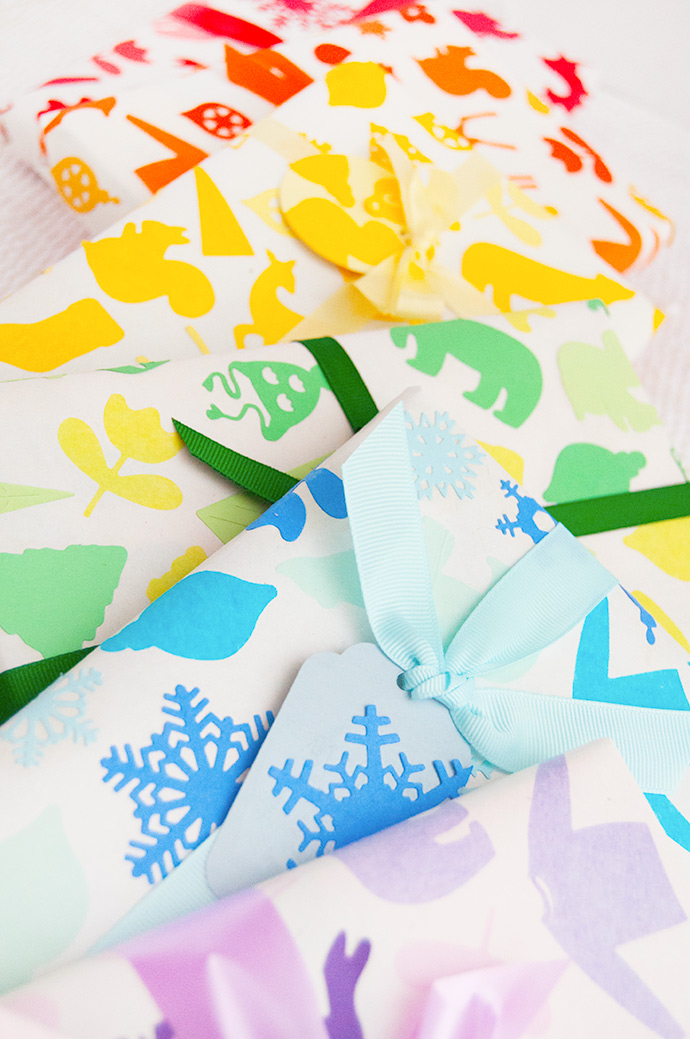
Repeat this process with the remaining colors and gifts so that you have a whole rainbow! If any of the shapes peel along the edges of the gift at all, use a little bit more glue to stick them down.
Step 8
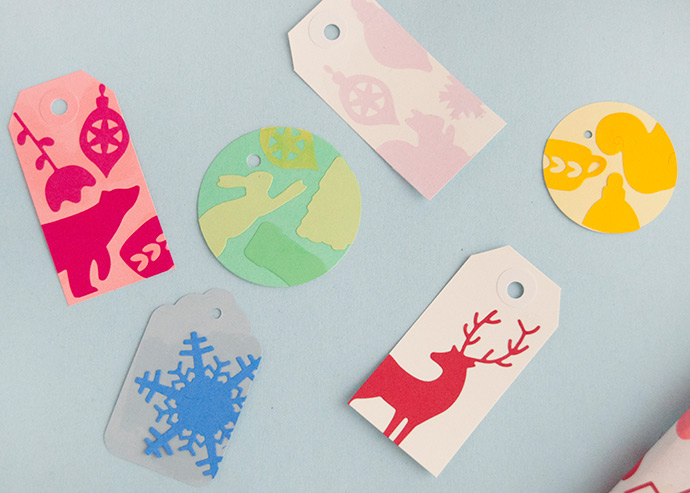
Use any extra shapes to make matching tags to go along with each gift.
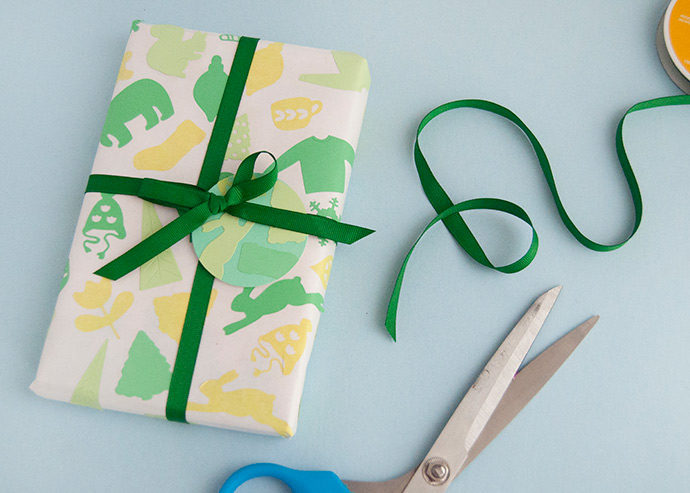
Step 9
Tie a matching ribbon around each gift and top with the tag.

Happy crafting!