This post is sponsored by Sizzix.
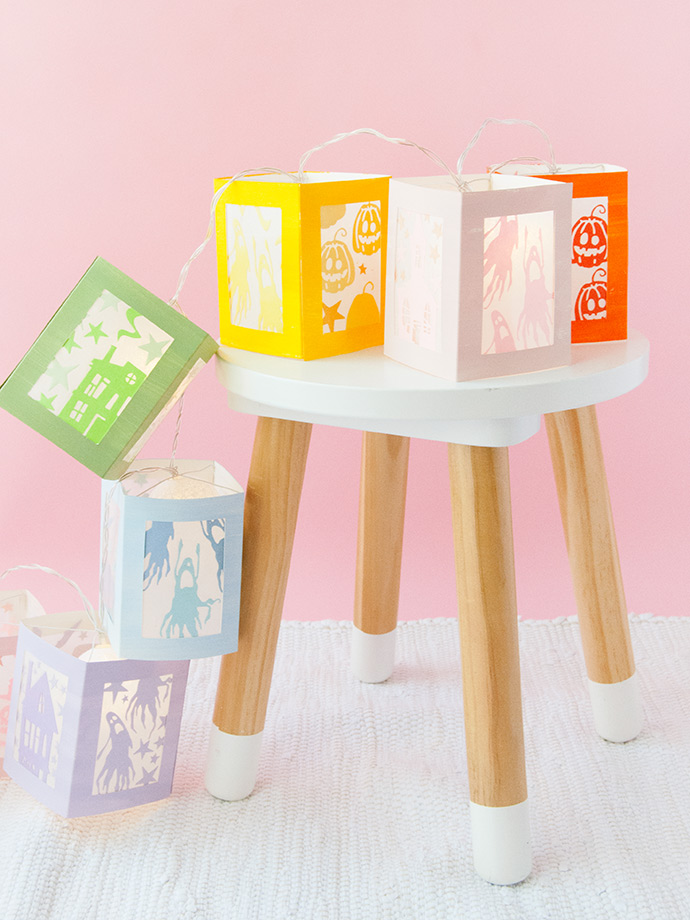
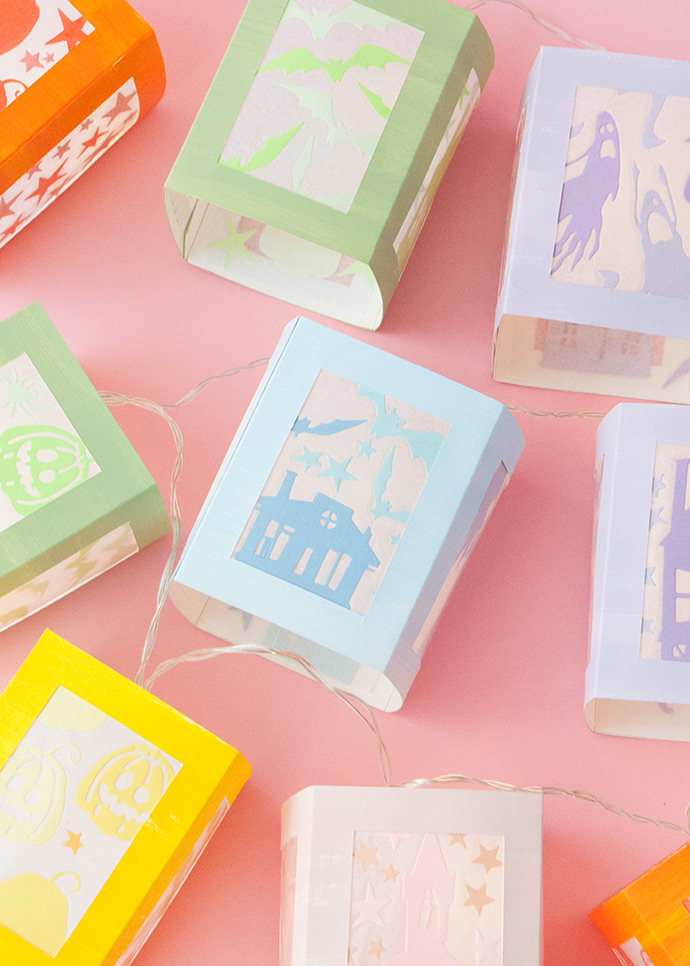
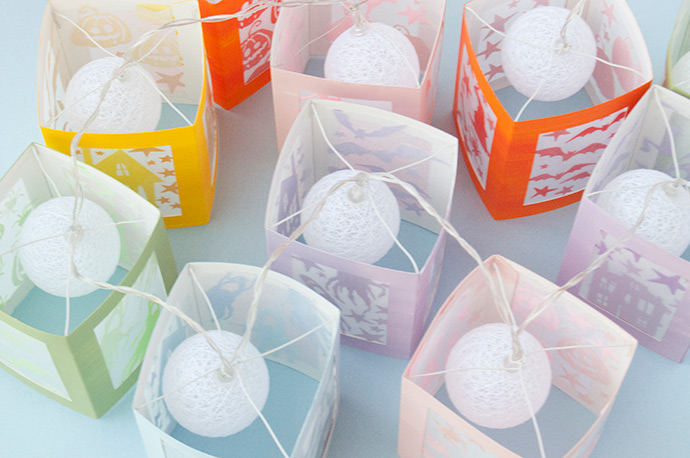
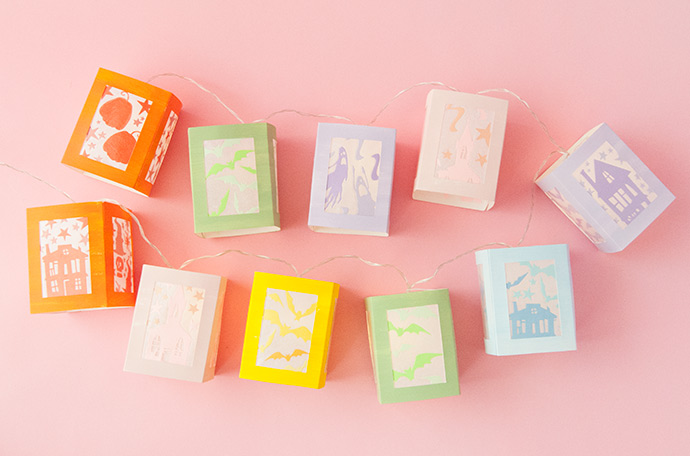
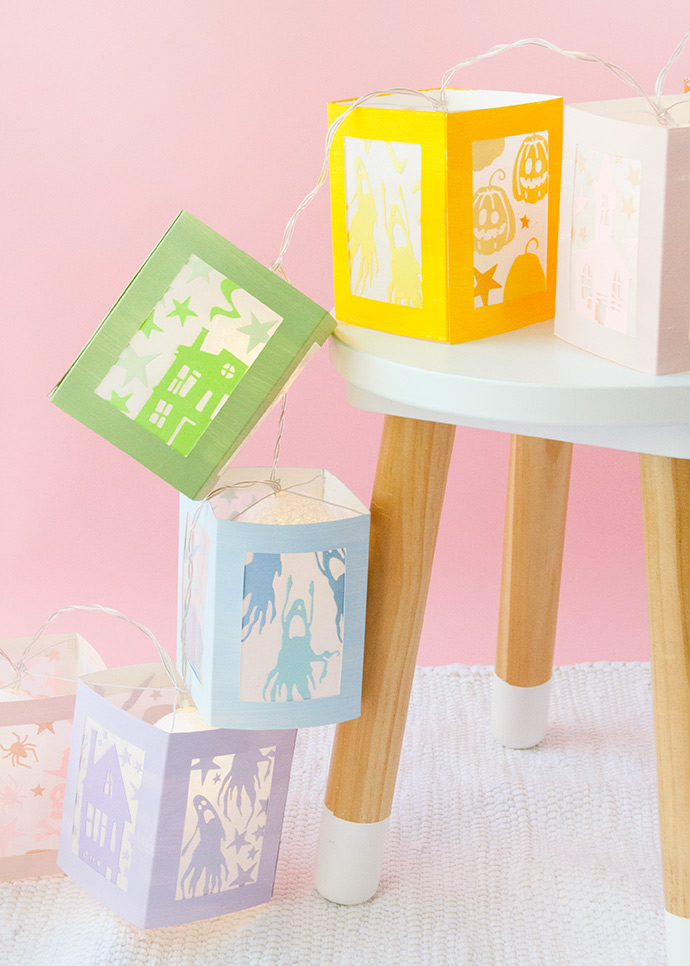
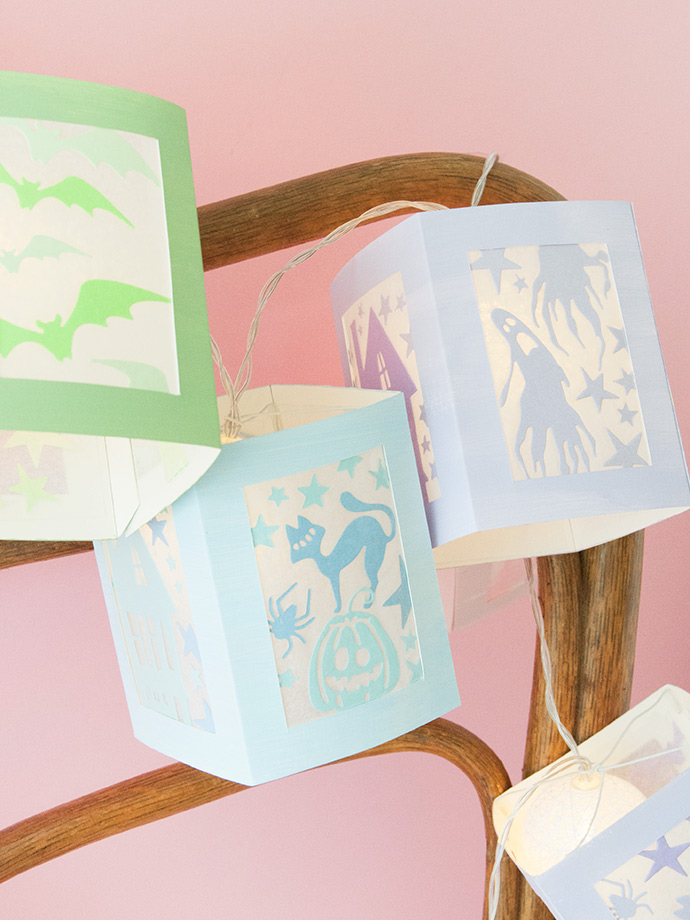
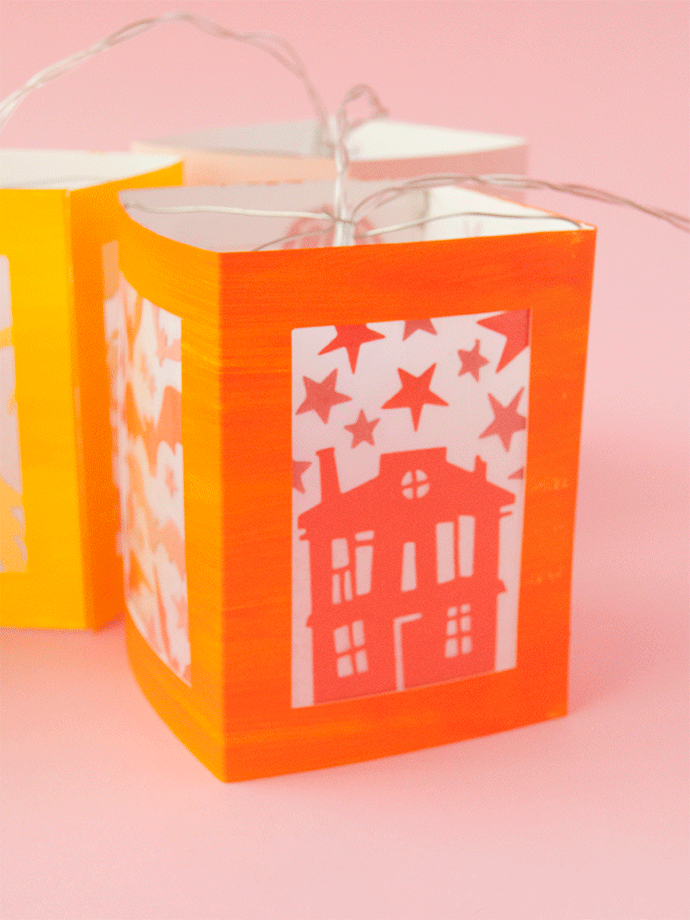
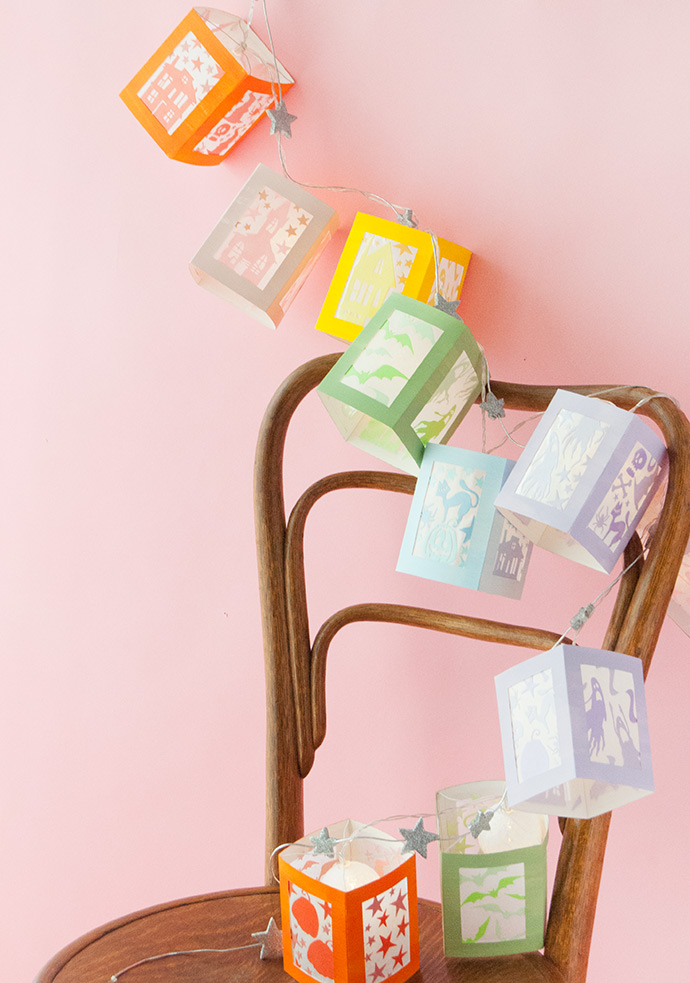
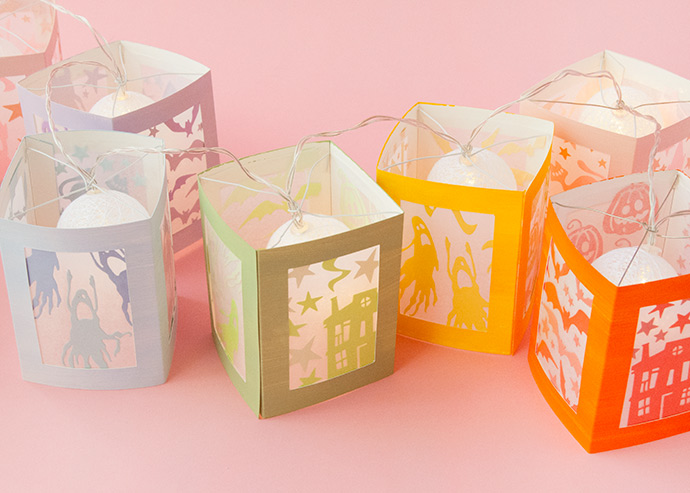
Who says that Halloween has to be all orange, black, green, and purple? We decided to embrace the rainbow when crafting these colorful Halloween lanterns – we love the spooky yet cheerful Halloween feel! And making these completely custom decorations has never been easier with the help of your Sizzix Big Shot!
With countless spooky shapes to choose from, you’re bound to find a whole bunch of Halloween designs to use. Although some steps of these lanterns are better suited for older kids or adults, kids of all ages will love helping turn the crank on the Big Shot and then arrange the colorful shapes into mini vignettes. Keep reading to see the full instructions, and watch our step-by-step video below!
what you need:
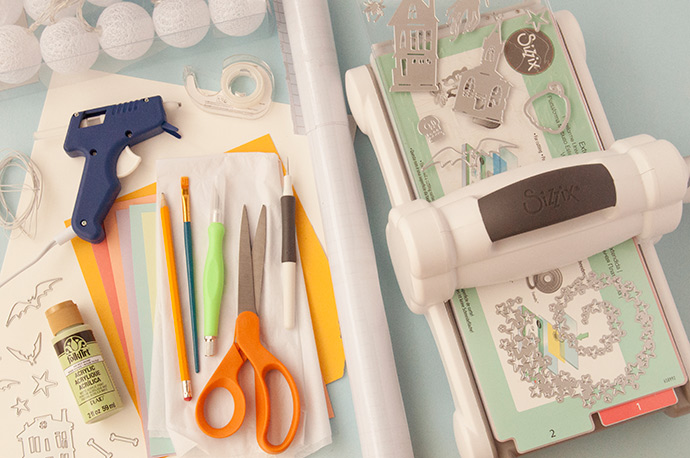
- Sizzix Big Shot Starter Kit
- Sizzix Thinlits Die Set – Ghost Town
- Sizzix Thinlits Die Set – Bat Crazy
- Sizzix Thinlits Die Set – Swirling Stars
- Sizzix Thinlits Die Set – Frightful Things
- Sizzix Die Pick
- String lights
- Colored paper
- White tissue paper
- Clear contact paper
- Double-stick tape
- Hot glue gun
- Scissors
- Craft knife
- Pencil
- Acrylic paint
- Paintbrush
- Wire
- Printable template
how-to:
Step 1
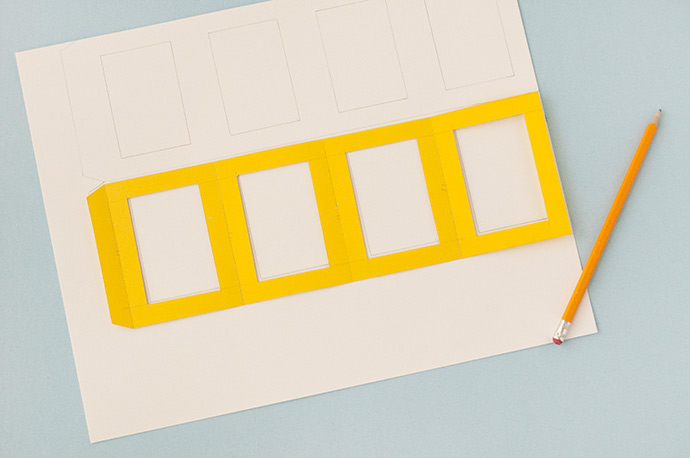
Print out the lantern template and cut out as shown. Trace this template onto white cardstock for as many lanterns as you’d like to make.
Step 2
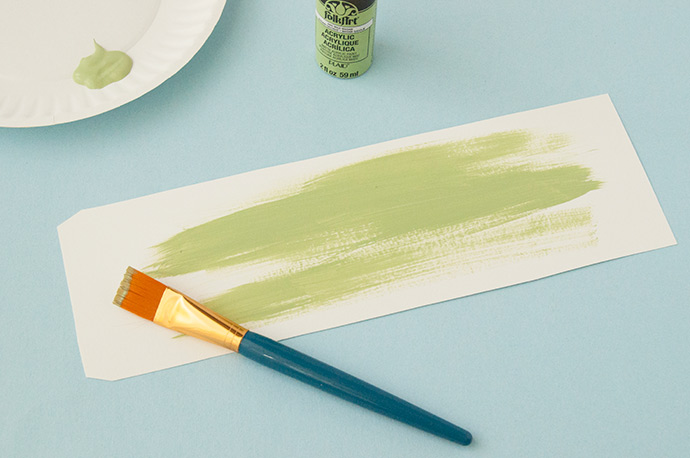
Cut the lantern out and paint the side without any pencil markings. Let dry.
Step 3
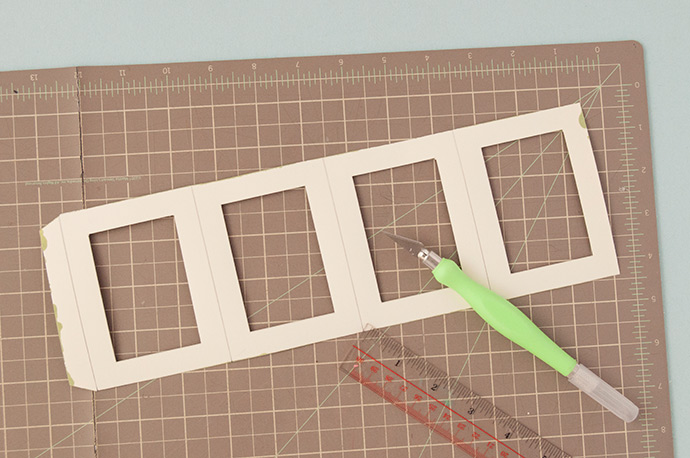
Use a craft knife to cut out the four rectangles on each paper lantern.
Step 4
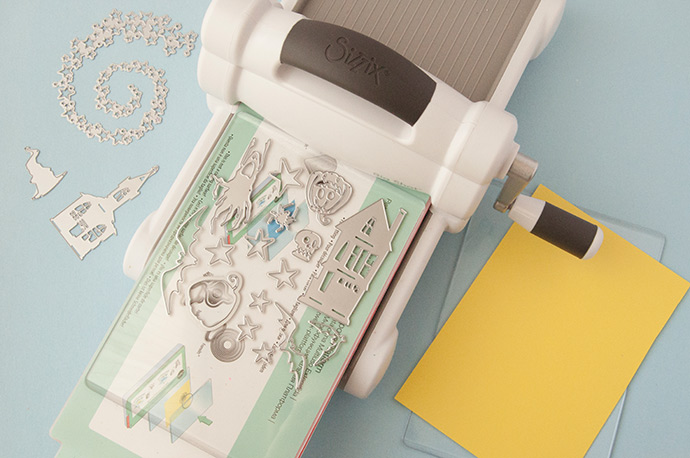
Now the fun part! Lay out your selected Thinlits on the cutting pad so that the cutting edges face up.
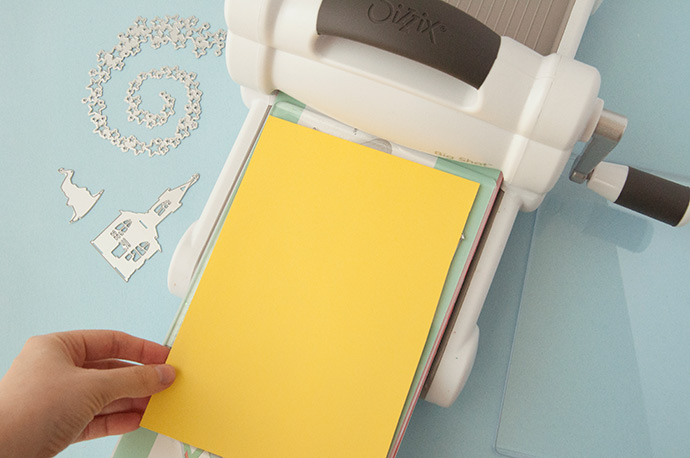
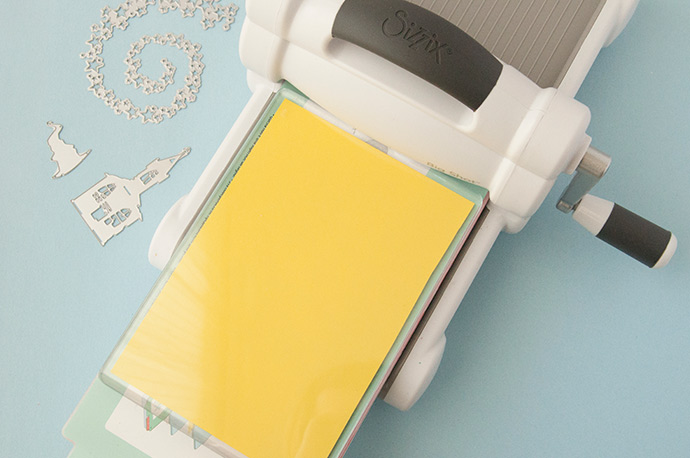
Then place a piece of paper on top, followed by the second cutting pad.
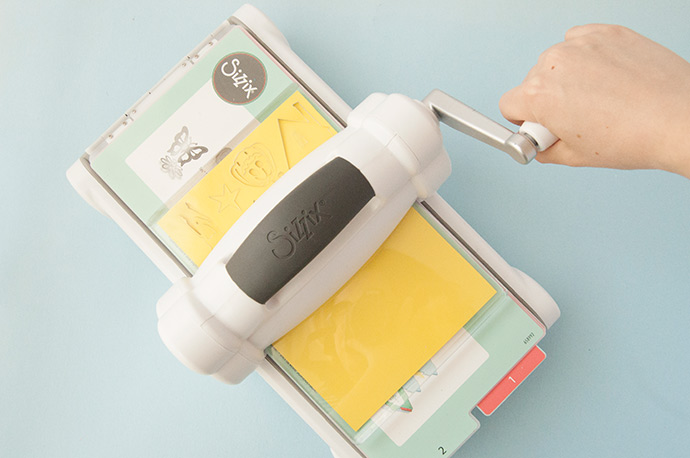
Feed through the Big Shot by using the hand crank. You’ll see the cut shapes appear on the other side!
Step 5
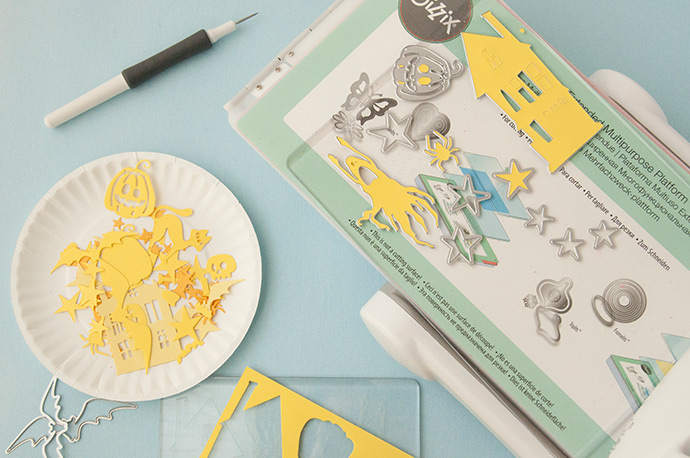
Remove the cut shapes from the Thinlits and keep organized on a small plate or bowl. You can also use your die pick to help remove any of the smaller hard-to-get pieces.

Repeat this process for multiple colors! Since our lantern is in rainbow colors, we sorted the shapes that way. You can mix and match however you like!
Step 6
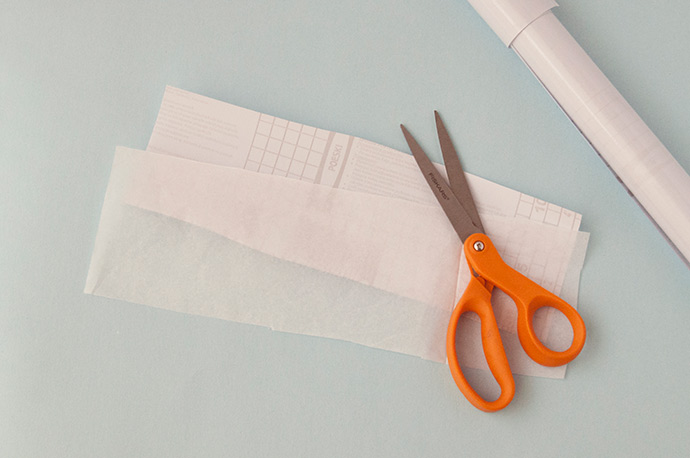
Cut a piece of clear contact paper and white tissue paper to about the size of your paper lantern.

Step 7
Lay the paper lantern on your work surface. Peel the backing off of the contact paper and place on the lantern, sticky side facing up. Using the windows in the lantern as your guide, place the paper shapes onto the contact paper, making little Halloween vignettes in each window.
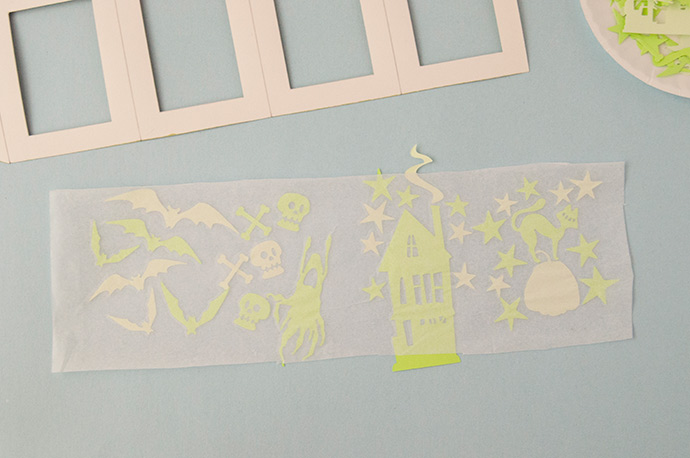
Once you’ve covered each window, lay the piece of white tissue paper on top, pressing it to adhere.
Step 8
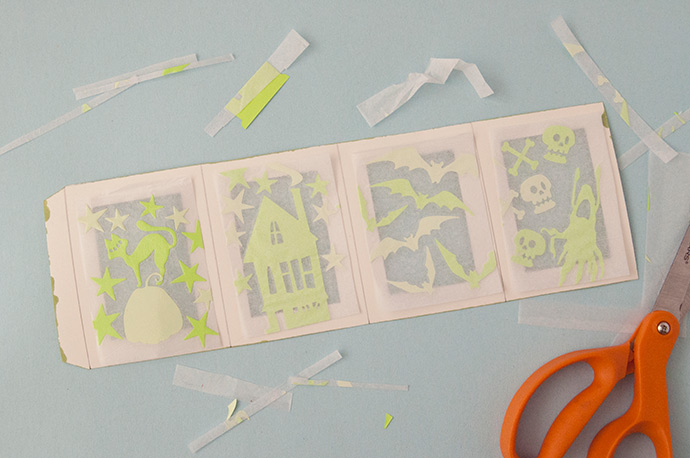
Trim the contact paper so that you end up with four smaller rectangles, each slightly larger than the rectangular windows.
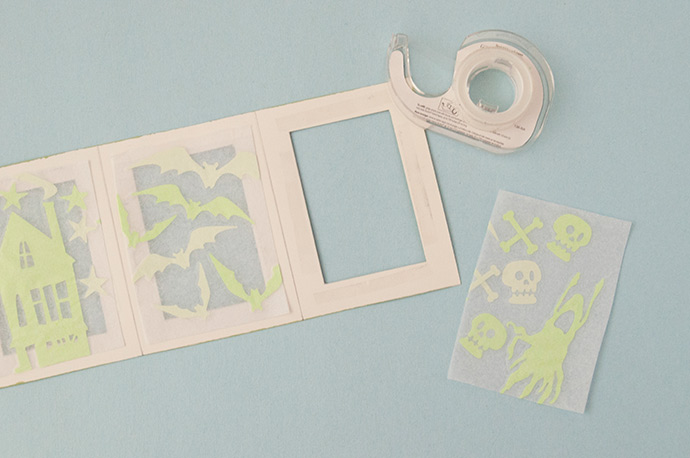
Use double-stick tape to adhere each of the pieces in place behind the windows.
Step 9
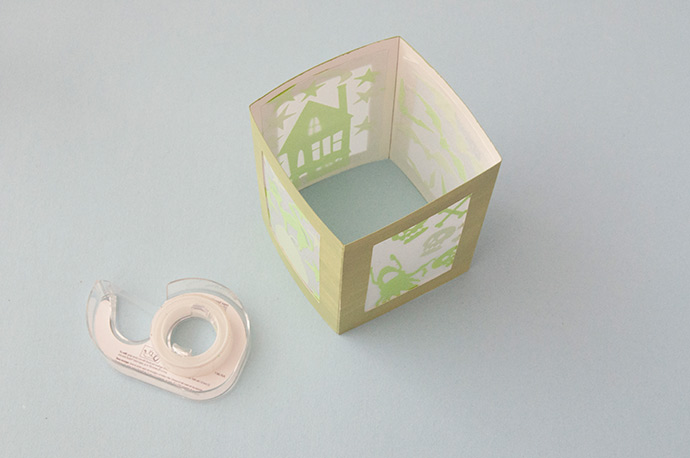
Fold the lantern along the template lines and use another piece of double-stick tape to secure it in place on the flap.
Step 10
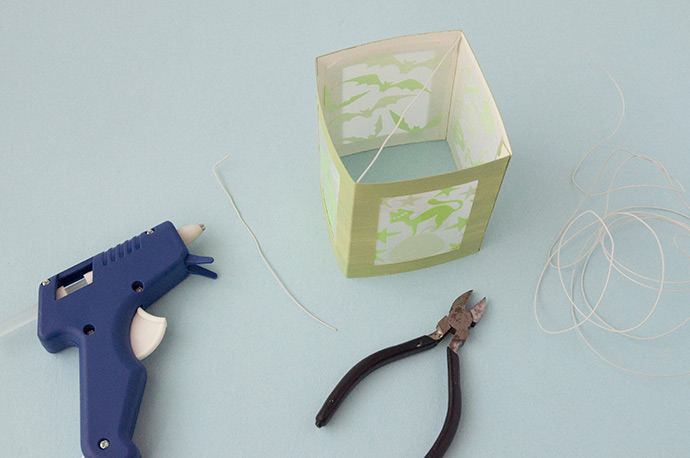
Hot glue a piece of wire (we used plastic coated wire here, but any wire should work) from corner to corner, bending the ends and applying glue there.
Repeat this with another piece of wire for the other two corners, but this time fit one of the lights into the lantern and twist the wire around it to hold it in place. This step may vary a little bit depending on the string lights you’re using, so feel free to adapt as needed so that your lights and lanterns stay together nicely.
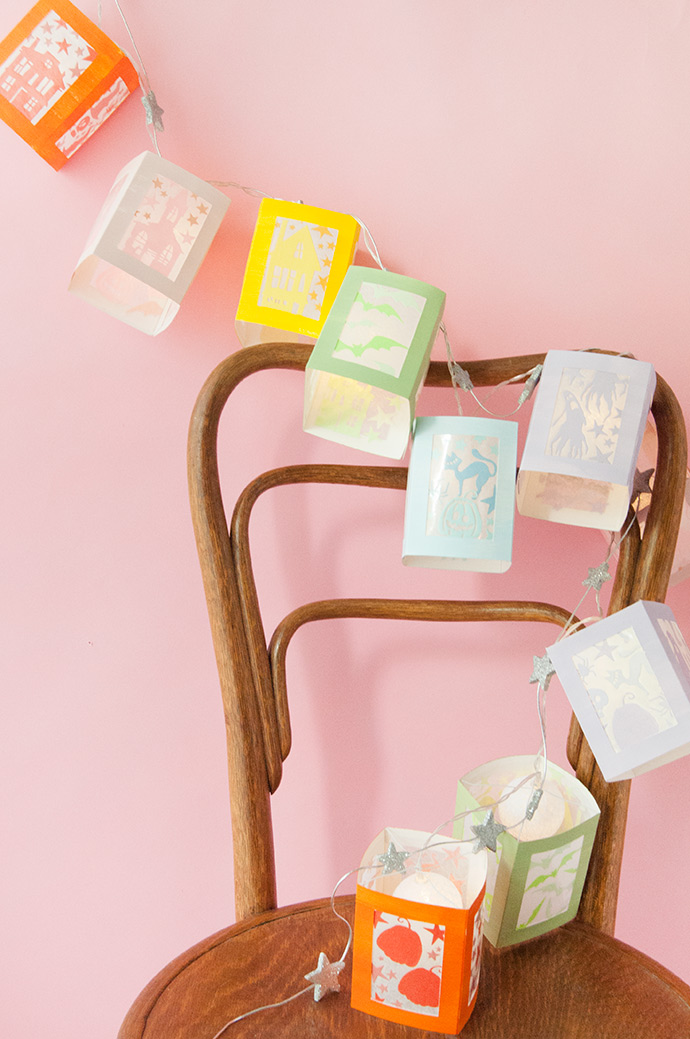

Happy Halloween!