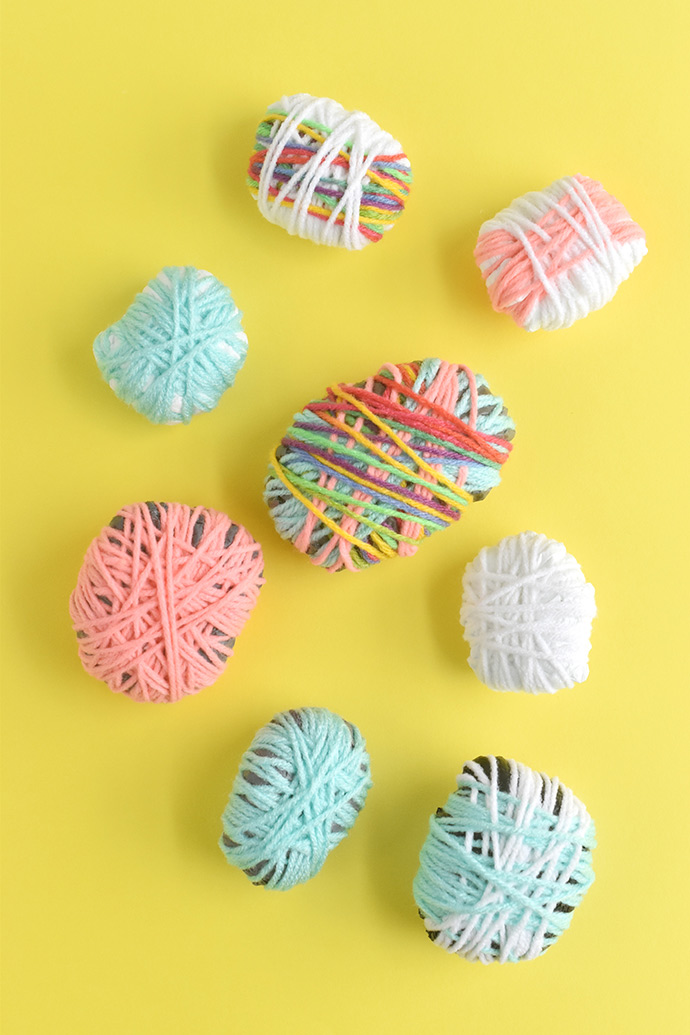
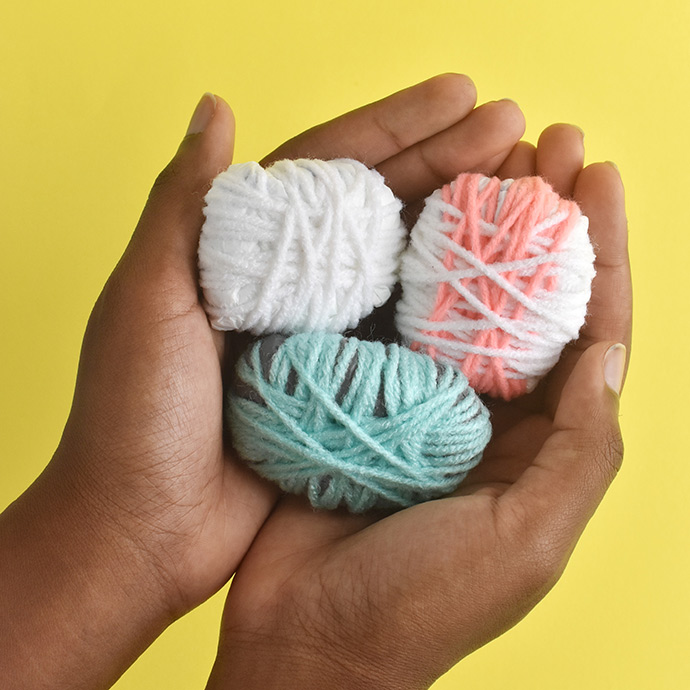
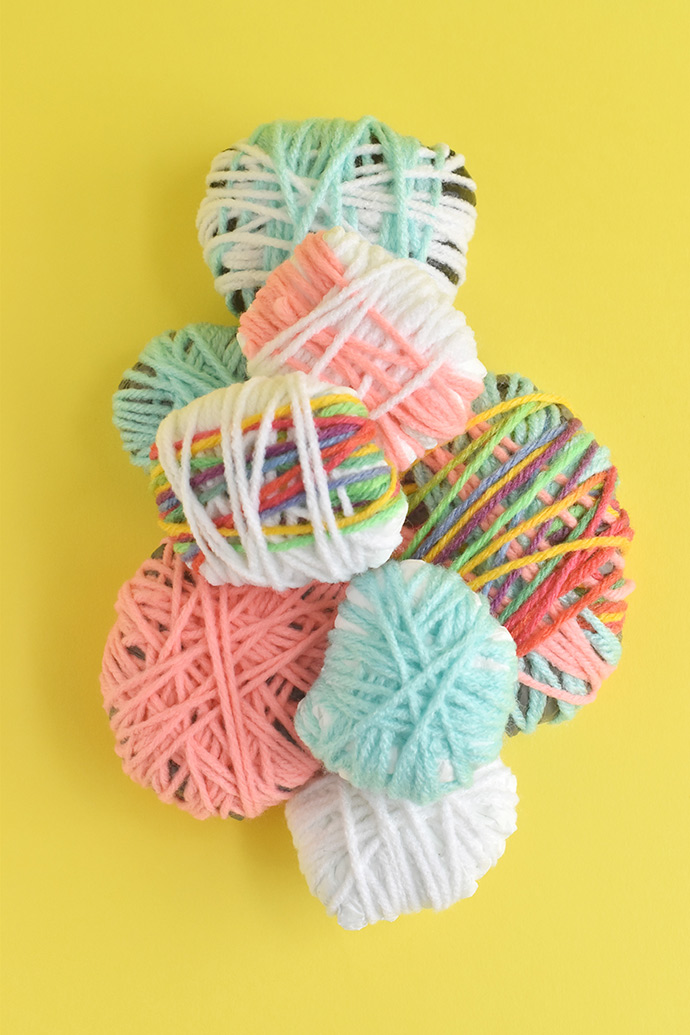
Wrapping yarn around rocks is a fun way to transform them into art, but with this tutorial, you can reuse plastic bags in place of the rocks! Inspired by the work of fiber artist Sheila Hicks, these wrapped “rocks” are a fun and easy way for kids to make some simple decorations for your home.
When Sheila Hicks makes her artwork, it’s almost always on a large scale. Instead of making a wrapped piece that fits in your hand, she makes one that doubles as a floor cushion! Our version may be smaller and with fewer types of fibers, but inspiration is inspiration. And while we stuck to yarn and plastic bags headed for recycling, you could also add some fabric bits or other types of string.
Now, who’s ready to “rock” this project?
what you need:
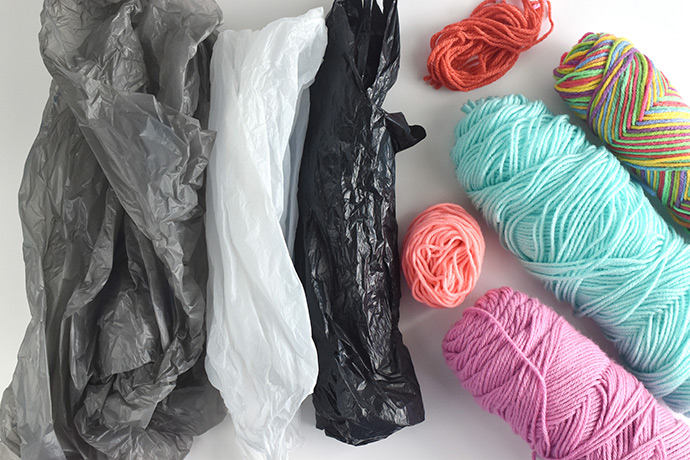
- Plastic Grocery Bags
- Yarn
- Scissors
how-to:
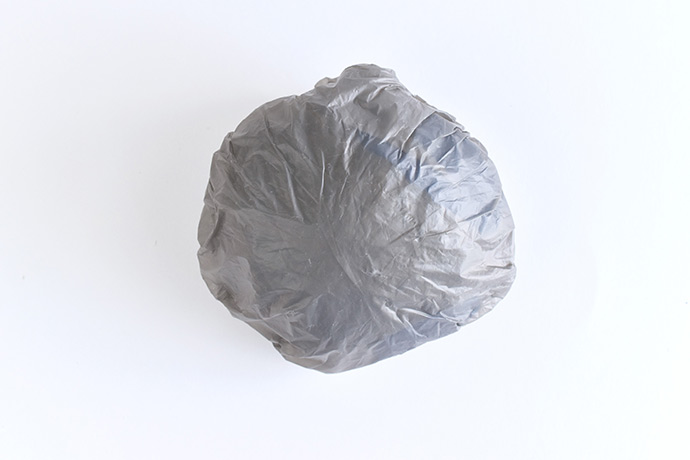
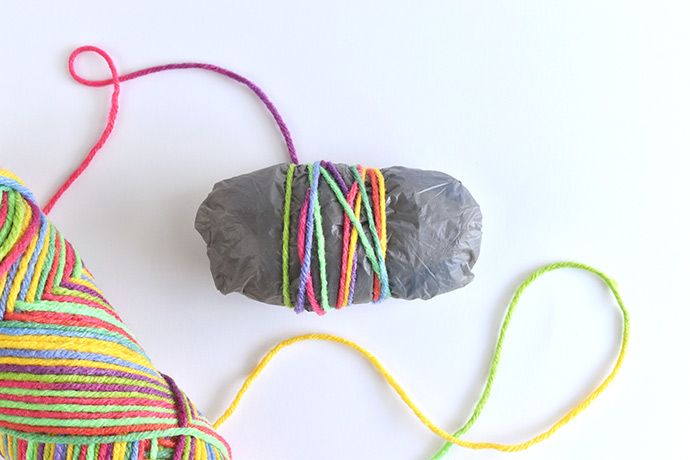
Choose a plastic bag or two. A standard grocery bag makes a small rock, while a larger plastic bag or two bags scrunched together make a larger rock. Wad up the bag(s) so you have one smoother side and the printing is on the inside.
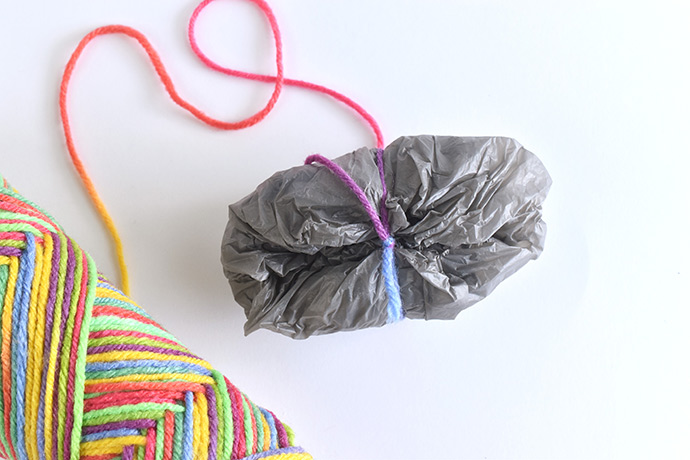
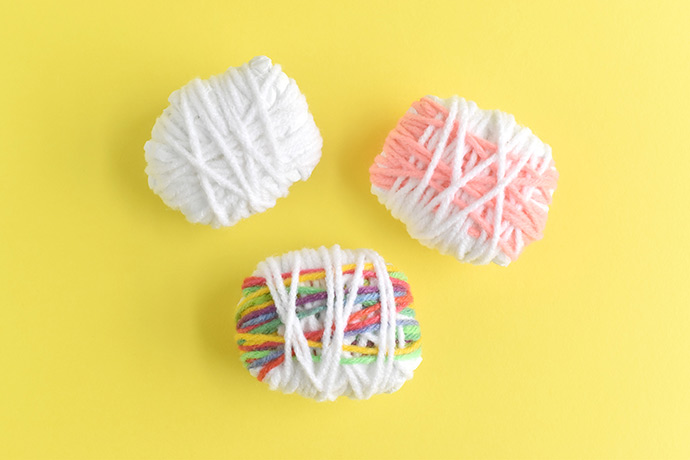
Choose some yarn and tie the end around the plastic bag “rock” with the knot on the scrunched up side. The bag will probably look more like an oval at this point.
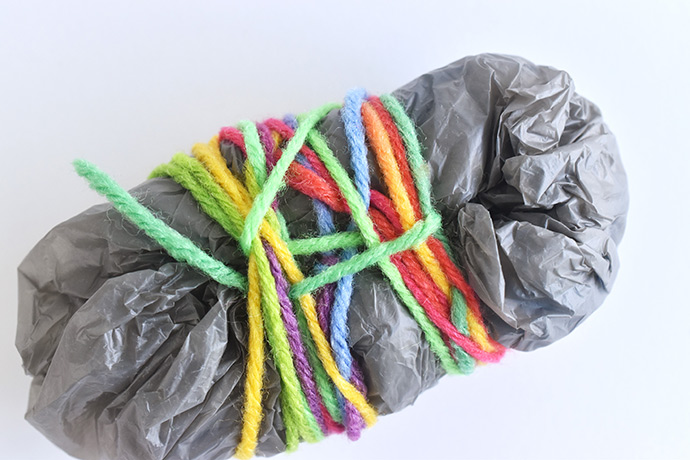
Begin wrapping the yarn around the plastic bag. You can make the wraps close together or with more space between them, straight or crisscrossed. It’s up to you!Just watch out because wrapping too tight can change the shape of your “rock” as well as make some of the yarn wraps look loose.
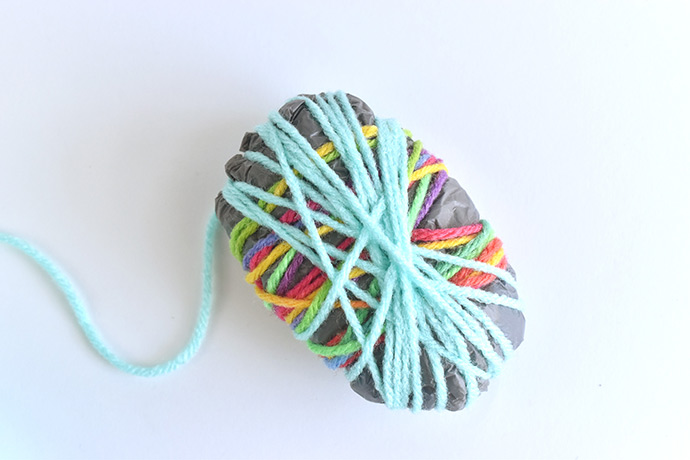
Add more yarn and wrap in the other direction. If you want to keep your wrapped “rock” all in one color, don’t cut the yarn and keep on wrapping in different directions until it’s as covered as you like.
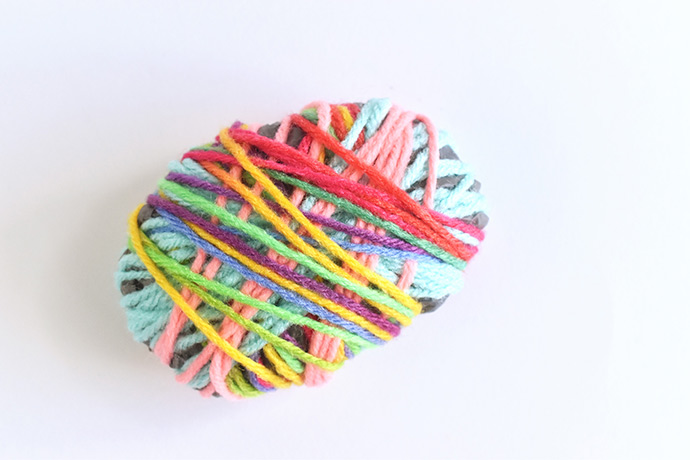

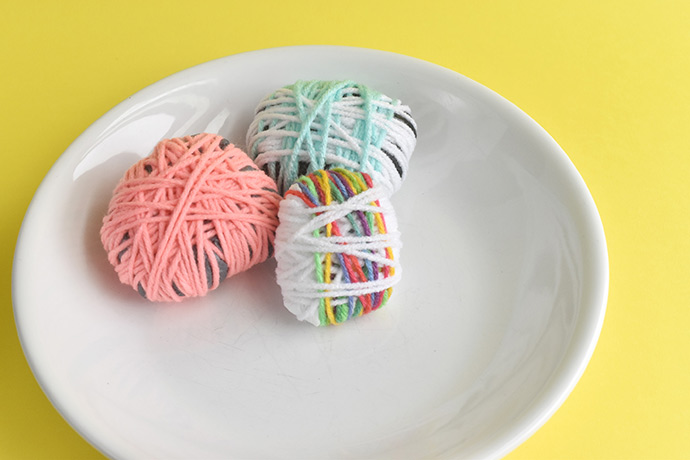
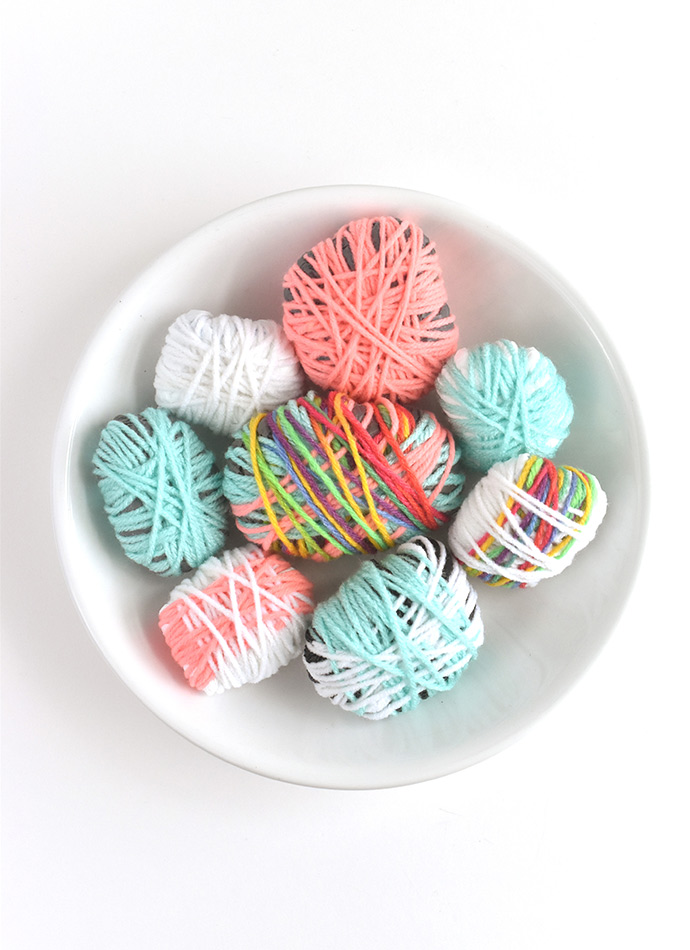
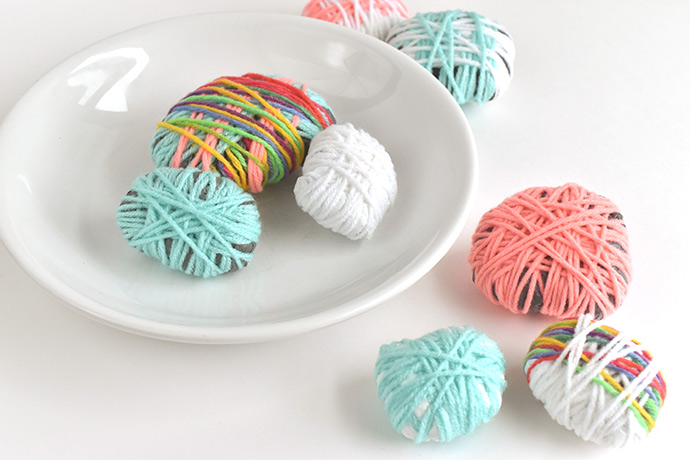
When you’re done, you might be thinking, what do I do with these wrapped “rocks”? For starters, they make excellent bowl or vase fillers for decoration. Especially if you choose colors that look great in your home. You could also tuck them in amongst real rocks!
Because they are lightweight, you can also use these for games that require beanbags or small balls. They roll a bit, but are safe for tossing!