
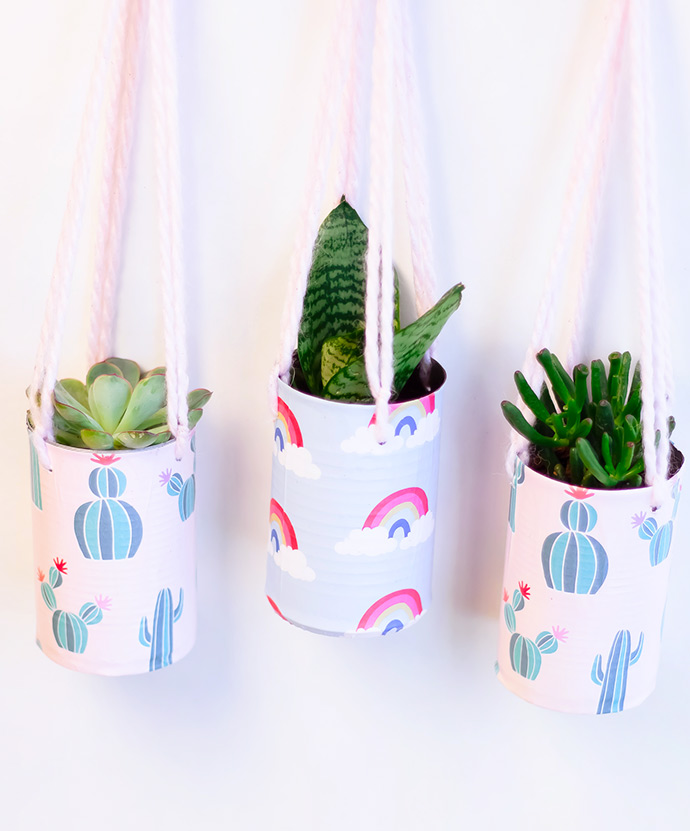
Spring is finally here! Is the weather warm where you live? It’s still been going back and forth between some chilly days and some lovely warm days, but luckily these DIY hanging planters are perfect for in or outdoors! We’ll likely keep these little succulents inside until the weather really and truly stays warm, and in the meantime they’ve been adding such a fun spring feel to the house! Watch the how-to video below, and read the written instructions for even more tips and tricks.
what you need:
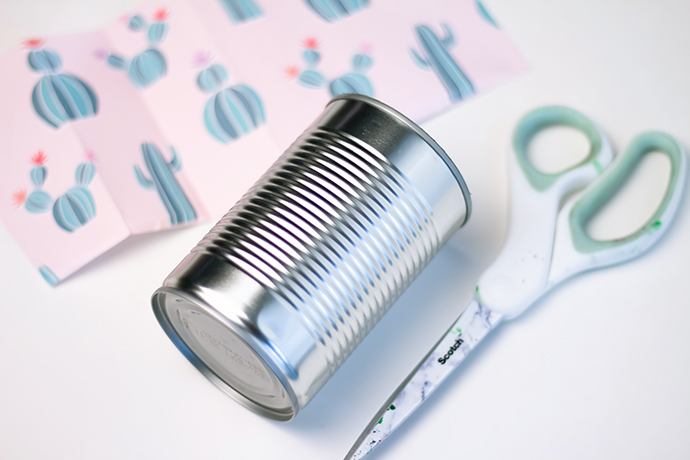
- Empty tin cans
- Mod Podge
- Brush
- Patterned paper
- Drill
- Scissors
- Yarn
- Key rings
- Soil
- Succulent or other small plant
how-to:
Step 1
Collect three tin cans – we used three of the same size, but you can mix and match if you like! We also like to use a can opener that doesn’t leave any sharp edges, and highly recommend this as well. If you don’t have one of these can openers, you can cover the sharp edge with tape or similar. Once you have your cans empty, rinsed out, and dried, cut out a piece of patterned paper to fit around each can. We like to cut it slightly bigger than needed so that it overlaps on itself and the edge hangs just below the bottom edge of the can.
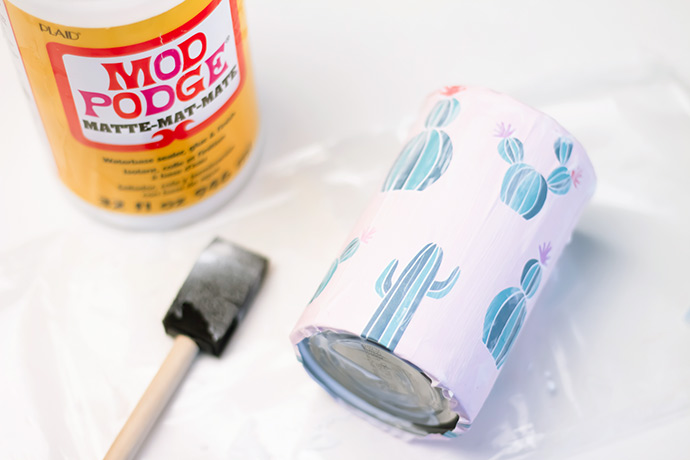
Step 2
Apply a thin coat of Mod Podge onto the outside of the empty can and place the paper on top. You can line up the edge along the top of the can so that any excess hangs off the bottom, as shown above. Press the paper into the Mod Podge to adhere, smoothing any bubbles. Apply another coat of Mod Podge on top to seal the paper in, and fold any of the excess paper under the can, sealing that with Mod Podge as well. Repeat on the other two cans and set aside to dry completely.
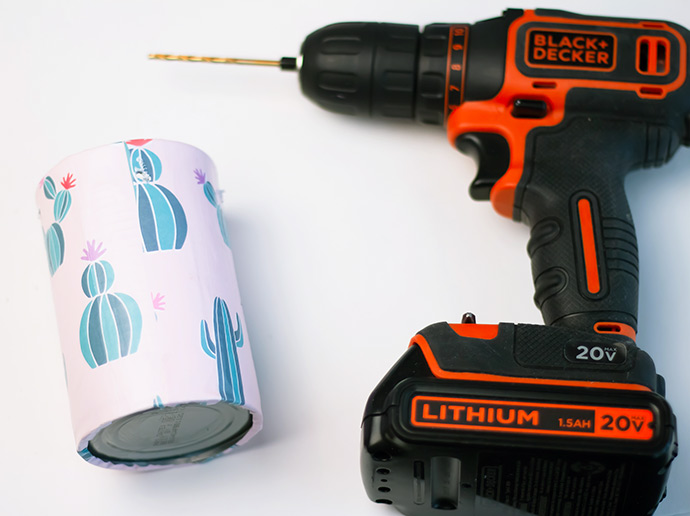
Step 3
Once dry, use a drill to carefully make a hole in the bottom of the can for drainage, and four holes along the top of the can for hanging. You can measure this to make them as evenly spaced as possible, or eyeball it like we did.
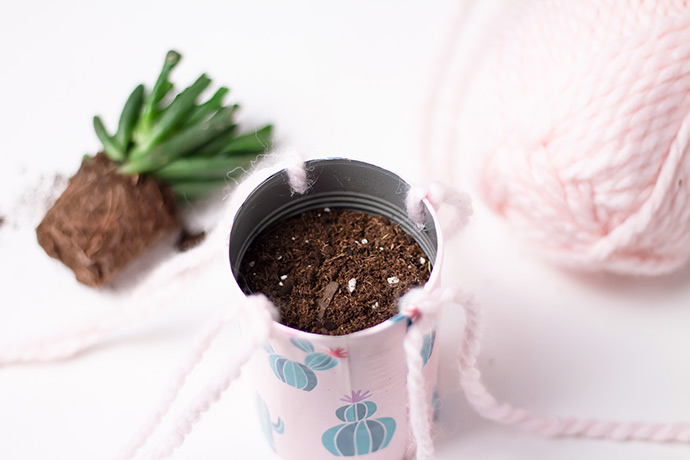
Step 4
Cut four pieces of yarn or cord, one for each hole, threading through and tying. Keep the yarn long to begin, and you can trim them later to suit whatever space you’ll be hanging them. Fill the can with soil – you may choose to put a layer of rocks or pebbles in the bottom if you like, to encourage drainage even more. A quick internet search on how best to pot whatever plants you’ve picked will help a lot!

Step 5
And now carefully set your plant into the can, removing any excess soil, and setting the plant in nice and snug. Repeat for the remaining cans.
Step 6
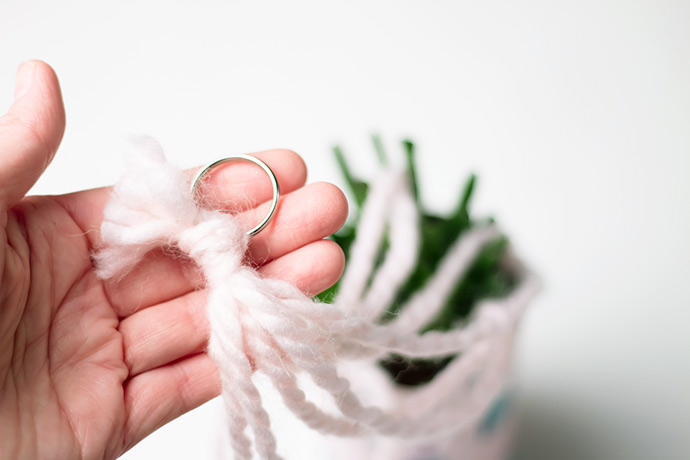
Once you’ve decided where to hang your planters, gather all strands of yarn, holding them together until you have the right length. Tie them into an overhand knot, threading the keyring onto the knot too. Cut any excess yarn and hang on nails or hooks on the wall.
Happy crafting!
Video and photography by Caroline Gravino
Creative Direction by Handmade Charlotte