This post is sponsored by Sizzix.
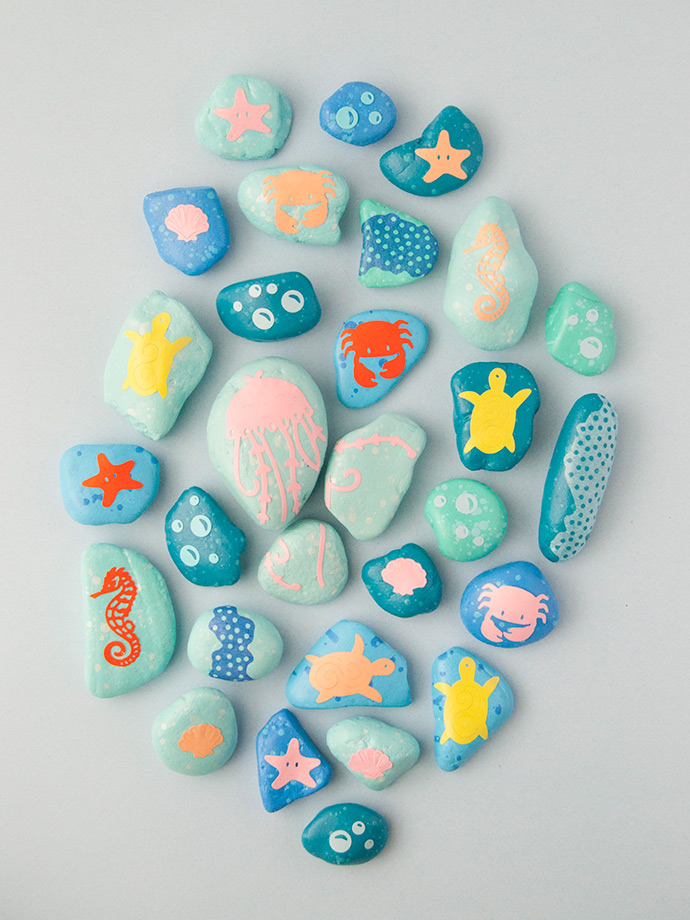
Now that the weather has warmed up and taking walks around the neighborhood and exploring the park have returned to our family’s routine, we are so excited to be working on nature crafts again! One of our favorites has got to be rock art – there’s something so satisfying about turning something so plain into a colorful collection of miniature art! Most of the rock art you tend to see online is very paint-focused, often with many fine details that can be intimidating for younger kids. Enter Sizzix and their amazing Big Shot Machine!
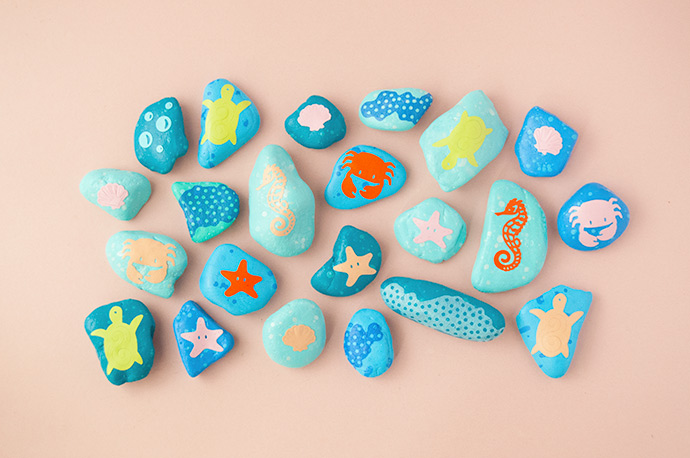
Little ones won’t be missing out on any of the rock art fun this summer – encourage creative play and have fun with your kids while mixing and matching colors, papers, and shapes. We love using the Big Shot with our kids because of how fuss-free and hands-on it is, with such amazing and ready-to-use results. You’ll master the art of making a perfect Sizzix sandwich in no time and have a whole new collection of under the sea rocks before you can say “she sells seashells by the seashore”! Keep reading for all our tips and tricks below!
what you need:
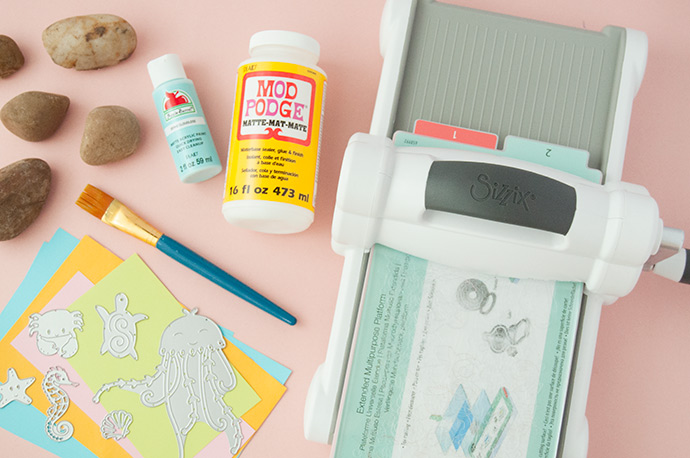
- Sizzix Big Shot Machine
- Sizzix Thinlits Die Set 5PK – Under the Sea
- Colored paper
- Rocks
- Acrylic paint
- Mod Podge Matte
- Paintbrush
how-to:
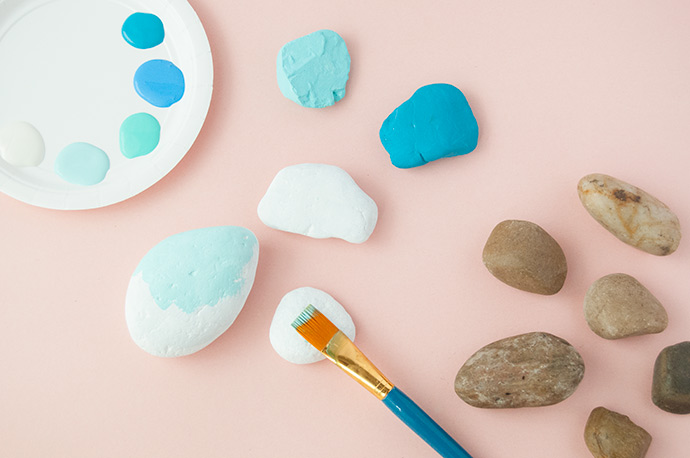
Step 1
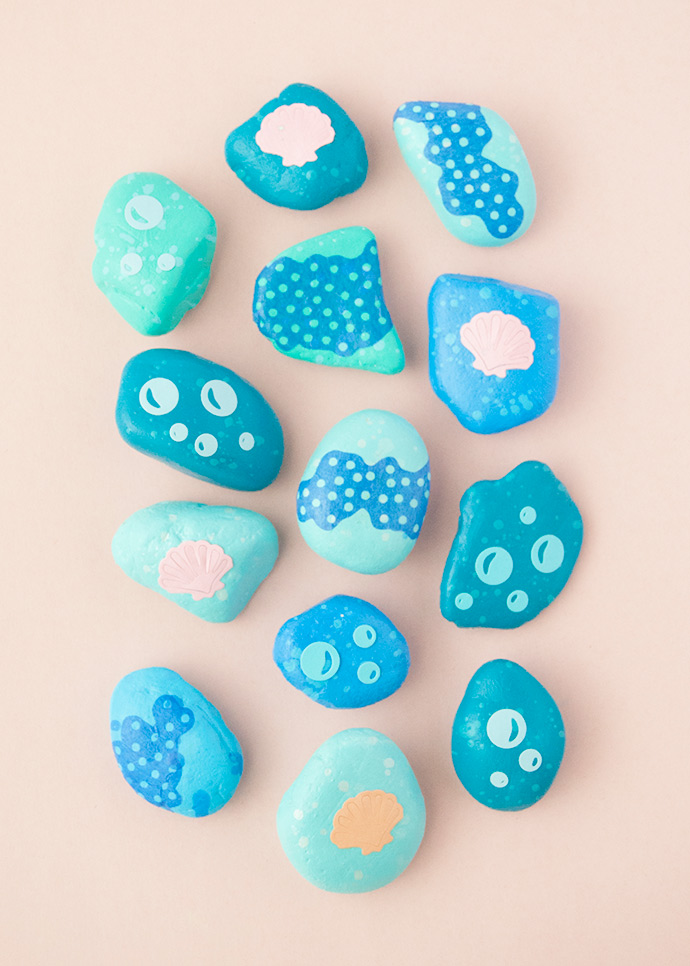
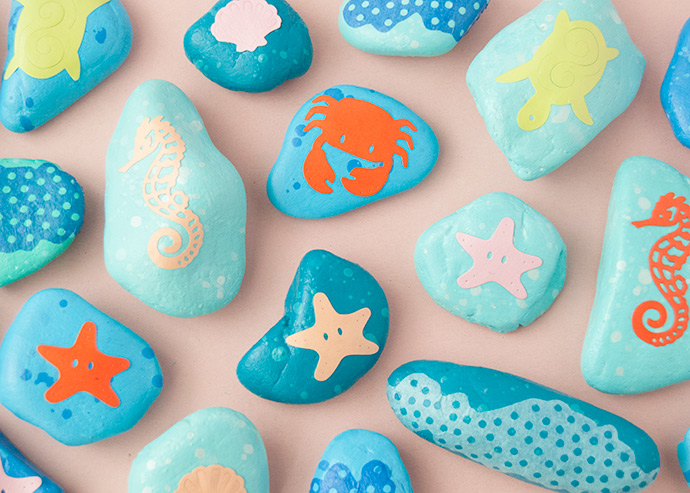
Give your rock collection a good wash and let dry completely. Give them a quick coat of white paint or primer and then paint them whatever color you like – we went with a few shades of blue for a cool underwater look. Let dry.
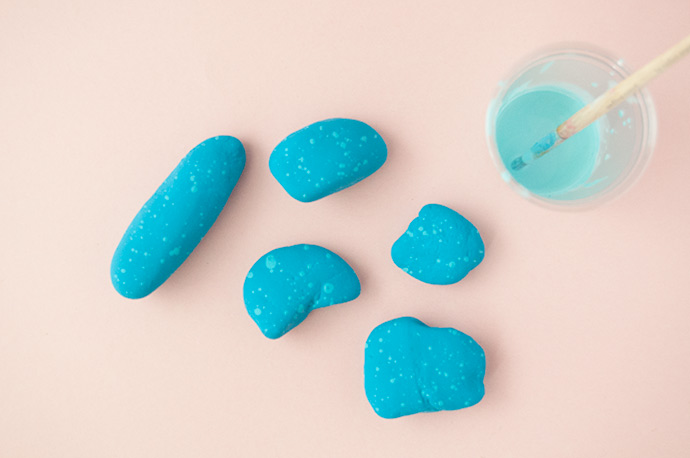
Step 2
If you want a little extra texture, mix some paint with a little bit of water and then gently spatter onto the painted rocks. Make sure to use a contrasting color so that the paint spots look almost like bubbles. Let dry.

Step 3
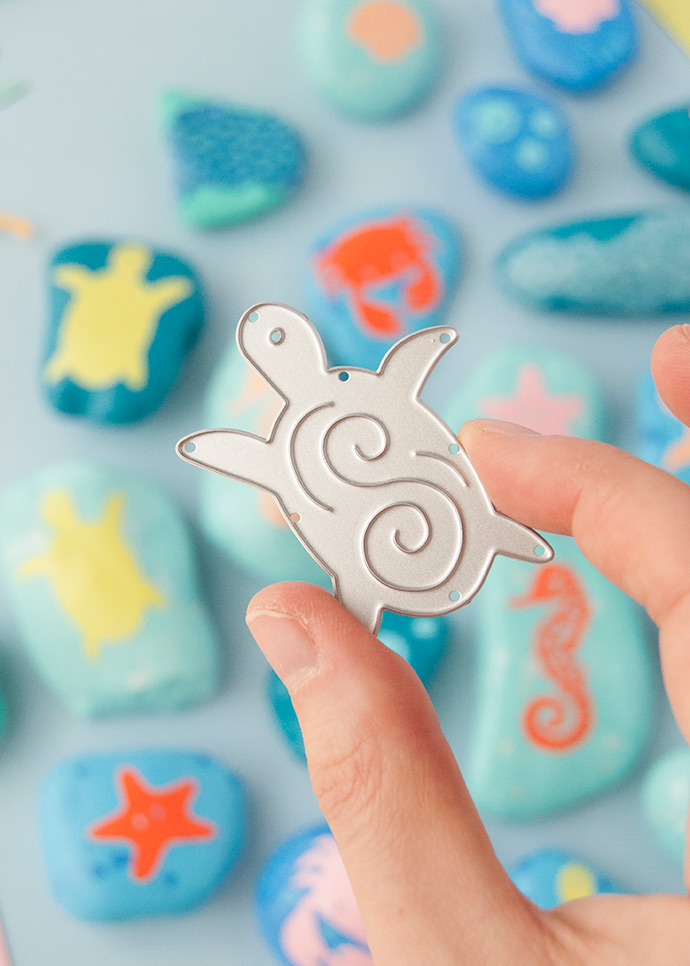
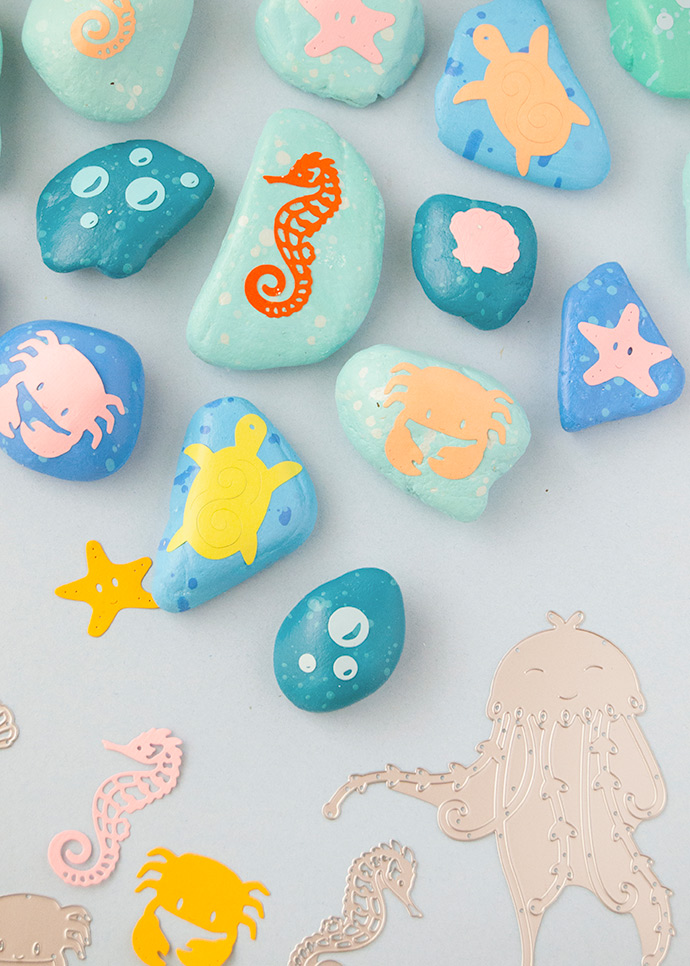
While the rocks are drying, time for the fun part! Pick out your Thinlits (we used the dies in their brand new Under the Sea pack, as well as a few shapes from the Dream Mermaid and Geometric Mask sets.) Refer to the instructions included on the Extended Multipurpose Platform when forming what we call a Sizzix Sandwich: first place a Standard Cutting Pad onto the Multipurpose Platform, followed by the Thinlits dies, facing up.
Next place your piece of colored paper gently on top – make sure the paper isn’t wider than the standard cutting pad.
Place the second standard cutting pad on top of the paper. You’ve now got yourself a perfect Sizzix sandwich!
Now, place the Sizzix sandwich onto the Big Shot.
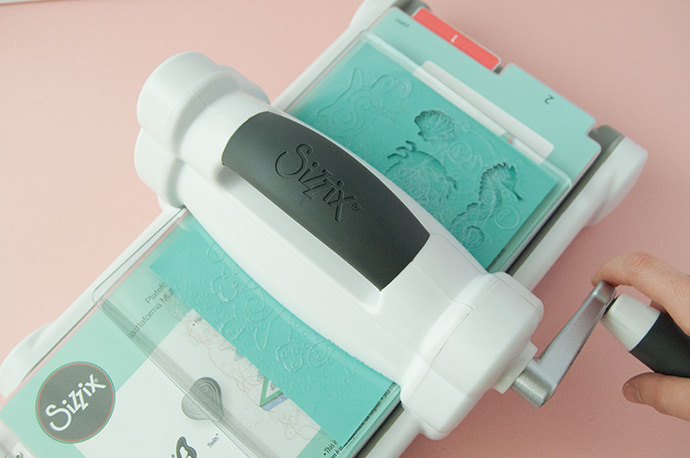
Step 4
Feed the sandwich through the Big Shot using the hand crank to move it through. As the platform moves through to the other side, you’ll see the shapes appear!

Step 5
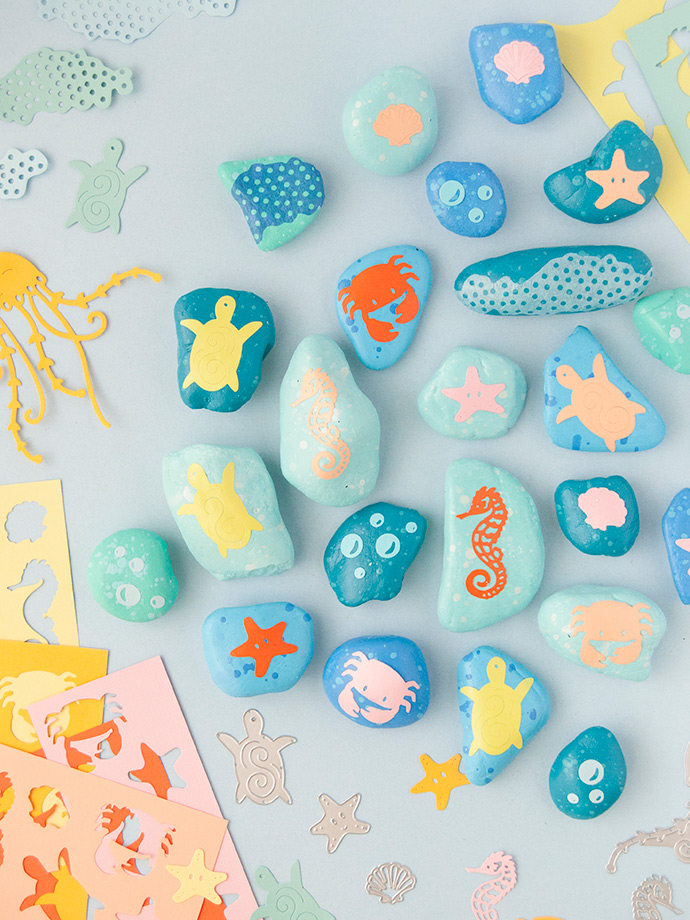
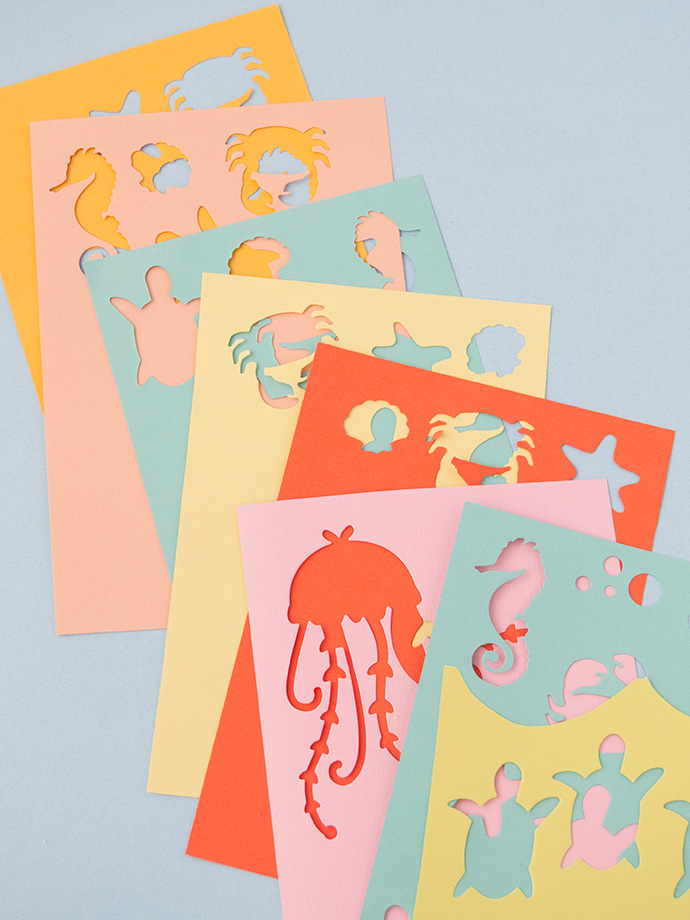
Disassemble the Sizzix sandwich, using your die pick to remove any of the paper shapes that may be caught in the Thinlits. Repeat this process using different colored papers for all your little sea creatures! Make sure to use cardstock weight paper or thinner for best results. We also had fun using tissue paper on the larger bubble-like design in the Geometric Mask set, which will allow you to easily wrap and decoupage this around the rocks later.
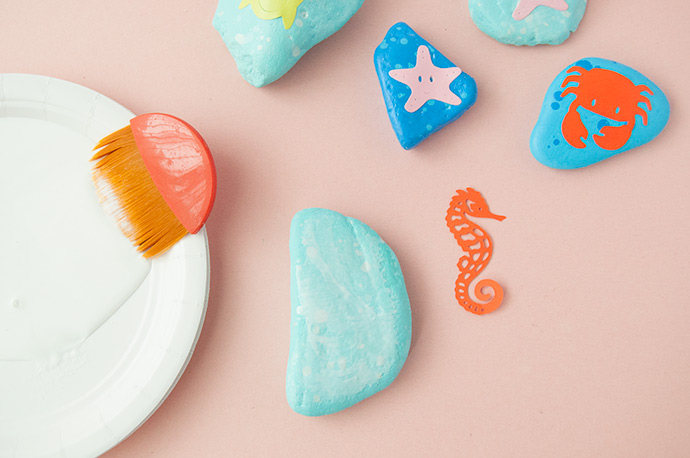
Step 6
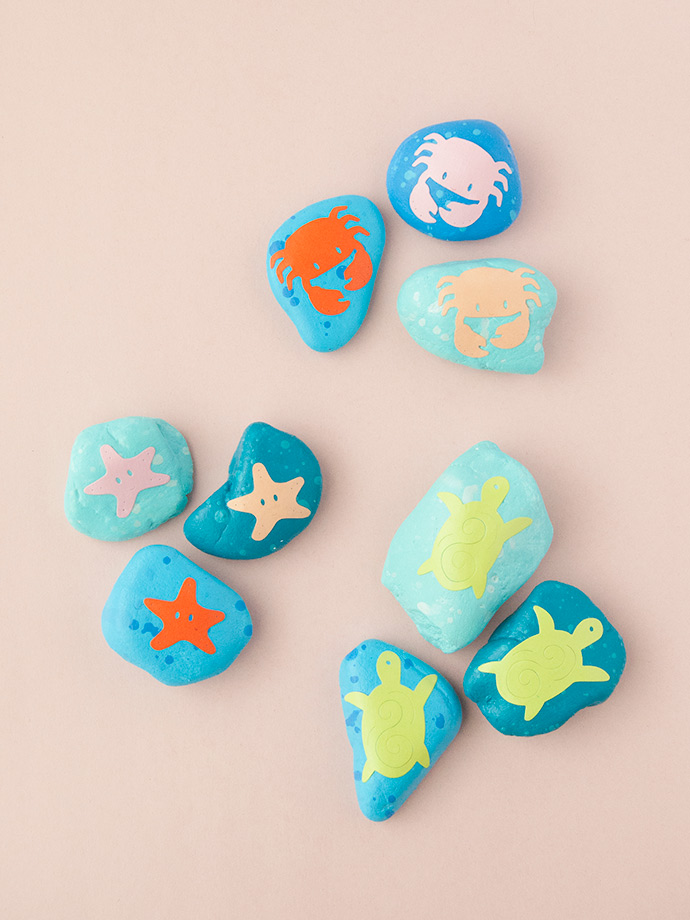
To decorate your painted rocks, match the paper shapes to rocks of similar size. Use a brush to apply Mod Podge onto the top side of the rock.
Place the shape onto the Mod Podged area and apply another coat of Mod Podge on top, sealing it in. Set aside and let dry completely.
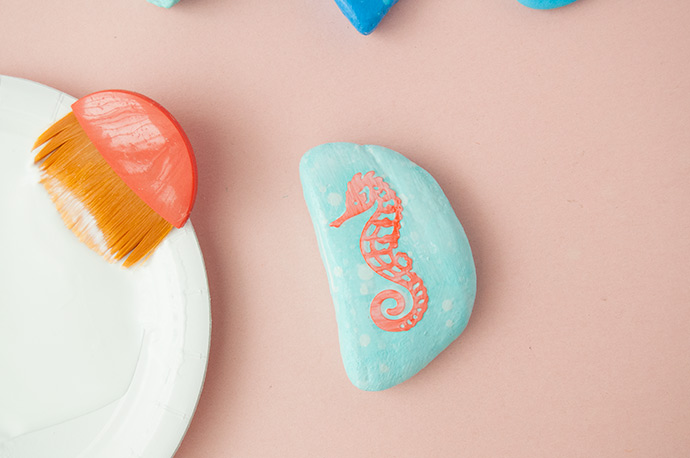
Step 7
Repeat for as many rocks as you like!


Happy crafting!!