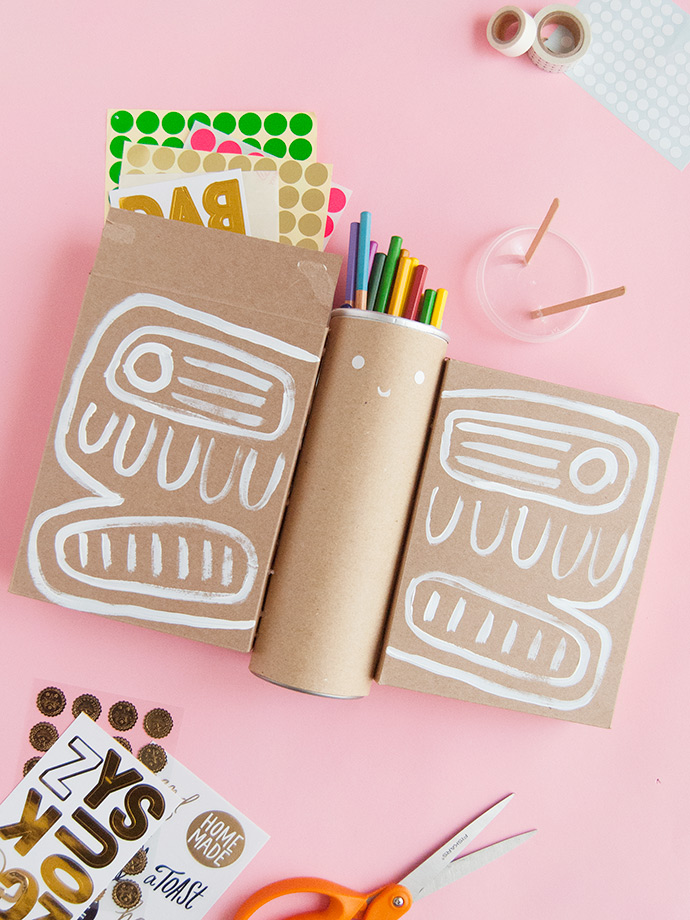
Turn items from your recycling bin into this playful butterfly with secret storage! Grab an empty chip can and two matching cookie boxes and transform them with a little bit of paint and glue. We put colored pencils and stickers inside, but you could fill it up with almost anything! Keep reading for the full tutorial, or check out the video over on Handmade Charlotte’s Instagram!
what you need:
- Empty chips can (with lid)
- Two cookie/snack/cracker boxes (shorter than the chips can)
- Kraft paper
- Clear tape
- Hot glue gun
- Pencil
- White paint
- Paintbrush
- Coffee stir stick
- Scissors
how-to:
Step 1
Cut a piece of kraft paper to cover the label on the chips can. Wrap around the can and tape or glue along the seam. This will be the back of your butterfly.
Cut a piece of kraft paper to cover the label on the chips can. Wrap around the can and tape or glue along the seam. This will be the back of your butterfly.
Step 2
Unfold both the cookie/snack boxes so that they’re laying flat. Reassemble them so that the plain brown cardboard is facing out, using glue to secure. Make sure to leave the top unglued – you’ll be using this as storage, so this will be the lid you can reopen and close. If your box already has a tab and slot, use those, or if not, you can attach a piece of repositionable double-sided table. This will keep the box top down, but allow you to open it again later.
Unfold both the cookie/snack boxes so that they’re laying flat. Reassemble them so that the plain brown cardboard is facing out, using glue to secure. Make sure to leave the top unglued – you’ll be using this as storage, so this will be the lid you can reopen and close. If your box already has a tab and slot, use those, or if not, you can attach a piece of repositionable double-sided table. This will keep the box top down, but allow you to open it again later.
Step 3
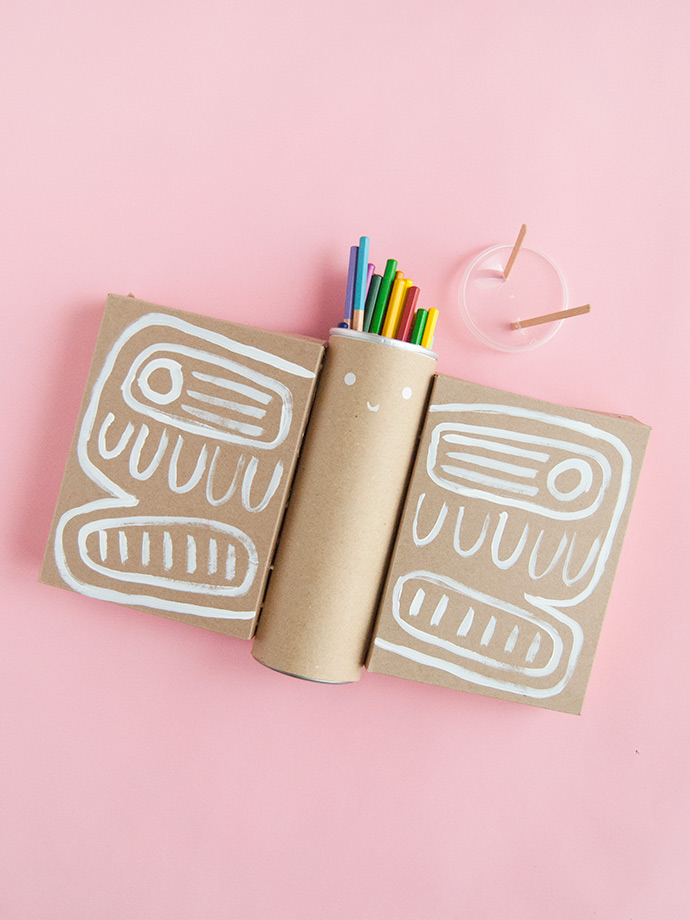
Apply a squiggle of hot glue down the side of one of the snack boxes and attach to the side of the chip can, pressing to secure. Do the same with the second box on the other side of the chip can. This makes the two butterfly wings.
Step 4
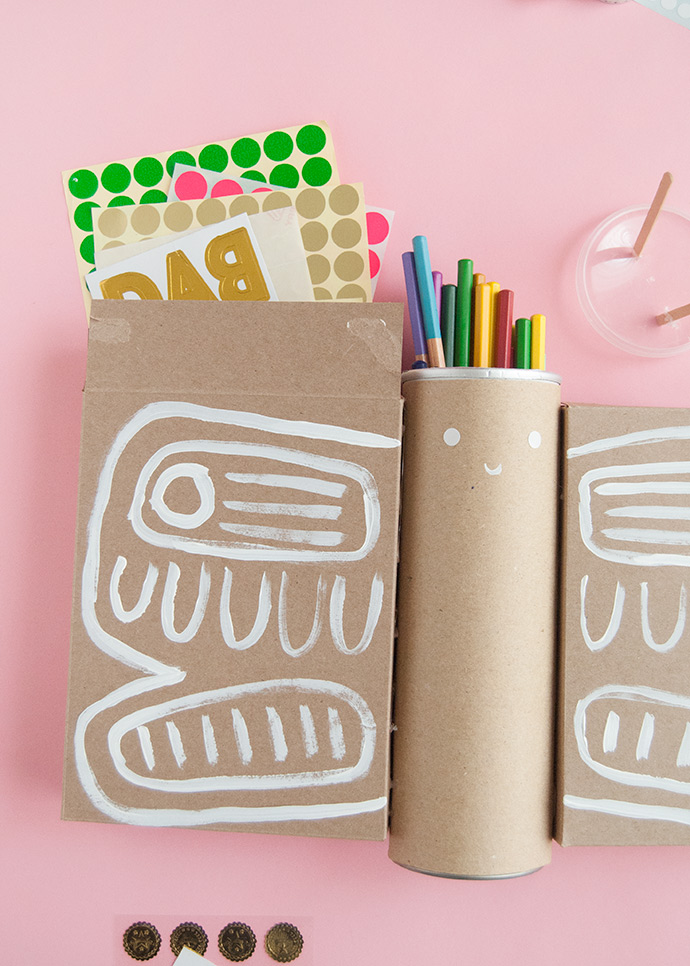
Use a pencil to roughly sketch out the shape and design you’d like on each wing. Go over this with white paint and a paintbrush. Paint two eyes and a small smile on the butterfly body too.
Use a pencil to roughly sketch out the shape and design you’d like on each wing. Go over this with white paint and a paintbrush. Paint two eyes and a small smile on the butterfly body too.
Step 5
Use a pair of scissors (or a craft knife) to poke two holes into the lid of the chip can. Cut a wooden stir stick in half and insert the cut ends into the slots as the antenna. If they are wiggling around a bit and won’t stay in place, use hot glue on the underside of the lid to help secure them.
Use a pair of scissors (or a craft knife) to poke two holes into the lid of the chip can. Cut a wooden stir stick in half and insert the cut ends into the slots as the antenna. If they are wiggling around a bit and won’t stay in place, use hot glue on the underside of the lid to help secure them.
Step 6
Fill the butterfly body and wings with whatever you like! Close the lids and stand up on your desk or shelf as playful storage.
Fill the butterfly body and wings with whatever you like! Close the lids and stand up on your desk or shelf as playful storage.
Happy crafting!