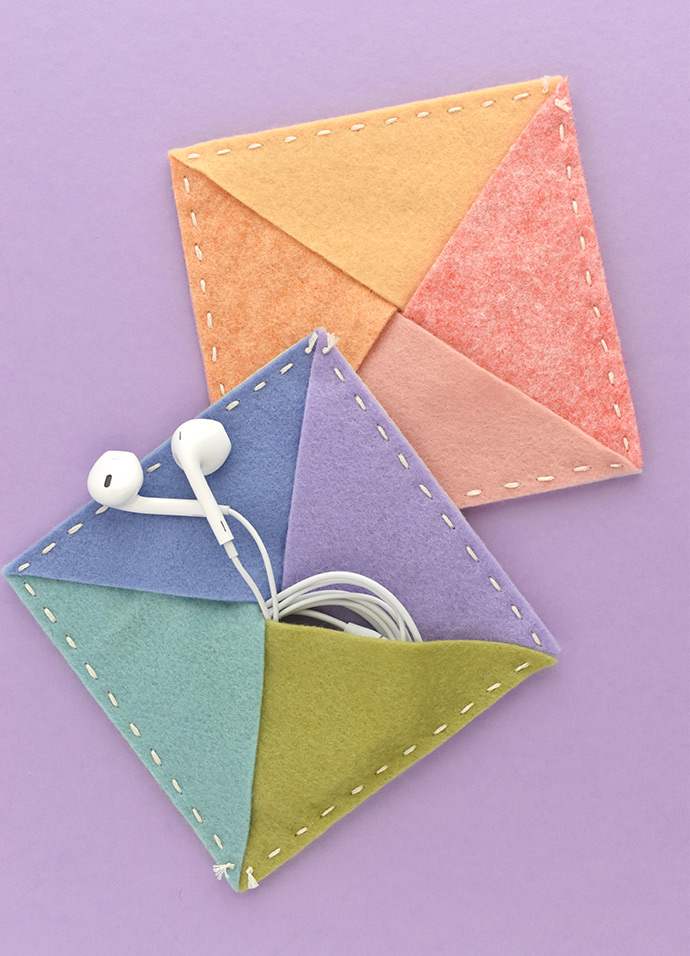
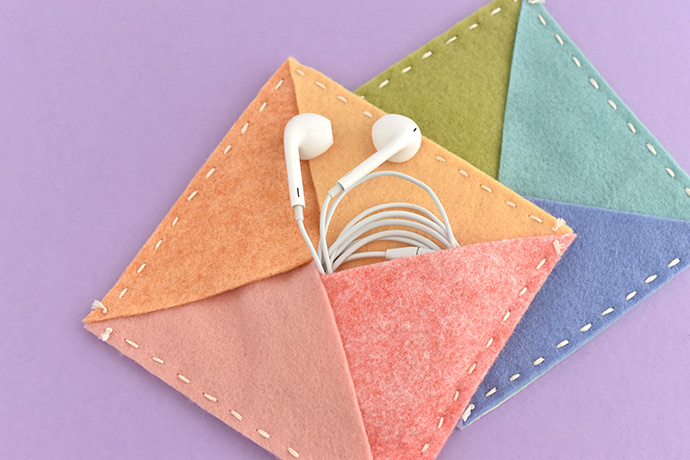
Grab some felt and embroidery floss and make this handy little pouch for your earbuds or other small items! The top is a simple square and the top has magic overlapping triangles. What’s magic about the triangles? The way they overlap holds the pouch closed, but you can also lift them to add or remove objects!
Once you layer the triangles, they create a square top to match the bottom. And then all you have to do is sew around the edges with running stitch. Easy peasy!
It’s a great way to play with shapes and practice hand sewing.
Ready to make a square pouch with triangles? Let’s get started!
what you need:
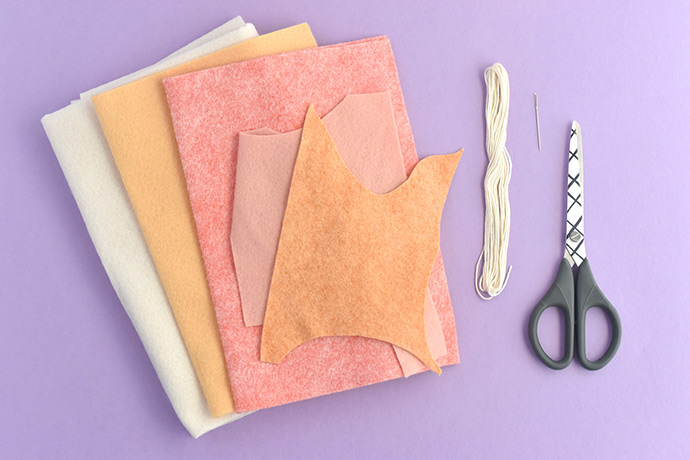
- Felt
- Embroidery Floss
- Scissors
- Pins or Sewing Clips
- Needle with a Large Eye
- Printable pouch pattern
Note: Felt stretches, which can cause this pouch to become misshapen as you use it over time. Working with wool or wool-blend felt will reduce this issue.
how-to:
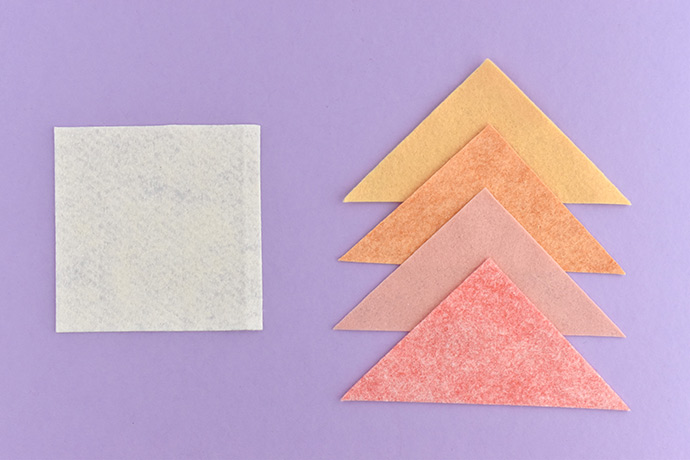
Step 1
Using the template, cut out one square and four triangle pieces from felt.
For the sample and the template, this pouch has a 4-1/2″ square and the triangles are exactly half of the square. If you want to make a pouch that’s a different size, you can start with any size square. Next, make the triangles by cutting the same size squares in half diagonally.
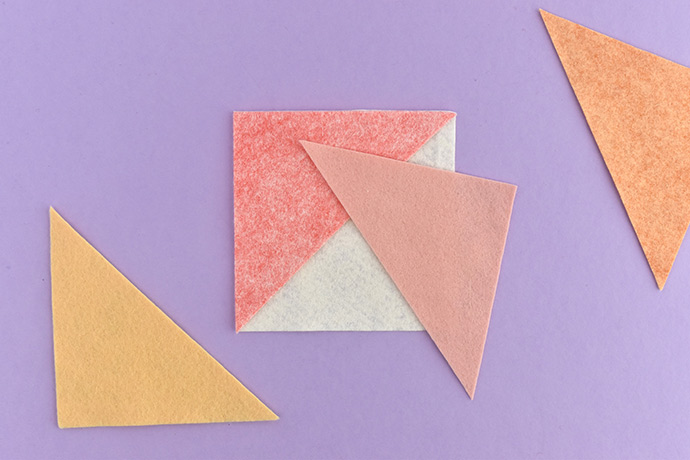
Step 2
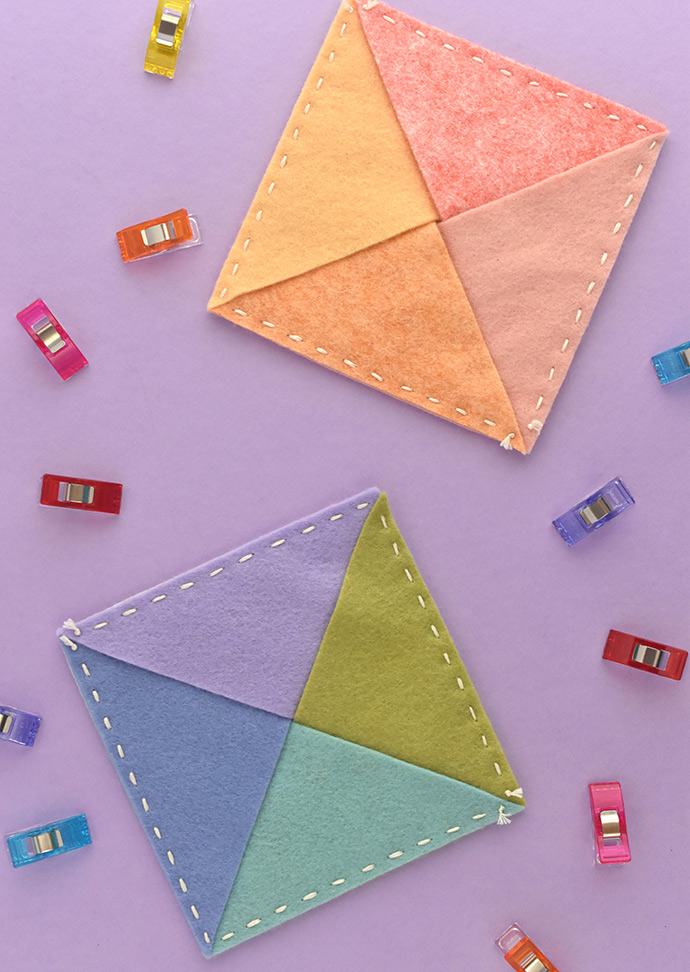
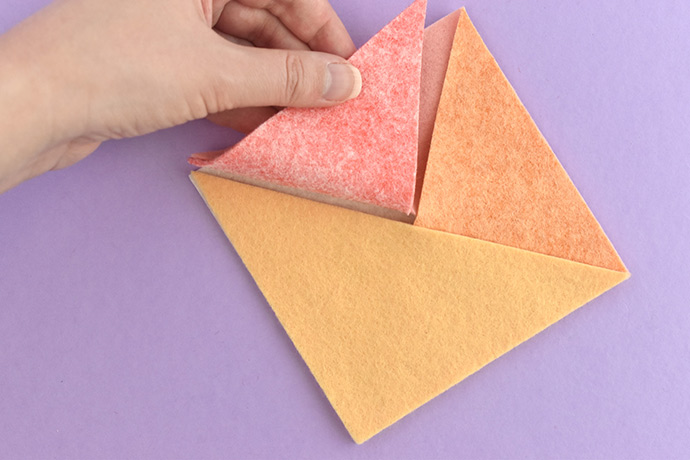
Place one of the triangles on the square so that the corner and edges line up.
You will be layering all four triangles with their 90-degree angles in the corner of the square.
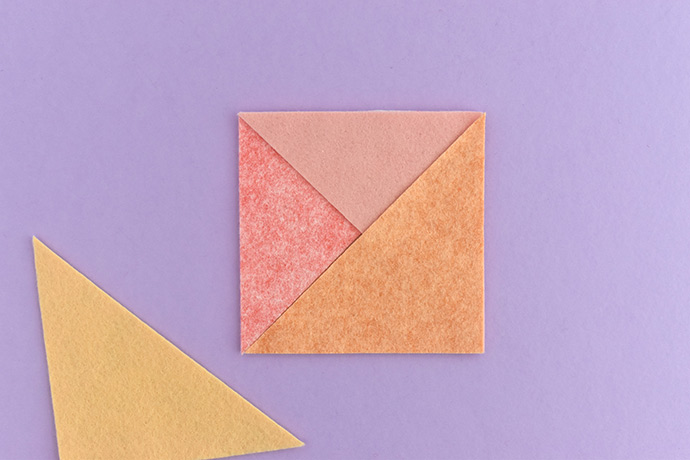
Step 3
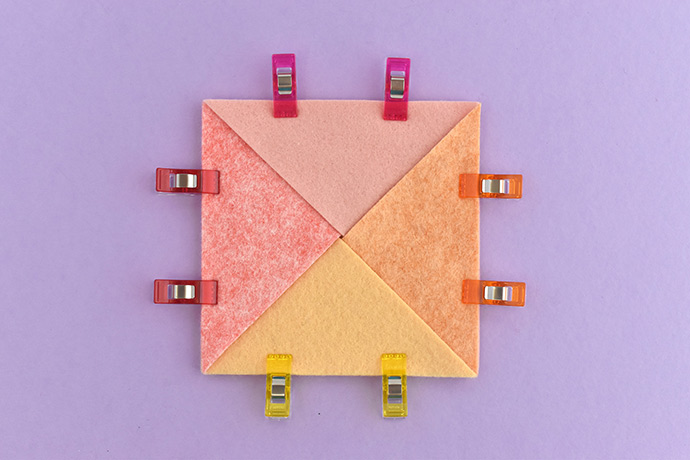
All the triangles should now be overlapping so you see one half of each triangle piece. Make sure that the edges are all straight and even with the square.
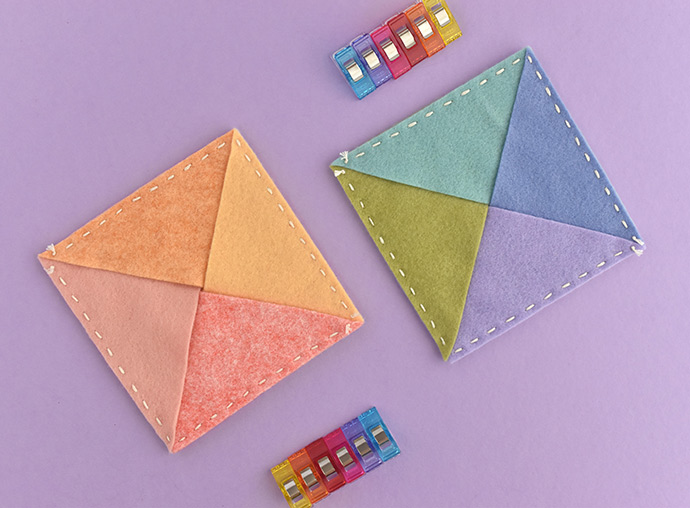
Pin or clip the sides to hold them in place.
Step 4
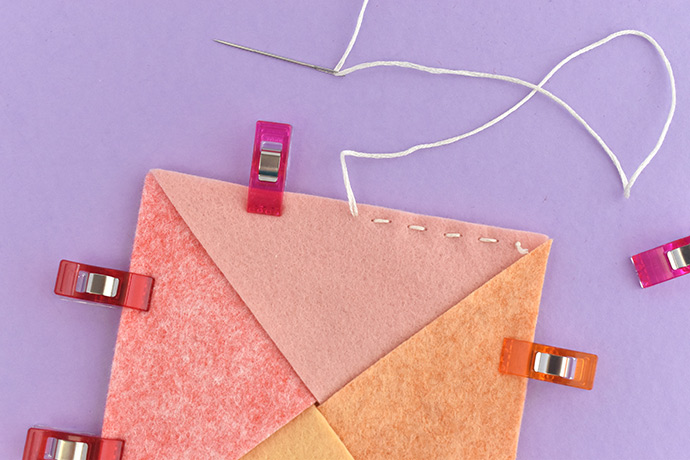
Thread a piece of embroidery floss through your needle and tie a knot at the other end. Start stitching in one corner and use running stitch to sew around the edges.
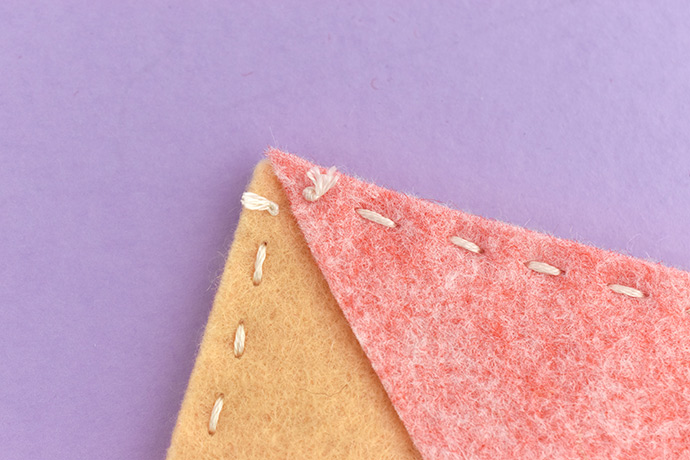
Tie a knot to at the end of your stitching and trim the extra thread.
You can let the knots be part of the style of your pouch. For these, we started and stopped the stitching on two corners of the pouch, even though we could have stitched all the way around with just one piece of embroidery floss.
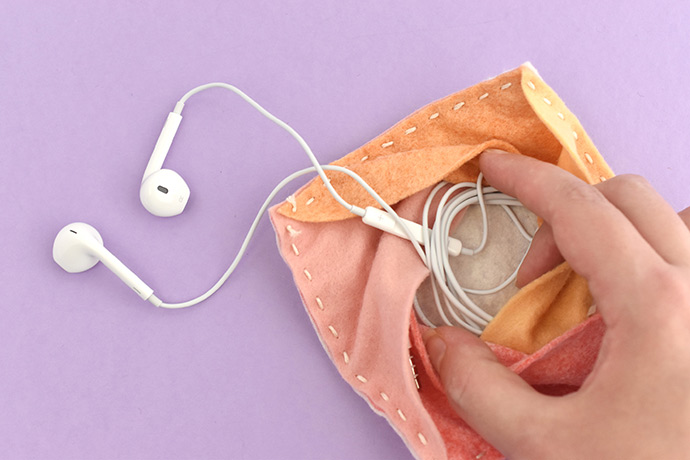

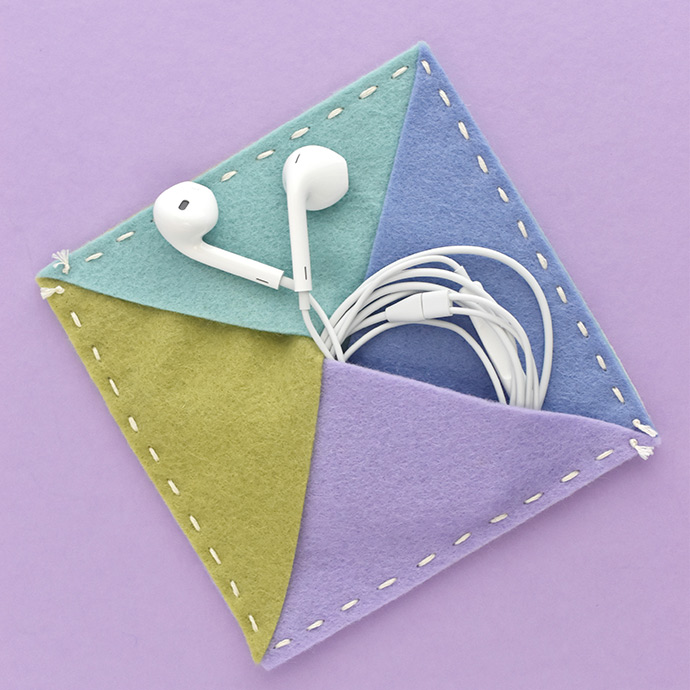
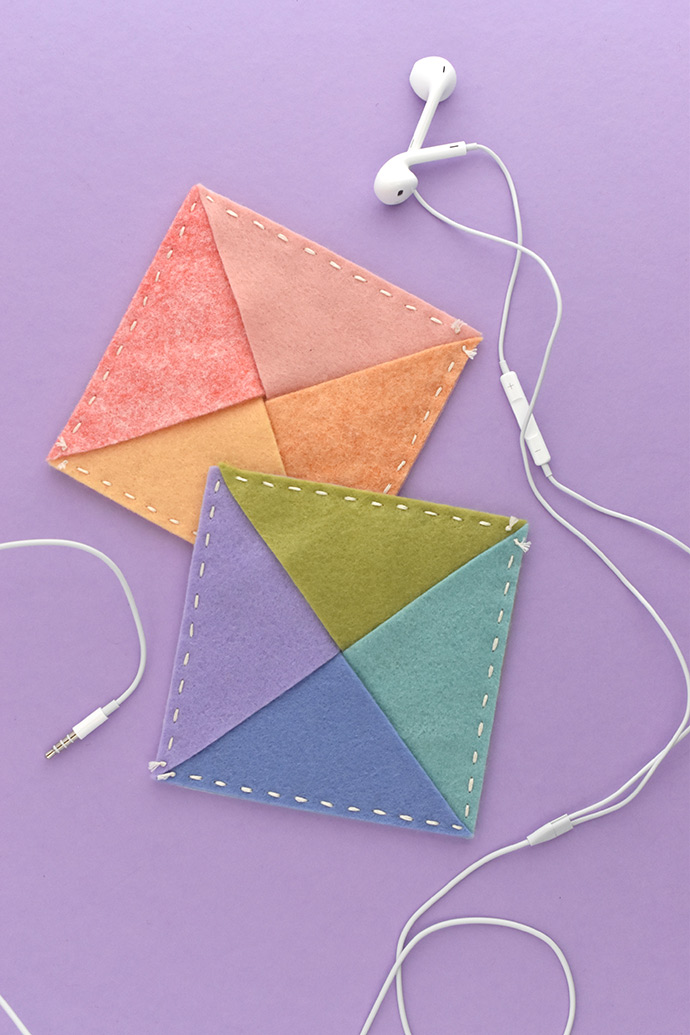
To open and use your pouch, lift the overlapping triangles to widen the opening. Slide your earbuds or other small items inside, then smooth the flaps down to keep things safe.
These also work well for holding cash or gift cards, although coins can escape.
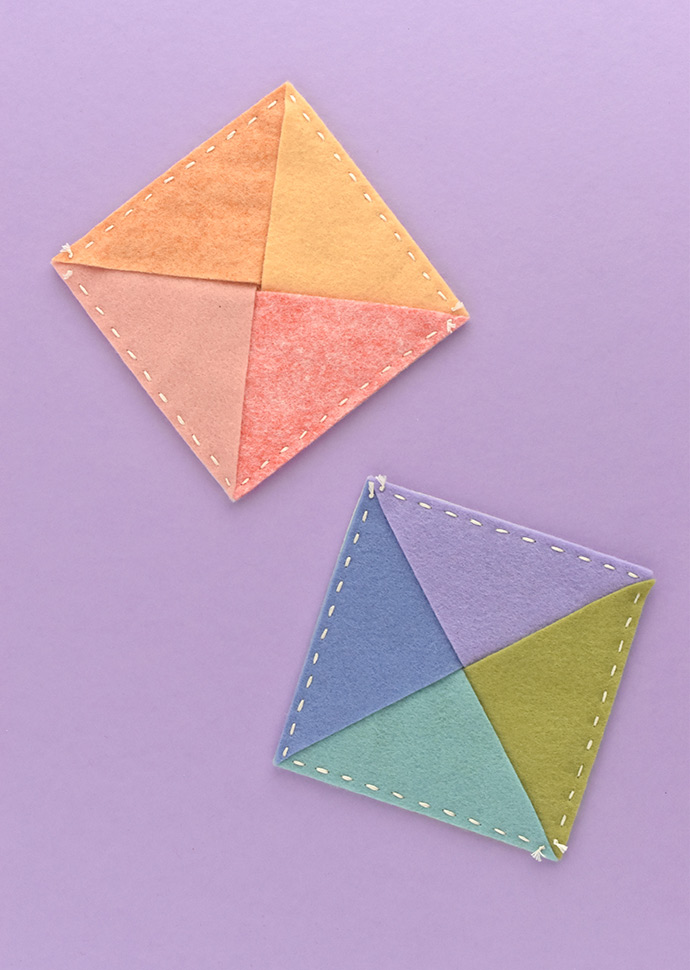
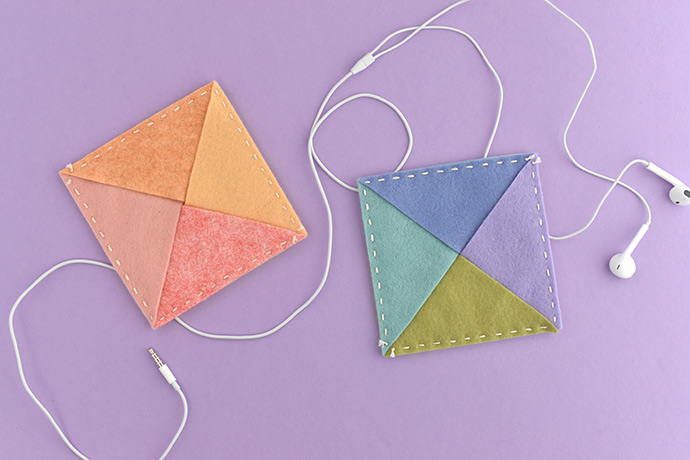
You can make these in all kinds of fun color combinations, or leave them as one solid color. There’s really no end to the ways you can mix and match your felt!
Want to customize them even more? Embroider your initials on one of the triangles! You could also stitch ribbon along the edges of the triangles for decoration AND so that the felt doesn’t stretch.
And remember, you can make different sizes of pouches by working with squares and matching triangles that are just half of a square!
Happy crafting!