I never have been big into Valentine’s Day, that is, until I had a daughter who is crazy about the holiday. Any excuse to make a pink cake is fine in her book, so each year we try to find new ways to revamp the frosting on our favorite chocolate cake. This time around we settled for a marbled, two-toned effect. It was incredibly easy to do, and she squealed in delight upon seeing it, declaring it the best Valentine’s cake ever. I had to agree.
What You Need
You can use your favorite cake and vanilla frosting recipe here (you may want to double the amount of frosting you normally make, in order to have enough for the cake)
How-To
Bake the cake, and let the layers cool.
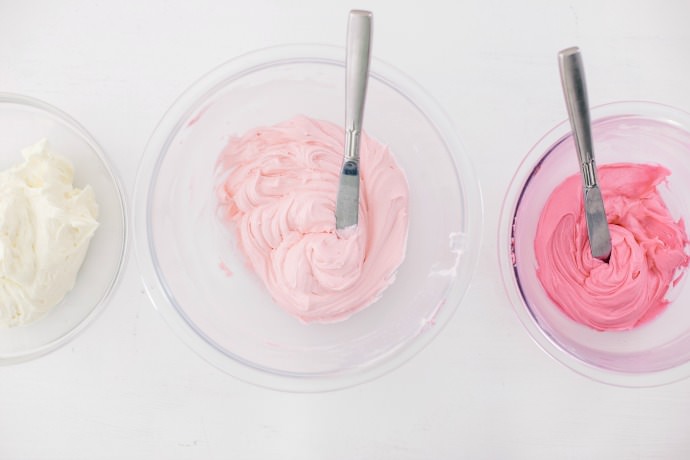
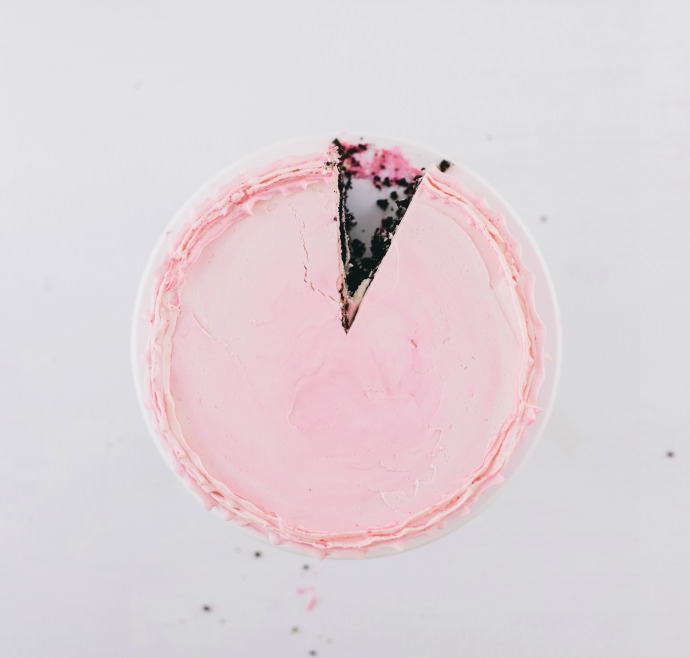
Separate the frosting into three different bowls. Keep one bowl plain white, and use pink food coloring to make two different shades of pink: one lighter and one darker.
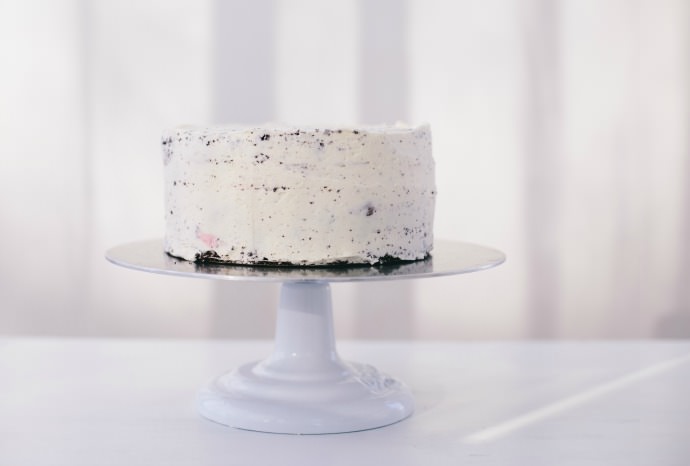
Assemble the cake. Use the white frosting to fill frosting in between the layers, and to apply a crumb coat to the cake once the layers are put together (a crumb coat will help to keep any cake crumbs from getting into the final layer of frosting). Note: You could also skip the white frosting and just do the filling and crumb coat in a shade of pink.
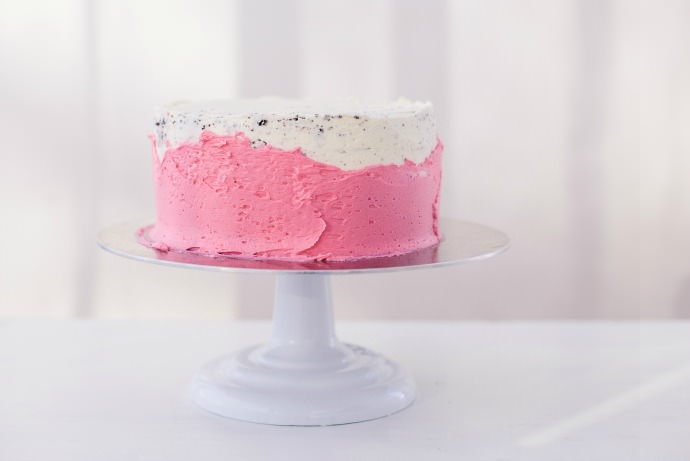
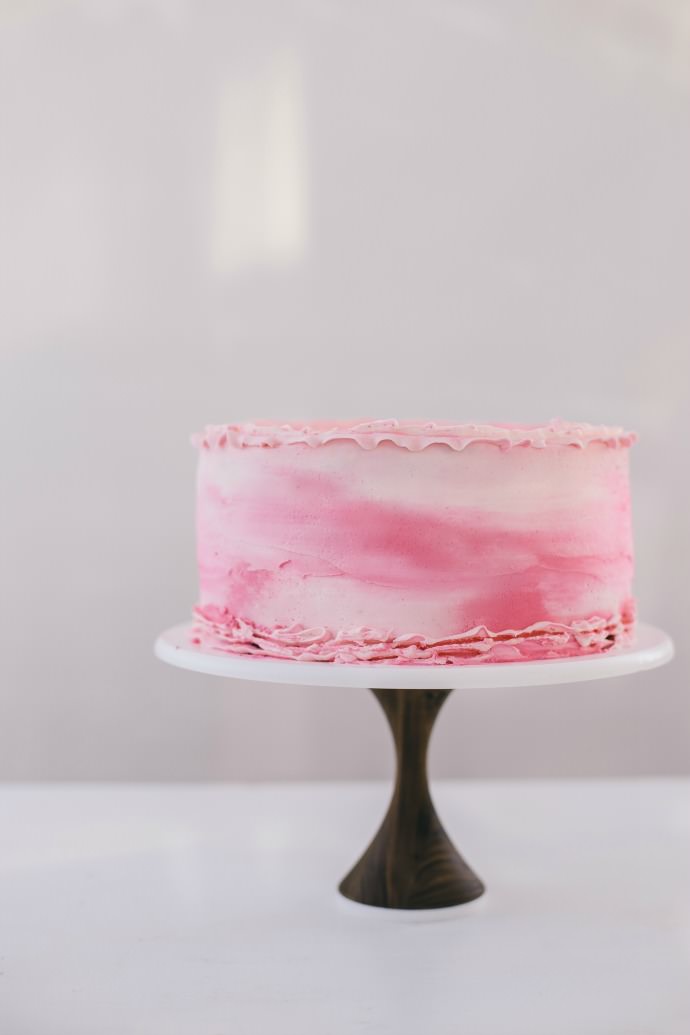
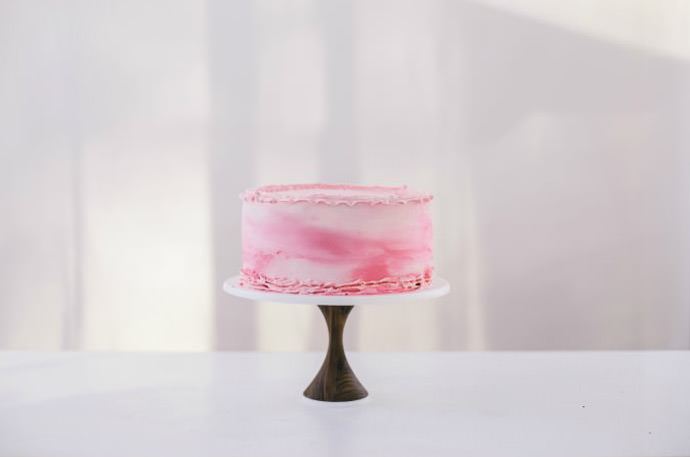
After the crumb coat has set, frost the bottom half of the cake with the darker shade of pink frosting.
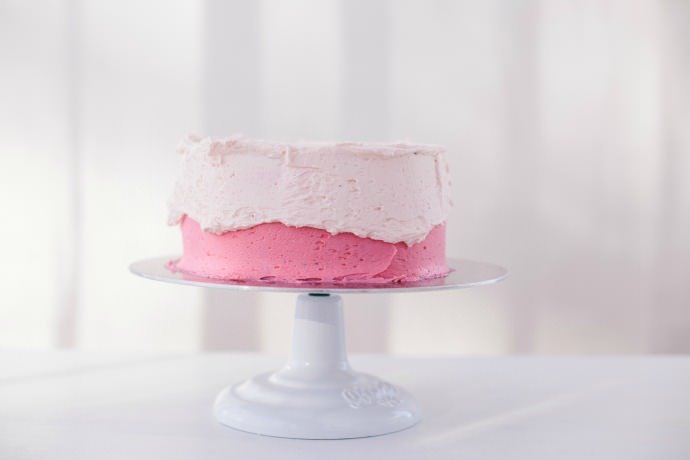
Then frost the top half of the cake (including the top of the cake) with the lighter shade of pink frosting, overlapping the light pink just a bit on the dark pink.
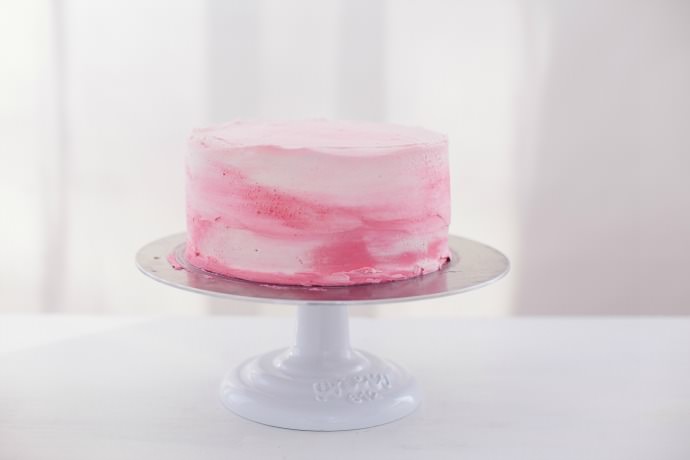
Use an off-set spatula to smooth out the frosting. As you do so, the layers will mix together and create a marbled, two-tone effect.
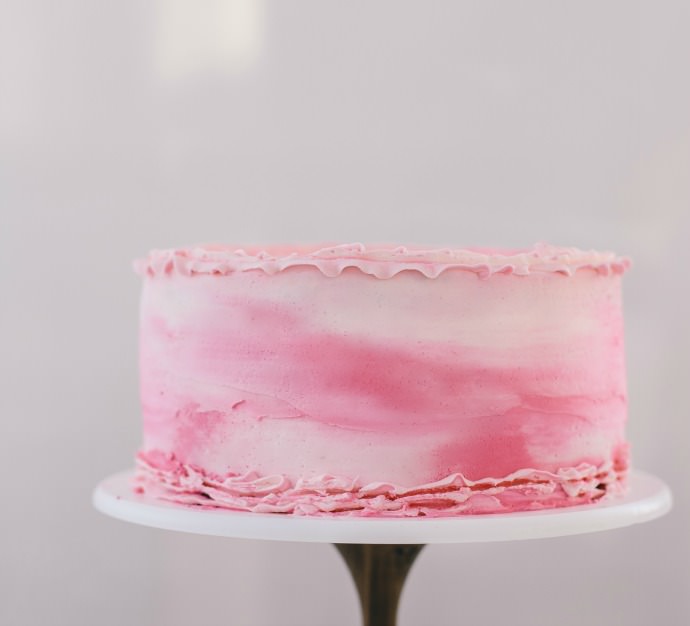
Add an extra decoration if desired, and serve!