This post is sponsored by Plaid Enterprises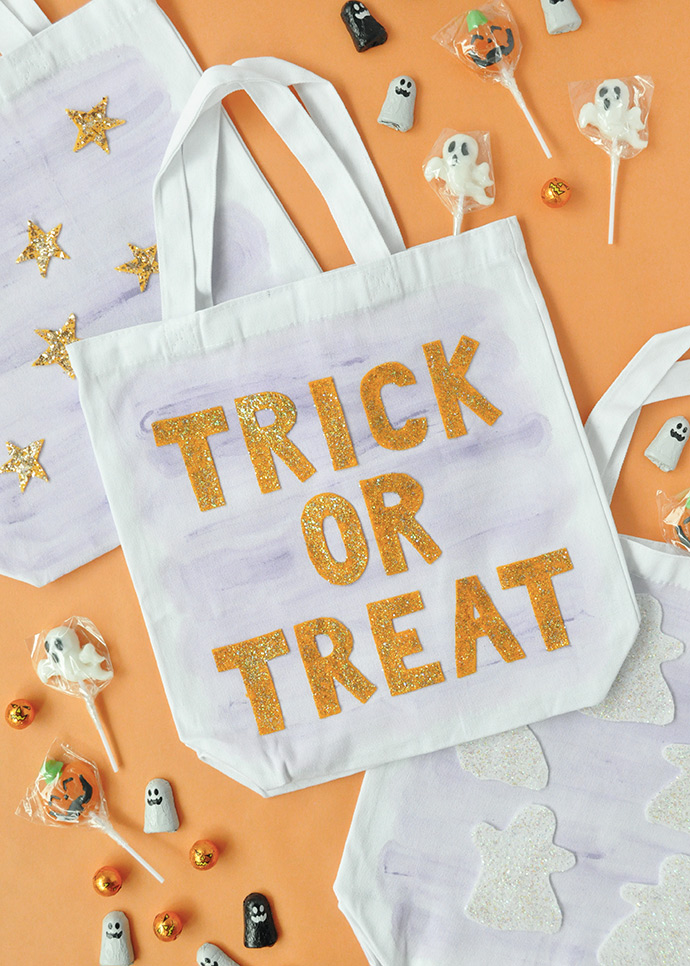
This Halloween, leave the pillowcases at home and use these handpainted trick-or-treat bags instead! Kids will love painting and decorating their very own custom bags with Halloween shapes and messages. Plus, no sewing required: just grab a pack of blank cloth tote bags from the craft store and get painting. We had lots of fun getting creative with both watercolors and glitter paints from Folk Art and kids will love learning and experimenting which each when designing their goodie bags!
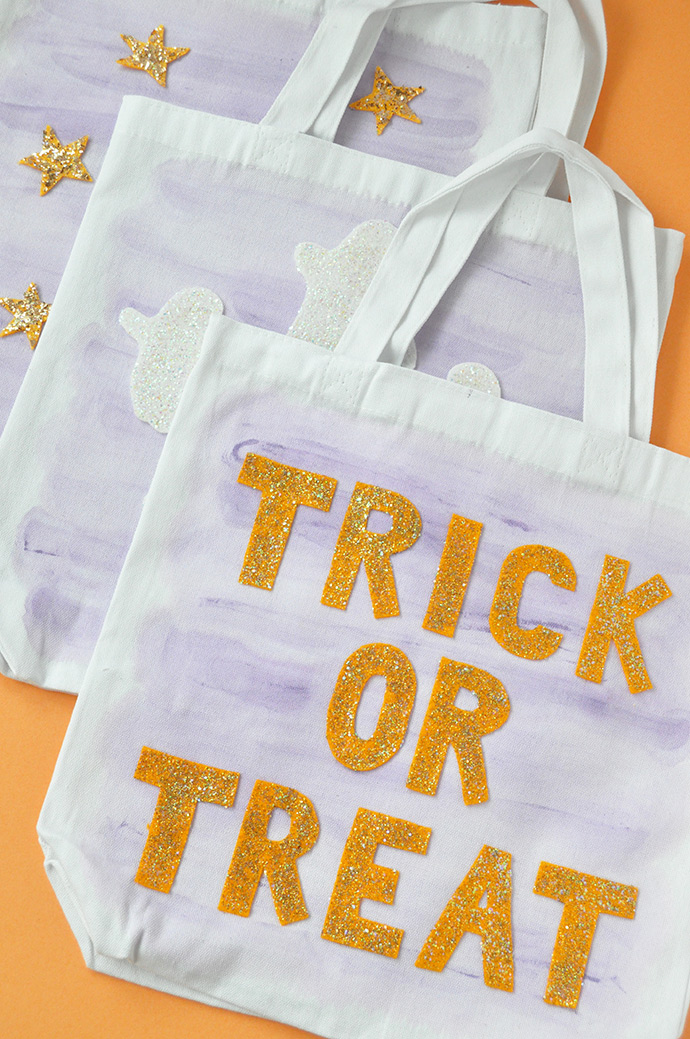
If you’ve got a few scraps of felt or loose sequins in your craft stash, this is the time to get them out and put them to good use! Cut the felt into simple shapes or letters for kids to cover with Glitterific and Fantasy Glitter. We spelled out “trick or treat” on our bags, but if you’ve got more than one kid at home it might be a good idea to have them spell their names on their bags so there aren’t any mix-ups with the loot! ;) Keep reading to see the full instructions below – these bags take no time and are the perfect activity to work on this weekend before the big day next week!

what you need:
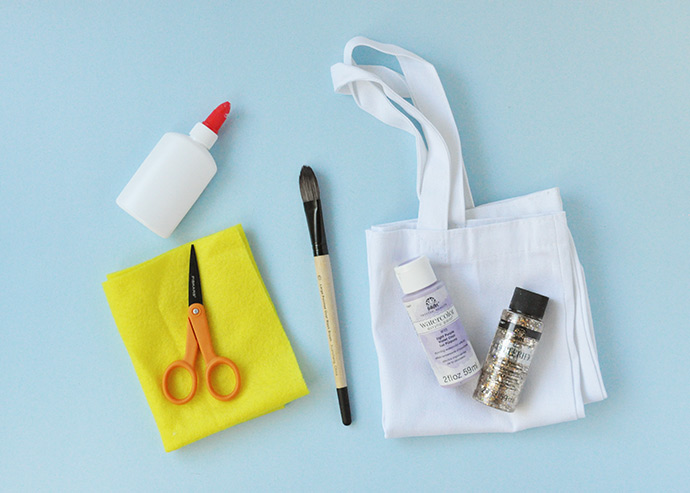
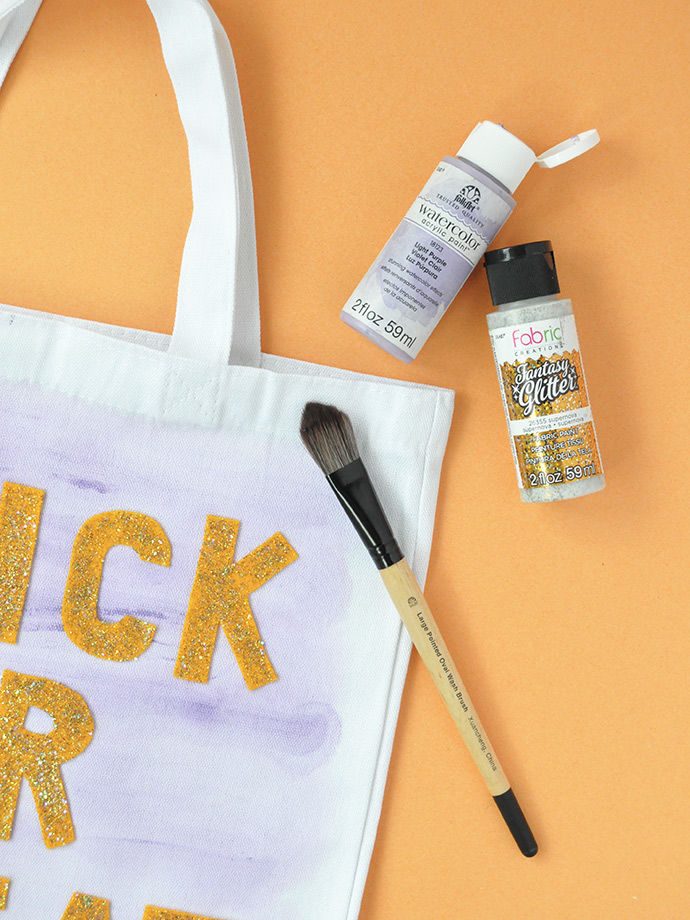
- FolkArt Watercolor Acrylic Paint
- Folk Art Glitterific Acrylic Paint (and/or Fabric Creations Fantasy Glitter Fabric Paint)
- Paintbrushes
- White cloth tote bags
- Felt
- Scissors
- White glue
how-to:
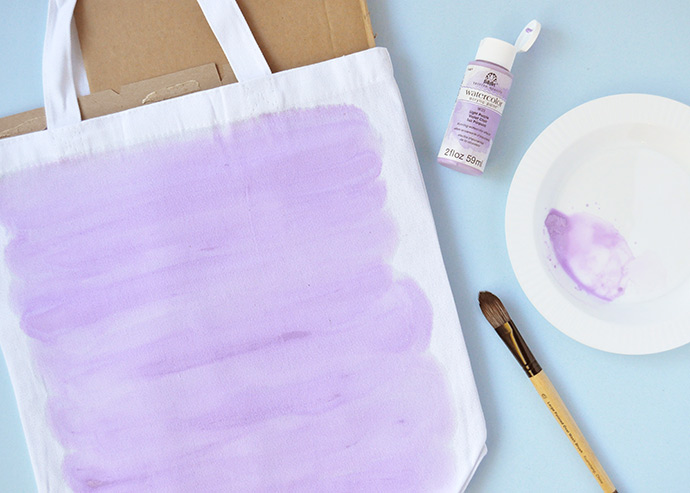
Step 1
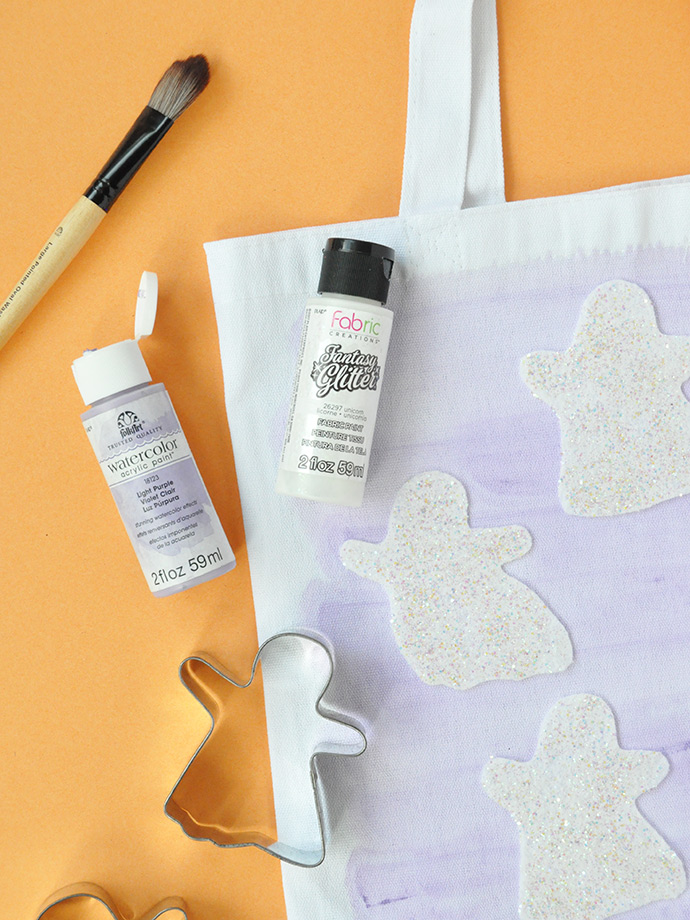
Begin by prepping your white tote bag: iron it flat if there are any major wrinkles or creases and line it with scrap cardboard to prevent any paint from soaking through to the other side. Fill a cup with water and squeeze a small amount of watercolor paint onto a plate. Wet your brush and on the plate use your brush to dilute the paint as shown. Apply horizontal strokes onto the bag, adding more water onto the plate and mixing as necessary. We used light purple for a slightly spooky Halloween feel, but you can absolutely mix and match colors as you like. Don’t forget to use clean water when starting a new color! Let the painted bag dry completely – this may take a few hours.

Step 2
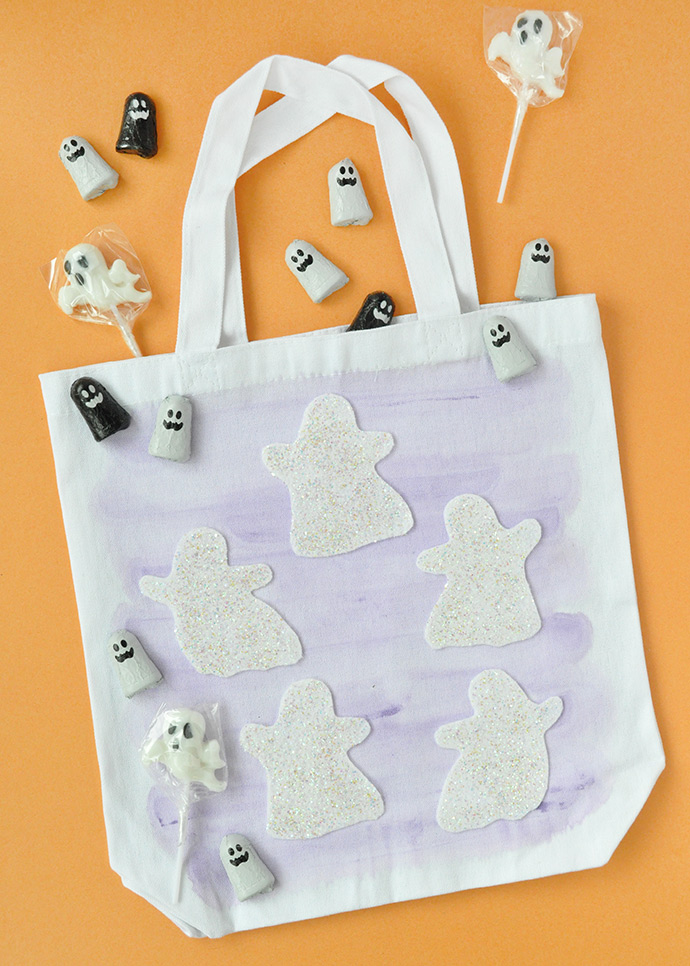
While your bag dries, it’s time to work on the felt accents. We made different designs for each bag: stars, ghosts, and letters. For the stars, you can simply freehand these on yellow felt or make a simple paper template and use that as a guide. For the ghosts, we used ghost-shaped cookies cutters and traced those onto white felt with a piece of yellow chalk. For the letters, we spelled out “trick or treat” by cutting a simple paper template in the shape of a rectangle. This rectangle is the general size you want each letter to be, so we cut out 1 felt rectangle for each letter we needed. Then just go in with scissors and trim each rectangle to look like the letters.
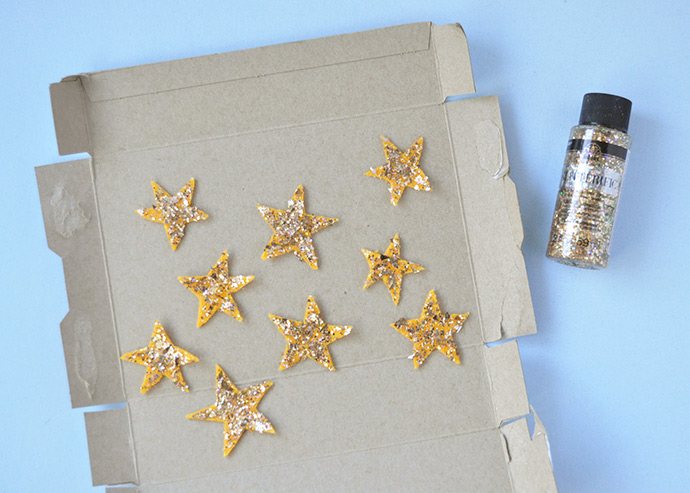
Step 3
Apply Glitterific onto the felt stars! We wanted a super sparkly look for these, so we used Rose Gold. For the ghosts, we wanted a more subtle look so we went with Fabric Creations Fantasy Glitter Fabric Paint in the unicorn shade instead, and for the letters we used the supernova shade. When applying any of these glitter paints, make sure you’re not using your watercolor brush from before: a foam brush is your best friend here. Let dry completely.
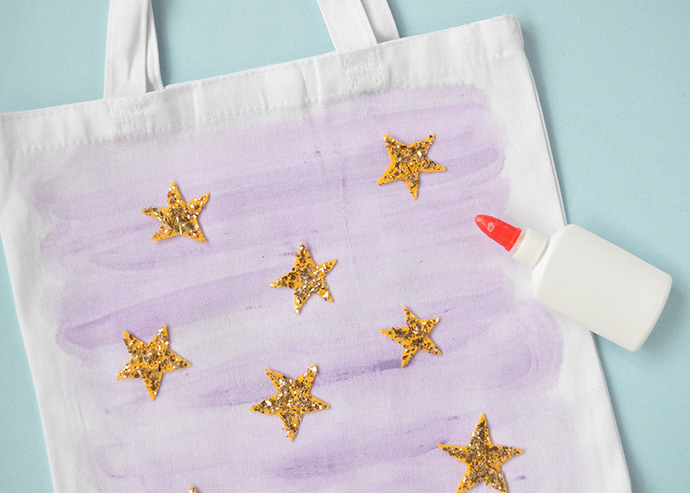
Step 4
Once the felt shapes and tote bag are dry, simply arrange the shapes onto the bag and glue in place! Once the glue is dry, you’re reading to go trick or treating!

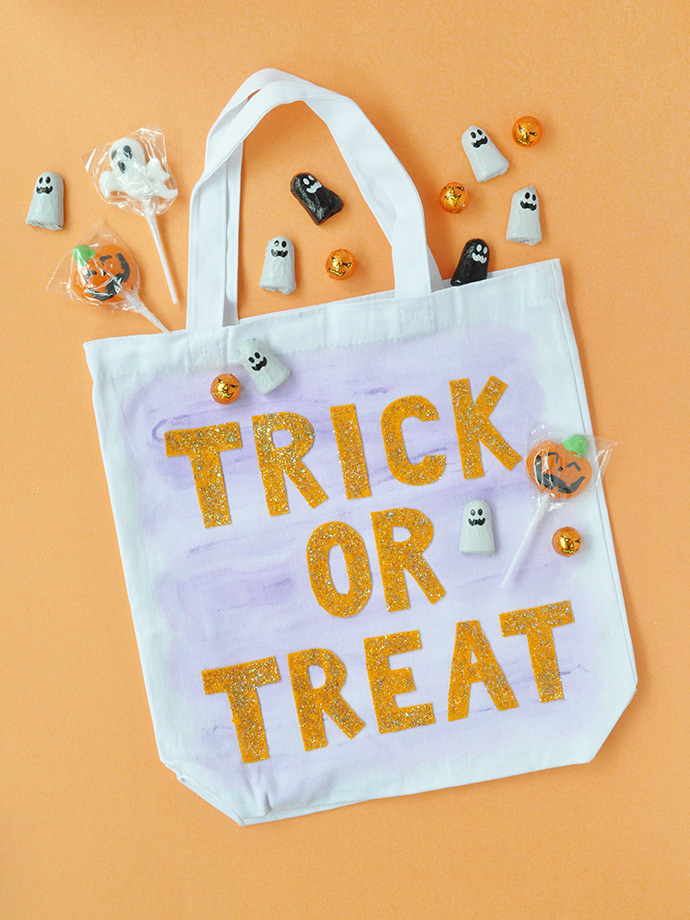
Happy Halloween!!