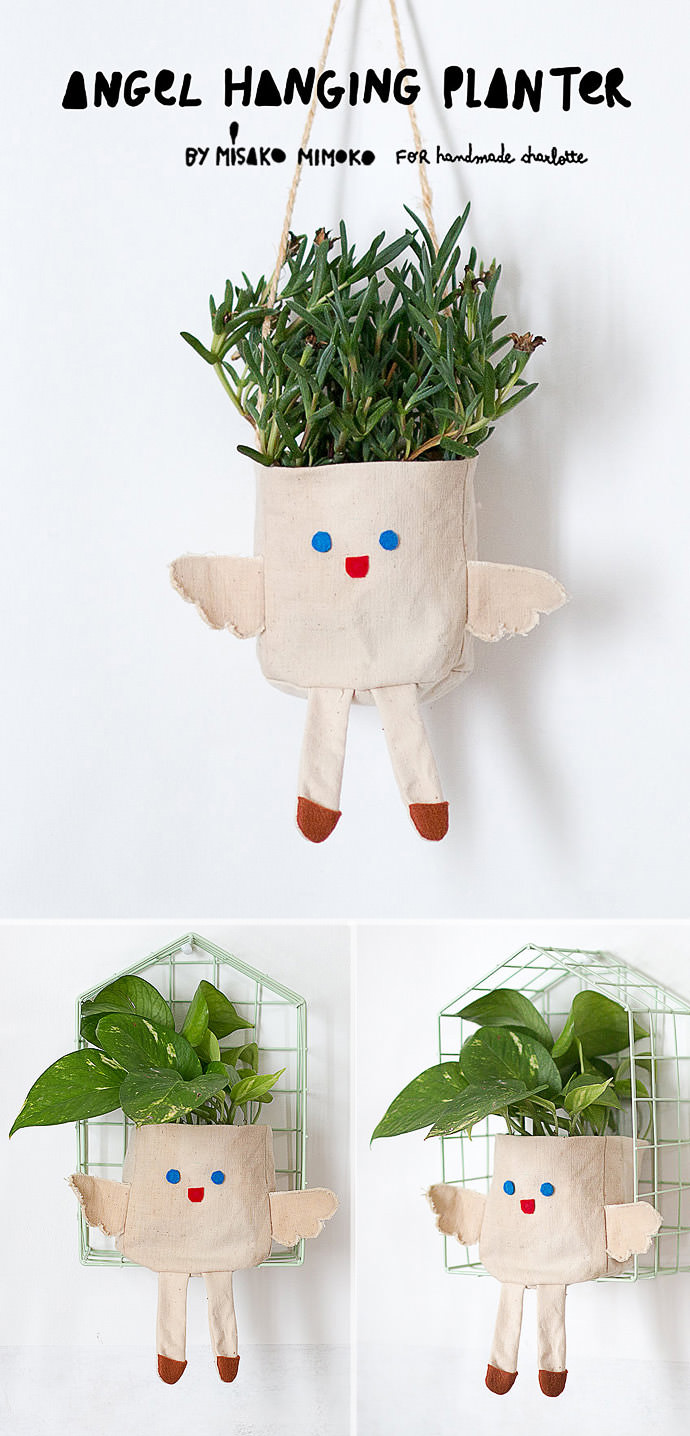
This cute fabric planter is an easy sewing craft that can be made using leftover fabric scraps. It’s a perfect handmade gift for a friend or a fun addition to your home!
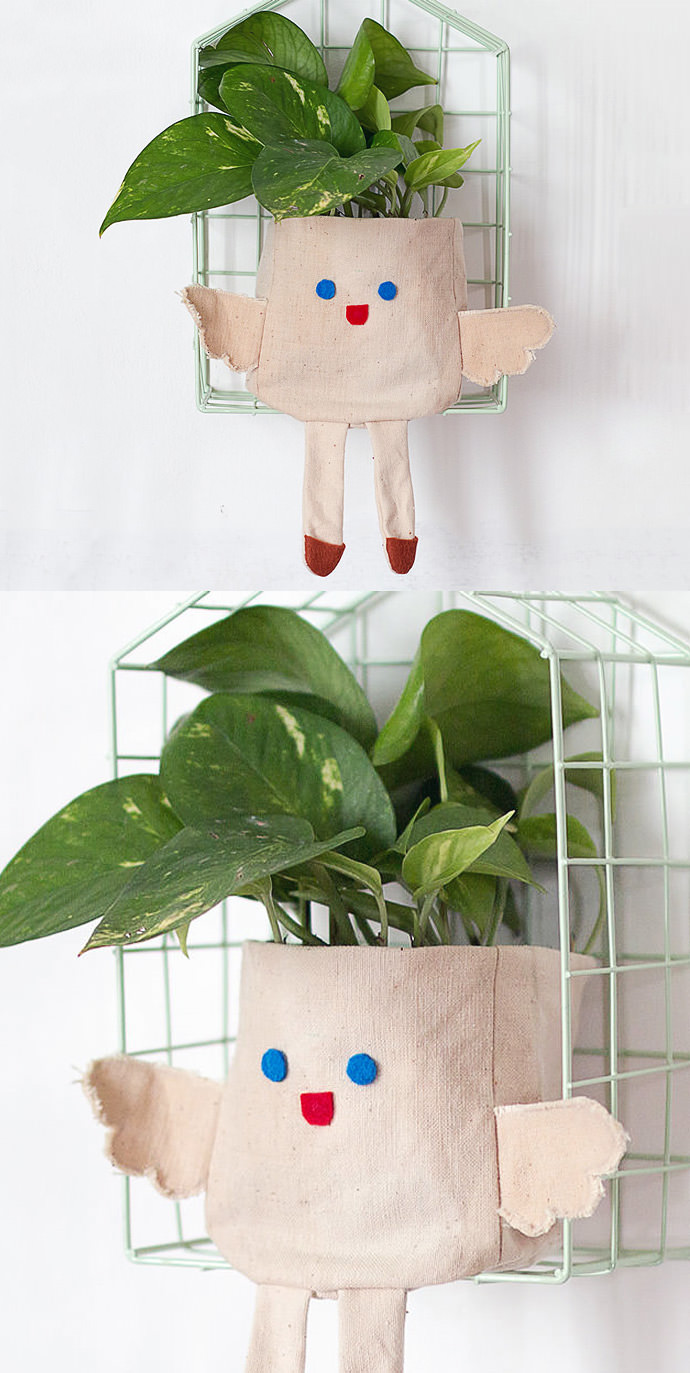
Once you’ve made your planter, hang it using a piece of rope or sinply place it on a shelf. It’s perfect for displaying potted plants, for a decoration in a baby’s nursery, or for storing craft supplies. The planter template can be adjusted to any size to cover any type of pot. If you want to make your planter watertight, simply use waterproof fabric, add laminated fabric or plastic to the inner layer, or use a waterproofing spray on the fabric.
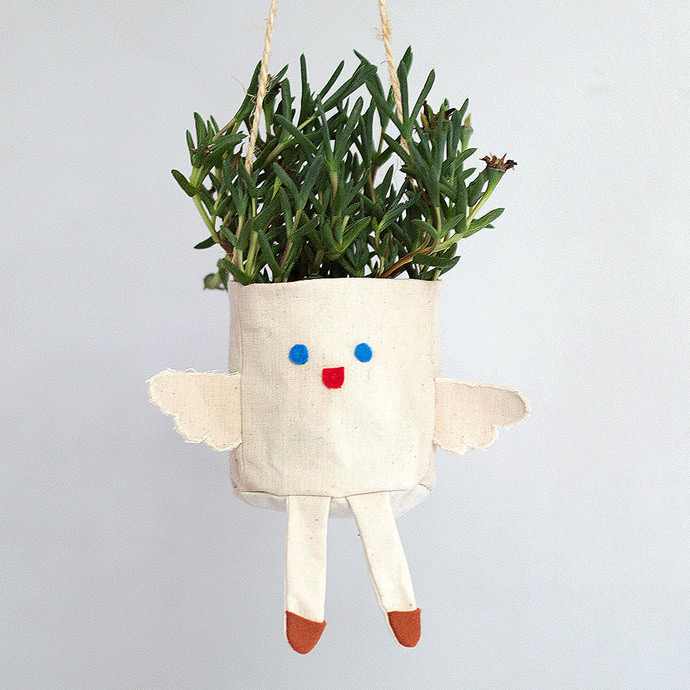
This planter makes an awesome addition to your home, and since it’s so ridiculously easy to make and customize, you’ll want to make more than one!
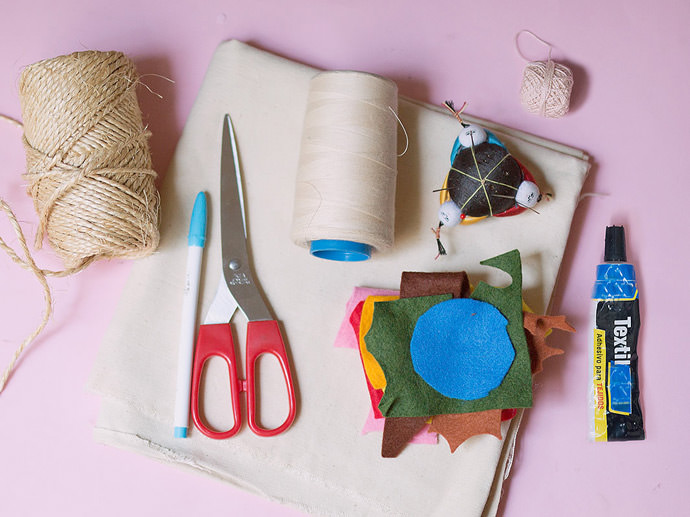
What You Need
- Printable Angel Hanging Planter Template (download here)
- Cotton canvas fabric (waterproofing optional)
- Felt
- Rope or macramé cord
- Perle cotton thread
- Needle and thread
- Water-soluble marker
- Textile glue
- Scissors
How-To
Step 1
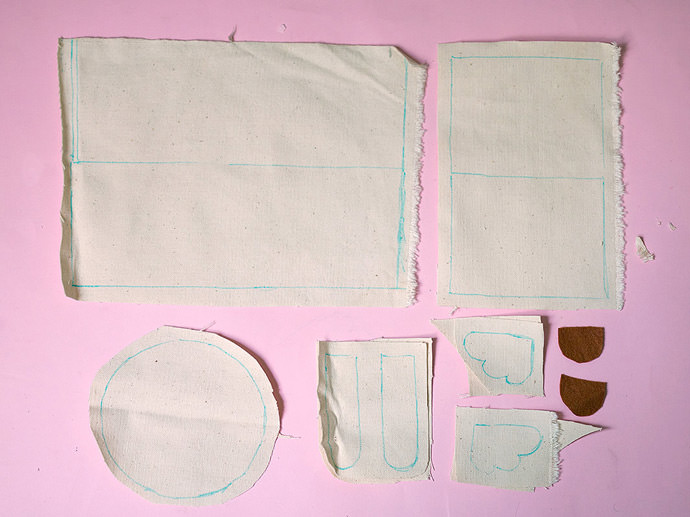
Download, print, and scale the templates to fit your planter. Cut out the shapes from the templates. Using a water-soluble marker, trace the template pieces onto your fabric and cut out all the shapes, leaving a ½” seam.
Step 2
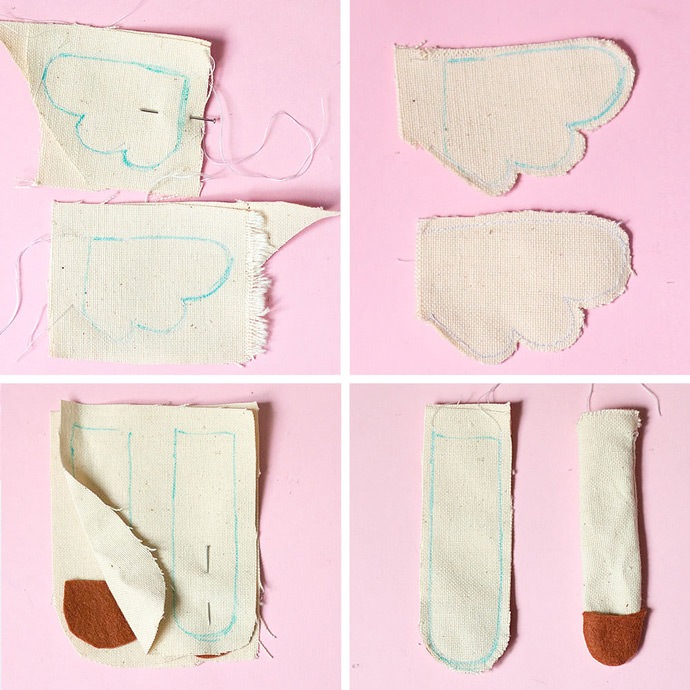
Pin the wing shapes in pairs with the right sides together. Stitch the wings all around, then trim the seams and use a needle to fray the edges. Dampen the wings to remove the marker.
Pin the leg shapes in pairs with the right sides together. Take the felt foot shapes and sandwich them at the bottom of each leg. Stitch the legs all around, leaving the top edge open. Trim the seams and clip off all the curves. Turn the legs right side out.
Step 3
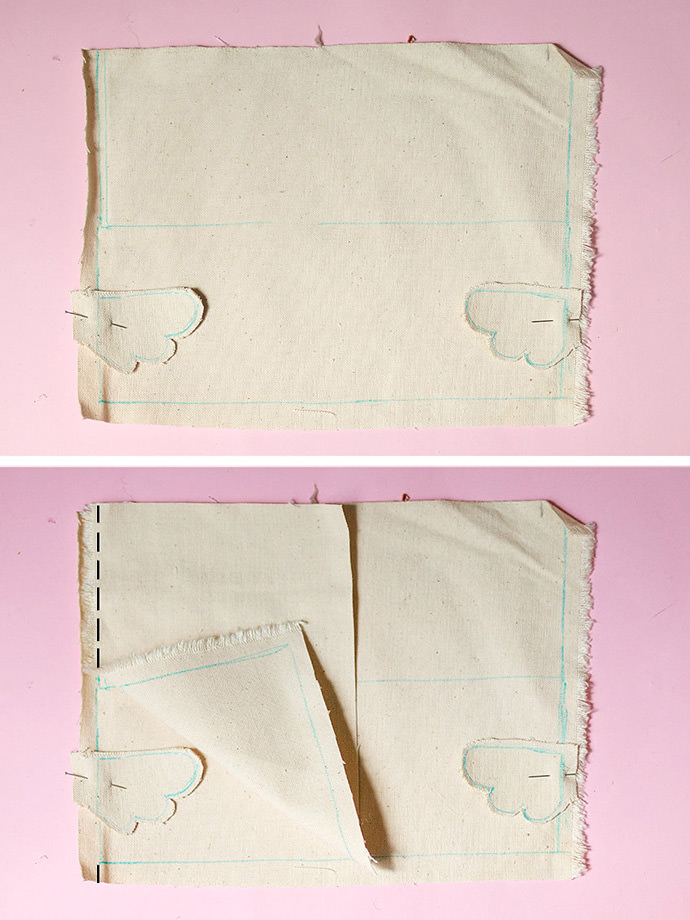
Place the wings onto the body shape, with one on each side in the middle of the bottom part. Place the face fabric piece on top with the right side down, and align it to the left of the body piece. Stitch them together leaving a 1/2” seam.
Step 4
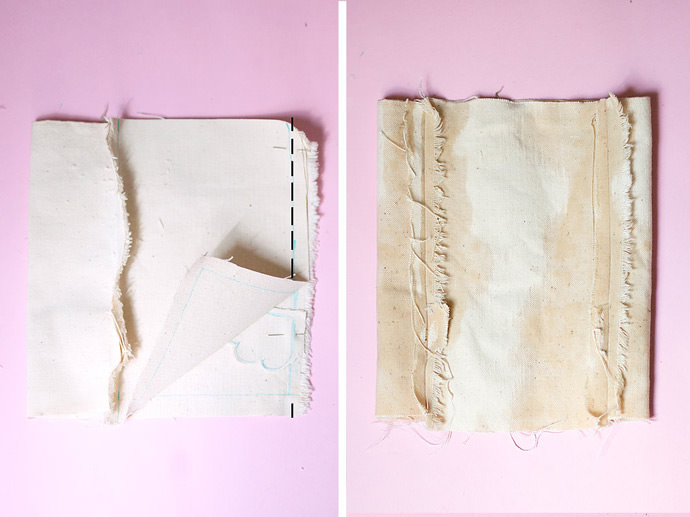
Take the other edge of the face piece and place it onto the right edge of the body shape, then sandwich the other wing. Pin and sew all the pieces together to create an open cylinder shape. Dampen the fabric to remove the marker, and iron the pieces to flatten the seams.
Step 5
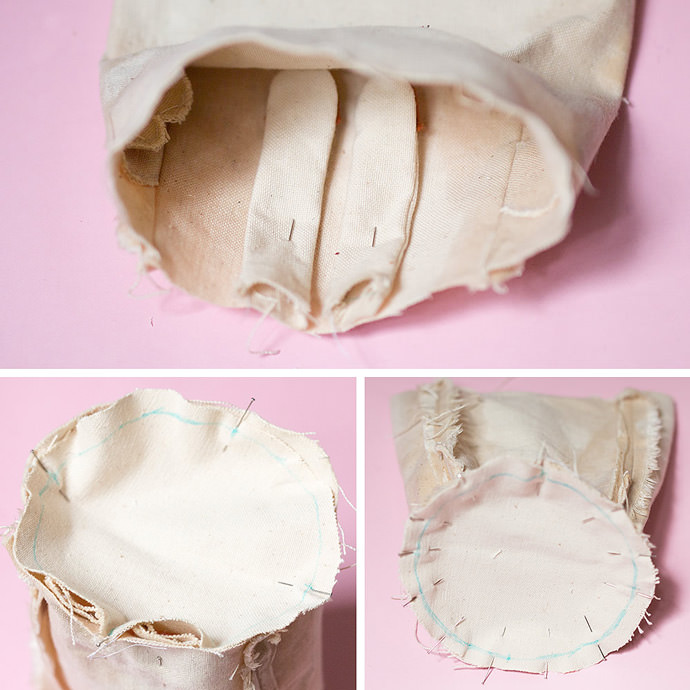
Pin the legs centered onto the face piece inside the cylinder and align the top leg with the bottom edges of the cylinder. Pin the circle around the bottom edges of the cylinder.
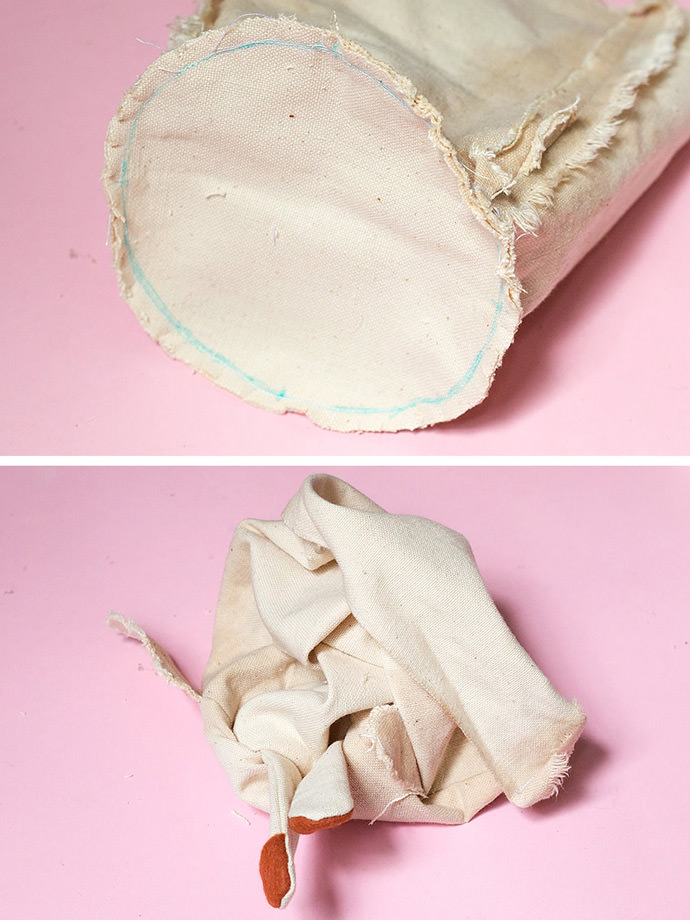
Step 6
Using your sewing machine, sew all the way around the bottom circle, leaving a 1/2″ seam allowance. Turn the fabric planter right side out.
Step 7
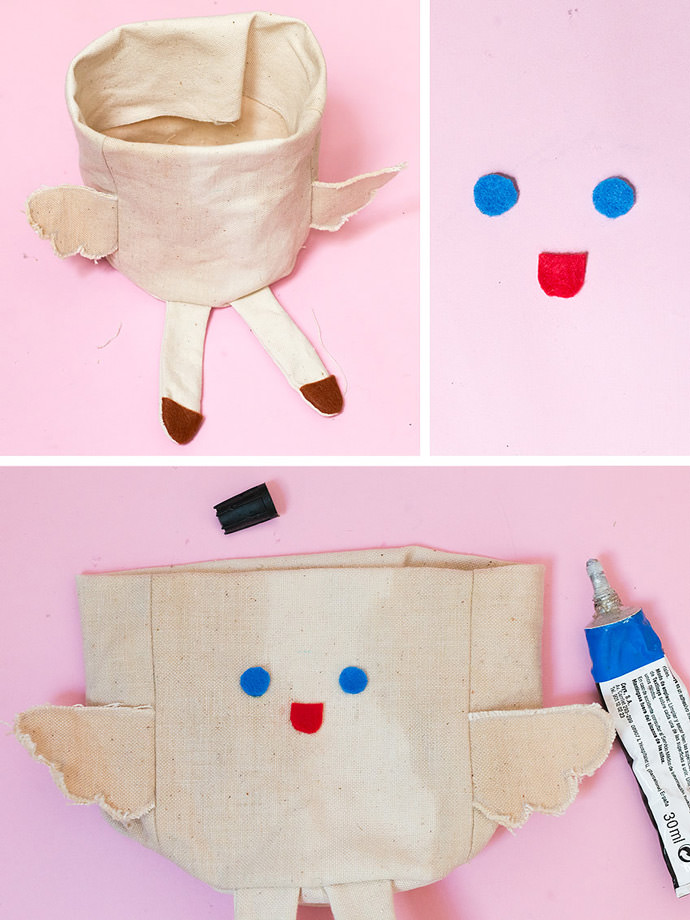
Fold the top edge of the planter inside to make the planter as tall as necessary for your potted plant.
Cut out the eye and mouth shapes from the felt and glue them onto the center of the front face piece.
At this point, you can use this cute angel as a bag to cover your planter or as a fabric container to store your craft supplies or decorate your favorite shelf!
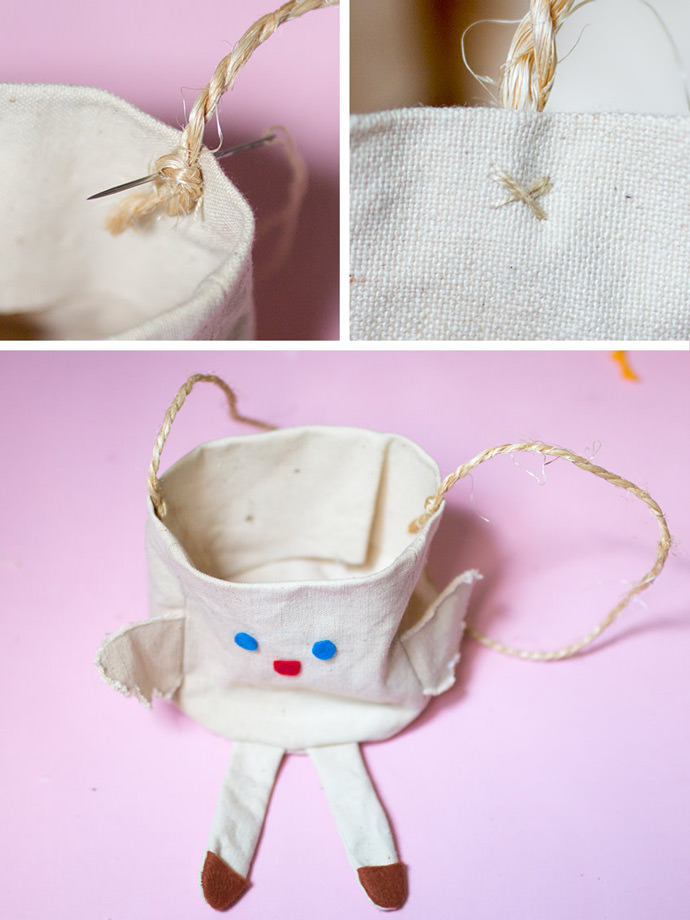
Step 8
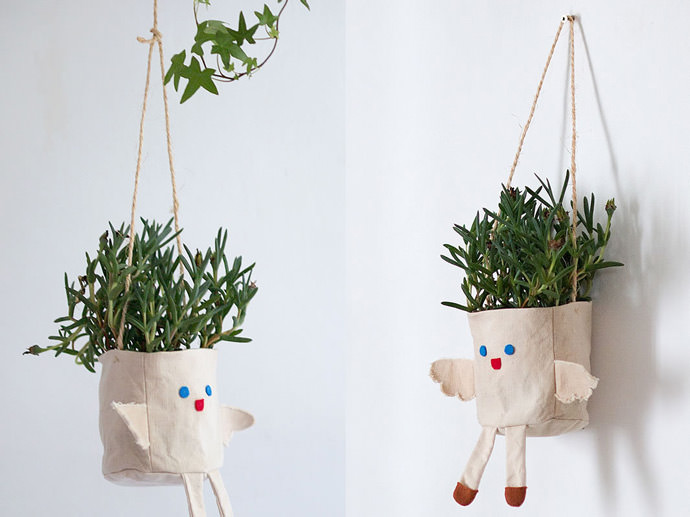
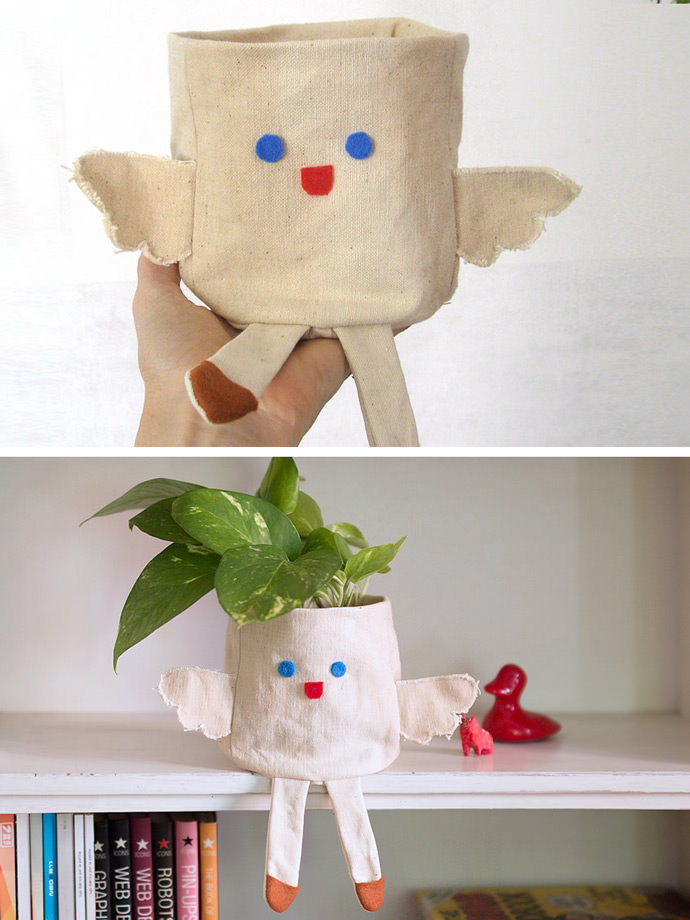
If you want to hang up your angel, just add a piece of rope or cord. Tie a knot at each edge and stitch it to the inside of the planter by working a simple double cross stitch with pearl cotton thread.
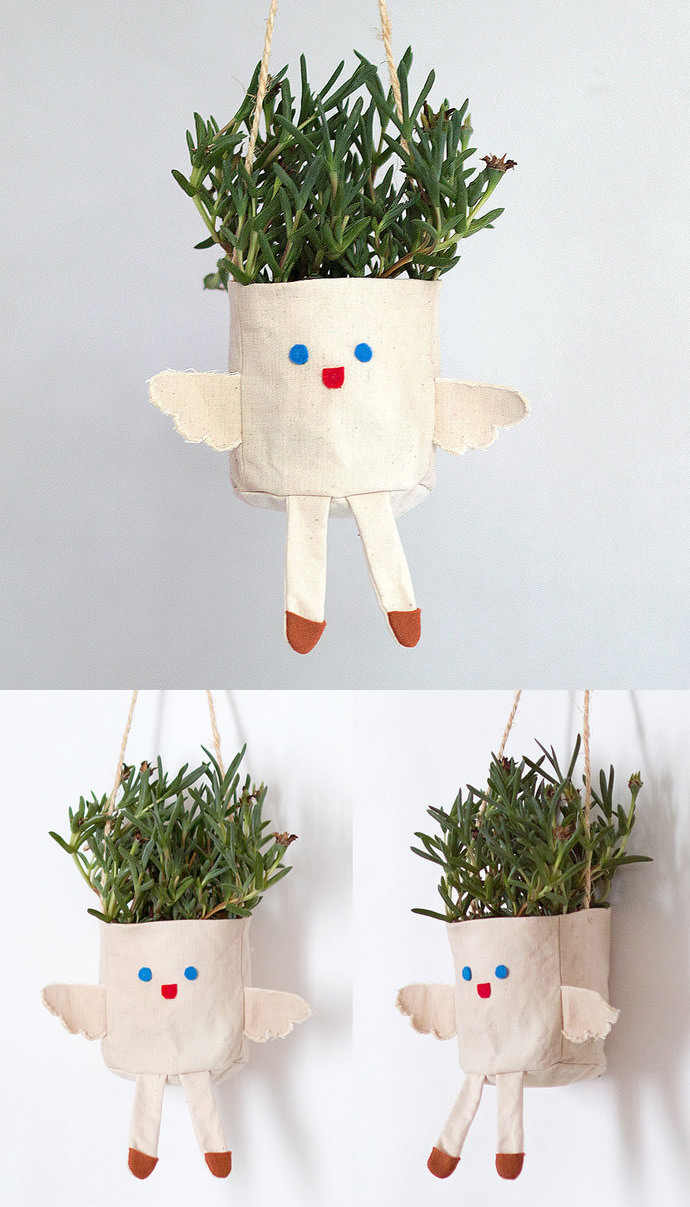
Place a lovely potted plant into your angel planter and hang it on the wall or from the ceiling. You can make several angel planters in different sizes to create a mini angel garden inside your home.
Happy crafting!