NOTE: This Part 11 of an 11 part series – Eva really went for it with this project! Here are the links to all the parts in the series: Part 1, Part 2, Part 3, Part 4, Part 5, Part 6, Part 7, Part 8, Part 9, Part 10, and Part 11.
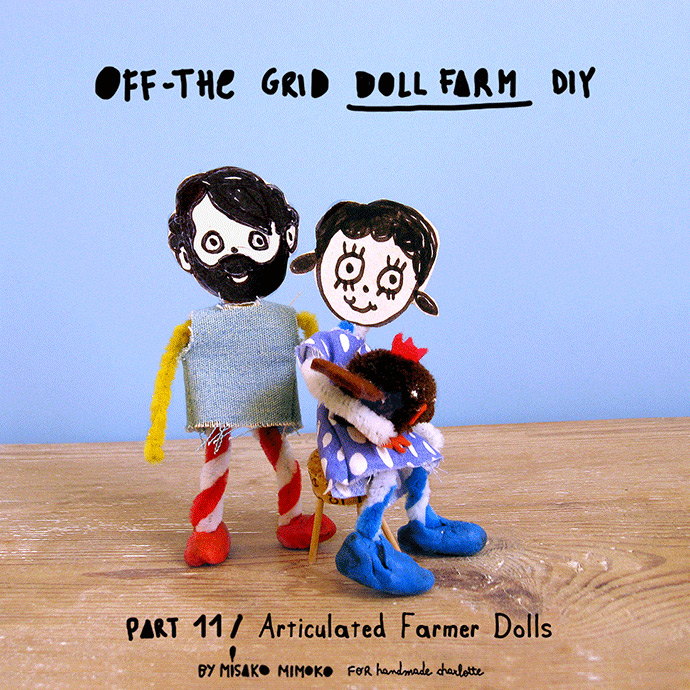
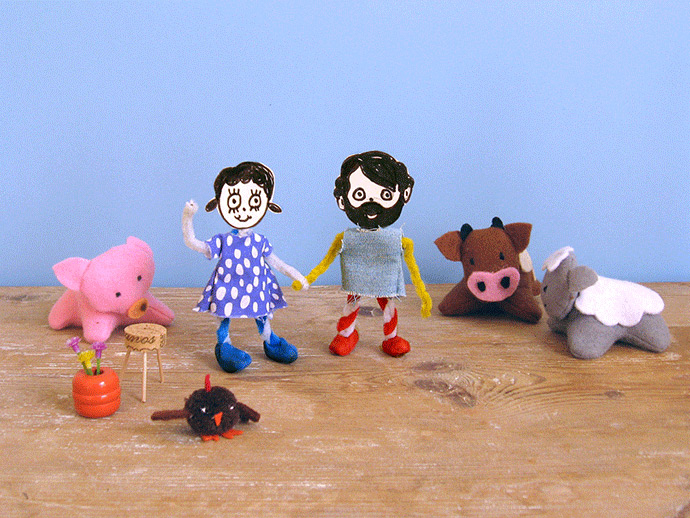
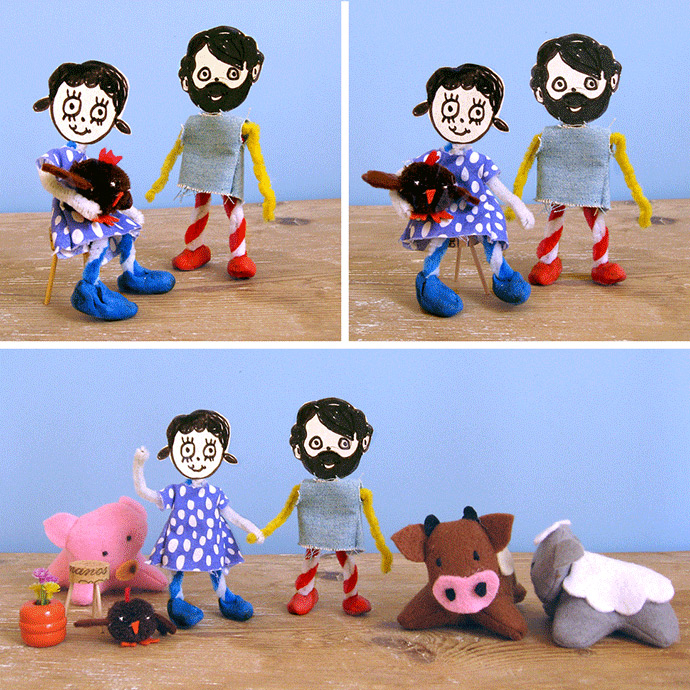
Today’s post is the final chapter in our off-the-grid dollhouse series! We’re sad that it’s almost over, but so excited for you to have a complete dollhouse all your own. Today we’ll be making a cute couple of farmers to play around at the amazing farm. Once you learn how to make these simple articulated dolls, you won’t be able to stop making more and more of them!

You only need a few handy materials to make these playful friends: pipe cleaners, modelling clay, and scrap pieces of cardboard. Are you ready to make the heroes of your self-sufficient farm? Let’s go!
what you need:
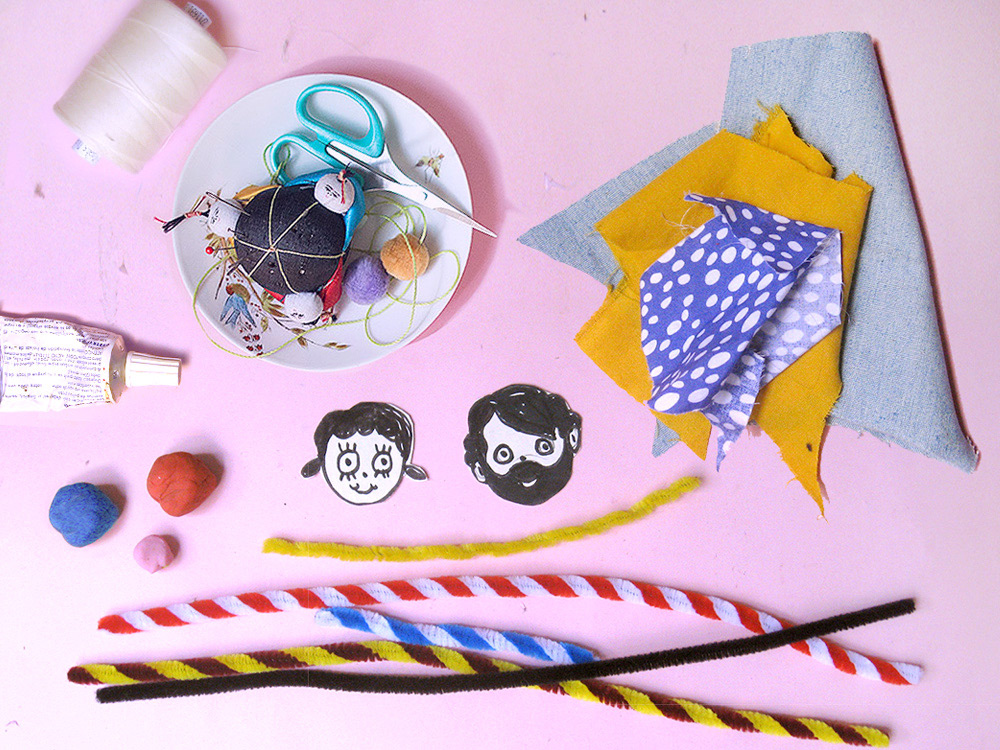
- Pipe cleaners
- Modeling clay
- Cardboard
- Fabric scraps
- Scissors
- Hot glue
- Needle
- Thread
- Pen or pencil
- Printable template
how-to:

Step 1
Download, print, and cut out the doll face templates from cardboard. Save the clothing templates for later. Cut one pipe cleaner in a half (yellow) and then take a full length one (red and white) and shape them into a body by bending and twisting the two pipe cleaners as shown above. Use the half pipe cleaner to form the neck and arms, and then wrap the long one around your doll’s neck, bending the two ends down and twisting them together to form the body and legs.

Step 2
Glue the faces onto the pipe cleaner dolls. Shape tiny balls of modelling clay as the hands and poke a hole into each ball to attach the pipe cleaner arm ends inside the ball of clay. Press them together to secure. Bend the ends of the pipe cleaners legs to make little feet and then shape big clay balls into shoes. Make holes in these clay balls too, and stick in the pipe cleaner feet, again pressing together to keep in place. Shape and press the bottoms of the shoes on a hard surface, like a table, to make the dolls stand up on their own.

Step 3
Select a small piece of scrap fabric to sew the t-shirt. Cut out the t-shirt template and transfer it onto fabric using a pen. Fold the t-shirt in half with wrong sides together and match A to A and B to B. Then, pin and sew the side seams. Turn the right sides out and try the t-shirt on your dolls to make sure you’re happy with the fit. You can leave the back of the t-shirt open, make a single stitch at top of the back, or sew all along the back seam.
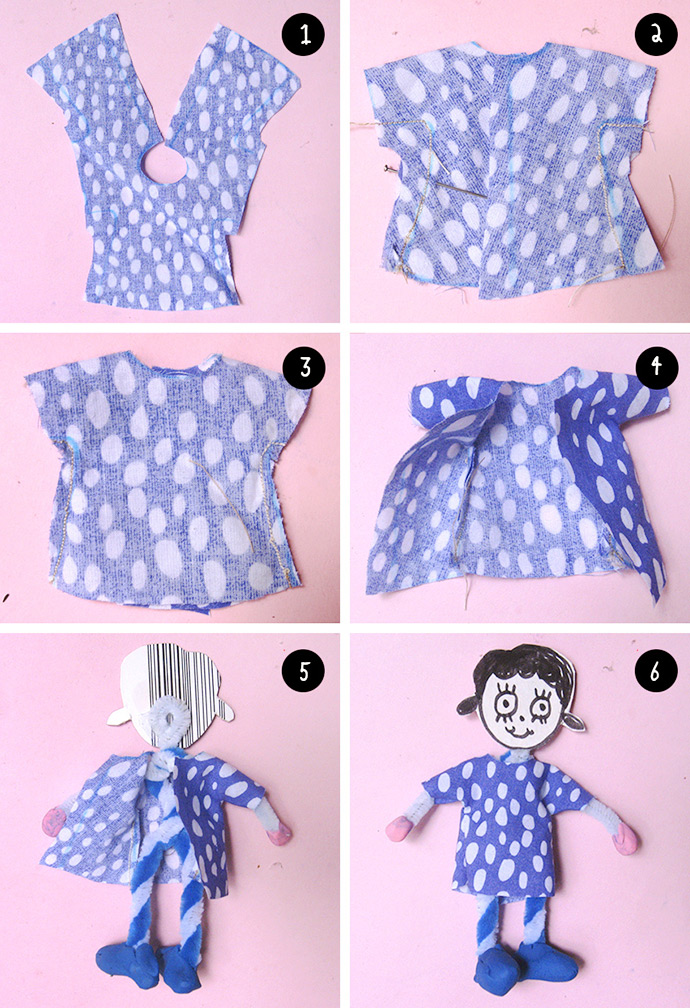
Step 4
Choose another small piece of fabric to use for the dress and repeat the same process as step 3.

And that’s it! Congratulations, your farmers are dressed and ready to work at their amazing off-the-grid dollhouse! Now that the crafting portion of this project is complete, you can play with your dollhouse as much as you like! Thank you for following along with us, we hope you’ve enjoyed learning and crafting together these past few weeks! :)