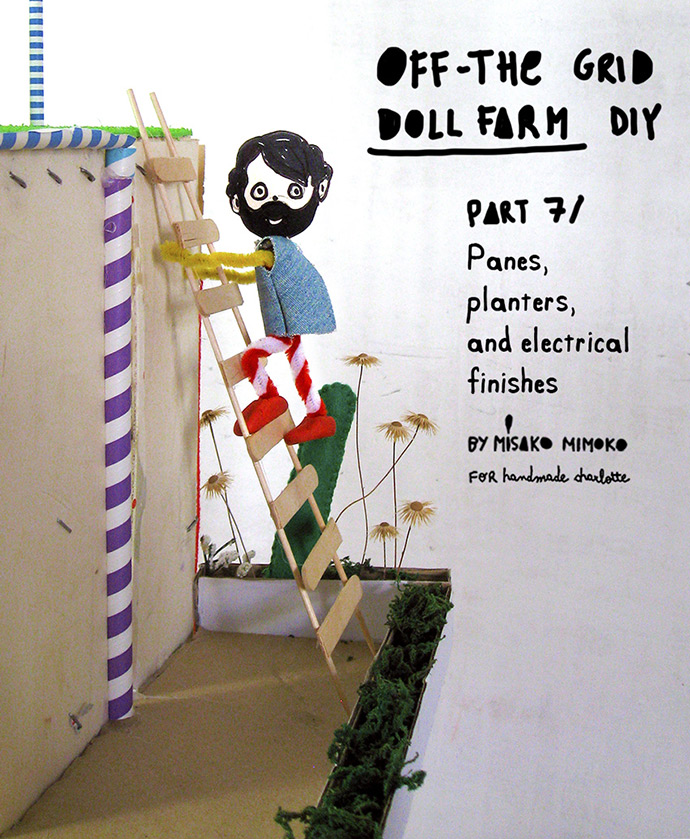
NOTE: This Part 7 of an 11 part series – Eva really went for it with this project! Here are the links to all the parts in the series: Part 1, Part 2, Part 3, Part 4, Part 5, Part 6, Part 7, Part 8, Part 9, Part 10, and Part 11.
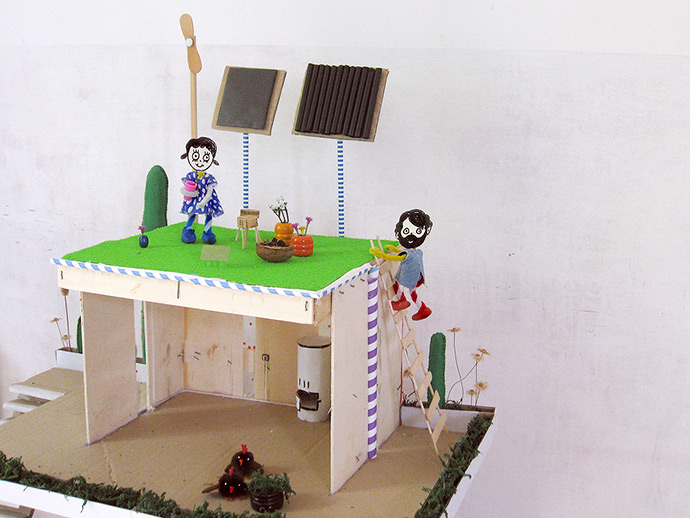
In the seventh chapter of our off-the-grid dollhouse series, we’ll be learning how to make planters out recycled cereal boxes, sew stuffed felt cacti, and add electrical finishes. We’ll be using LED technology for the dollhouse’s lighting and fiber glass (actually cellophane wrap!) for our window panes – this is a great environmentally friendly option and also a very energy-efficient material, which means it will help reduce the heat needed to keep the house warm.
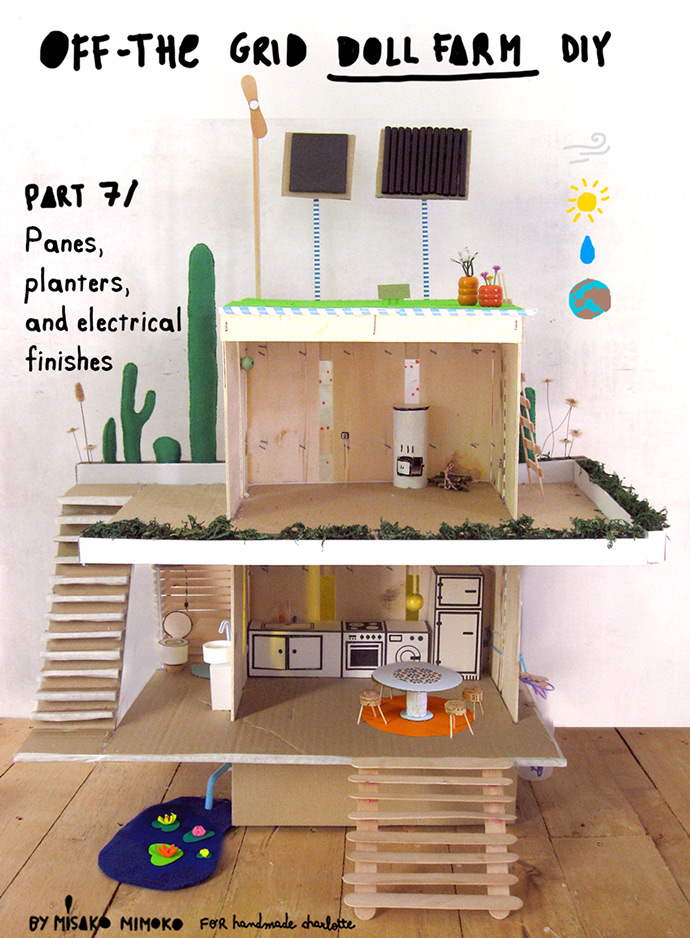
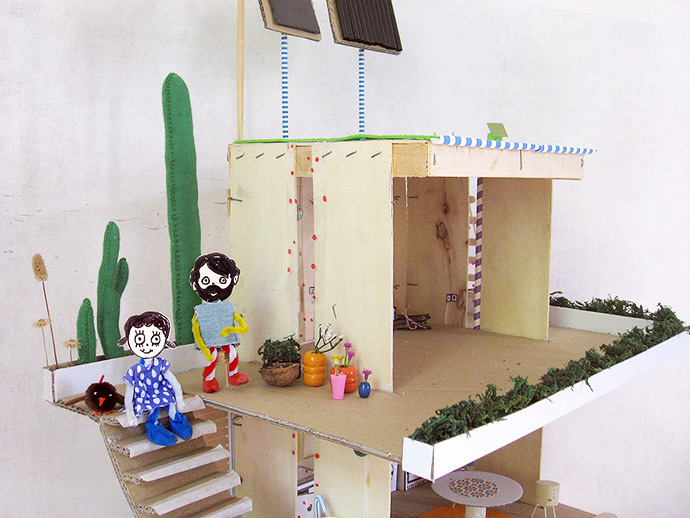
We’re also going to create also a green area on the first floor terrace with large planters and beautiful native plants. Since this dollhouse is located in a very hot and dry area,ow maintenance cacti and succulent plants are good options because they don’t need much water. In this tutorial, there are printable templates for sockets, switches, planters and cactus to make everything nice and simple. Let’s get crafting!
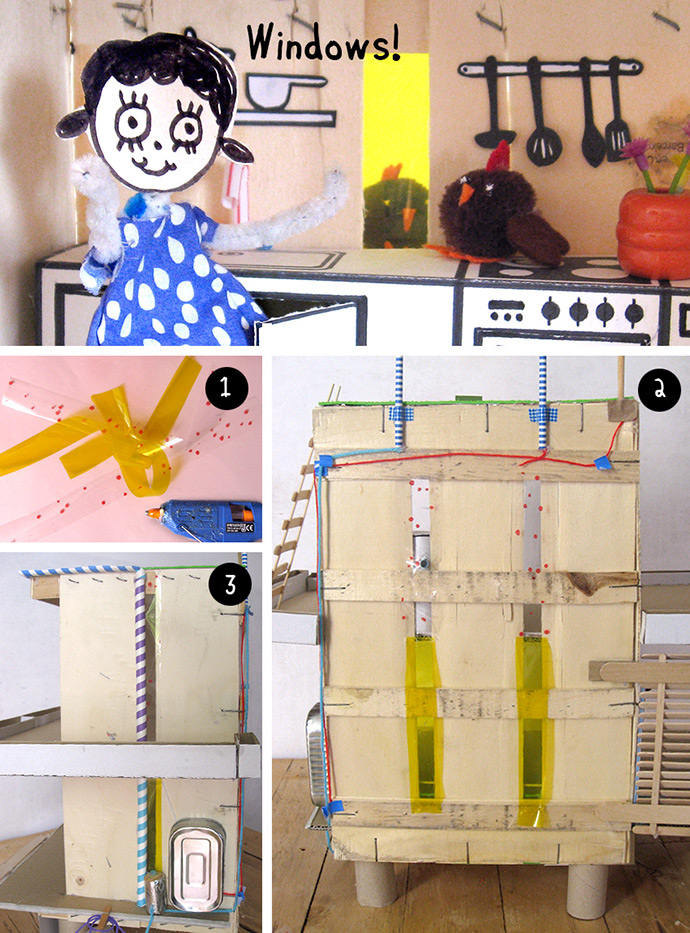
Windows
Make the dollhouse’s lighting fun by adding color on the window panes! In real life they would be made from fiber glass, but cellophane will be perfect for this dollhouse.
what you need:
- Cellophane (clear, colored, or patterned)
- Scissors
- Hot glue gun (or tape)
how-to:
Step 1
Measure the window openings and cut cellophane window panes to cover them, leaving ¼” on each side of the panes for gluing.
Step 2
Combine different colors or patterns on each pane.
Step 3
Make sure to completely seal all the windows for perfect energy conservation. Poke a little hole at the back of the house for the wood stove’s chimney if needed.
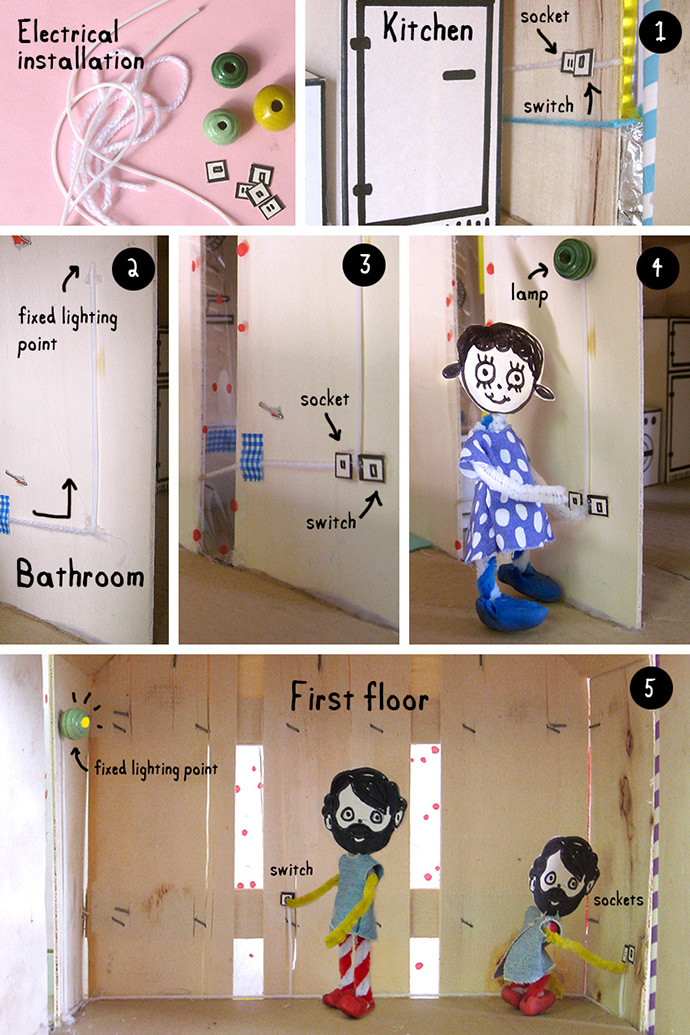
Electrical installation
what you need:
- Sockets and switches templates
- Empty cereal boxes or plain paper
- Big wooden beads
- Yarn
- Plastic cord
how-to:
Step 1
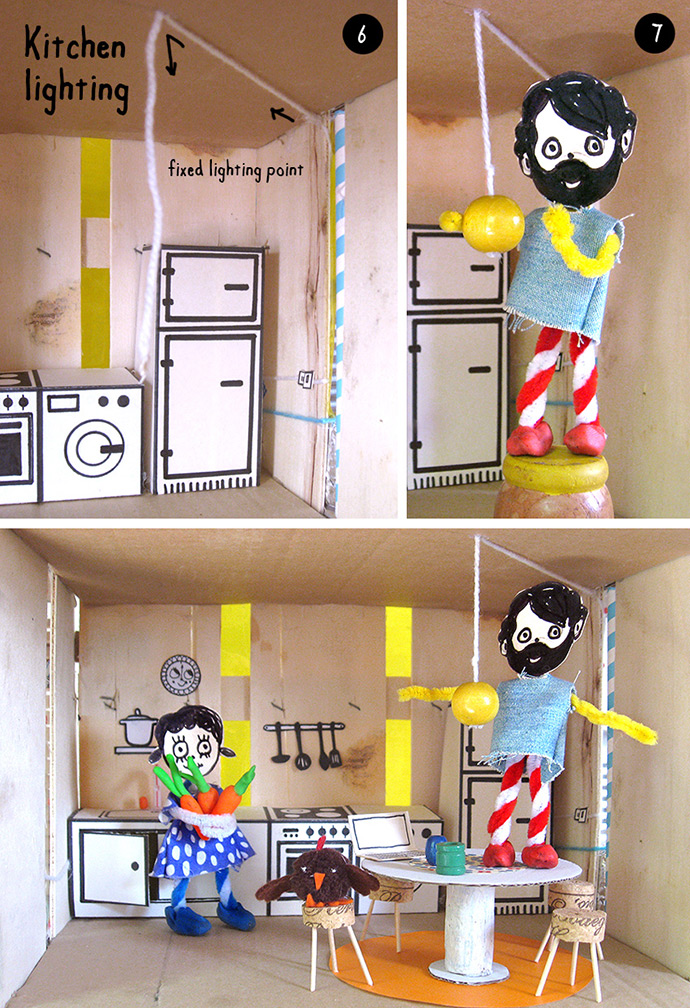
Download, print, and cut out the sockets and switches templates. Follow the white yarn (electrical wiring) that we installed in previous tutorials and choose the best places to add your sockets. Install several sockets near the appliances and table, and also a switch for the kitchen lighting – do this by gluing them to the wall directly onto the white yarn line.
Step 2
For the bathroom, create a fixed lighting point for a wall lamp using a piece of plastic cord that starts at the edge of the yarn wire and continues up the wall to the spot where you want to install the lamp.
Step 3
Add a socket and the wall lamp switch onto the yarn and plastic cord connection.
Step 4
Glue a wooden bead on the wall, right at the end of the plastic cord – this will be your wall lamp.
Step 5
The bedroom will eventually be on the first floor, so keep in mind where you want to place the bed and other furniture when you decide you decide where to put the sockets and lights. Create a fixed lighting point for a wall lamp and then add short pieces of plastic cord coming up from the floor yarn wire to about 1 ¼” up the wall. Glue on the bead lamp, sockets, and switch.
Step 6
Use some white yarn to make the kitchen light’s cord that will connect the installed electrical wiring to the center of the kitchen ceiling. Glue the yarn to the ceiling leaving a 4” tail of yarn hanging down.
Step 7
Thread the wooden bead and tie a knot on the end of the yarn at the desired height to form a pendant light. Glue the bead to the yarn knot and enjoy your newly installed lighting!
Planters
what you need:
- Printable templates
- Cardboard or recycled cereal boxes
- Paint (if desired)
- Scissors
- Glue
how-to:
Step 1
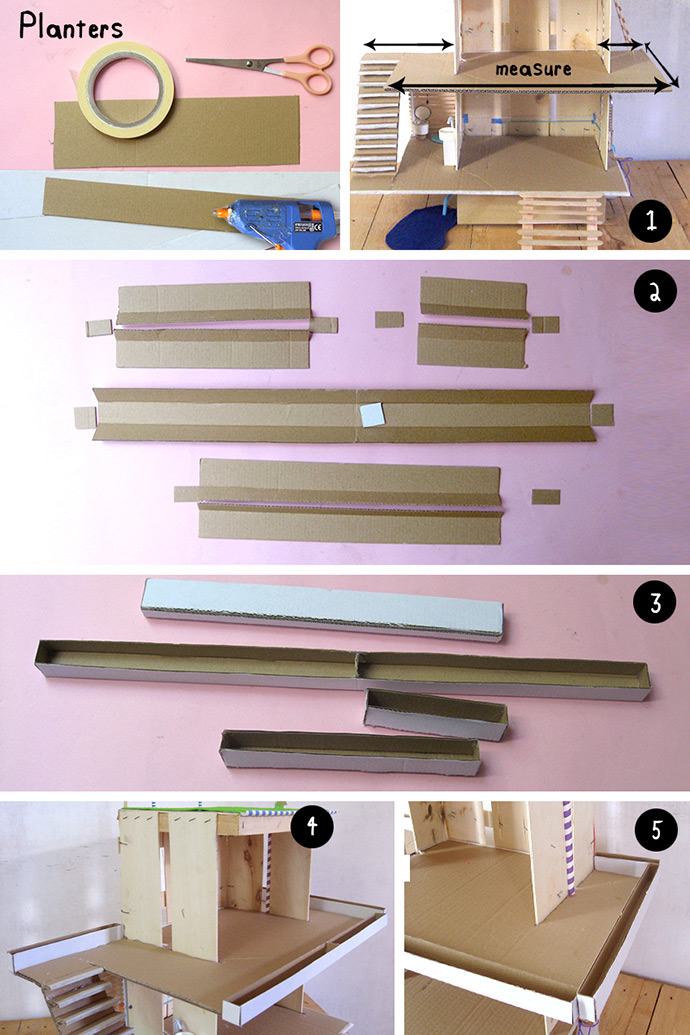
Measure all the sides of the first floor so that we can create planters all around the border (except on the left border by the stairs)
Step 2
Download, print, and cut out the planter template and then adapt and modify the length of the template for each one of your planters as needed. Cut out your planter shapes from cardboard. (I used a cardboard with a white side, so I didn’t need any paint, but feel free to paint them in any color you like.)
Step 3
Fold, assemble and, glue the planters together. Add a small piece of cardboard inside the long planters to make them sturdier, if needed.
Step 4
Add the planters to the first floor by gluing them along the edge of the front and left sides.
Step 5
Glue the planters along the edge of the right sides too.
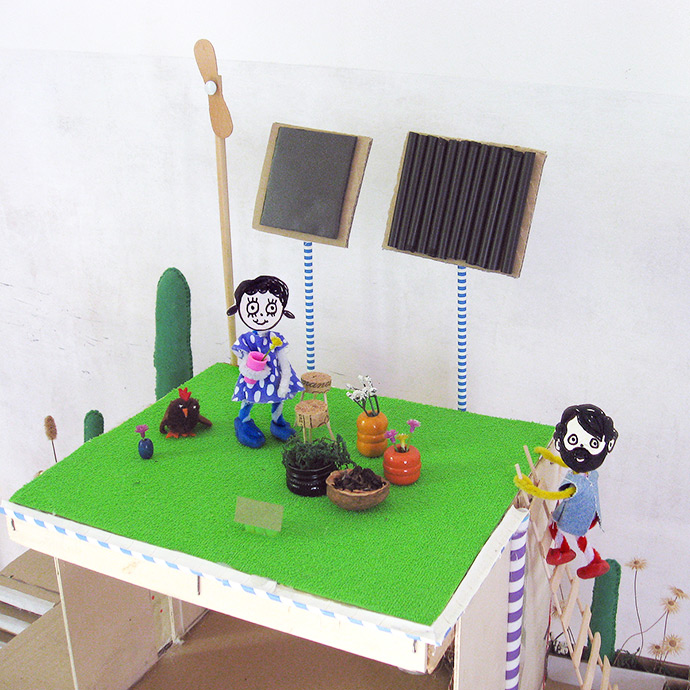
Cactus
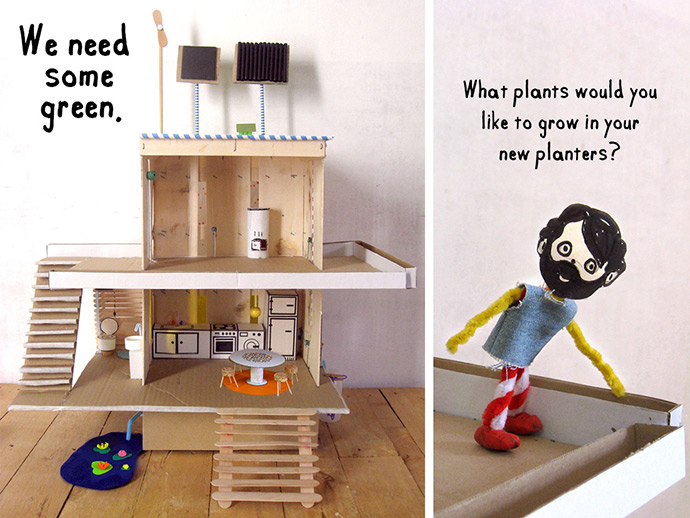
Now we need to fill these new planters with lovely native plants to create a living green balcony. Let’s make some cacti!
what you need:
- Printable template
- Felt
- Needle
- Thread (I used a thick perle cotton thread)
- Stuffing
- Scissors
how-to:
Step 1
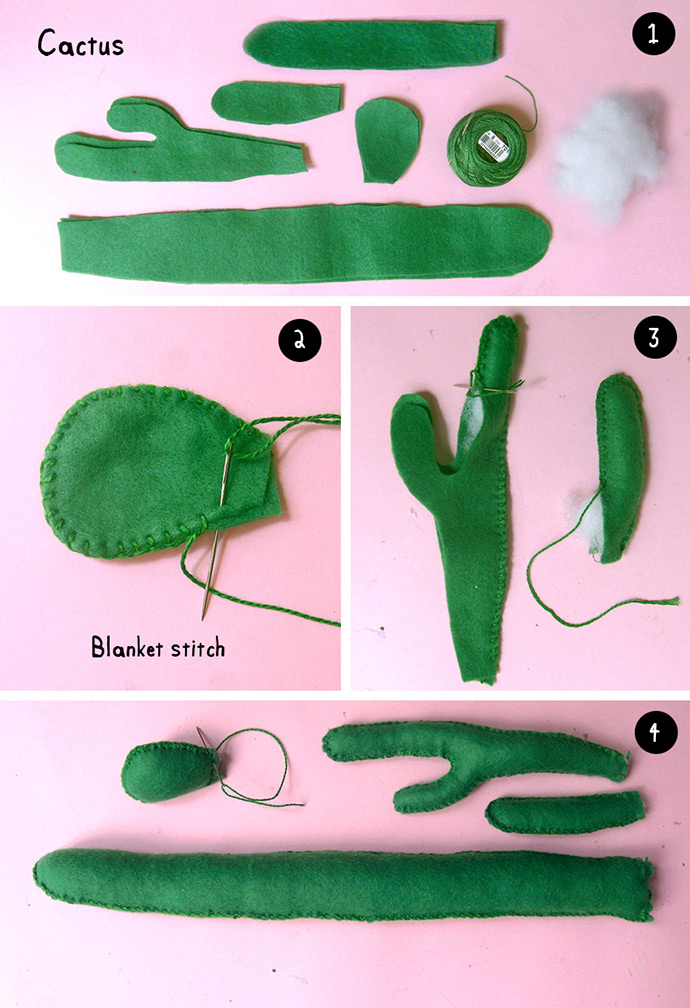
Download, print, and cut out the templates. Transfer the cactus shapes onto green felt and cut two shapes for each cactus.
Step 2
ew the edges of the felt pieces together using a blanket or straight stitch around the entire cactus shape, except the bottom.
Step 3
Add stuffing into the cactus – you can do this as you’re sewing too, if you like. Once you’ve finished sewing and stuffing, stitch the bottoms closed.
Ground cover plants & Flowers
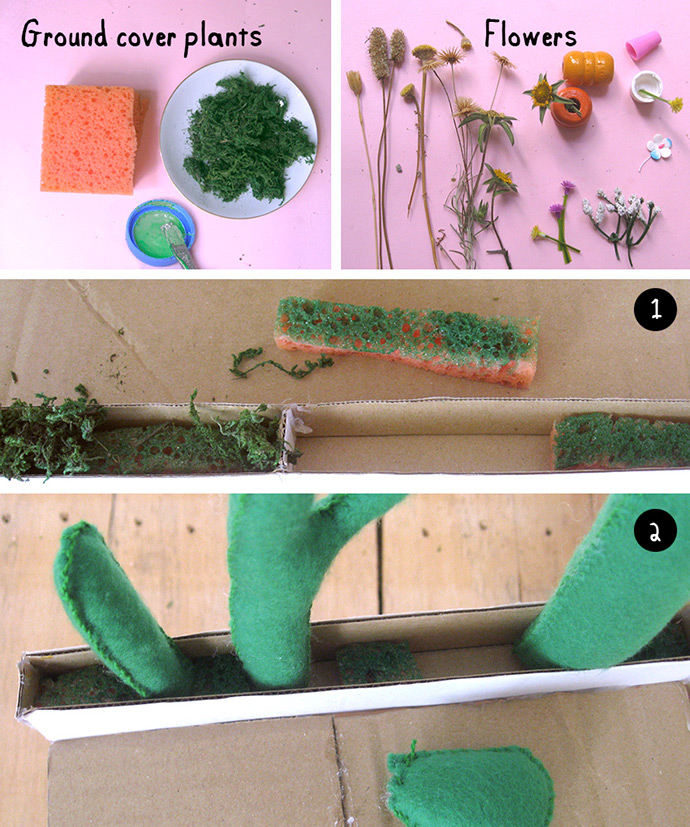
what you need:
- Green sponge (or sponge painted green)
- Artificial moss,
- Scissors
- Glue
- Dry and/or plastic flowers
- Plastic bottle caps
- Large wooden beads
how-to:
Step 1
Cut a sponge into small pieces to fit into the planters. Paint your sponge green if needed.
Step 2
Glue your cacti inside the planters and fill the gaps between cactus plants with small pieces of sponge.
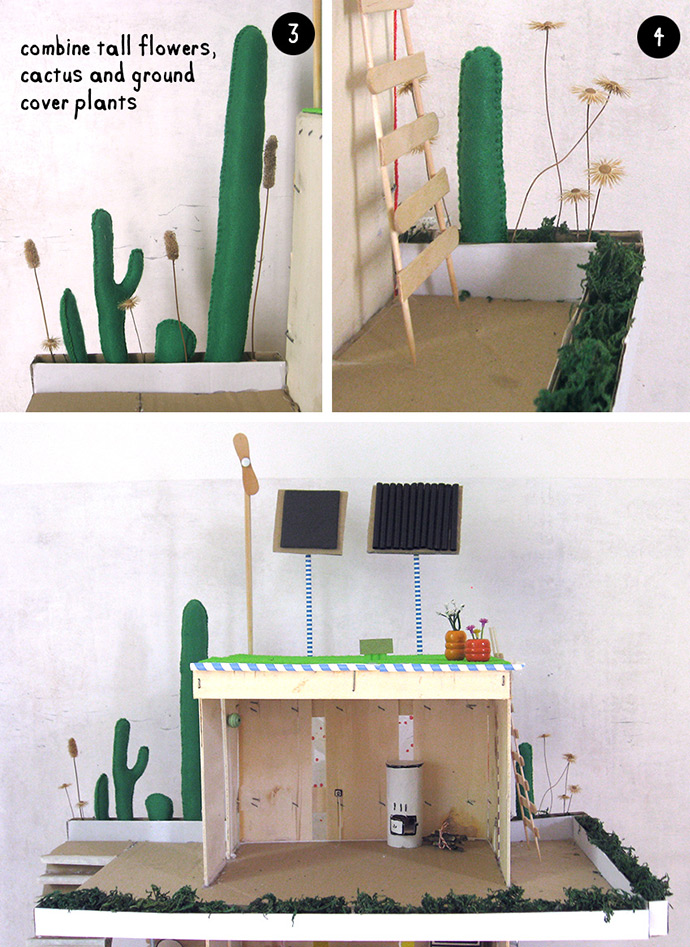
Step 3
Combine the cacti with plastic or dry flowers. Once you like the arrangement, glue the flowers in place to secure them into the planters as well.
Step 4
Add artificial moss and cover all planters. I used moss, cacti, and tall flowers for the back planters and for the front and right-side planters I used only moss.
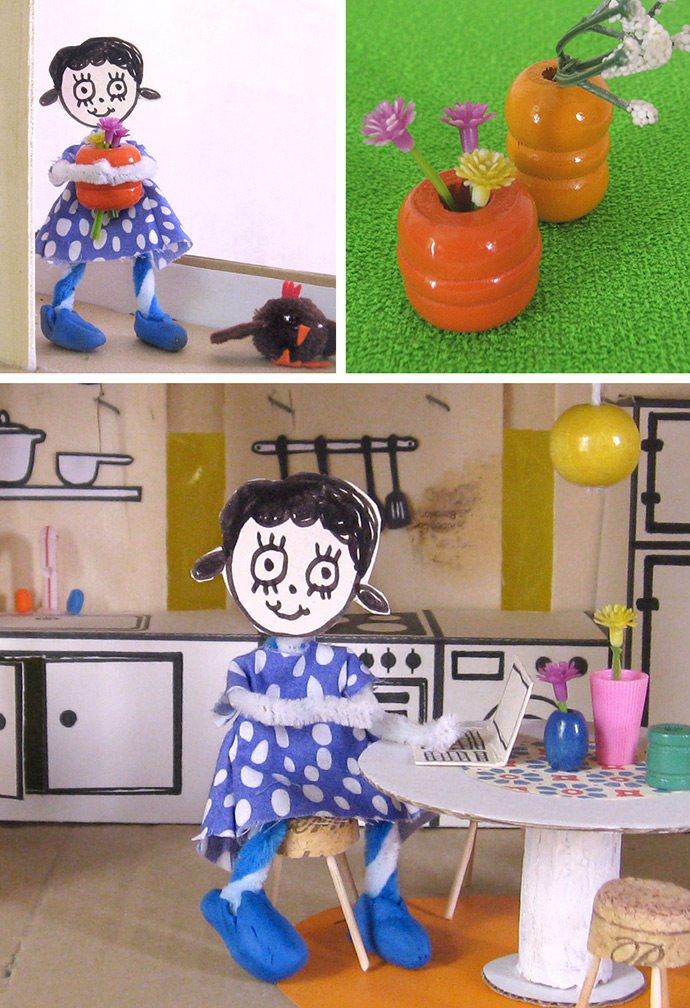
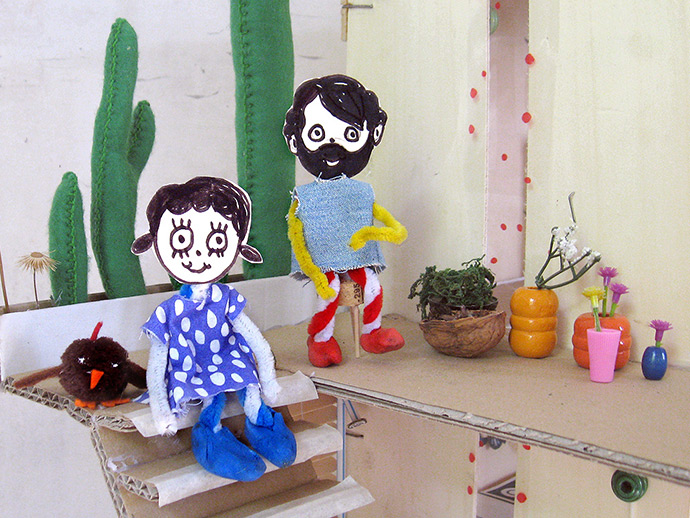
Vases & flower pots
Use large wooden beads and tiny plastic bottle caps as pots or vases for your plastic flowers. Decorate the farm with flowers! Add some color to the dollhouse by placing pots and flowers vases all around.
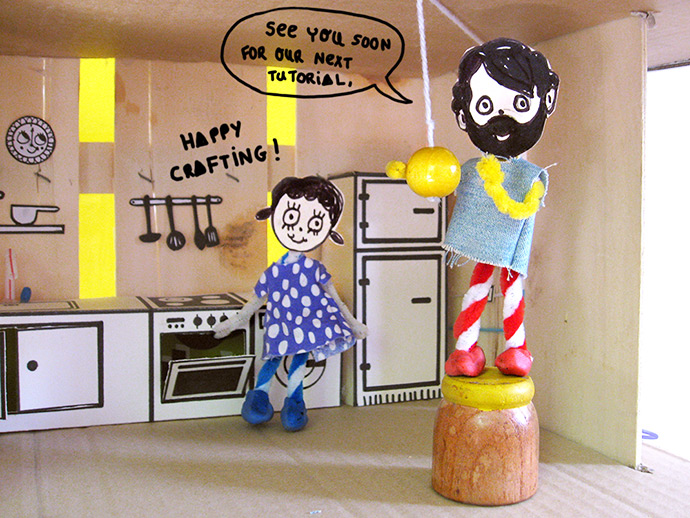
In the next chapter we’ll learn how to make a cozy bedroom in a cute nordic style. Until then, happy crafting!