
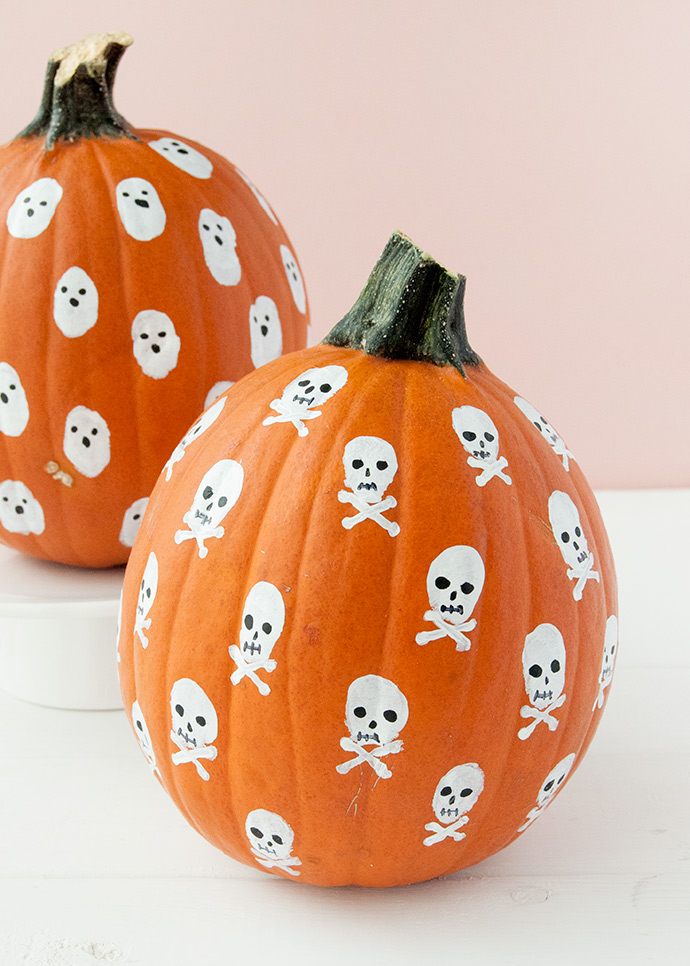
Now that October is upon us, you know what that means – pumpkin decorating time! We’ve long loved a good painted pumpkin project (say that five times fast!) and today’s post is no exception. You may remember a few years ago we shared these fingerprint art pumpkins – they were such a hit that we decided to feature even more fingerprints this year!
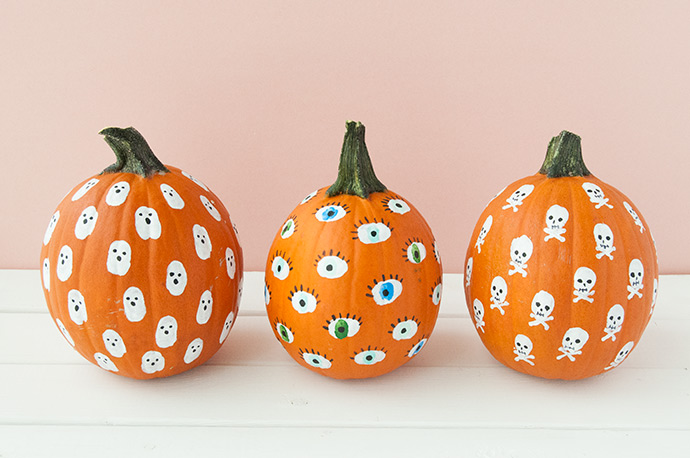
This time, we’ve gone for some slightly spookier shapes: ghosts, eyeballs, and skulls. We love how quickly and easily these designs come together and this makes them the perfect project for kids of all ages. Younger kids may need a little help with some of the finer details so have an older sibling help with that bit. You also may have noticed that all three designs have something in common – they all start with plain orange pumpkins and white fingerprints! So grab your mini pumpkins and your Folk Art Multi-Surface Acrylic Paint and let’s get started!
what you need:

- Pumpkin
- Folk Art Multi-Surface Satin Acrylic Paint
- Paintbrushes
- Paper plate
- Black permanent marker (optional)
what you need:
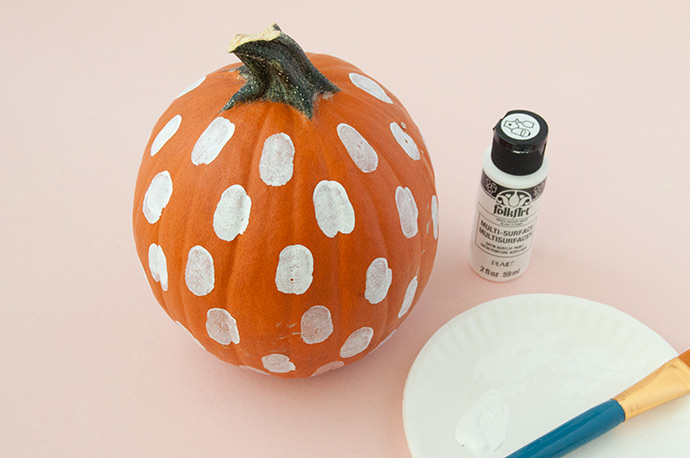
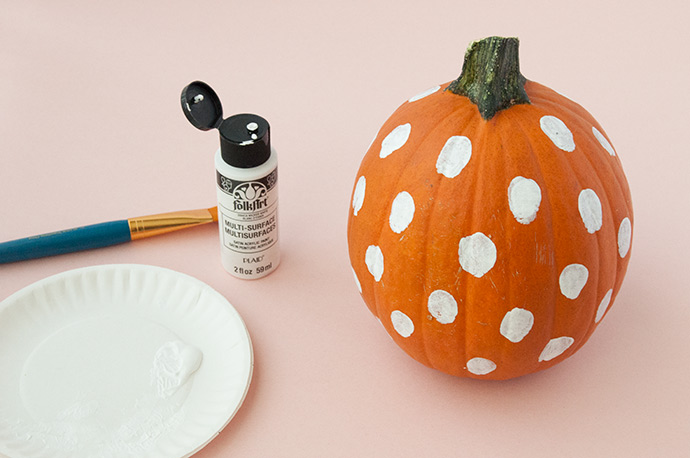
Ghost Step 1
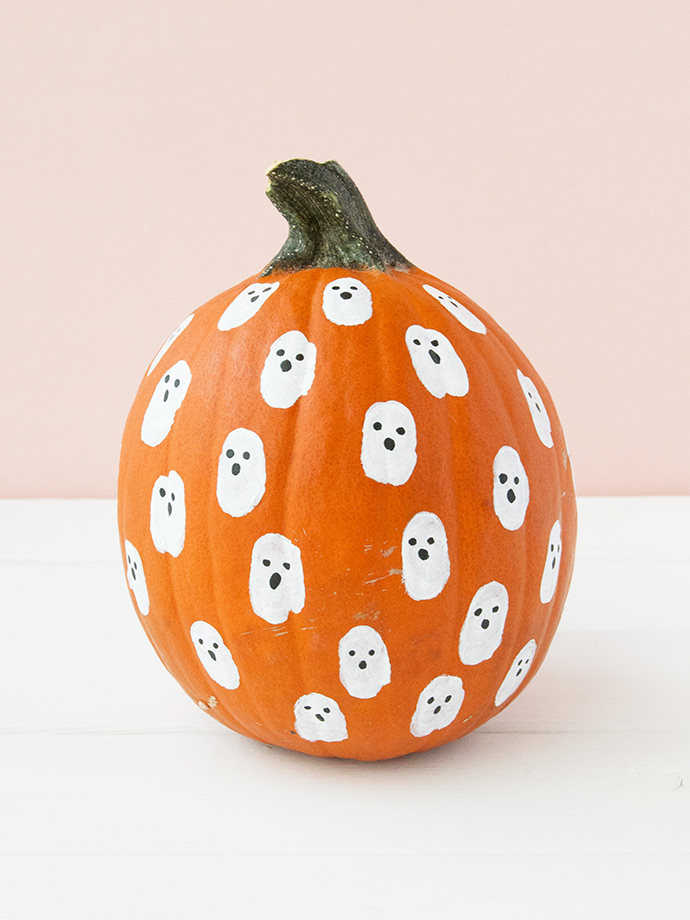
Begin by squeezing some white paint onto your paper plate. Use a brush to apply some paint onto your thumb and do a couple of test stamps on a scrap paper, or directly on the paper plate. Once you’ve got the hang of how much paint you need on your thumb to make a nice print, stamp thumbprints all over the pumpkin. For these ghosts, it’s good to make them a little longer to help encourage the look of a spooky ghost! Let dry
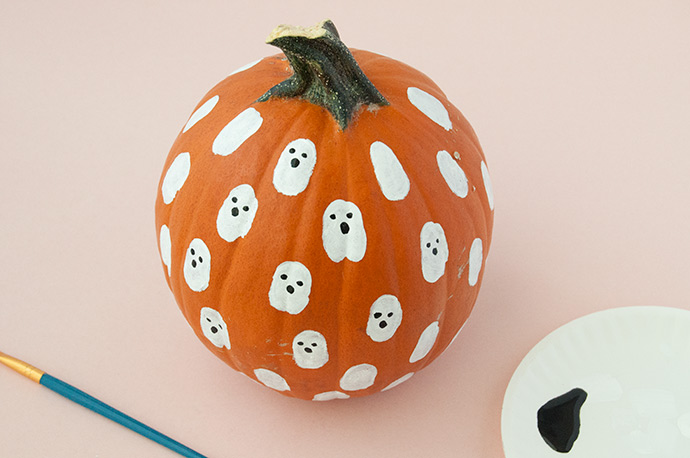
Ghost Step 2
Use a fine-tip paintbrush to paint on the ghost’s face details. Let dry.
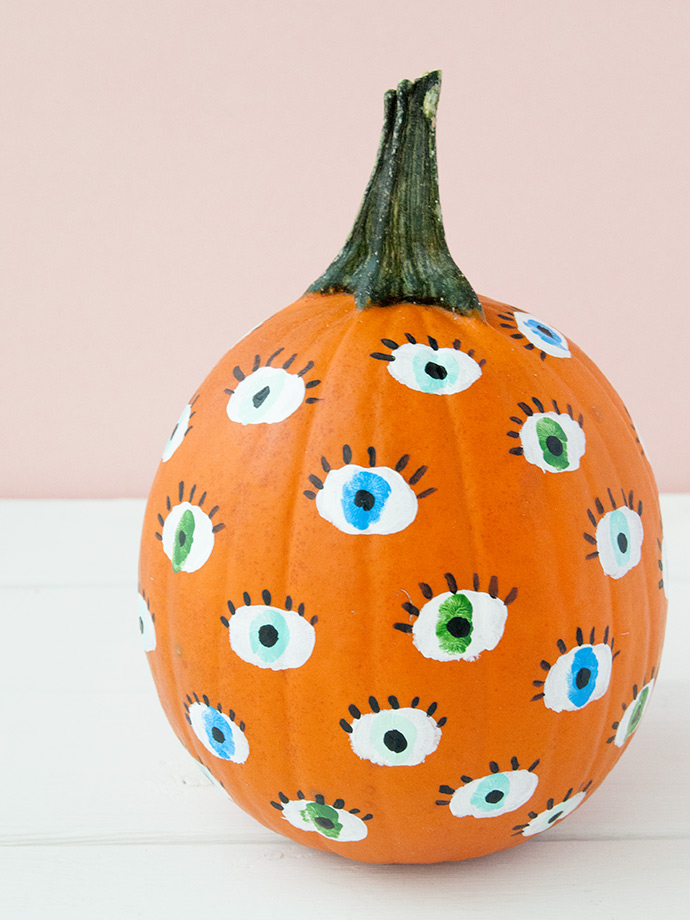
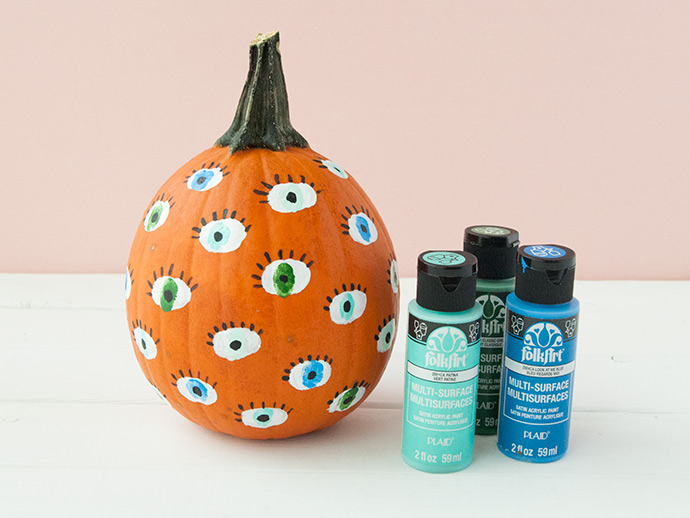
Eyeball Step 1
In the same way that you applied paint onto your thumb for the ghost, repeat this for the eyeballs but this time, stamp them horizontally as shown. Let dry.
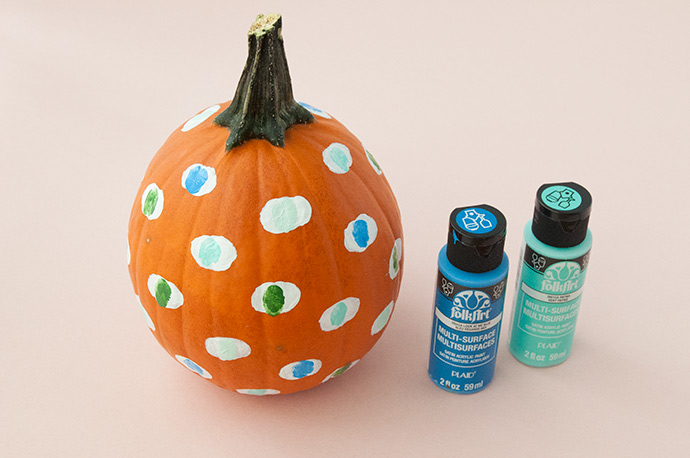
Eyeball Step 2
To make the colored iris, apply paint onto your finger and stamp it vertically onto the dried thumbprints. Use a few colors here for a fun mix and let dry.
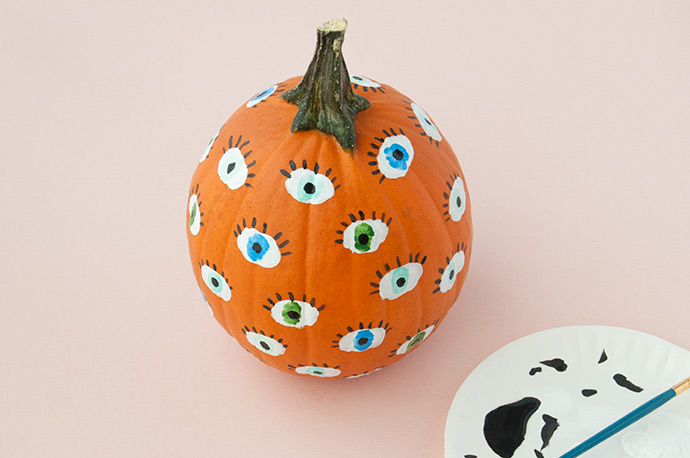
Eyeball Step 3
Finally, use a fine-tip paintbrush to apply the small black pupils and a row of eyelashes along the top of each eyeball. Let dry.
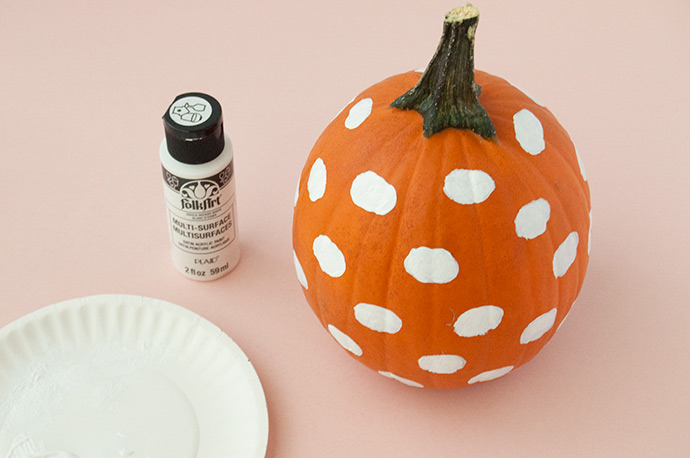
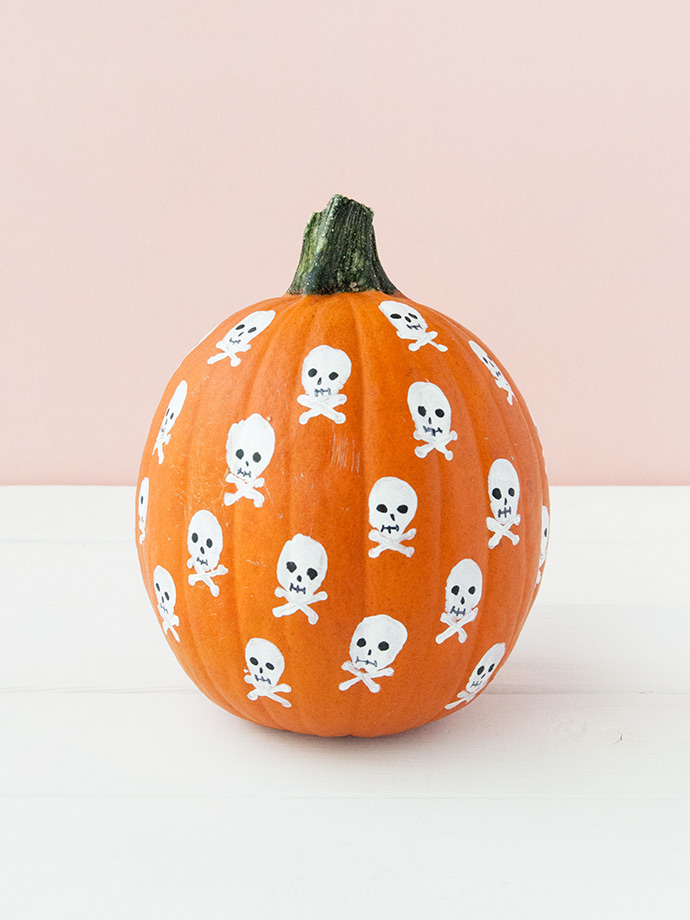
Skull Step 1
Just like the two previous pumpkins, apply white paint onto your thumb and stamp them vertically onto the pumpkin. This time, unlike the ghost, the stamps don’t need to be long – aim for rounder stamps if possible.
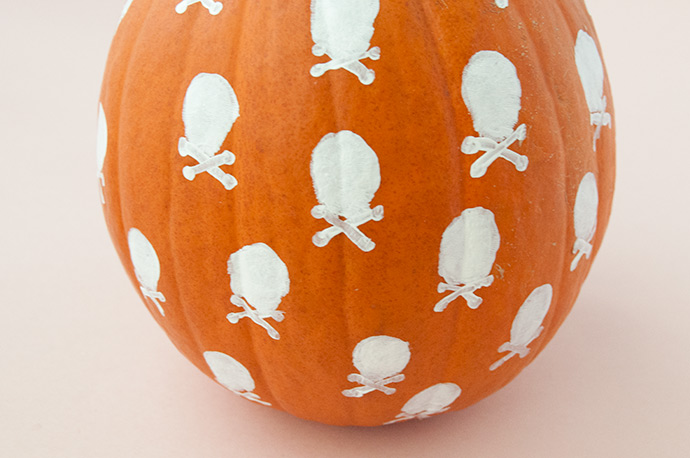
Skull Step 2
With a fine-tip brush, paint an X below the skull to look like two bones crossing.
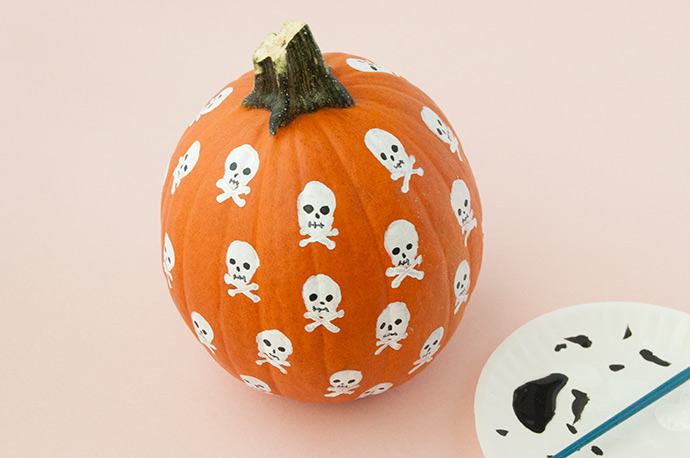
Skull Step 3
And finally, paint black eyes, a nose, and mouth onto the skull.
Note: little kids may want to use a black marker to draw the mouth on instead, since it’s such a small detail.

Happy Halloween!