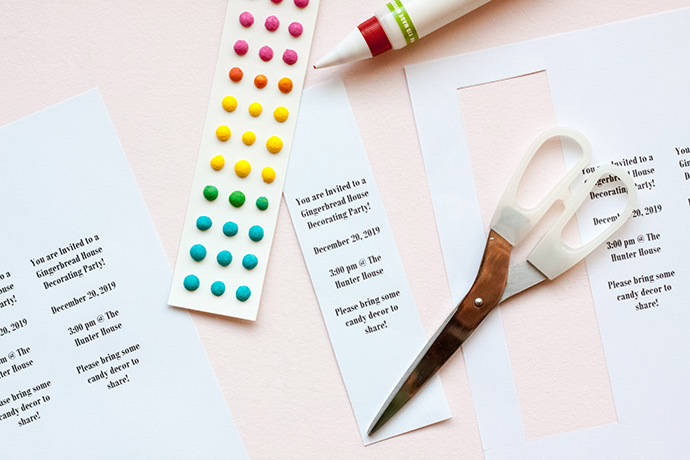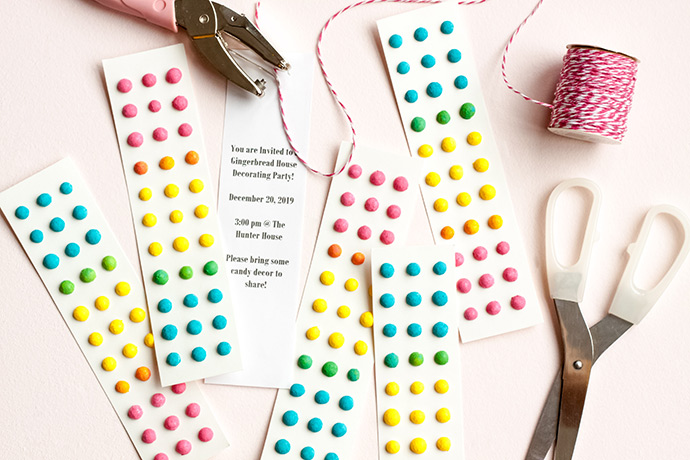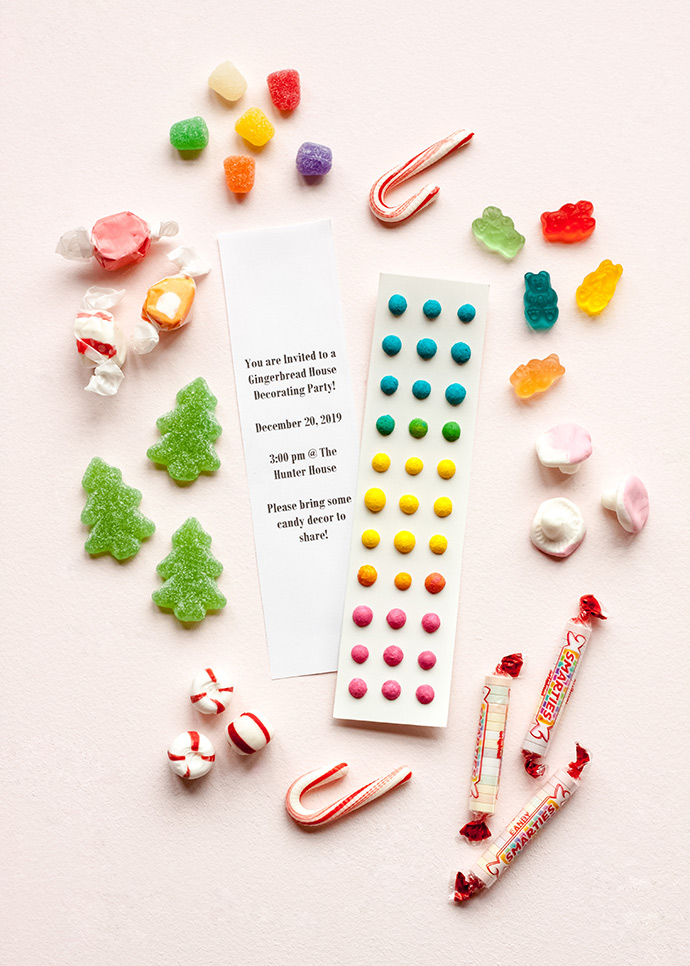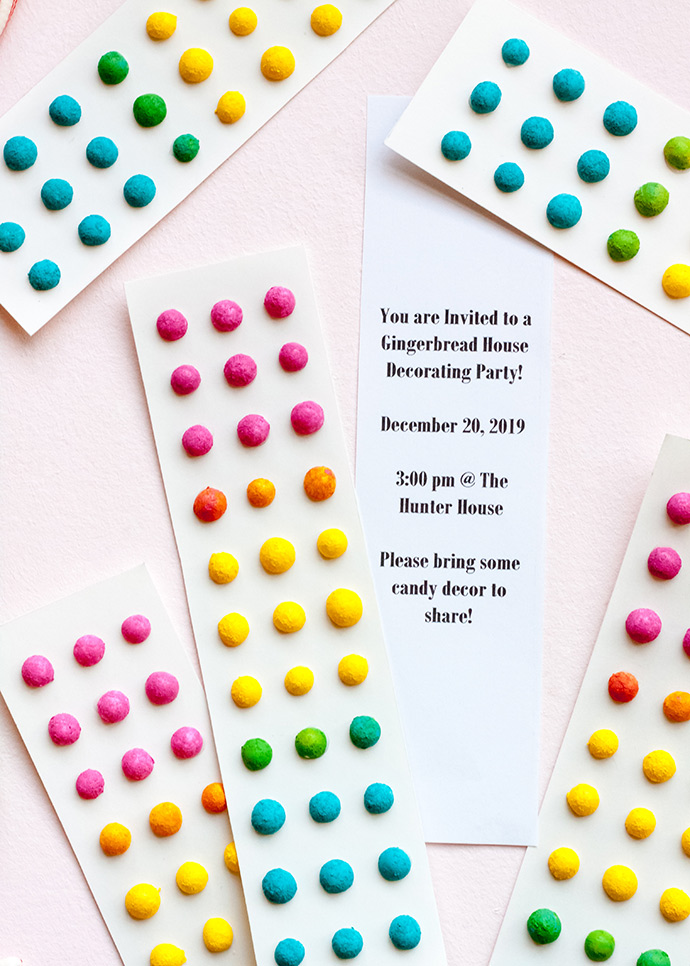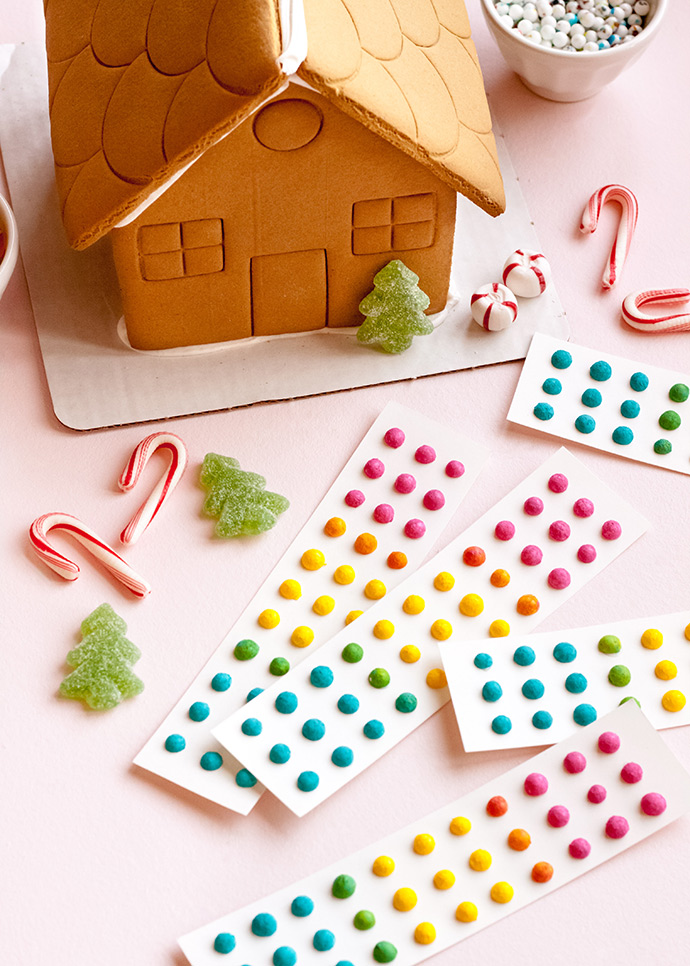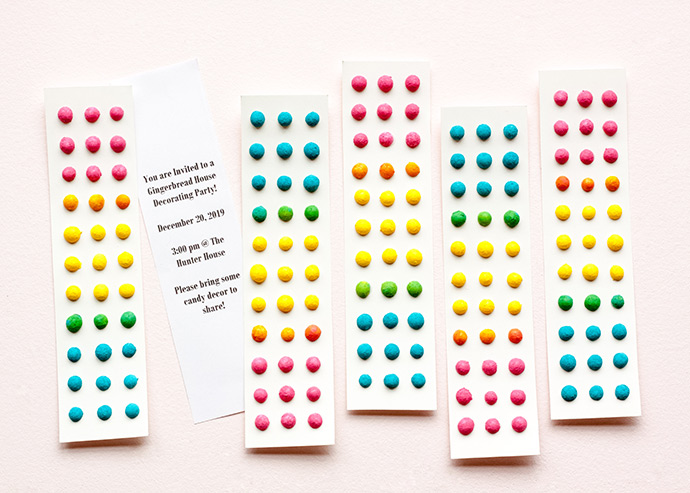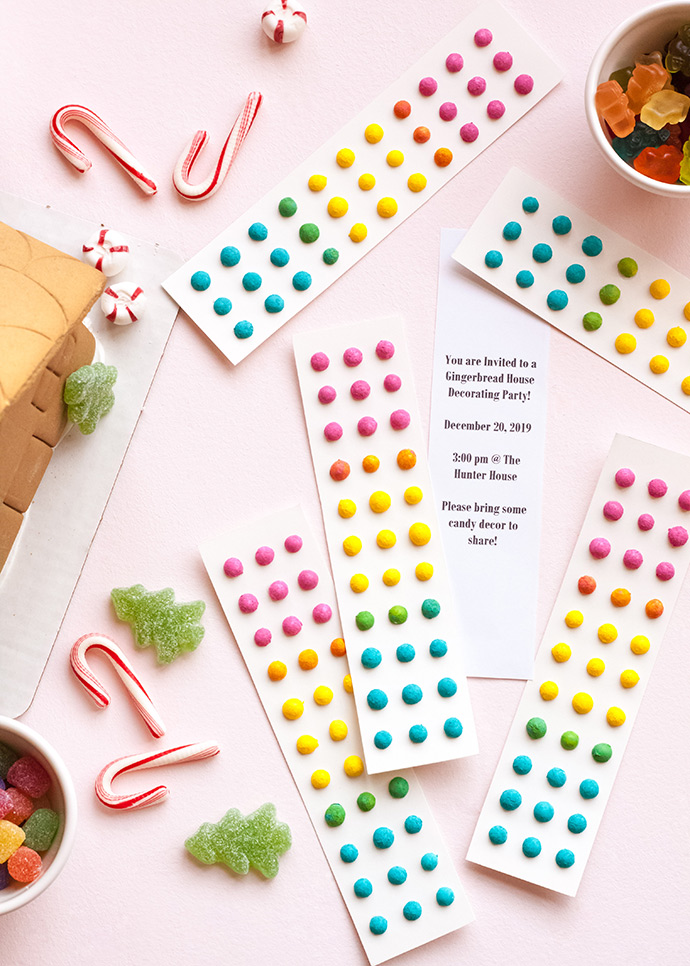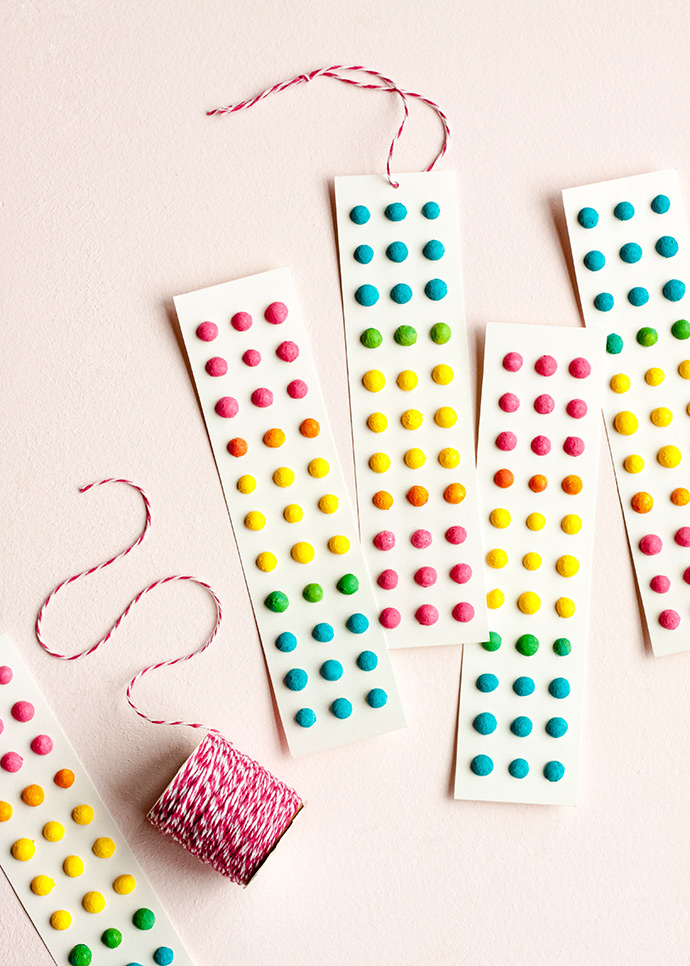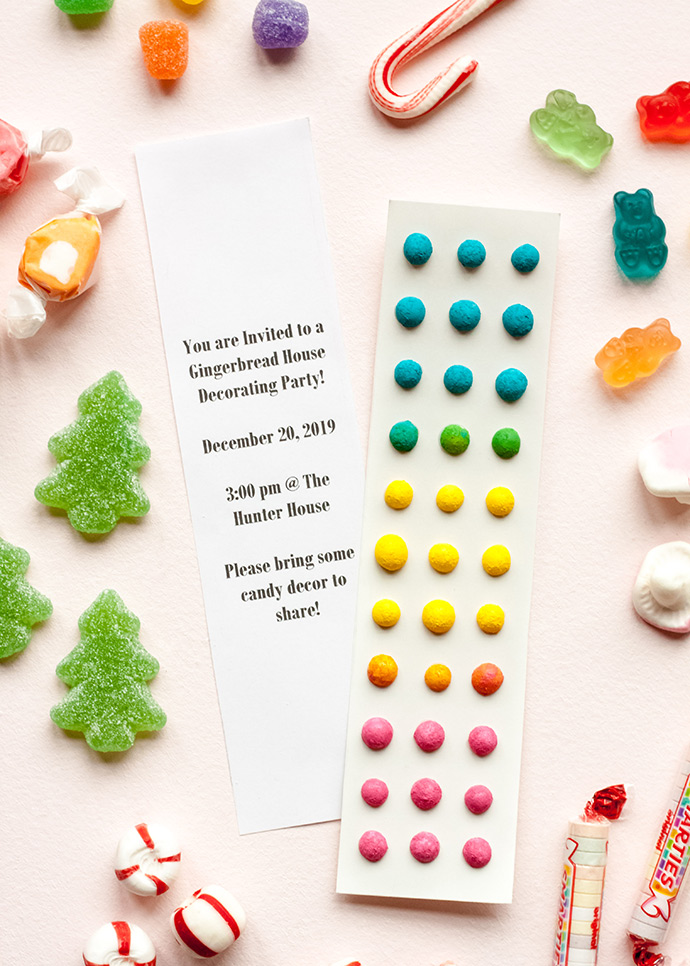
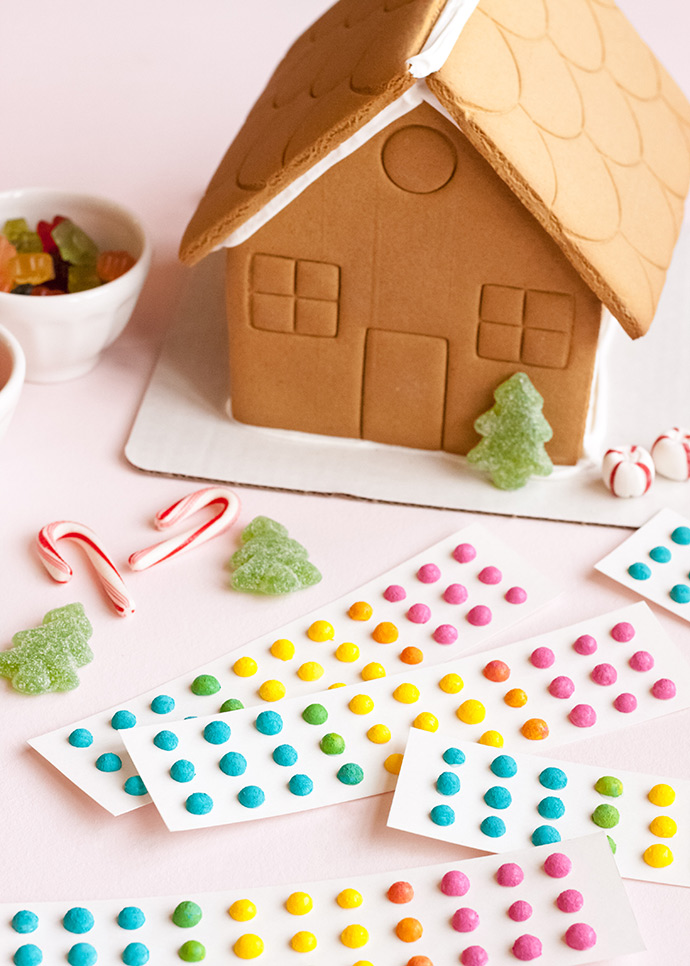
Decorating gingerbread houses is the best, but inviting a group of friends over to decorate them together is even better! I was trying to think of a fun way to present the details to friends, and I thought some faux candy button invitations would be perfect! The invitation would look adorable on the fridge, but could also double as an ornament after the party. Just punch a hole in the top, add some baker’s twine, and you have a vintage candy ornament! My tree is full of faux sweets, so this would be the perfect addition. You could also use these for a Candy Land party, or anything sweets-themed, really.
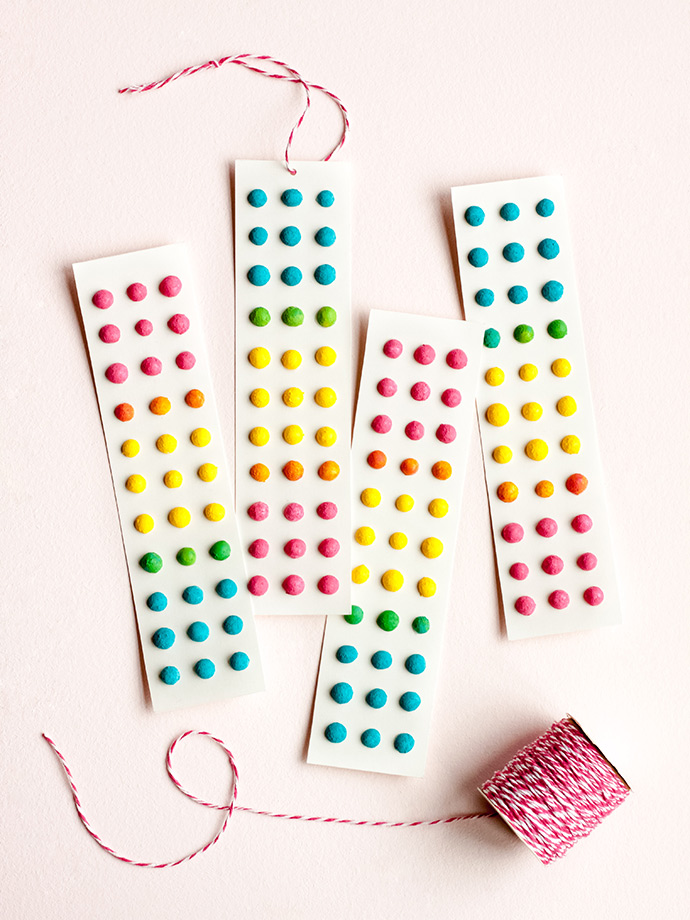
My husband and Dad both asked why I couldn’t just use REAL candy buttons for the invitations. I’ll tell you why, gentlemen! First of all, that’s just not as fun! Seriously, this was one of my favorite things to make. Secondly, I made them on poster board, which is much sturdier than the flimsy paper that holds the actual candy. Third, you wouldn’t want marker or glue to seep through the paper and taint the candy! Lastly, the faux candy should last longer, and work as an ornament as well.
If you’re looking for some more fun DIY invitation ideas, check out these Easter Baking Party Invitations that could easily be used for a Christmas Cookie Exchange. You could also make these toadstool invitations – and all red would be very Christmas-y! Mini letter board invites can be used any time of the year.
Now let’s make some faux candy – shall we? Just make sure your friends know that these are not edible!
what you need:
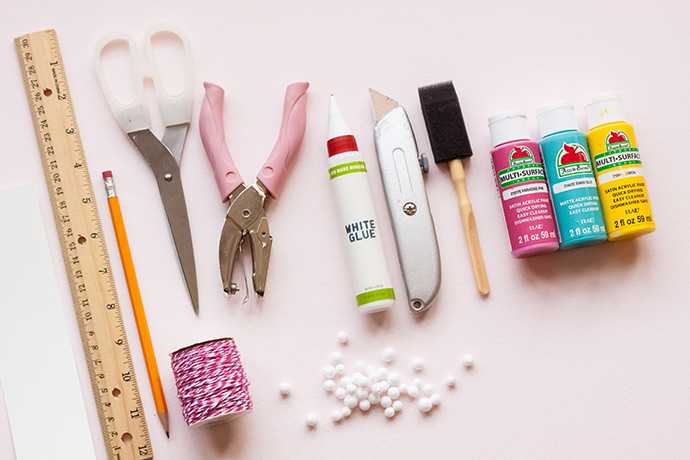
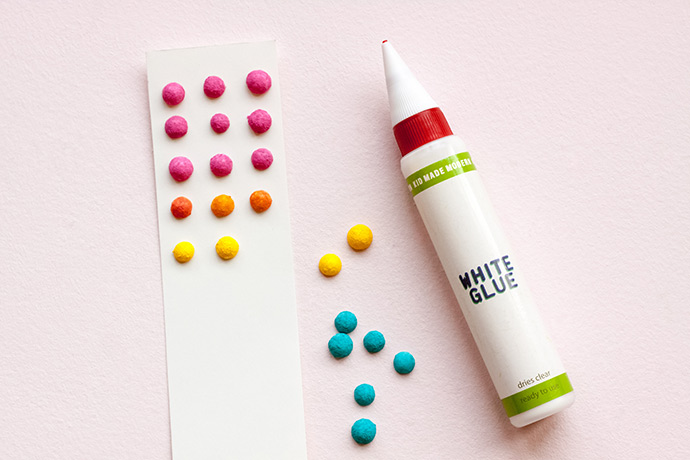
- Poster board (2” x 8”)
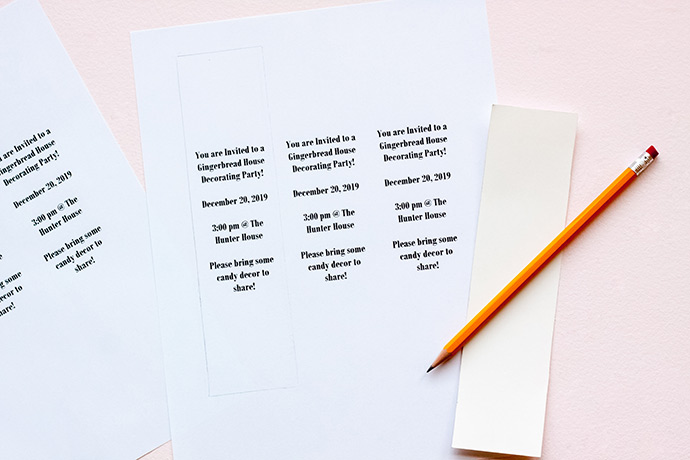
- Ruler
- Pencil
- Scissors
- Baker’s twine
- Small hole punch
- Glue
- Box cutter
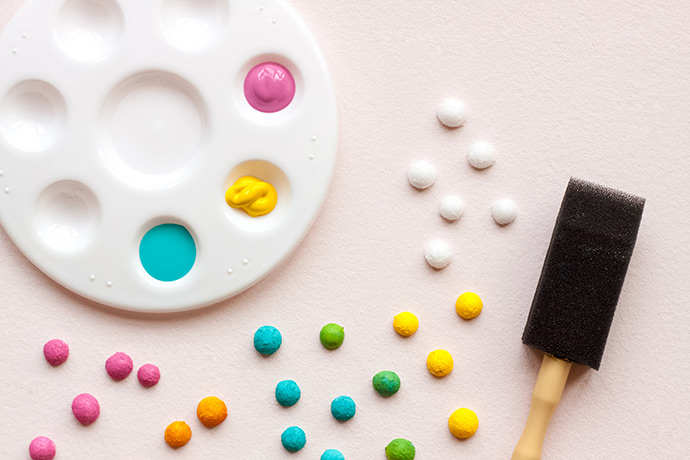
- Sponge brush
- Acrylic paint (pink, blue, yellow)
- “Snowlike Pebbles” (mini Styrofoam balls)
how-to:

Step 1
Use your box cutter to cut your tiny Styrofoam balls in half.