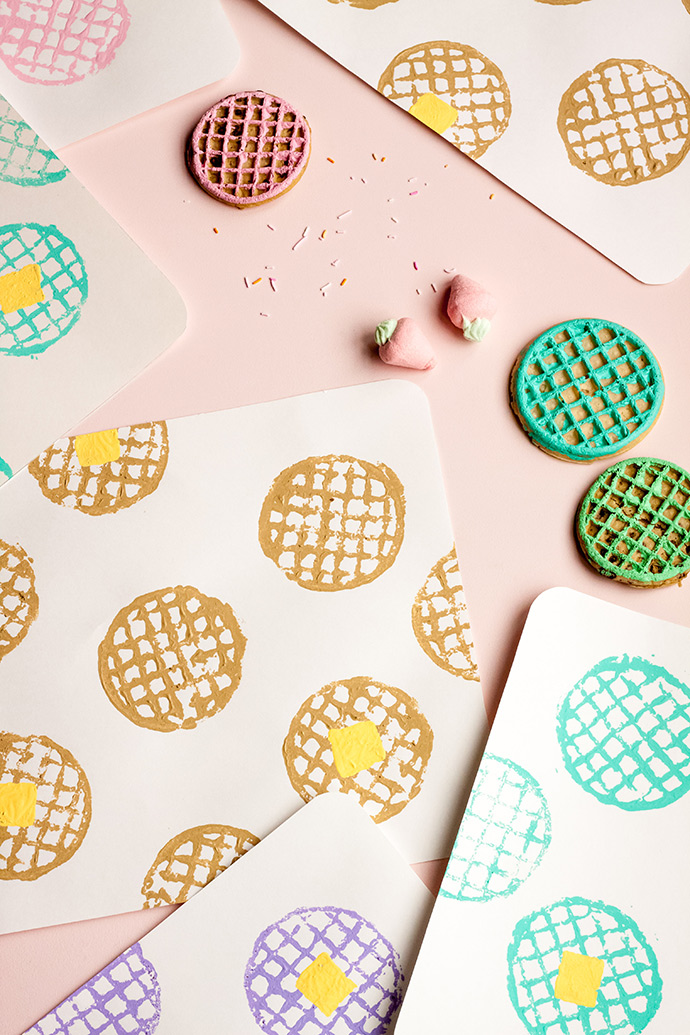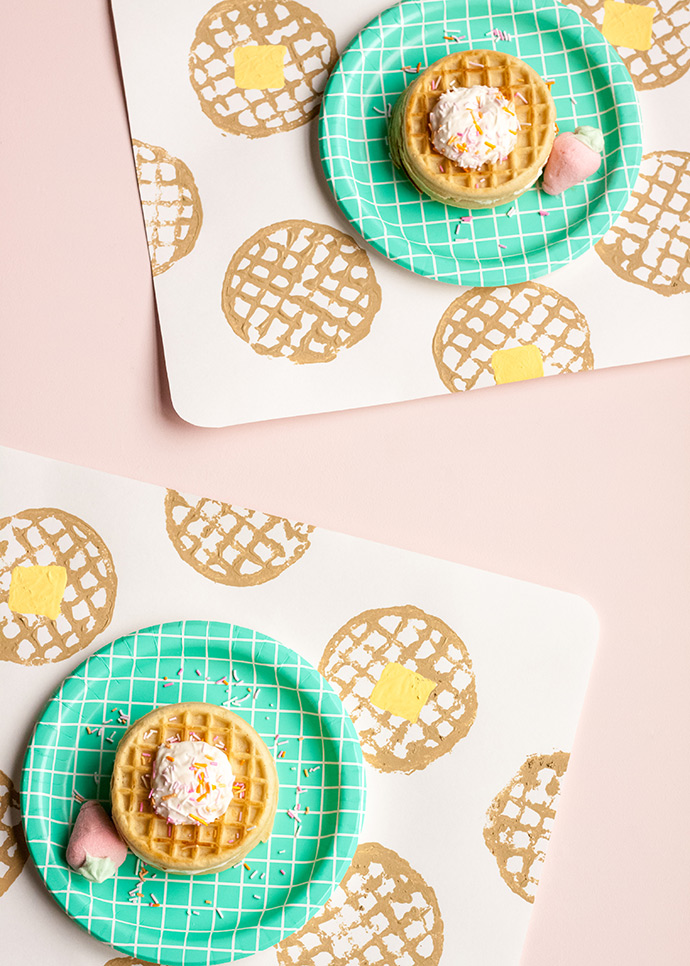
There is nothing better than breakfast food! In our home, we often do breakfast-for-dinner which the kids love – and frankly, it’s almost like a break from cooking since the menu is simple and easy to prepare. A few years ago, my parents gave us the ol’ waffle maker, and it has been a game-changer! There are also a bunch of mini makers that come in fun shapes for the different holidays. I started thinking that it would be fun to turn brunch (or dinner) into a little celebration, and make “waffles” the theme. Set one aside some time (or thaw a frozen one), and it makes the perfect stamp to create all kinds of décor, or even invitations! You could make these placemats, or a table runner, backdrop, garland, place cards (using mini waffles), wrapping paper, favor bags, etc. It’s so easy – the kids can do it! Go all out!

If you are looking for some more fun brunch ideas to try, this waffle cake with maple buttercream is amazing! You could also use waffles to make ice cream sandwiches, or cut some fun shapes into them like these Valentine’s Day waffles. Don’t forget the maple pancake milkshake! Your brunch is going to be absolutely fabulous!

what you need:
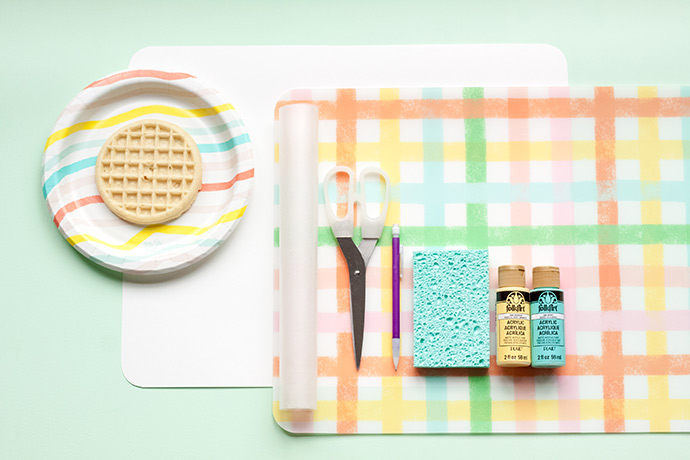
- Waffles
- Acrylic paint (colors of your choice, and yellow for the butter!)
- Paper plates (the kind with a wax coating work best)
- Wax paper
- Posterboard
- Pencil
- Scissors
- Placemat or ruler
- Sponge
how-to:
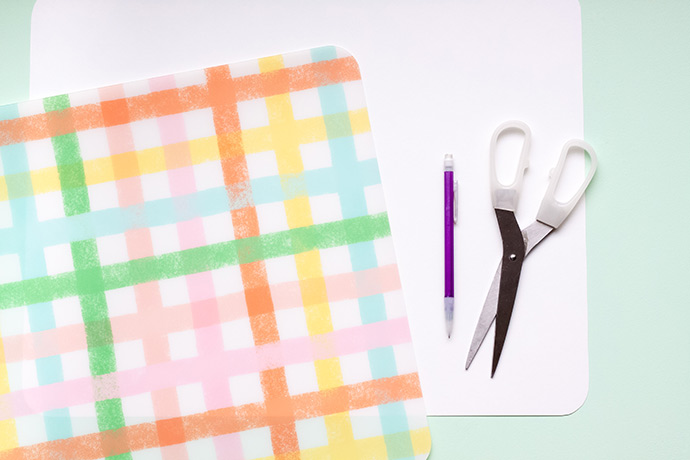
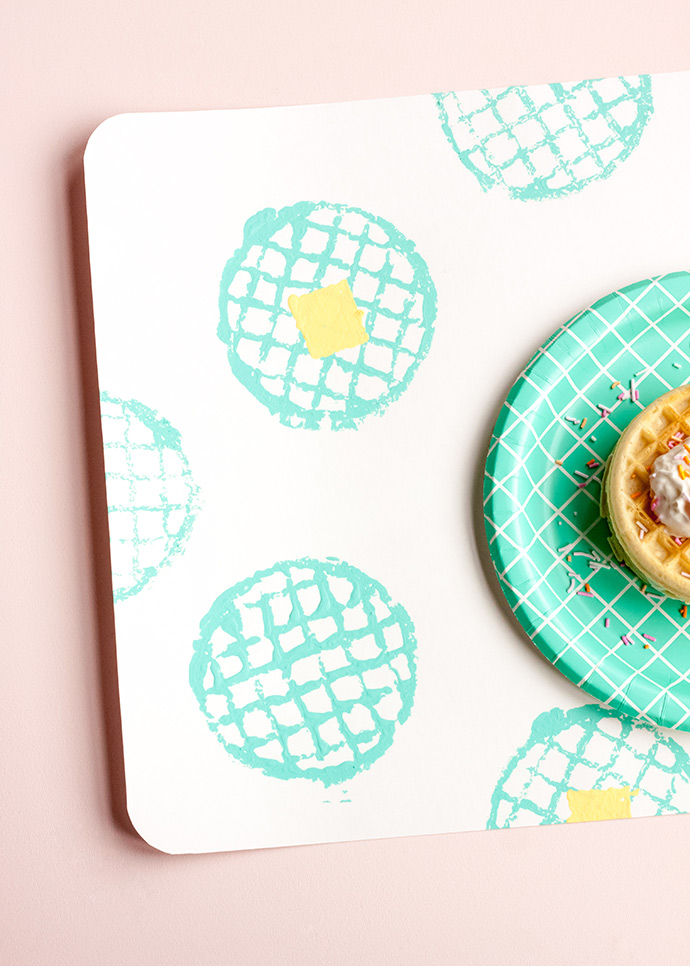
Trace a placemat with rounded corners onto a piece of poster board. Our placemat was the perfect size for two per board. If you do not have a placemat, create an 18” x 14” rectangle using a ruler. Use scissors to cut it out.
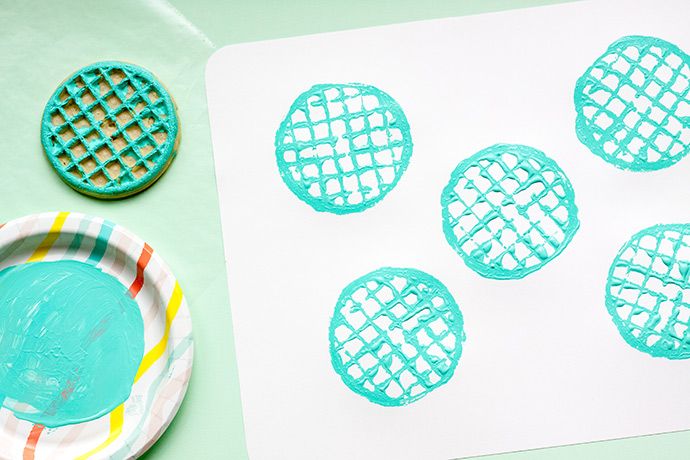
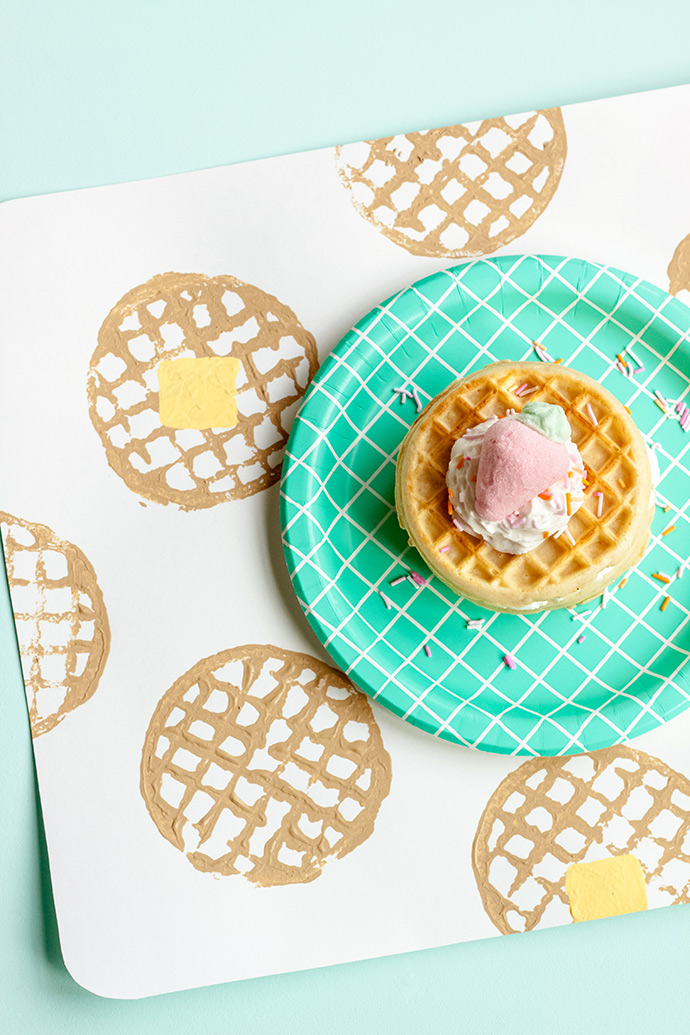
If you are using frozen waffles, be sure to thaw them. Pour the acrylic paint color of your choice onto a paper plate. Use a small piece of wax paper to spread it out into a thin layer. Dip a waffle into the paint, and stamp it on the center of your placemat. Dip it again before each stamping, and stamp four more waffles in a square around the one in the center.
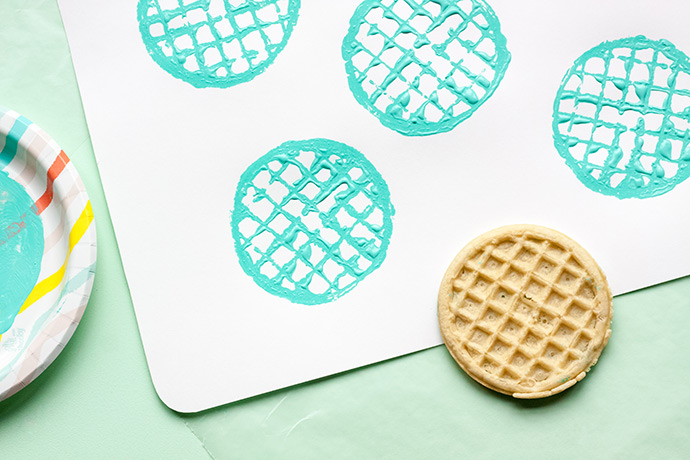
Place a piece of wax paper under the placemat, and use the waffle to stamp four more waffle halves in the middle of each side, so that only half the waffle shows on the placemat. Your wax paper should protect your surface from the paint coming off the other half, but you may have to move it around a bit. Allow the paint to dry.
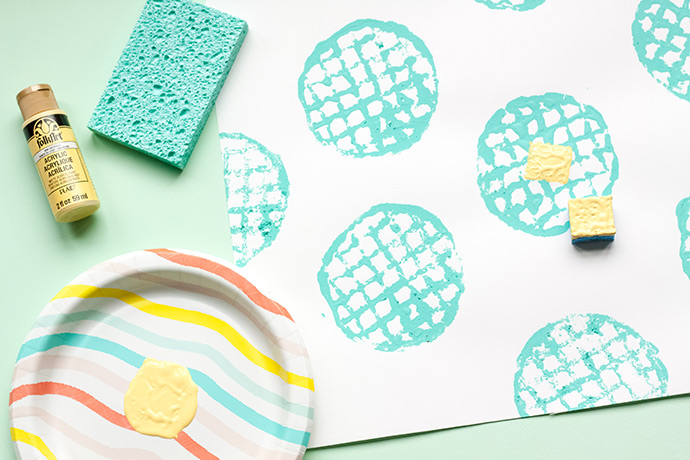
Cut a 1 ¼” x 1 ¼” square piece of a sponge using scissors. Dip the sponge square in yellow paint, and stamp it into the center of a few of your waffles on the placemat to look like a pat of butter. Allow to dry.